Fabrication Everything From JBwelded/Fluxcored downpipes to Equal length SS Manifolds.

Power Wagon Rebuild (Update: 11/5/08)

Thread Tools
 
Search this Thread
 
Old 08-21-2009, 11:04 PM
  #141  
0.0 BAR
 
jdmontheway's Avatar
 
Join Date: Aug 2009
Posts: 44
Default

oh ----..
jdmontheway is offline  
Old 08-24-2009, 04:36 AM
  #142  
0.0 BAR
 
yokhomano's Avatar
 
Join Date: Oct 2004
Posts: 36
Default

dope old school
yokhomano is offline  
Old 08-27-2009, 07:42 PM
  #143  
1.0 BAR
Thread Starter
 
josh19wrc's Avatar
 
Join Date: Feb 2003
Location: Wisconsin
Posts: 461
Default

got the tank lined, and painted, and in the frame:

Name:  IMG_7818.jpg
Views: 19
Size:  160.2 KB

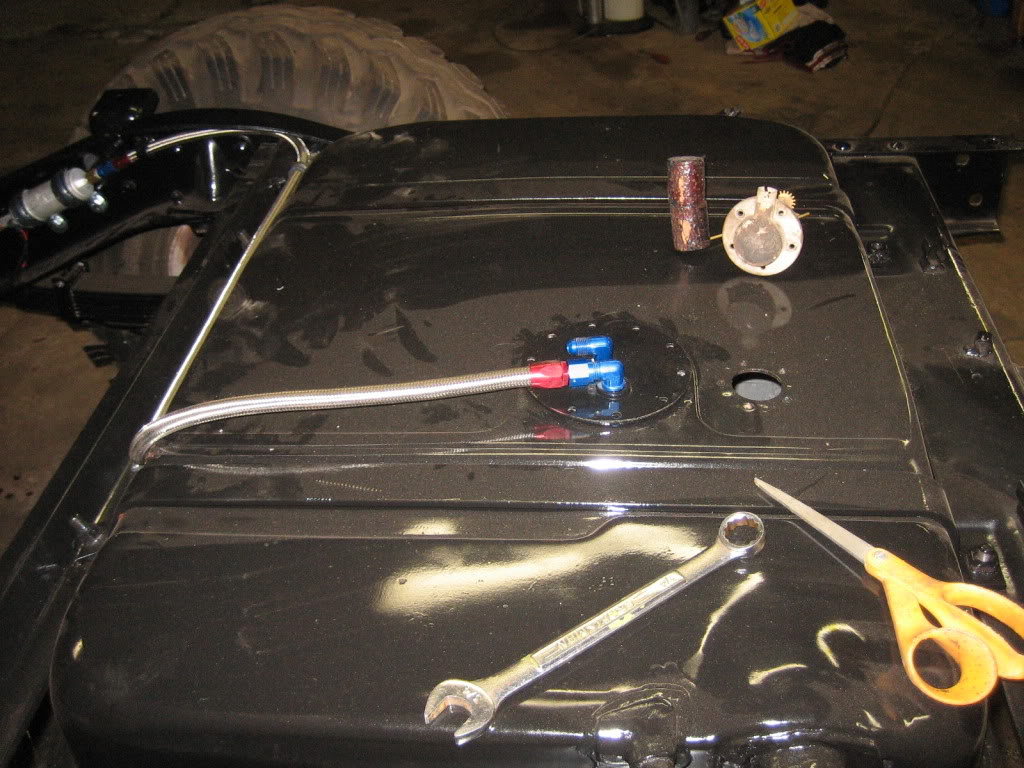
Walbro pump mounted:

Name:  IMG_7819.jpg
Views: 22
Size:  108.0 KB

Name:  IMG_7820.jpg
Views: 13
Size:  144.6 KB

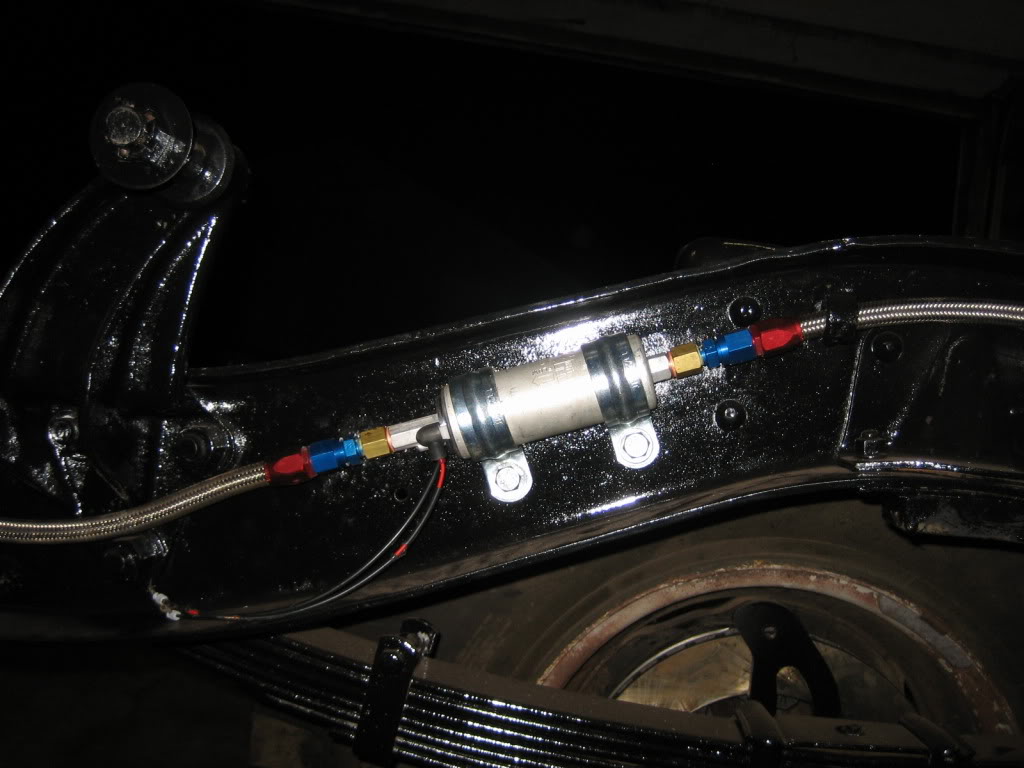
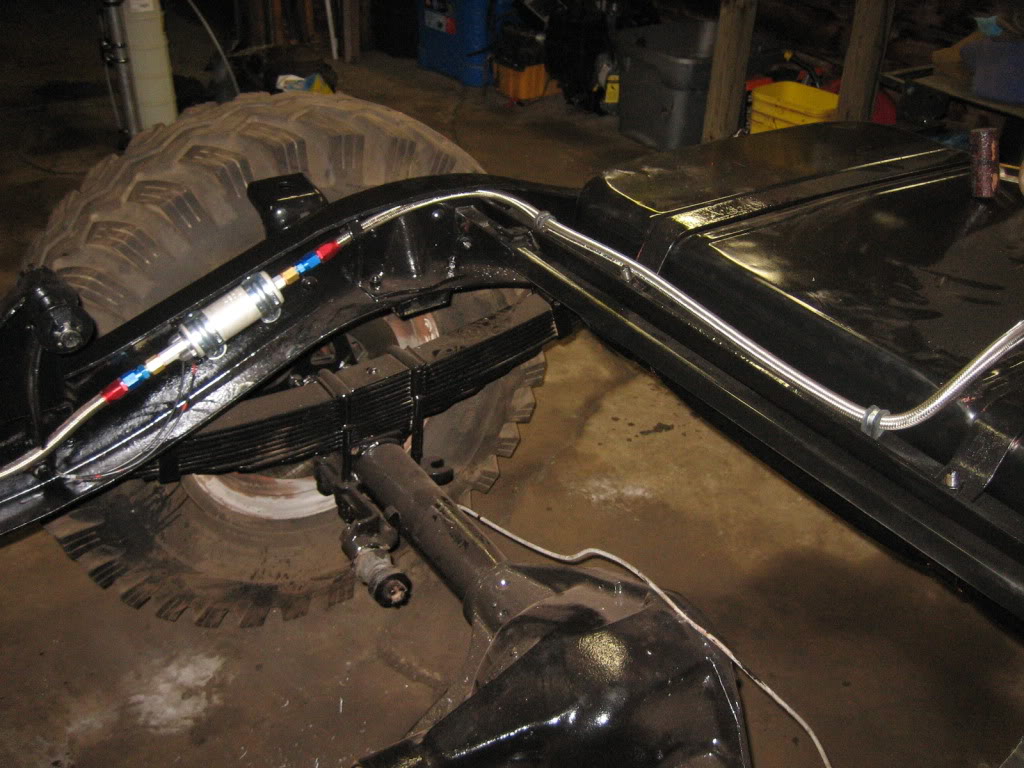
still have to plumb in the return line...

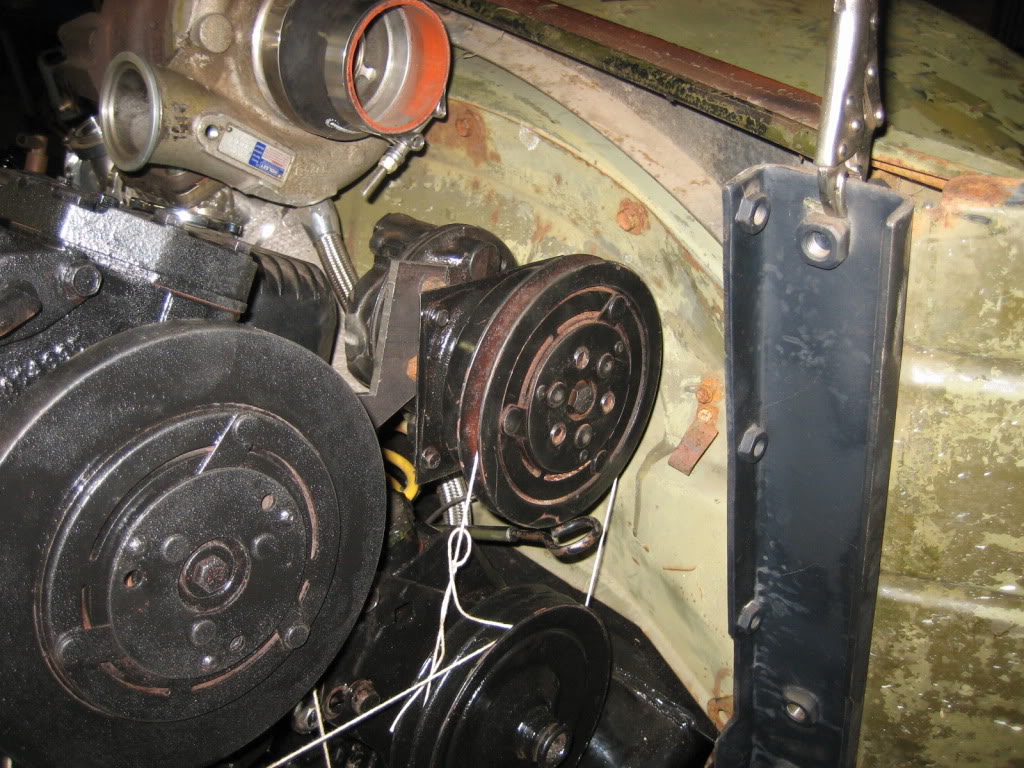
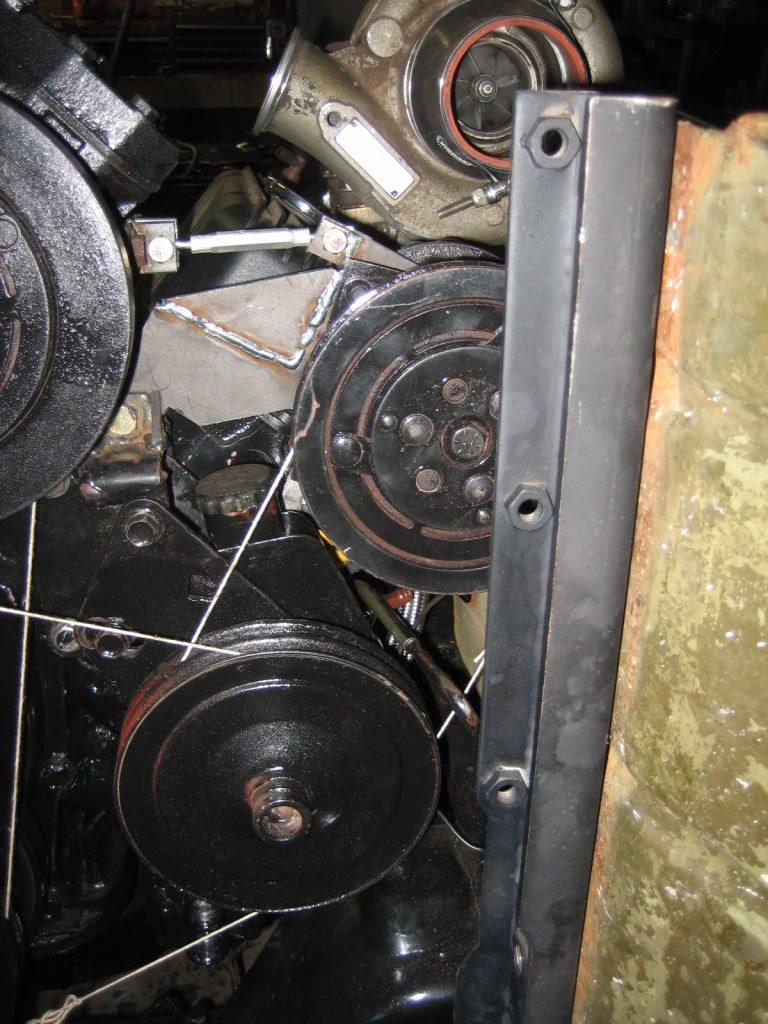
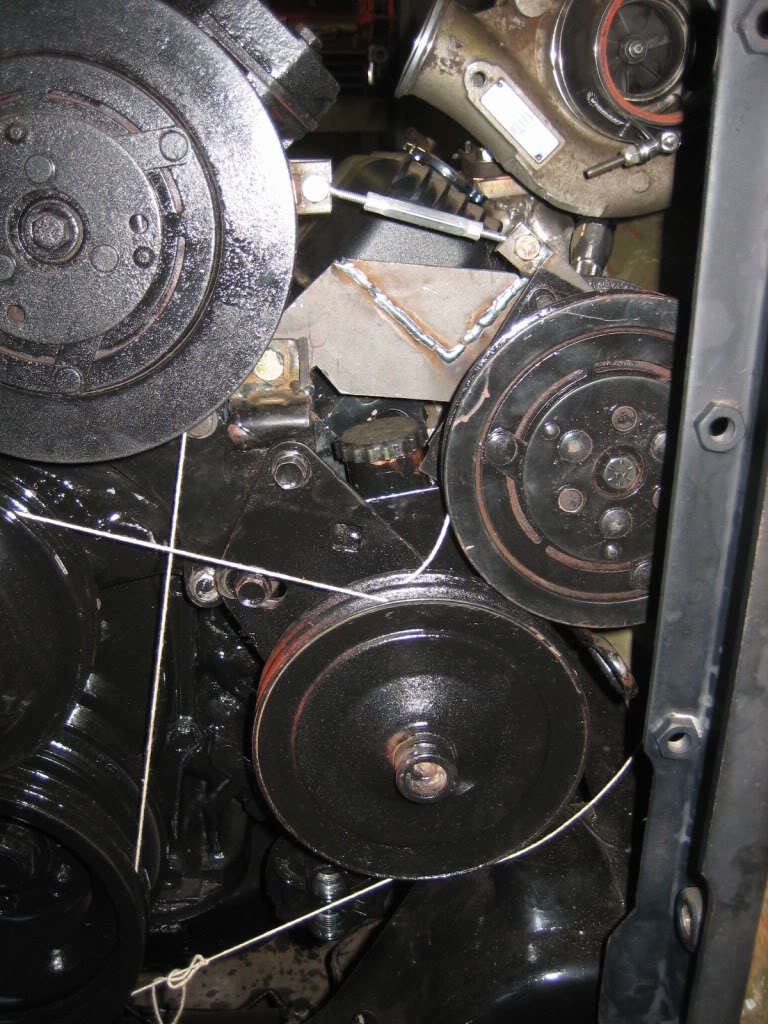
Pump or the far right is the converted saginaw steering pump for driving the winch. I retrofitted it with an A/C electric clutch so it's not turning unless Im using the winch

Name:  IMG_7822.jpg
Views: 16
Size:  175.7 KB

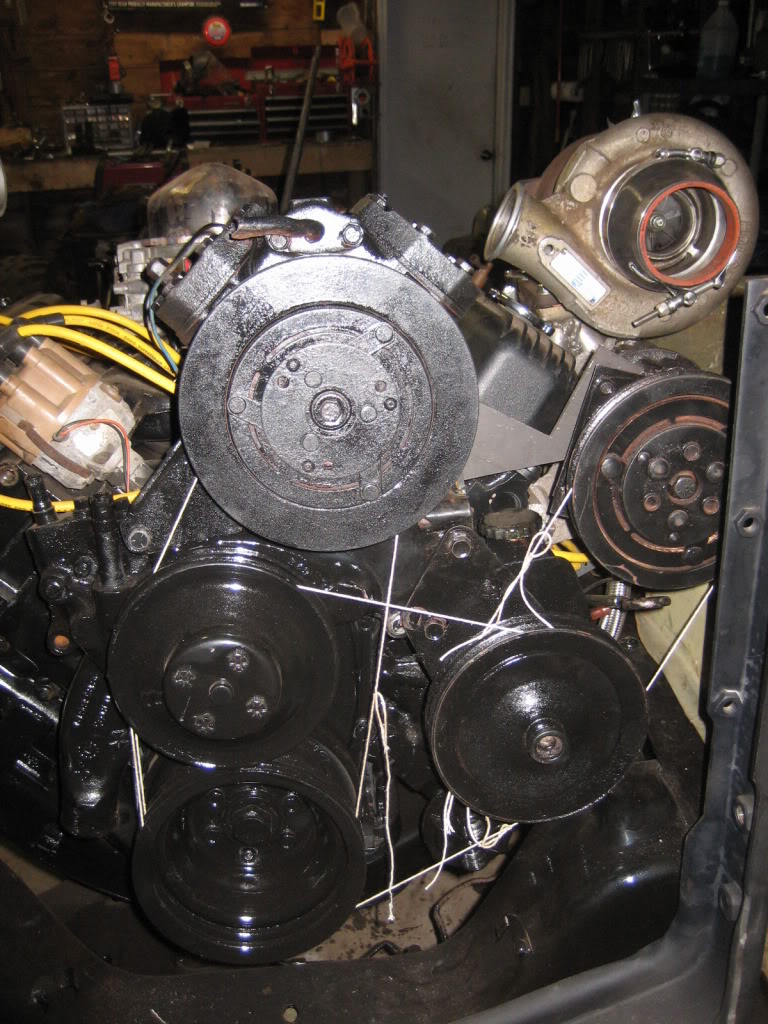
String shows the belt routing. Alternator isn't in the picture here, so, the one string would go to the left, around the pulley for it.

Name:  IMG_7823.jpg
Views: 17
Size:  152.3 KB

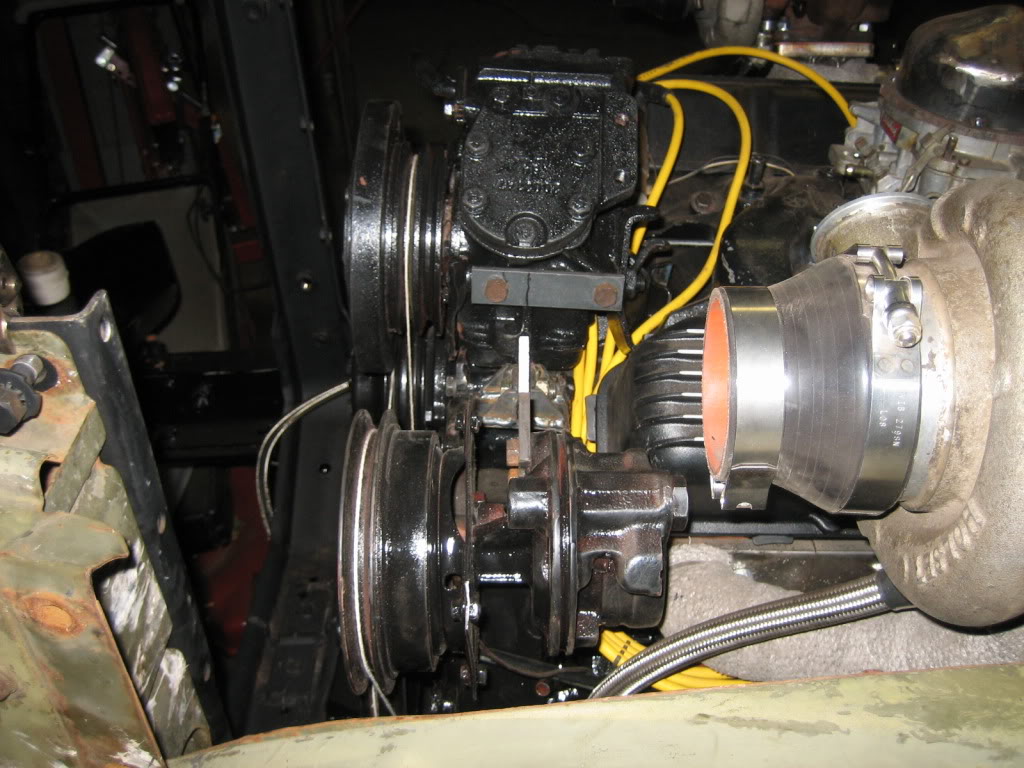
still need to finish the adjuster bracket for the belt tension...

Name:  IMG_7826.jpg
Views: 12
Size:  190.7 KB
josh19wrc is offline  
Old 08-27-2009, 09:13 PM
  #144  
0.5 BAR
 
Claudio157's Avatar
 
Join Date: Apr 2009
Posts: 53
Default

keep on going...

it's almost working..
Claudio157 is offline  
Old 08-28-2009, 06:28 AM
  #145  
0.0 BAR
 
Leen's Avatar
 
Join Date: Nov 2008
Location: Holland
Posts: 3
Default

I once tried using a powersteering pump to drive a hydraulic winch.
resulted in the slowest winch i ever used...

nice project though, keep the updates coming!
Leen is offline  
Old 08-30-2009, 12:58 PM
  #146  
0.0 BAR
 
turboD16crx's Avatar
 
Join Date: Jan 2006
Posts: 49
Default

Simply awesome!!
turboD16crx is offline  
Old 09-02-2009, 08:23 PM
  #147  
0.0 BAR
 
classiccarsrule85's Avatar
 
Join Date: Aug 2009
Posts: 19
Default

very nice so far its gonna be a beast when its done and last along long time
classiccarsrule85 is offline  
Old 09-03-2009, 08:49 PM
  #148  
1.0 BAR
Thread Starter
 
josh19wrc's Avatar
 
Join Date: Feb 2003
Location: Wisconsin
Posts: 461
Default

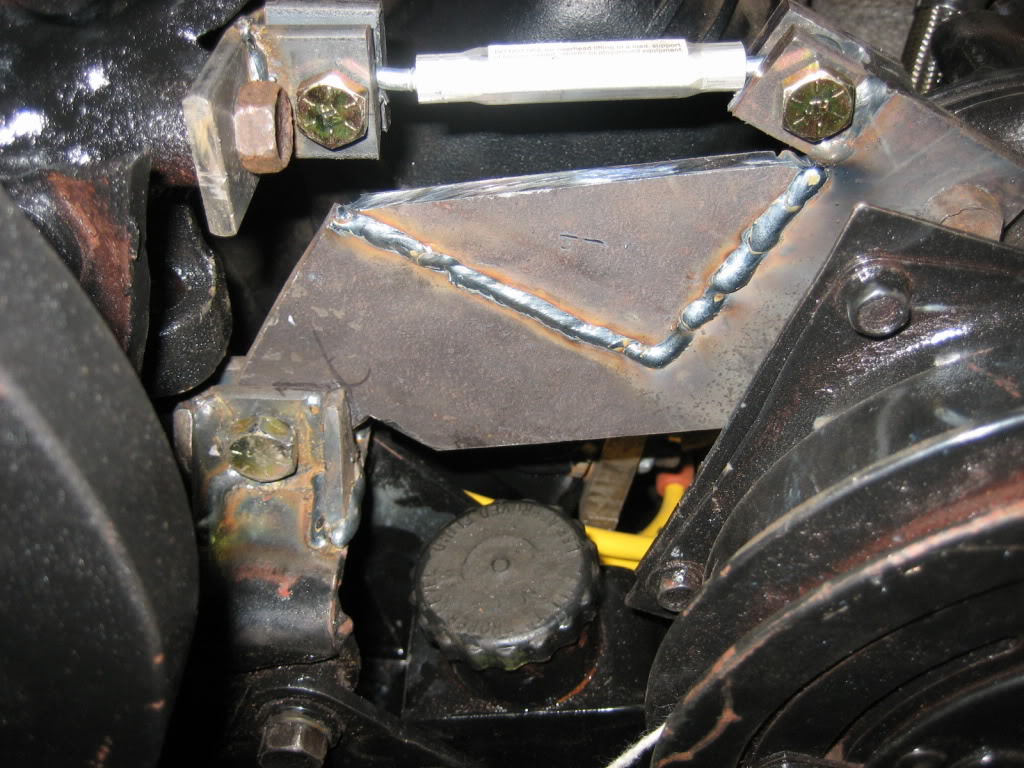
finished the adjuster for the winch pump. I dont like the old slotted pinch bolt type brackets, so, I cooked this up. Might make one like it for the alternator and power steering pump adjustment as well:
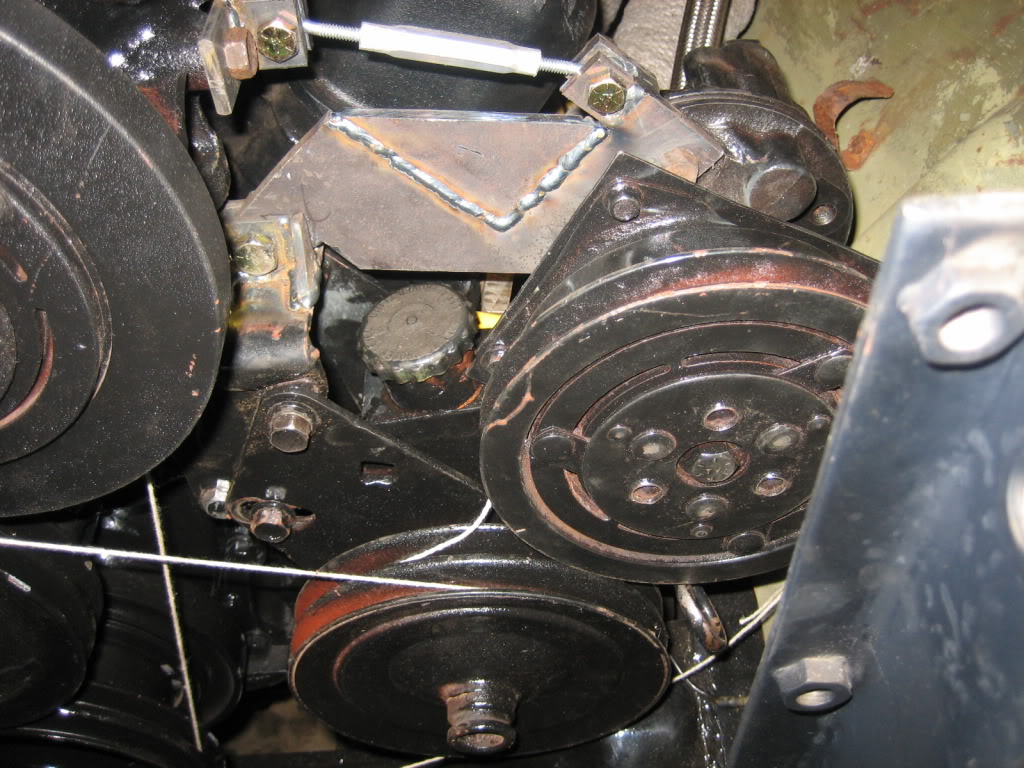


Name:  IMG_7838.jpg
Views: 15
Size:  165.2 KB

Name:  IMG_7841.jpg
Views: 14
Size:  178.3 KB

Fully in:

Name:  IMG_7837.jpg
Views: 18
Size:  163.1 KB

Fully out:

Name:  IMG_7839.jpg
Views: 11
Size:  183.5 KB

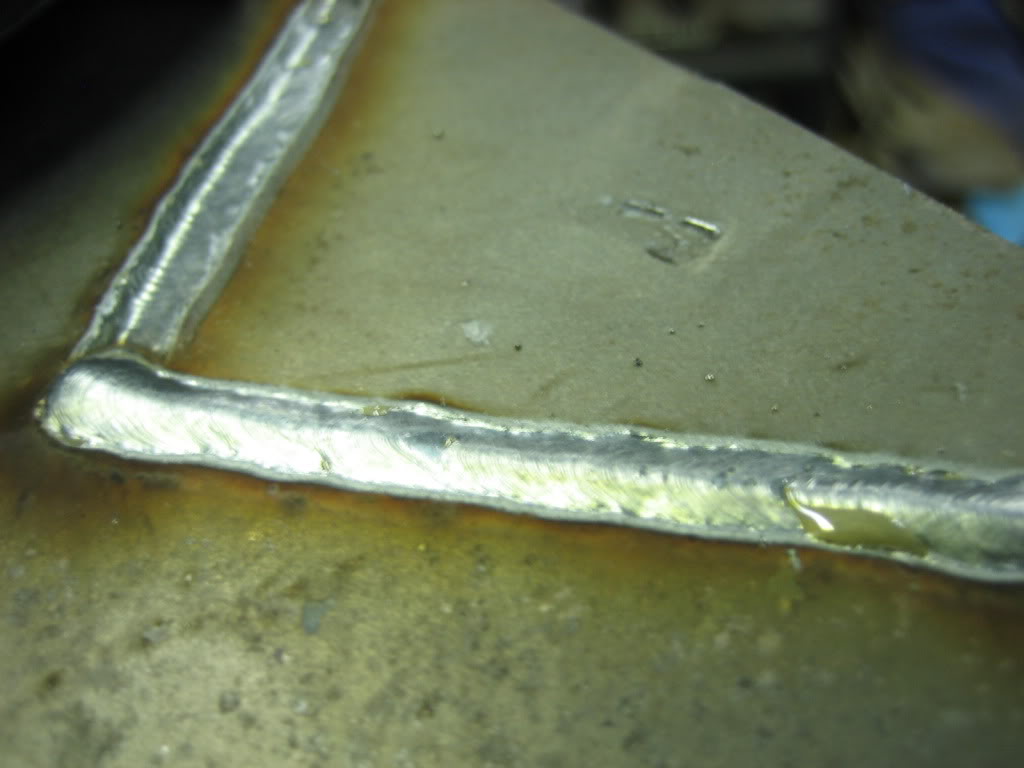
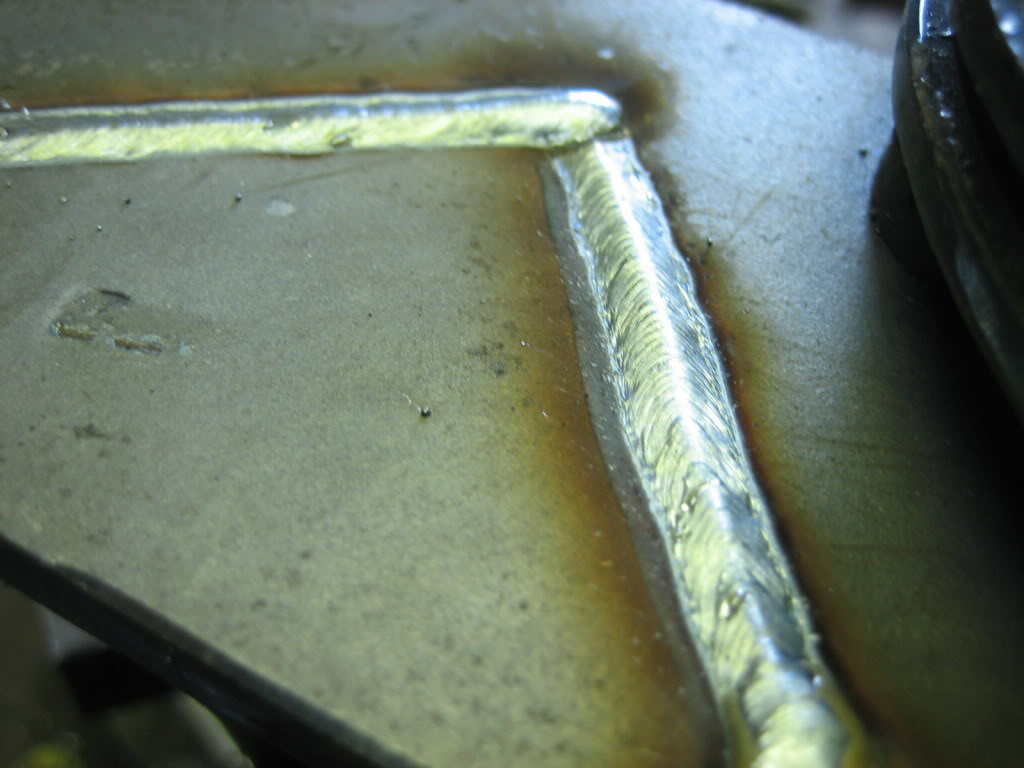
And a NICE weld I laid on the bracket... on the back side of course... haha

Name:  IMG_7829.jpg
Views: 14
Size:  69.9 KB

Name:  IMG_7828.jpg
Views: 12
Size:  84.8 KB

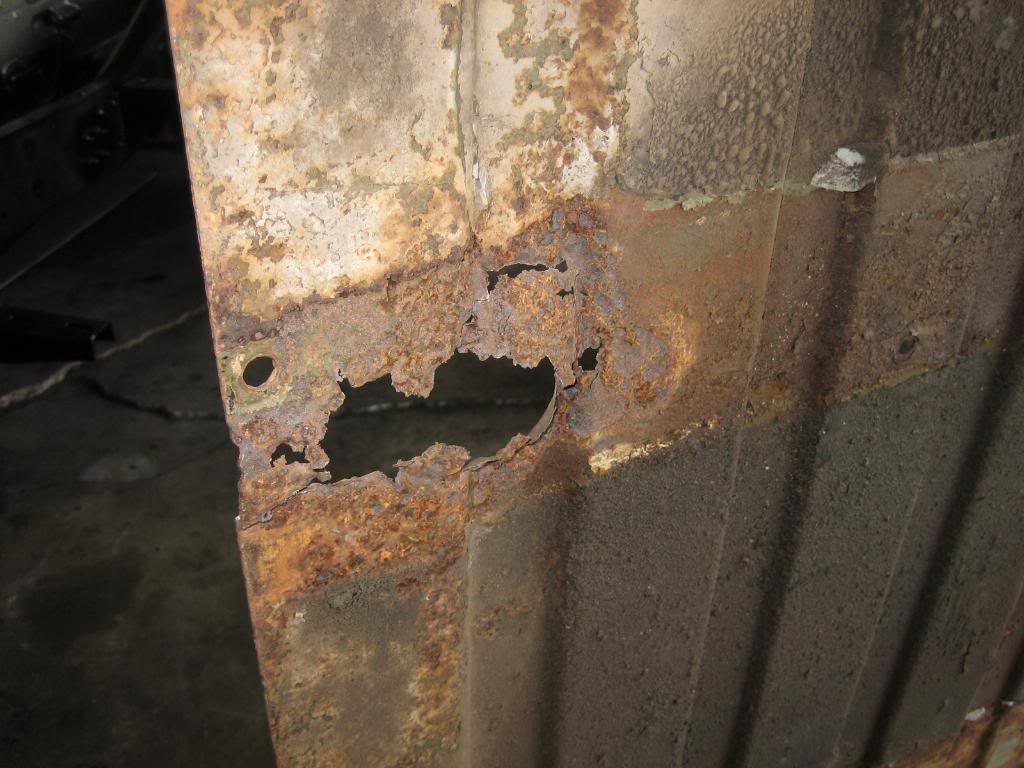
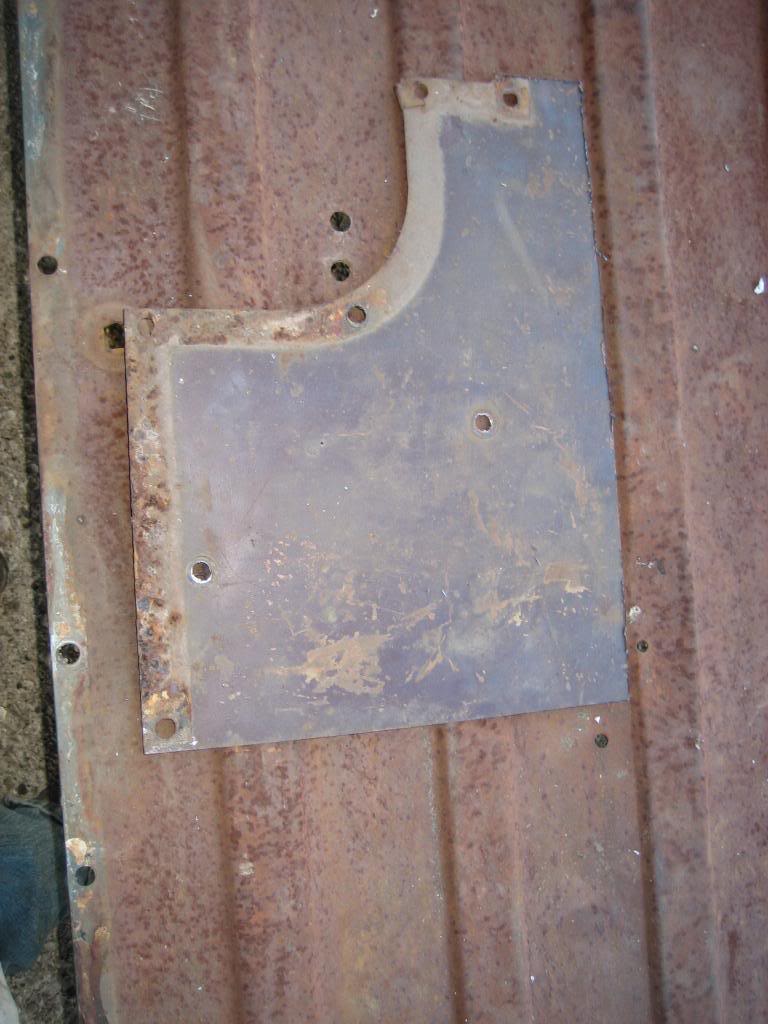
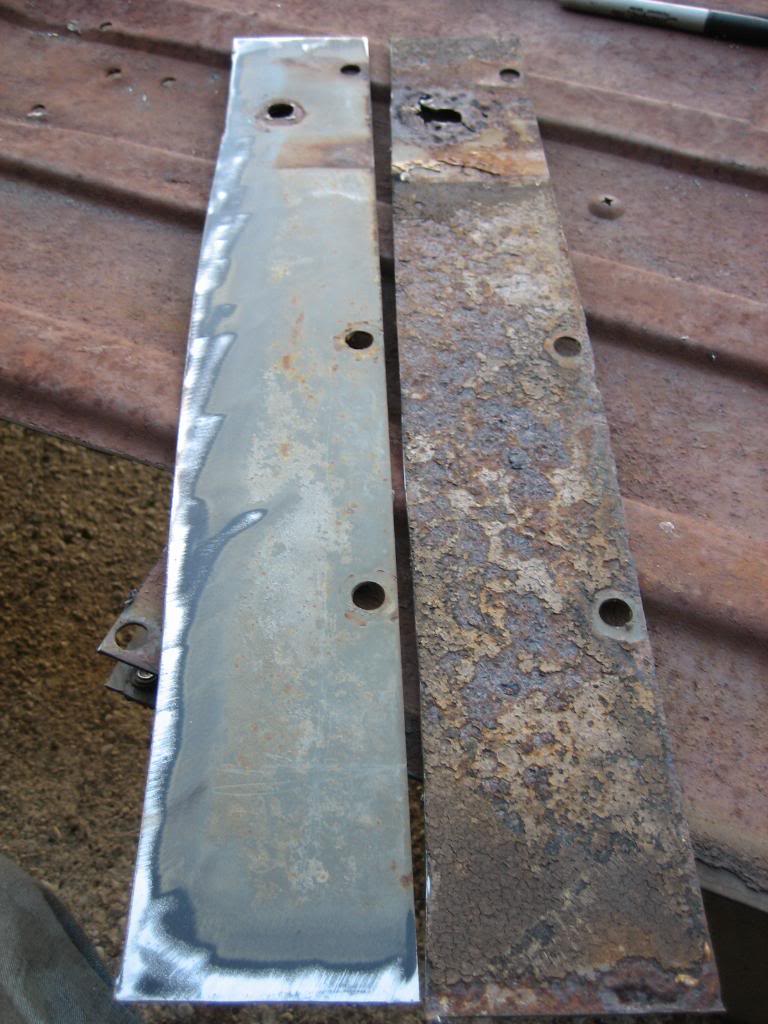
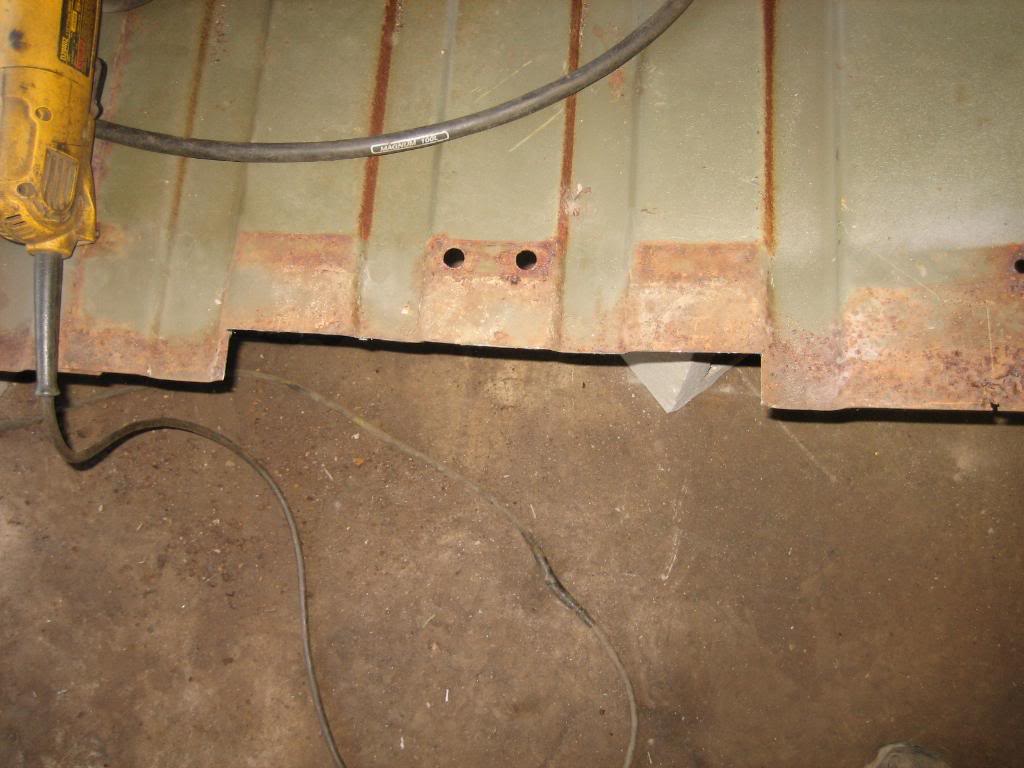
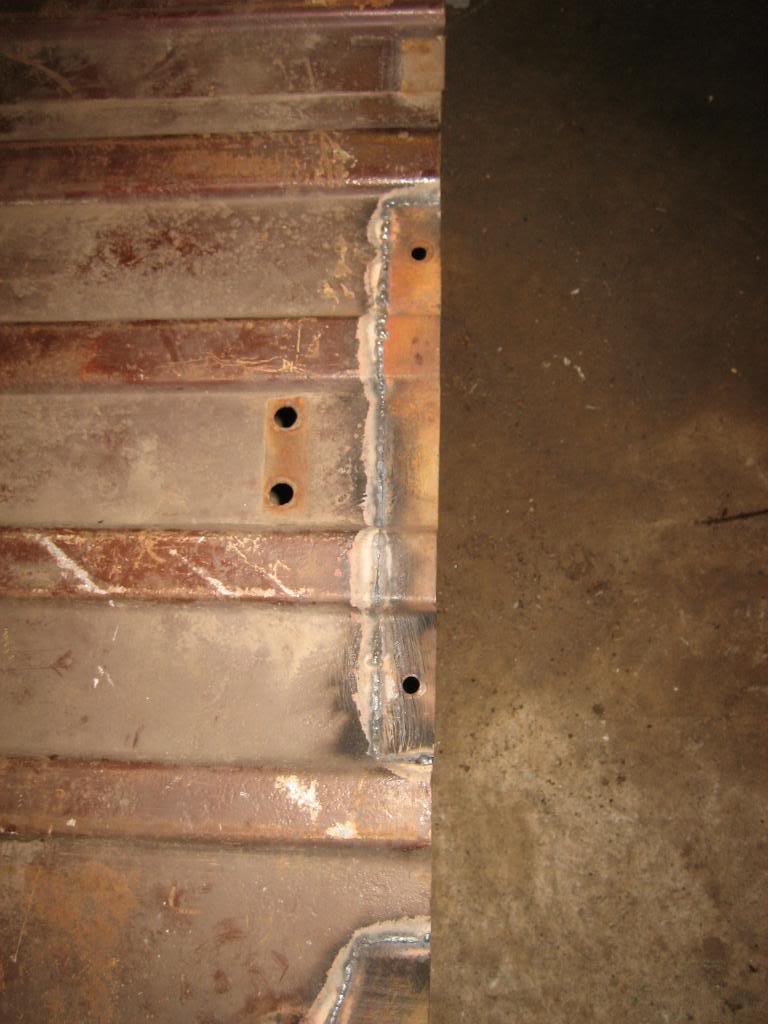
Then, I moved on to some body work, since, Im out of cash for the time being. I worked on fixing the bed floor. I was going to use the AZ body bed floor, but, it had more dents, holes, and tears in it than I remembered, so I decided to use it for patch panels to fix the original floor:
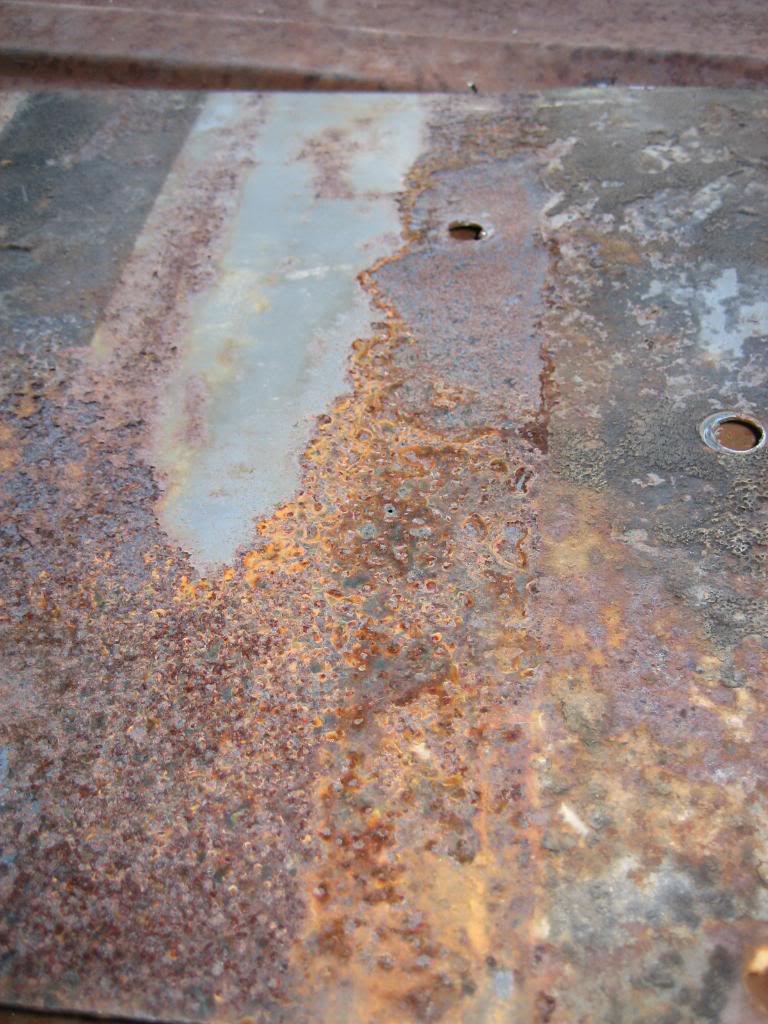
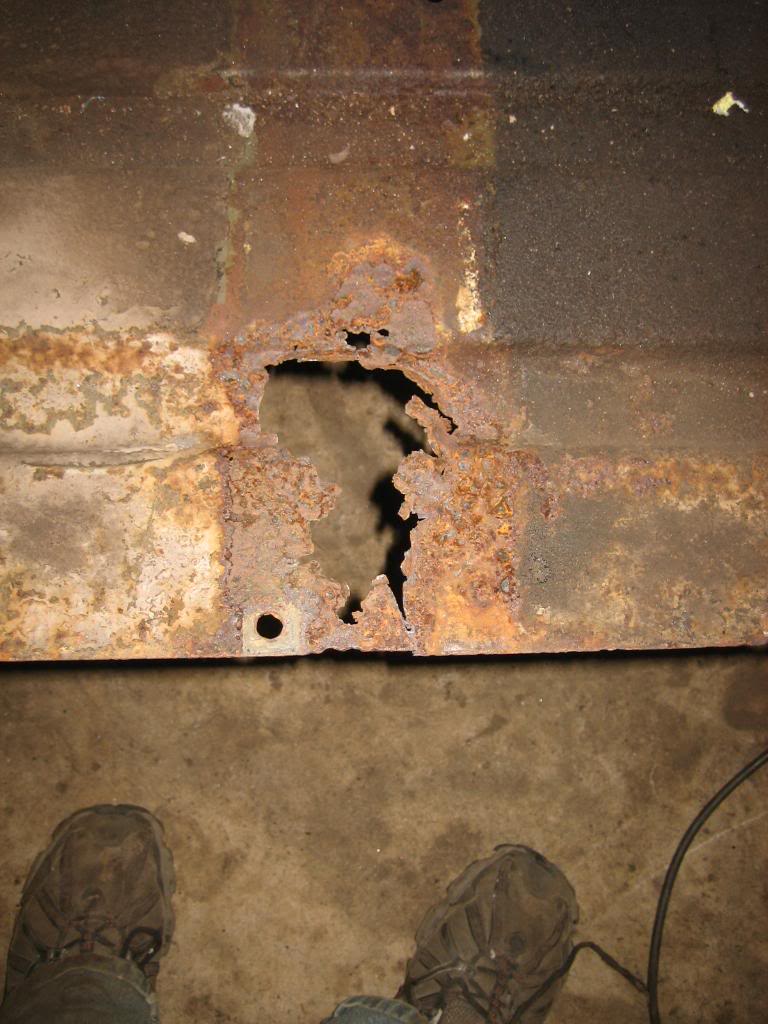
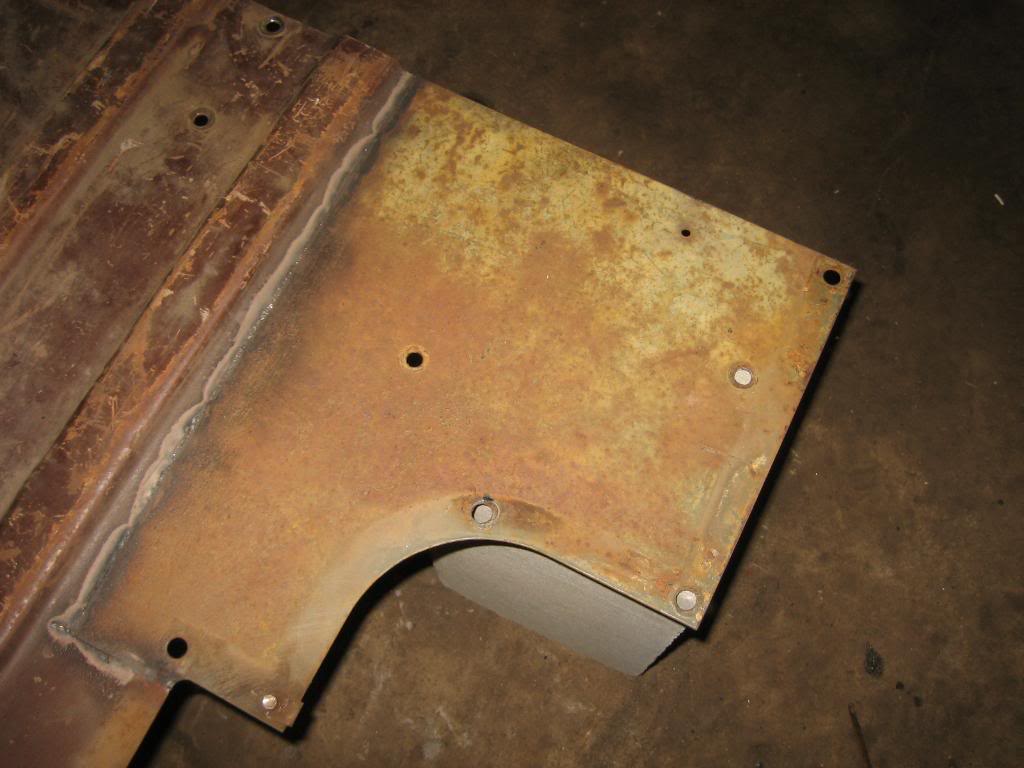
Original floor:

Name:  IMG_7842.jpg
Views: 13
Size:  108.8 KB

Name:  IMG_7843.jpg
Views: 12
Size:  103.3 KB

Name:  IMG_7844.jpg
Views: 14
Size:  106.3 KB

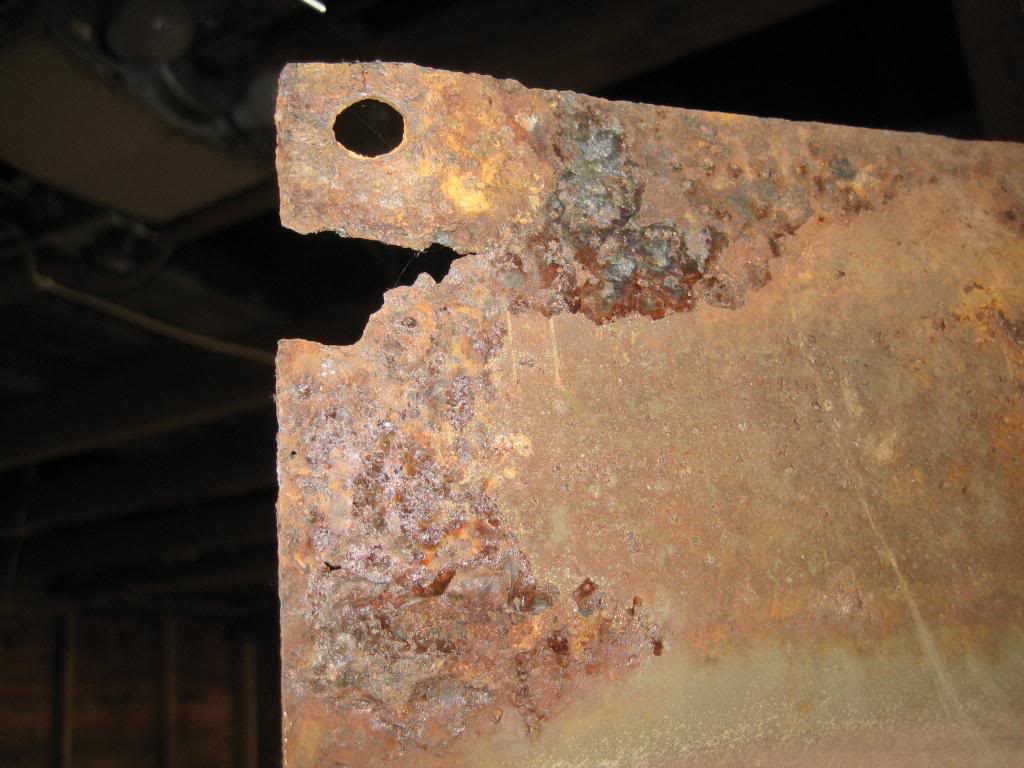
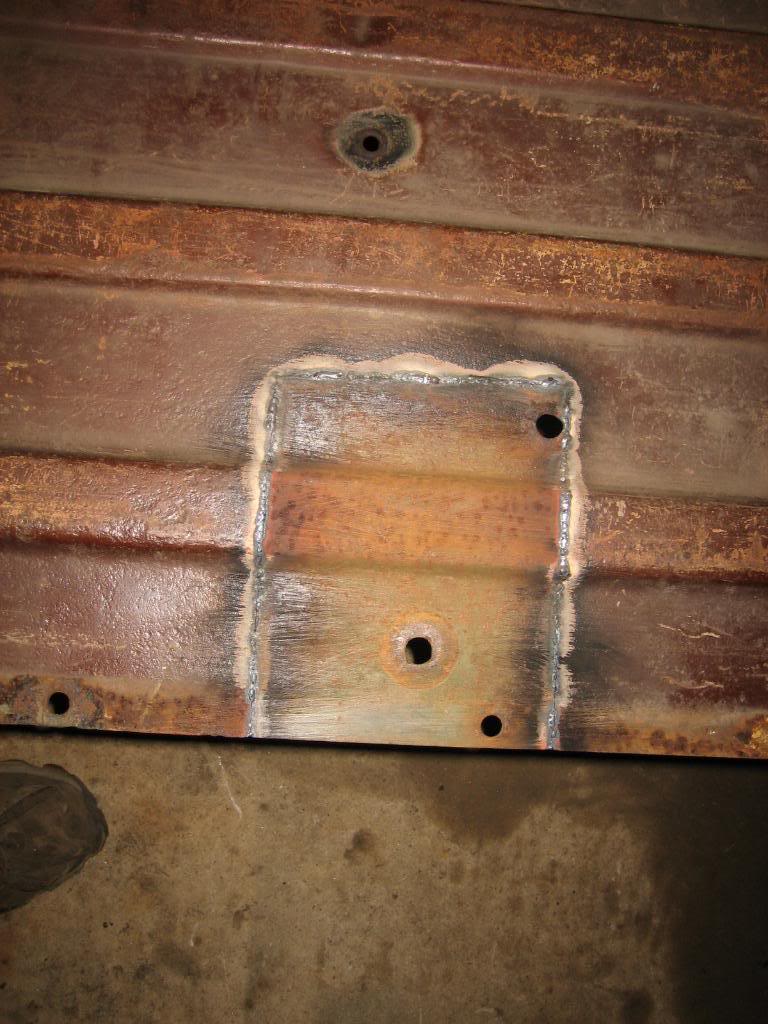
after bumping most of the dents out:

Name:  IMG_7845.jpg
Views: 12
Size:  115.1 KB

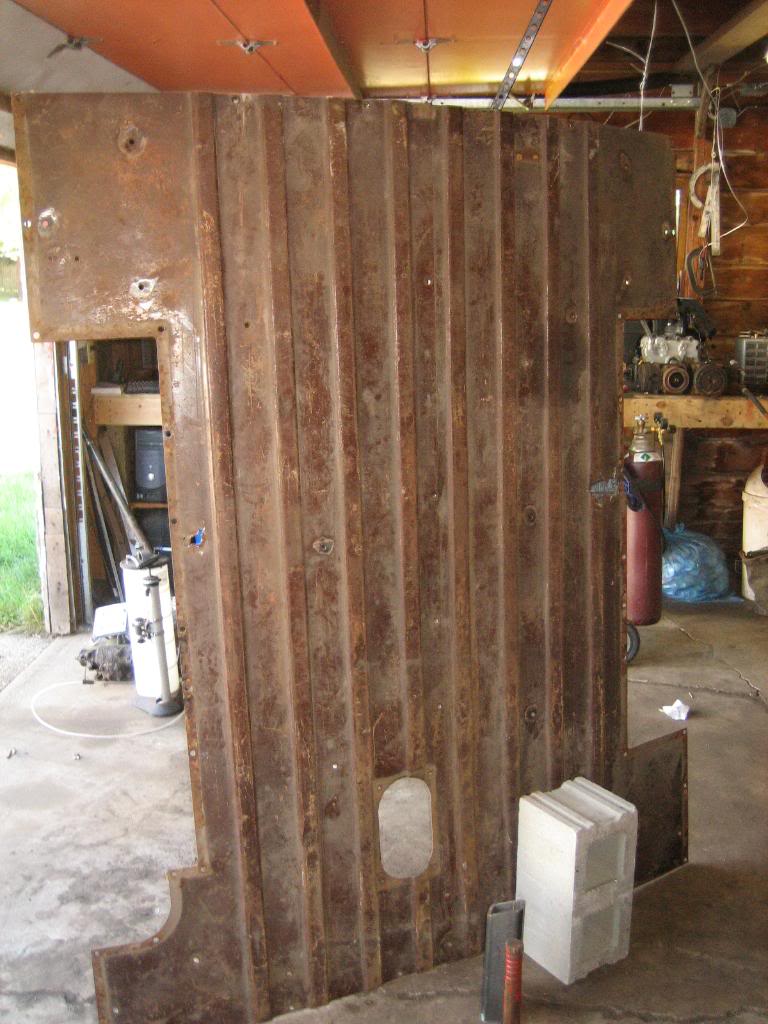
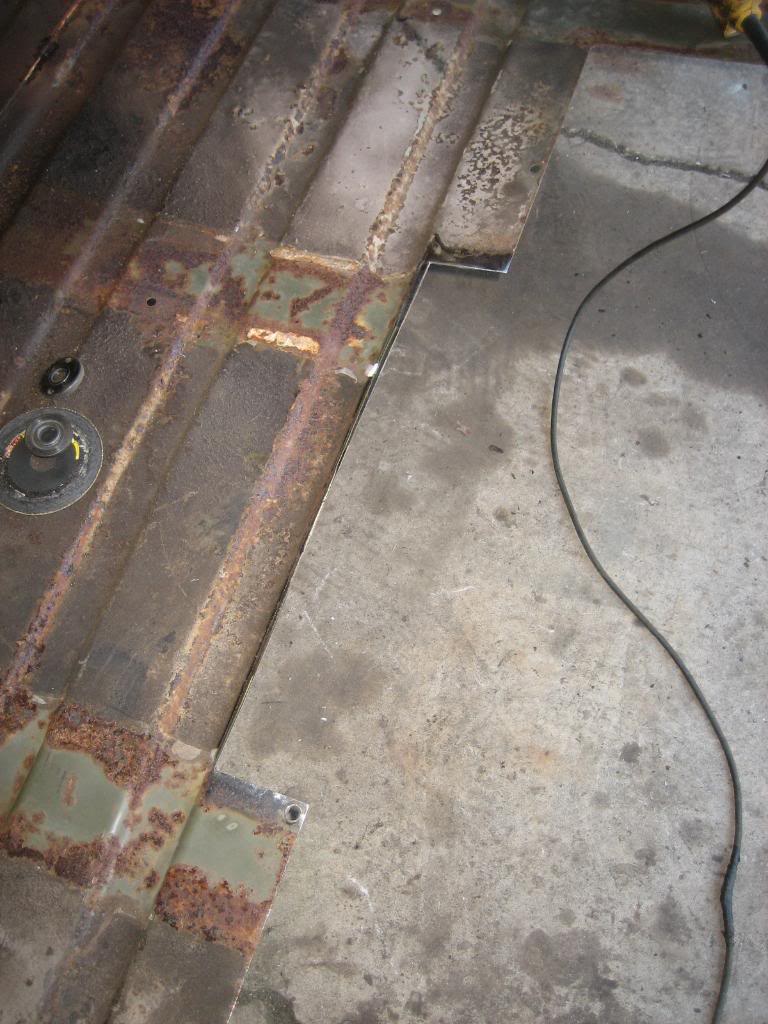
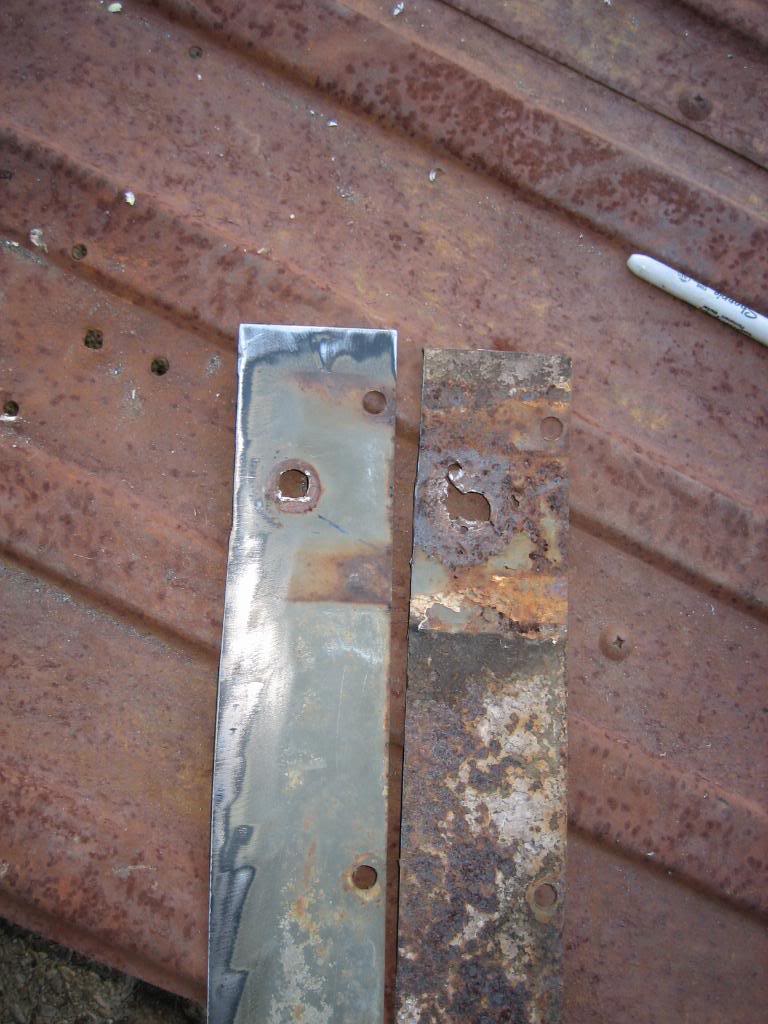
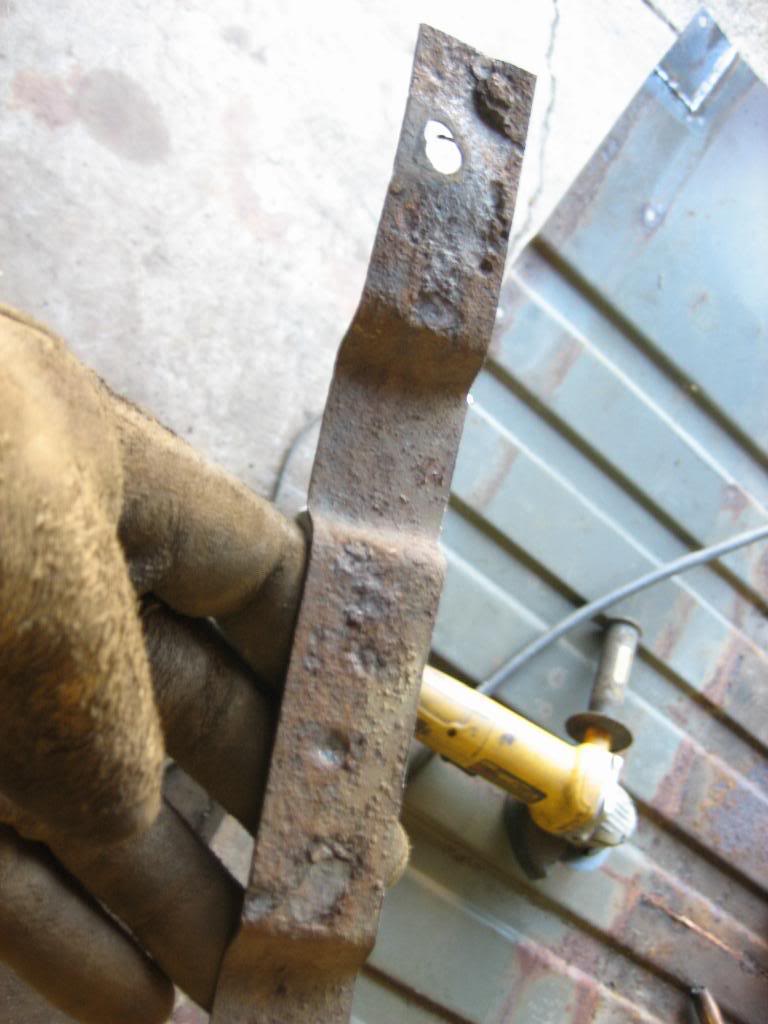
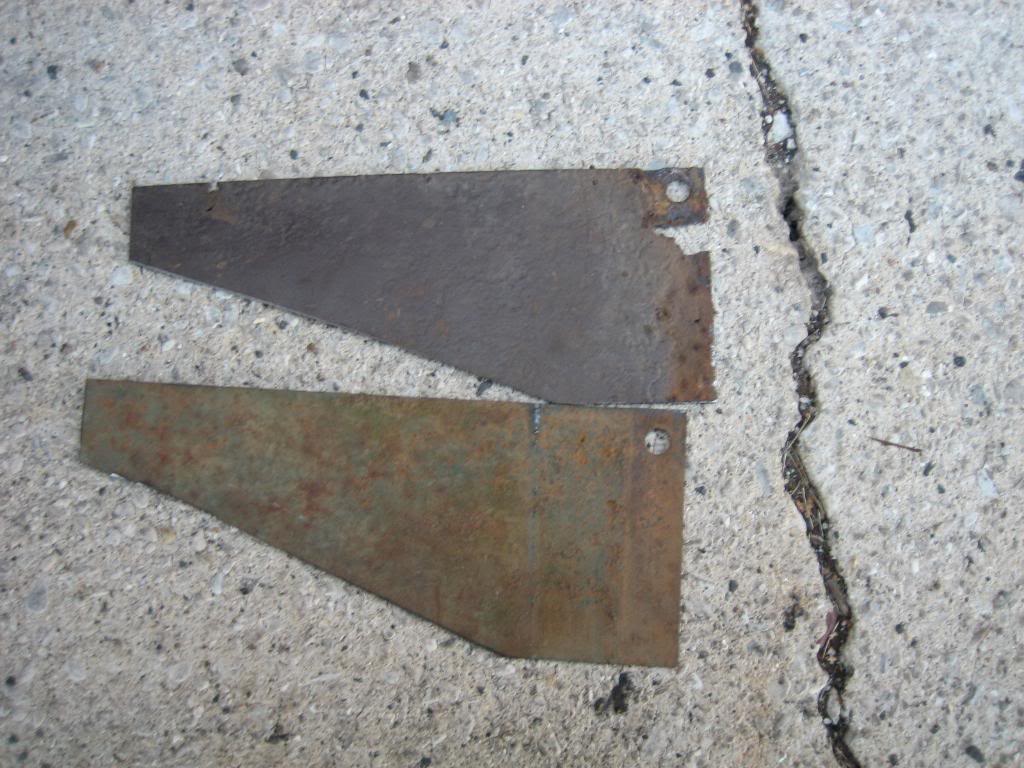
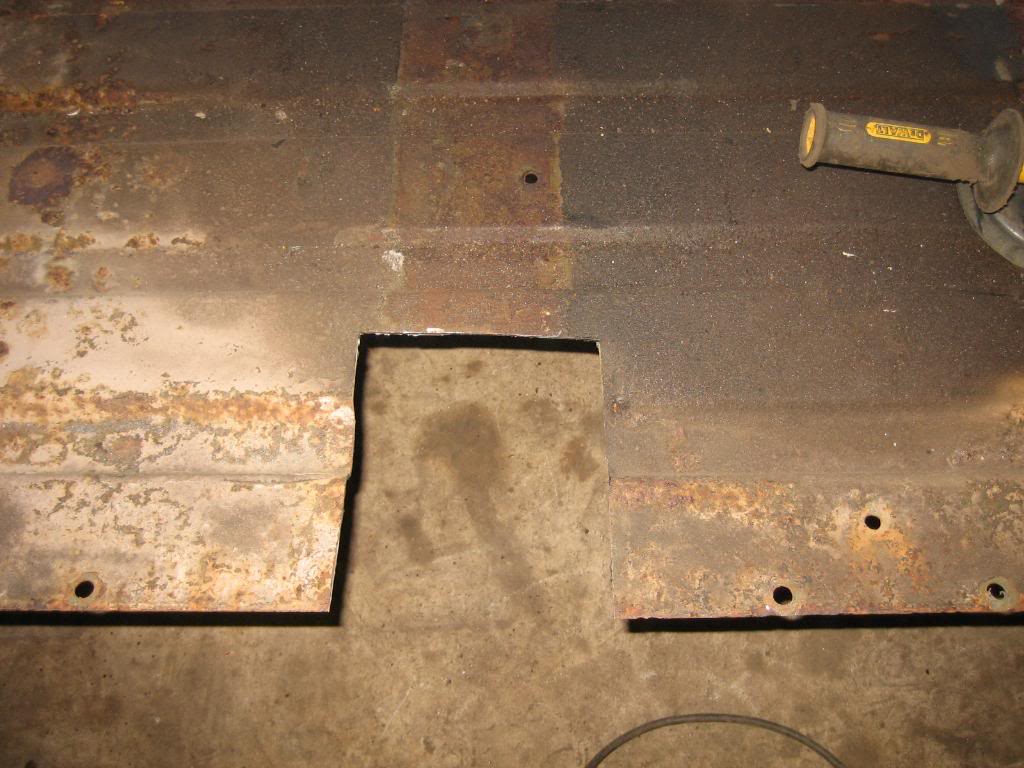
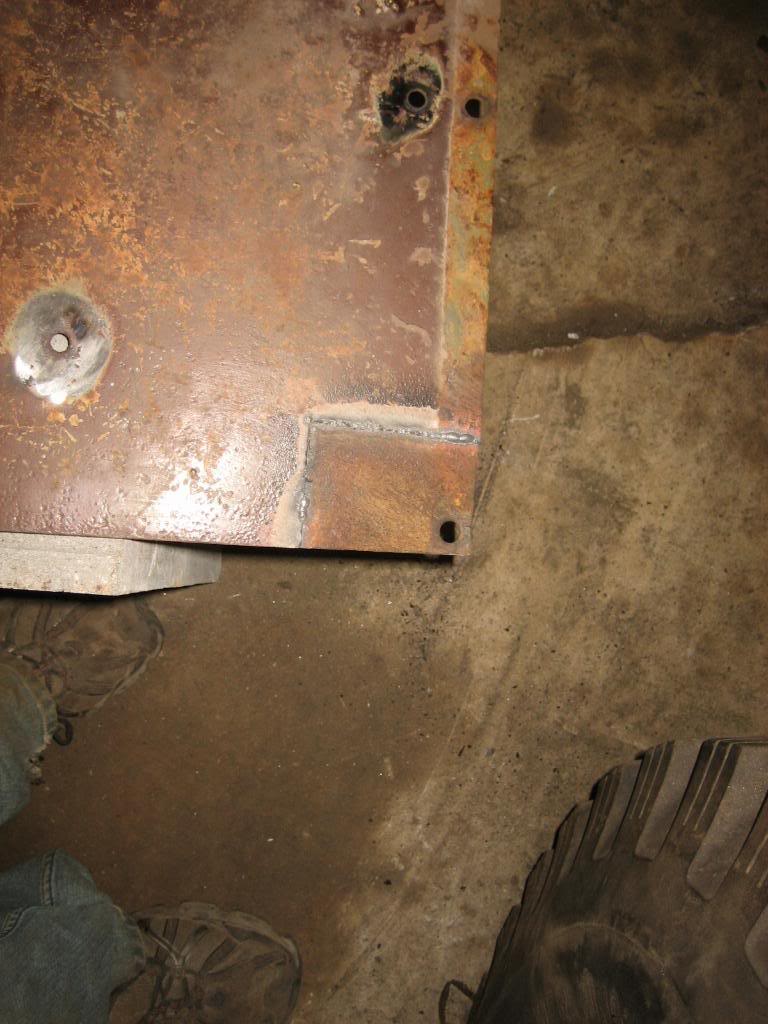
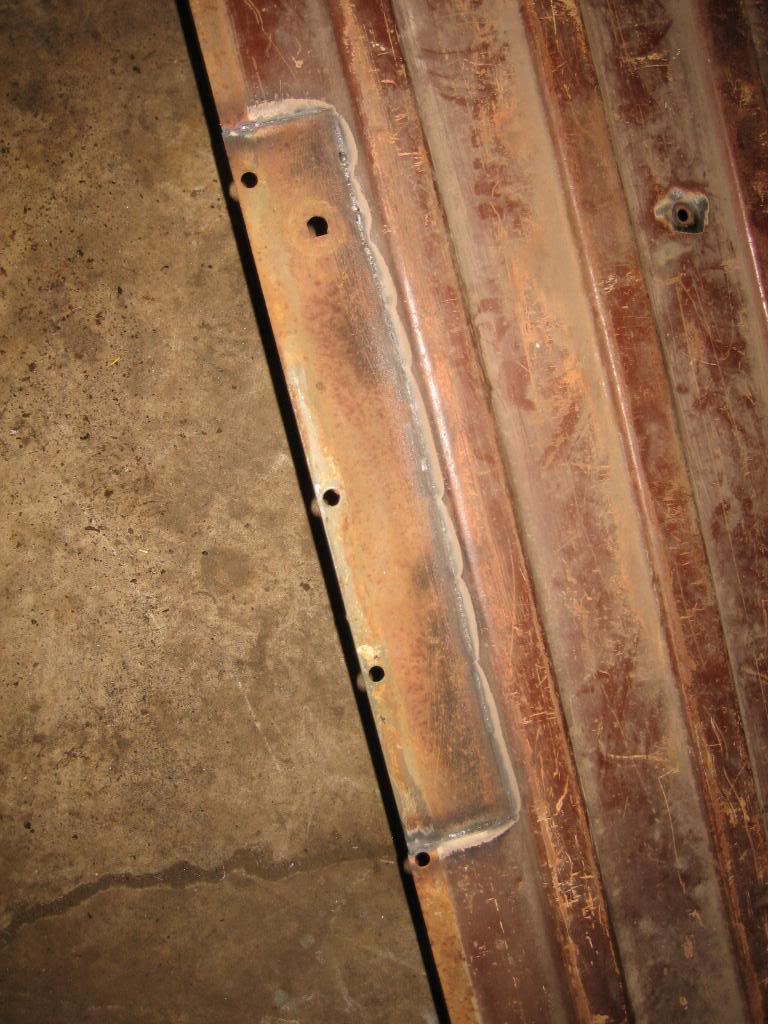
And, first patch panel:
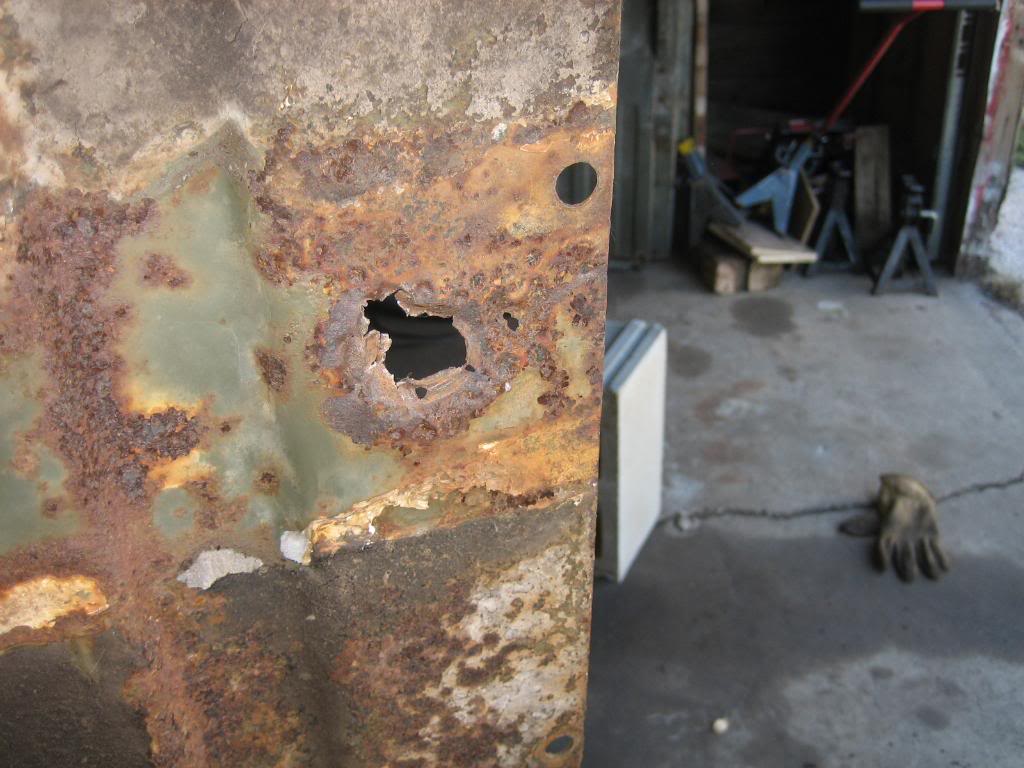
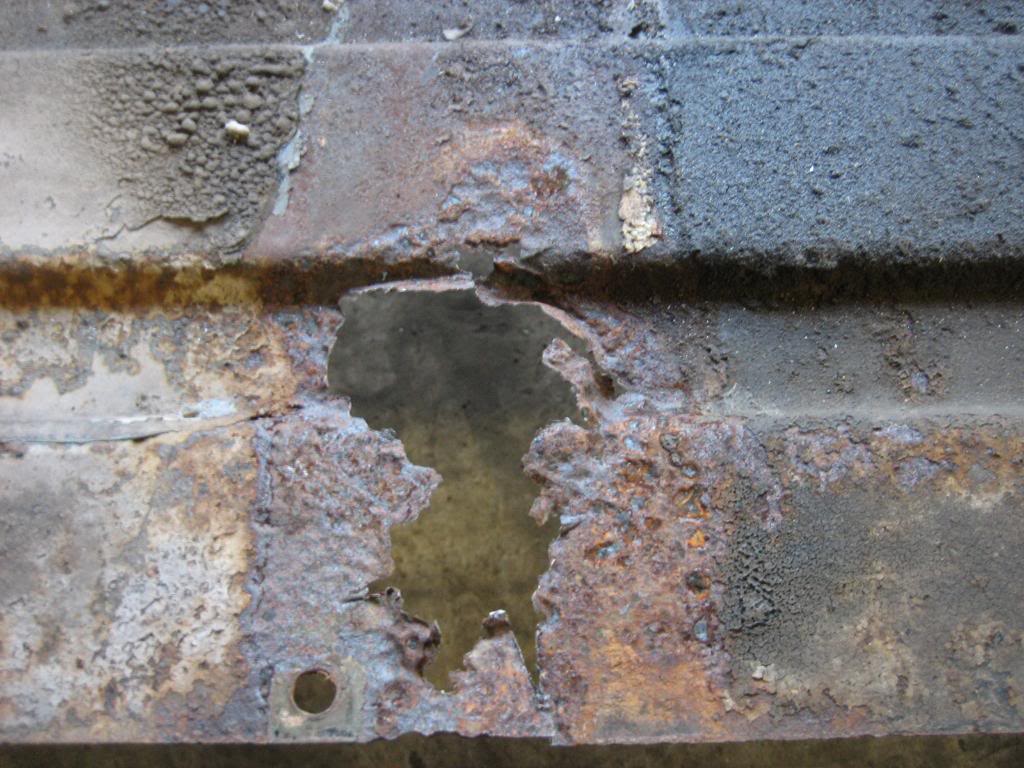
Original:
Name:  IMG_7846.jpg
Views: 13
Size:  93.7 KB

Name:  IMG_7847.jpg
Views: 17
Size:  133.2 KB

New:
Name:  IMG_7848.jpg
Views: 15
Size:  101.2 KB

Name:  IMG_7849.jpg
Views: 15
Size:  117.1 KB
Name:  IMG_7851.jpg
Views: 13
Size:  114.2 KB

Name:  IMG_7852.jpg
Views: 16
Size:  108.6 KB

Name:  IMG_7853.jpg
Views: 12
Size:  115.8 KB

Name:  IMG_7854.jpg
Views: 12
Size:  86.9 KB

Name:  IMG_7855.jpg
Views: 17
Size:  90.6 KB

Name:  IMG_7857.jpg
Views: 12
Size:  77.5 KB


Name:  IMG_7862.jpg
Views: 10
Size:  85.3 KB


Name:  IMG_7867.jpg
Views: 12
Size:  129.4 KB

Name:  IMG_7873.jpg
Views: 11
Size:  84.9 KB

Name:  IMG_7878.jpg
Views: 14
Size:  112.6 KB

Name:  IMG_7881.jpg
Views: 14
Size:  135.7 KB

Name:  IMG_7882.jpg
Views: 13
Size:  112.5 KB

Name:  IMG_7883.jpg
Views: 11
Size:  98.7 KB

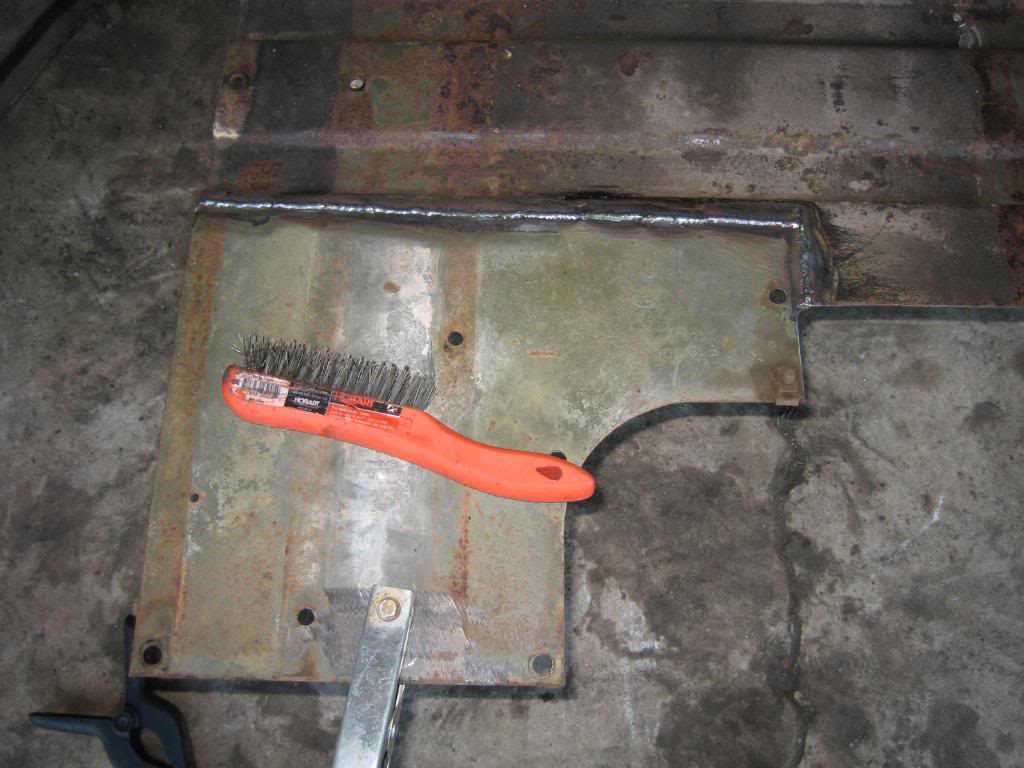
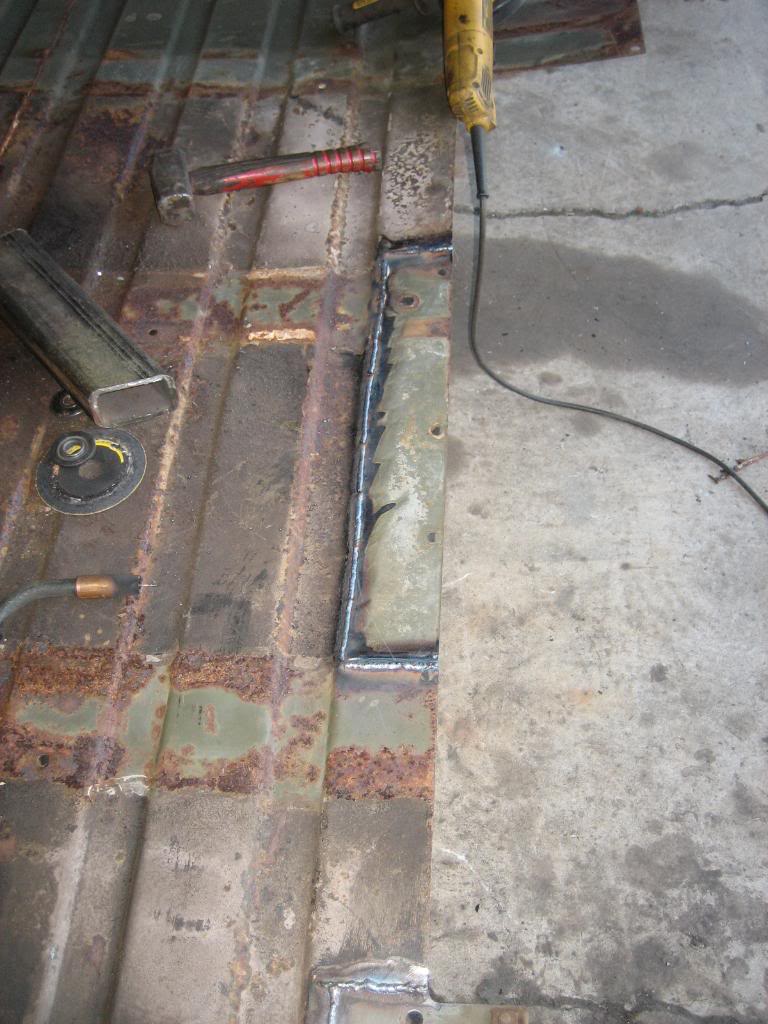
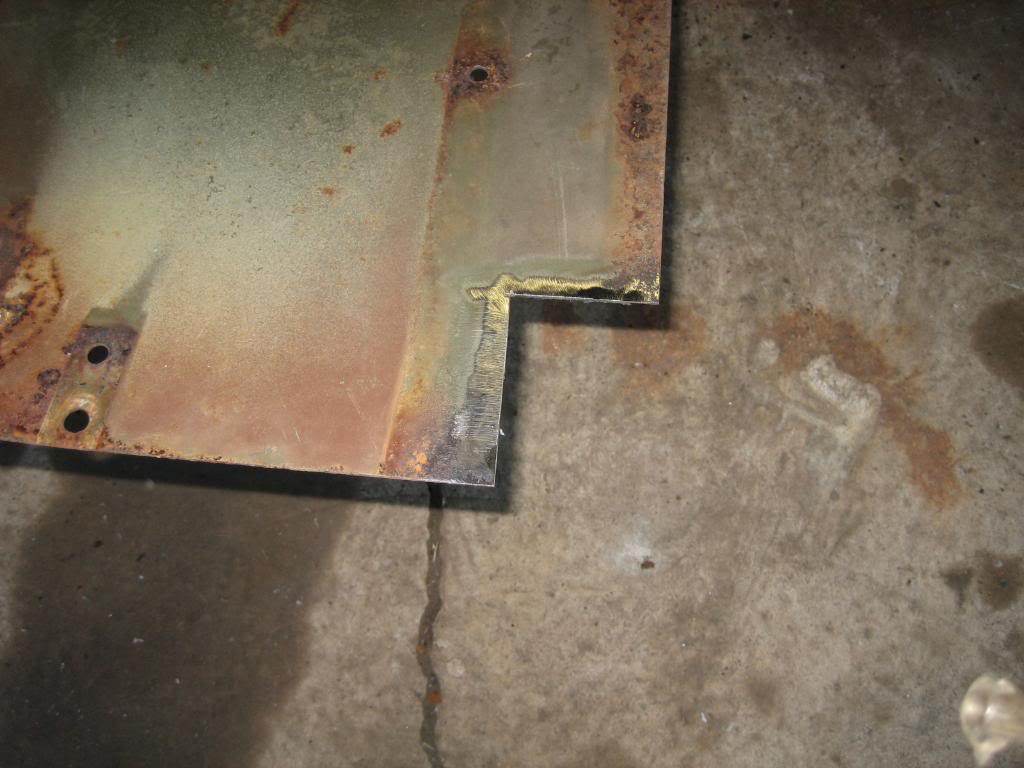
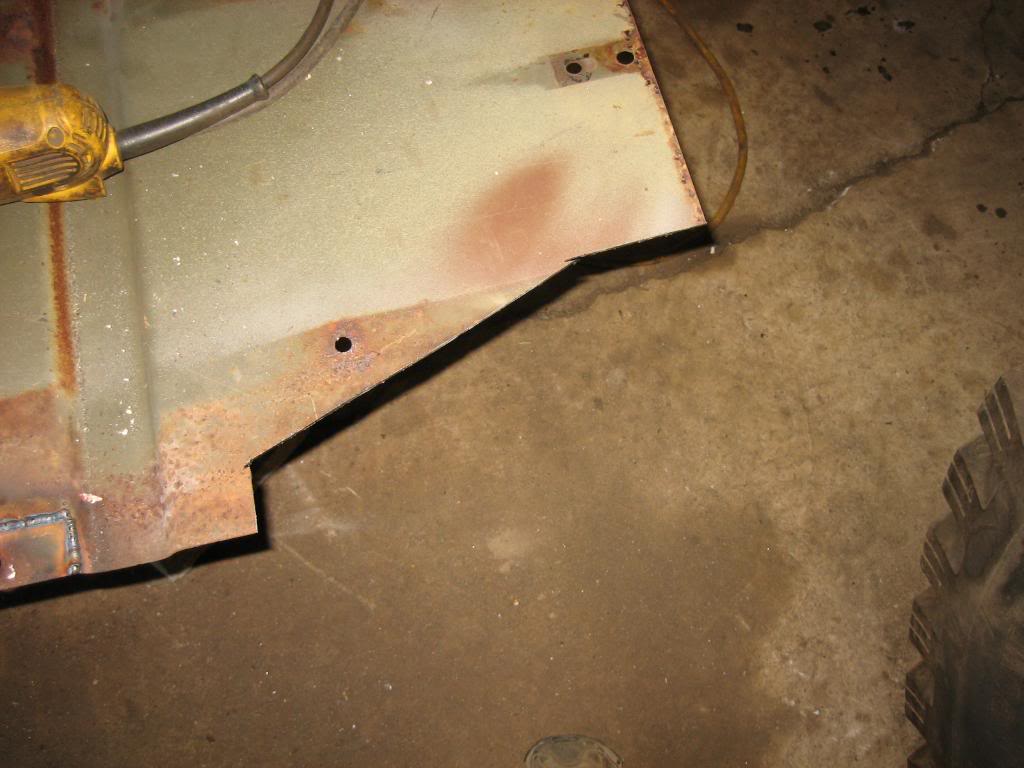
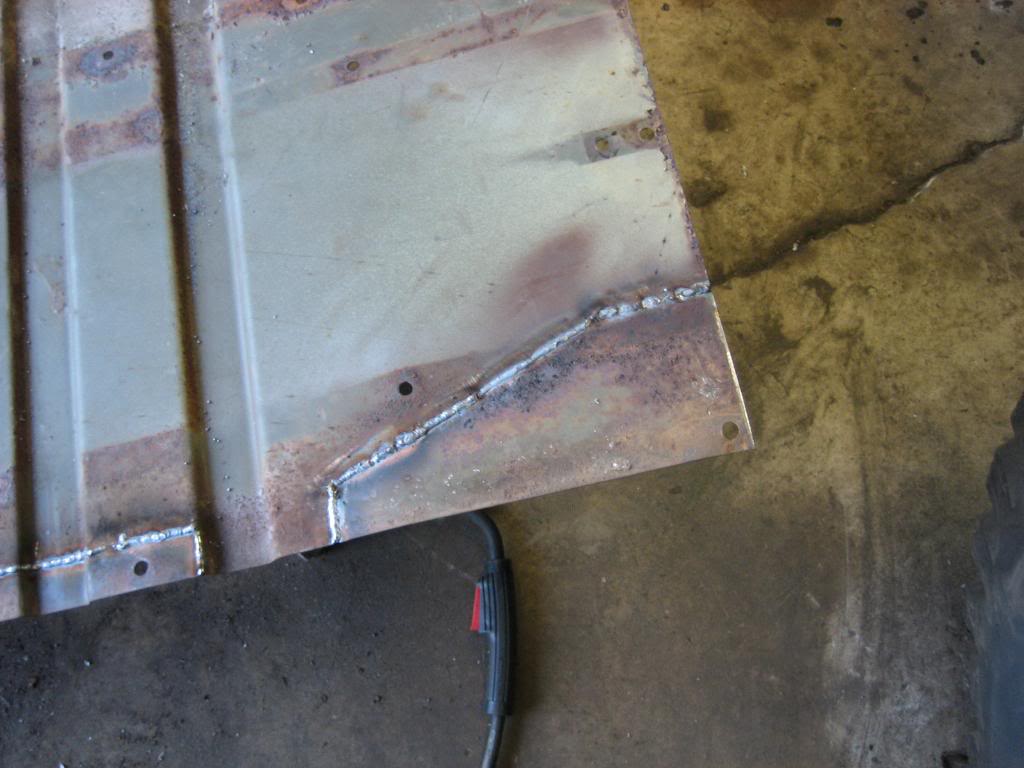
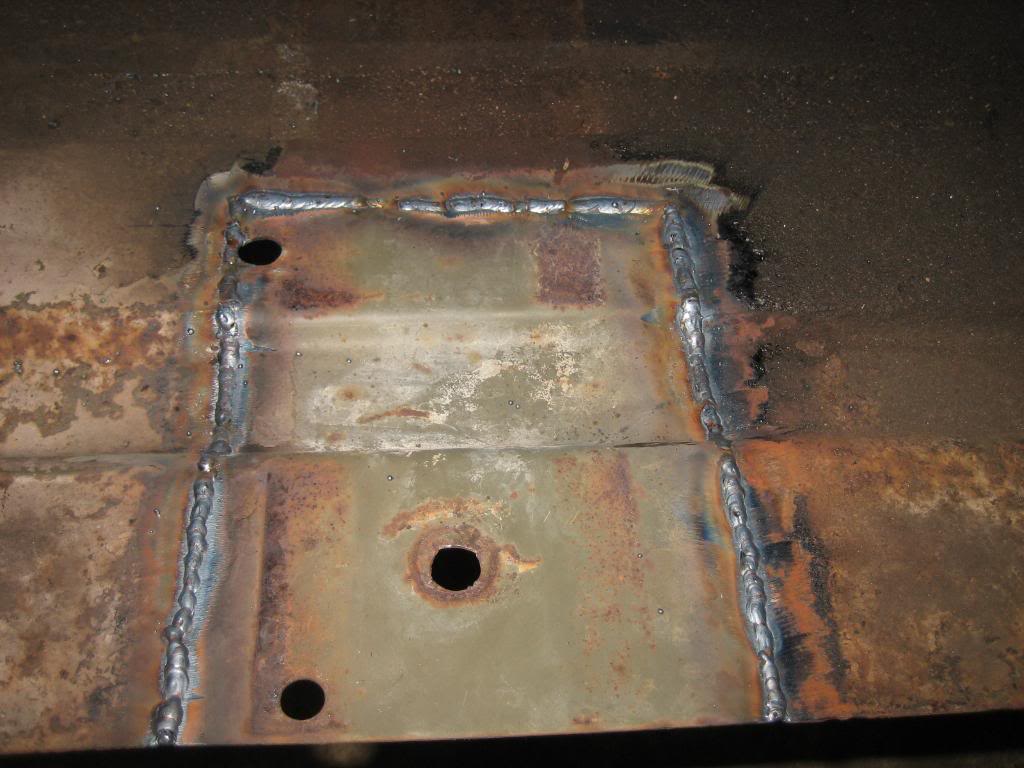
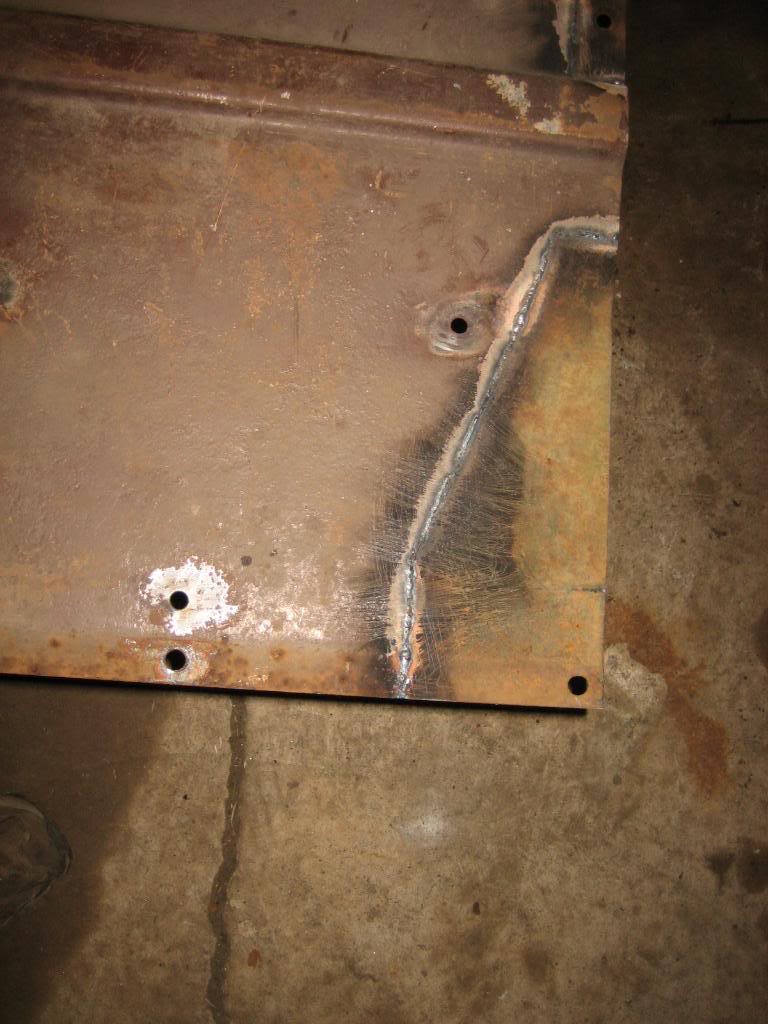
and the repairs from the top side. I gotta weld them in from teh top, then take the flapper wheel to them.

Name:  IMG_7891.jpg
Views: 10
Size:  82.5 KB

Name:  IMG_7892.jpg
Views: 10
Size:  117.1 KB

Name:  IMG_7893.jpg
Views: 12
Size:  95.9 KB

Name:  IMG_7894.jpg
Views: 12
Size:  84.8 KB

Name:  IMG_7895.jpg
Views: 9
Size:  99.8 KB

Name:  IMG_7896.jpg
Views: 10
Size:  121.5 KB

Last edited by josh19wrc; 09-03-2009 at 09:01 PM.
josh19wrc is offline  
Old 09-03-2009, 11:11 PM
  #149  
0.5 BAR
 
burkej62's Avatar
 
Join Date: Aug 2009
Posts: 50
Default

Holy damn thats alot of floor patching haha. Are you going to seal it with an epoxy when finished?
burkej62 is offline  
Old 09-04-2009, 06:05 AM
  #150  
0.5 BAR
 
Claudio157's Avatar
 
Join Date: Apr 2009
Posts: 53
Default

you are definitely the iron man...lol


with that repairs, the new steel because it's new, could help to crack the older one? (sorry for the english)...
Claudio157 is offline  


Quick Reply: Power Wagon Rebuild (Update: 11/5/08)


All times are GMT -5. The time now is 07:50 AM.