
Power Wagon Rebuild (Update: 11/5/08)


Thread Starter
1.0 BAR
Joined: Feb 2003
Posts: 461
From: Wisconsin
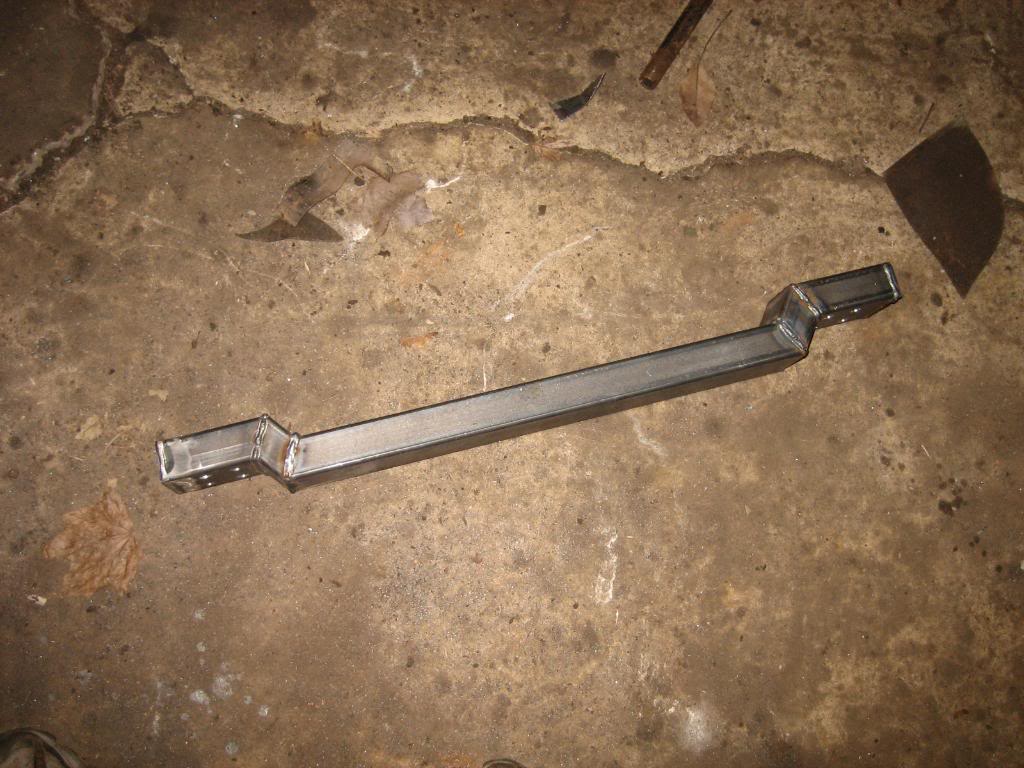
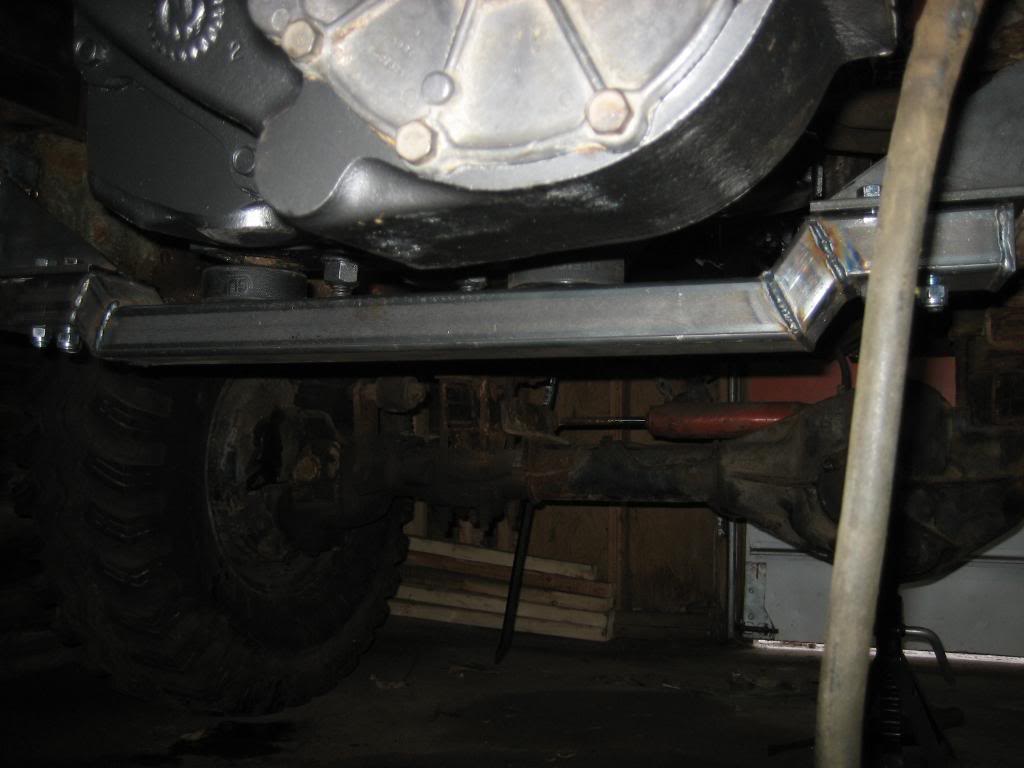
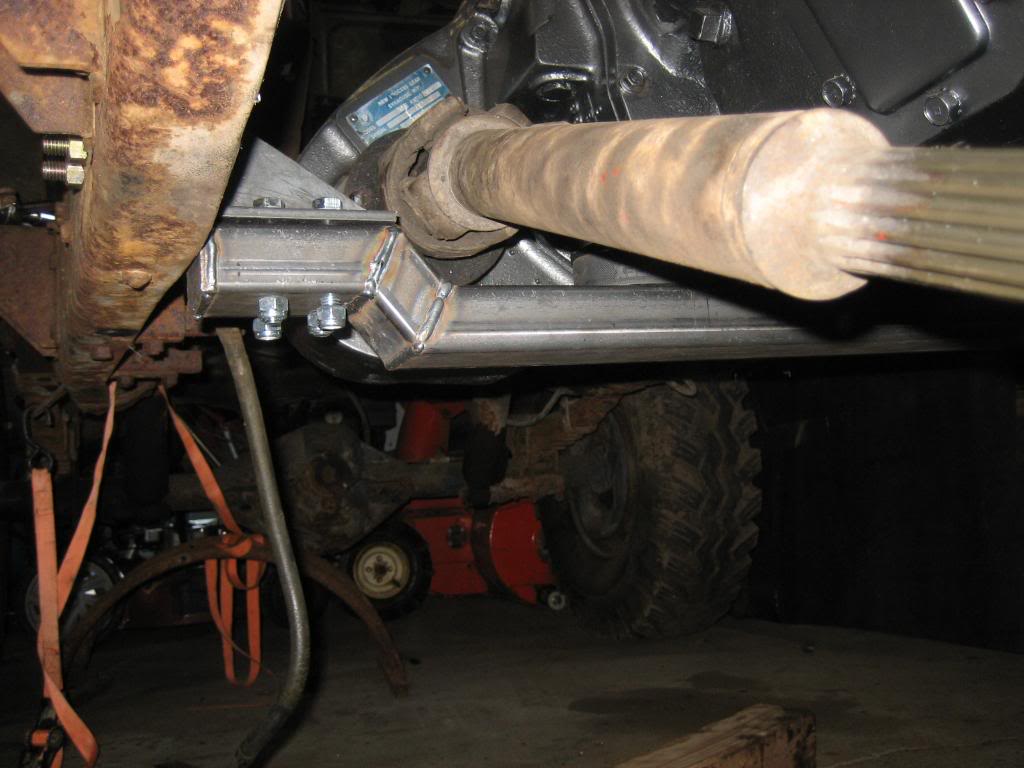
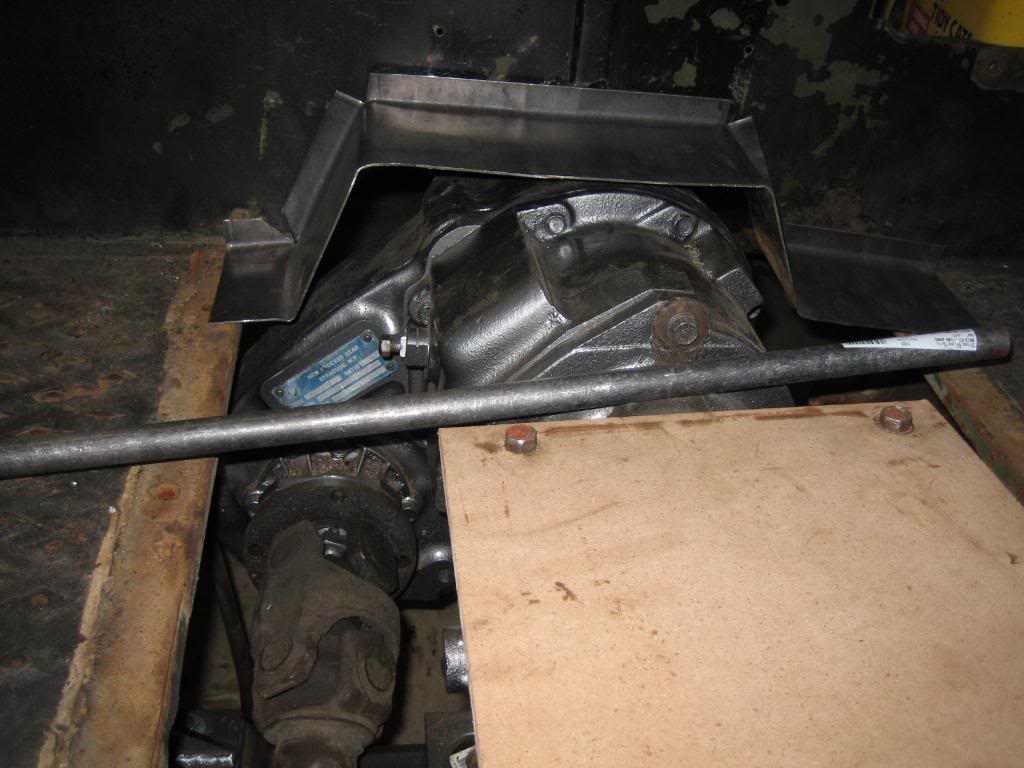
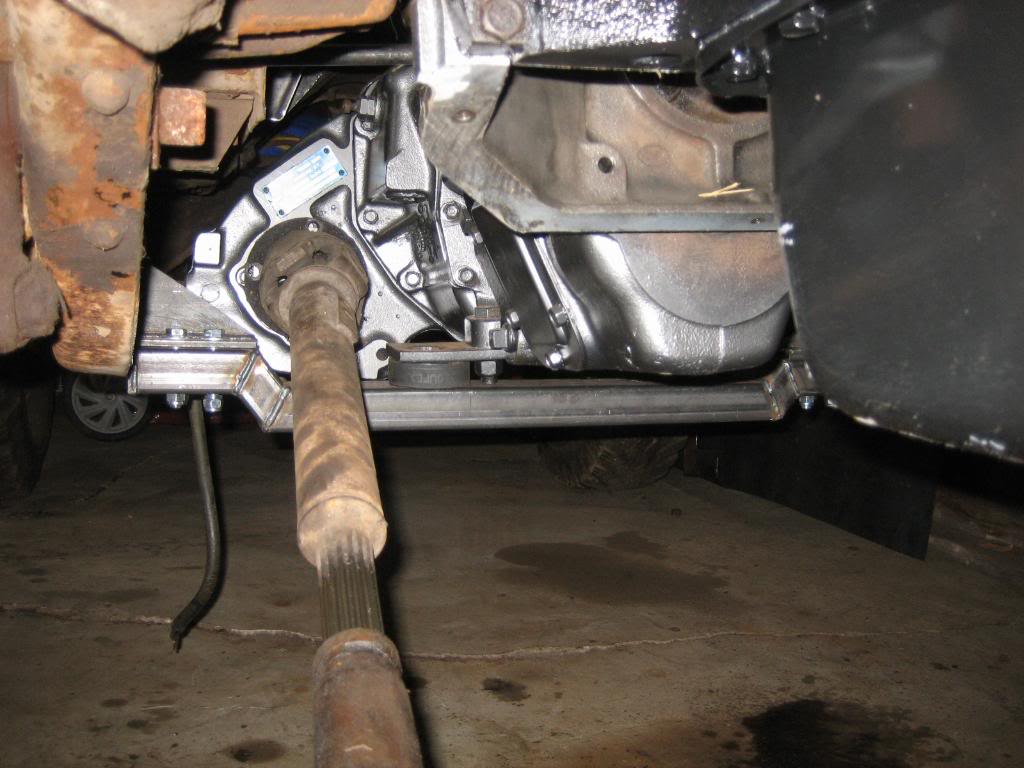
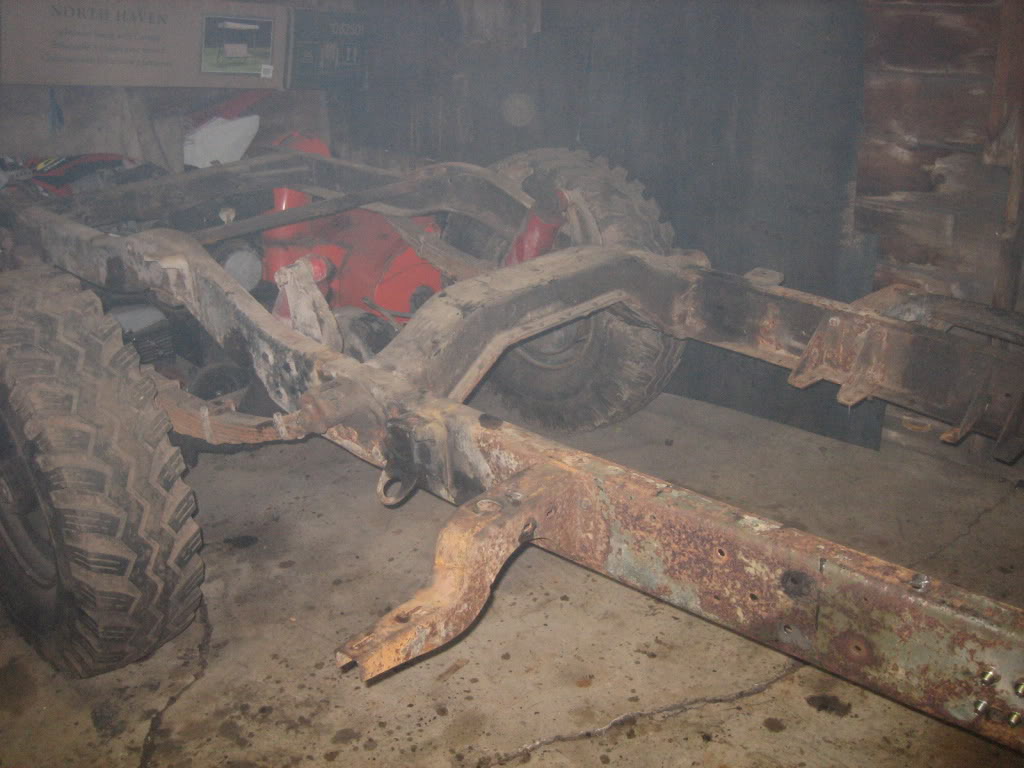
Had today off since its good friday, so I got some more work done on the Trans mount. Got it in and it stiffened the frame up ALOT. I actually think I'll make another similar to it to go behind the T case, and infront of the lage factory crossmember to stiffen it more yet. I could grab the cab mount before and yank on it and get some torsional flex in the frame C channel, but, not any more...
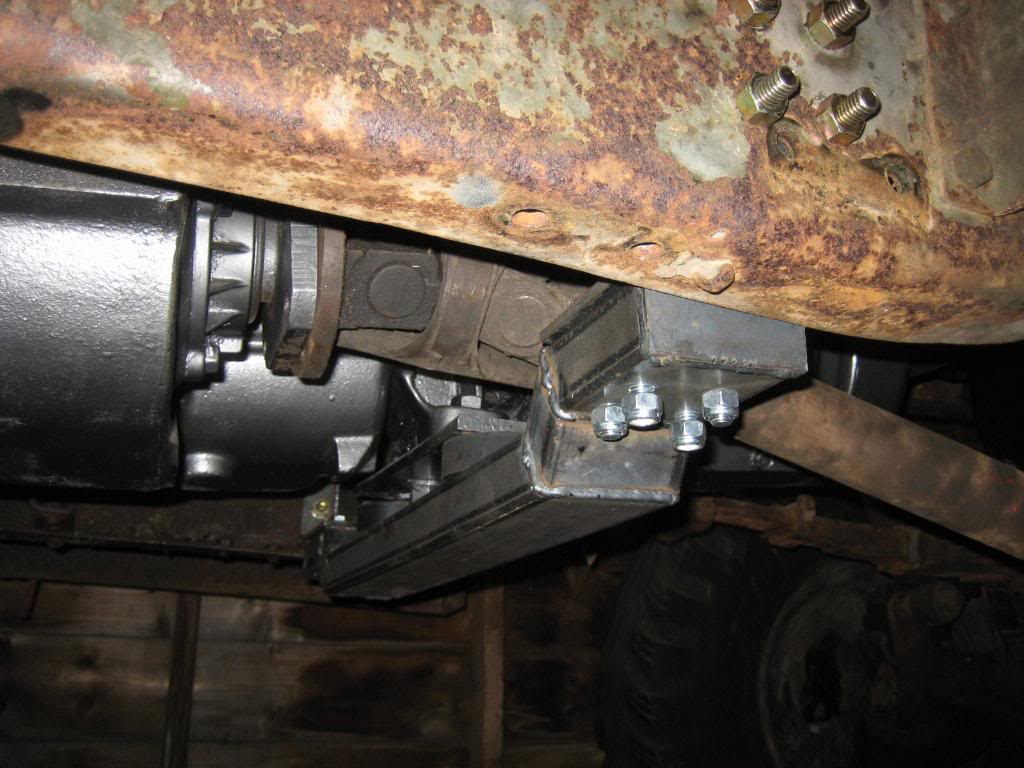
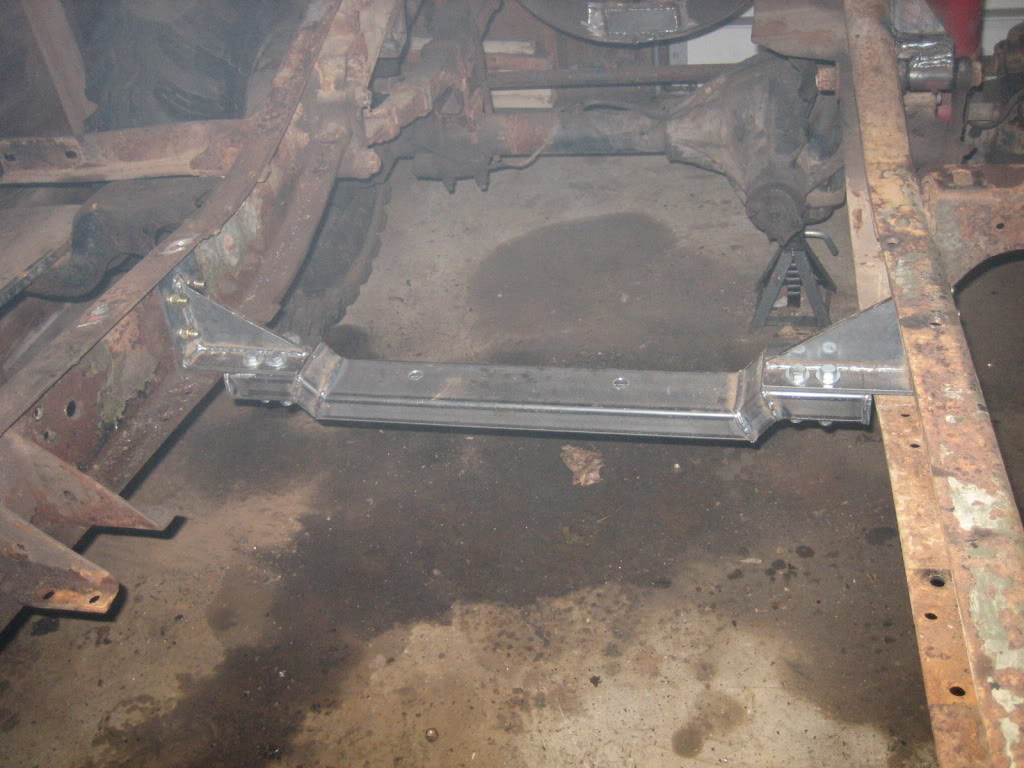
Bottom of the mount:
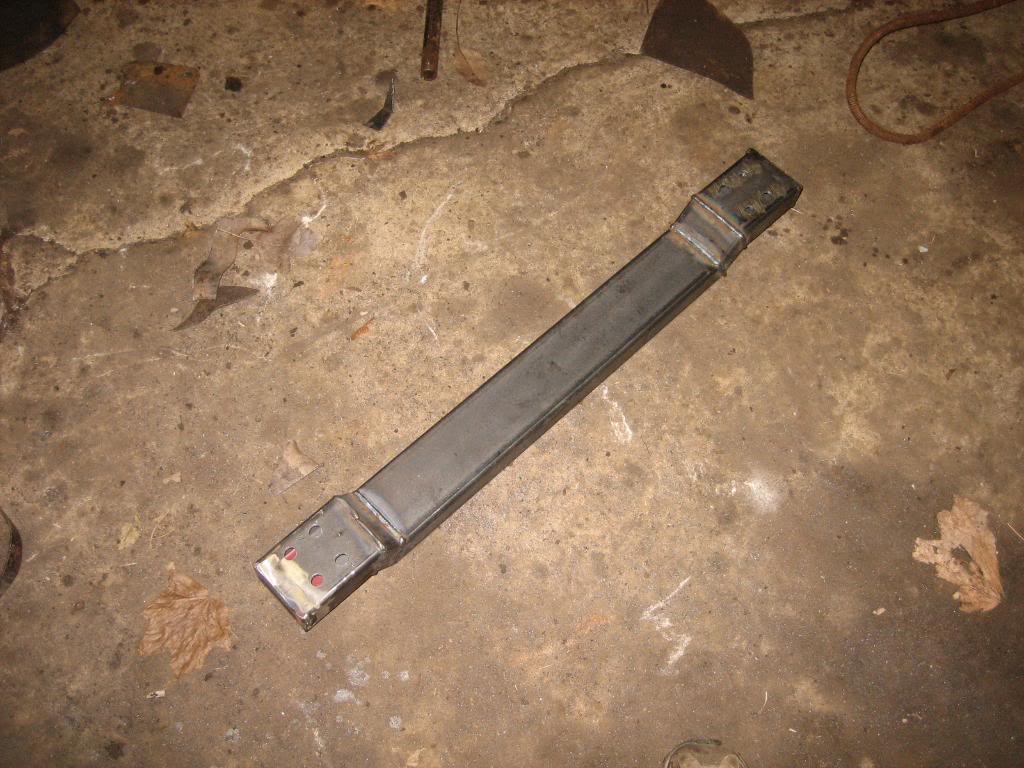
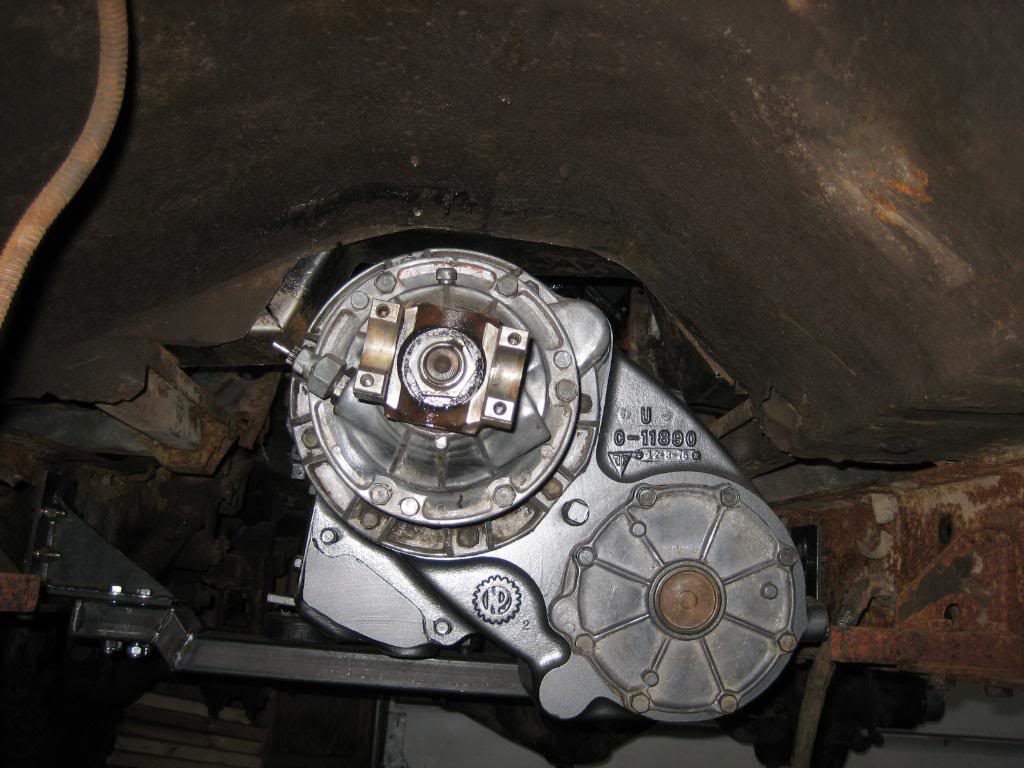
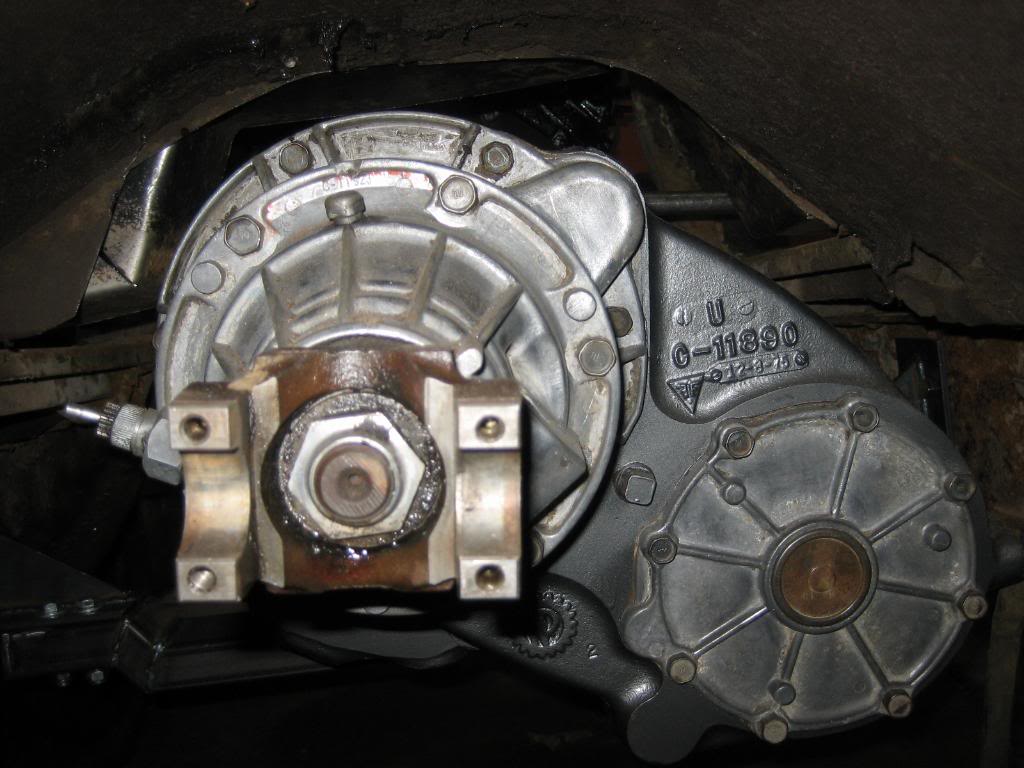
Lined up nice:
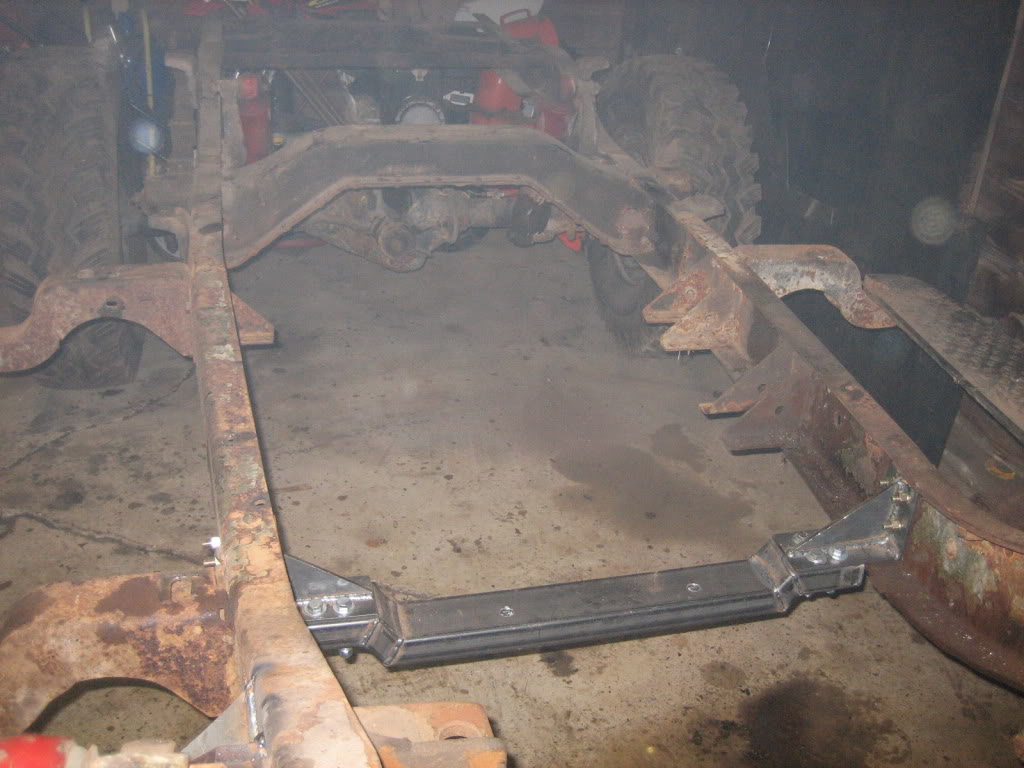
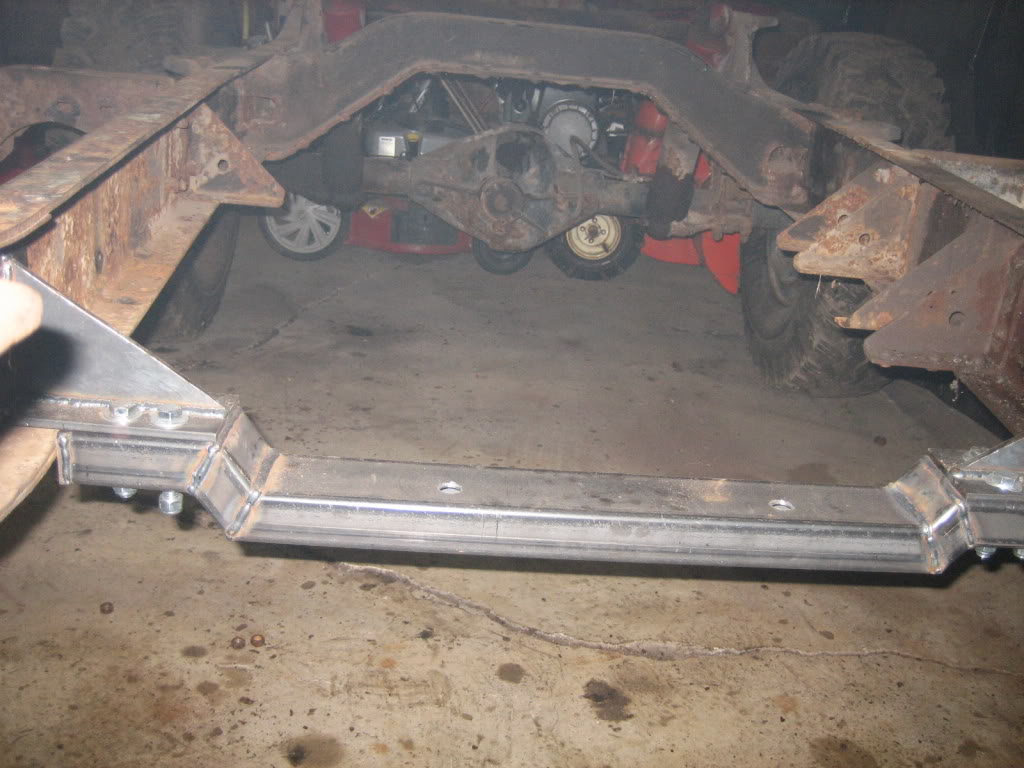
drivers side mount:
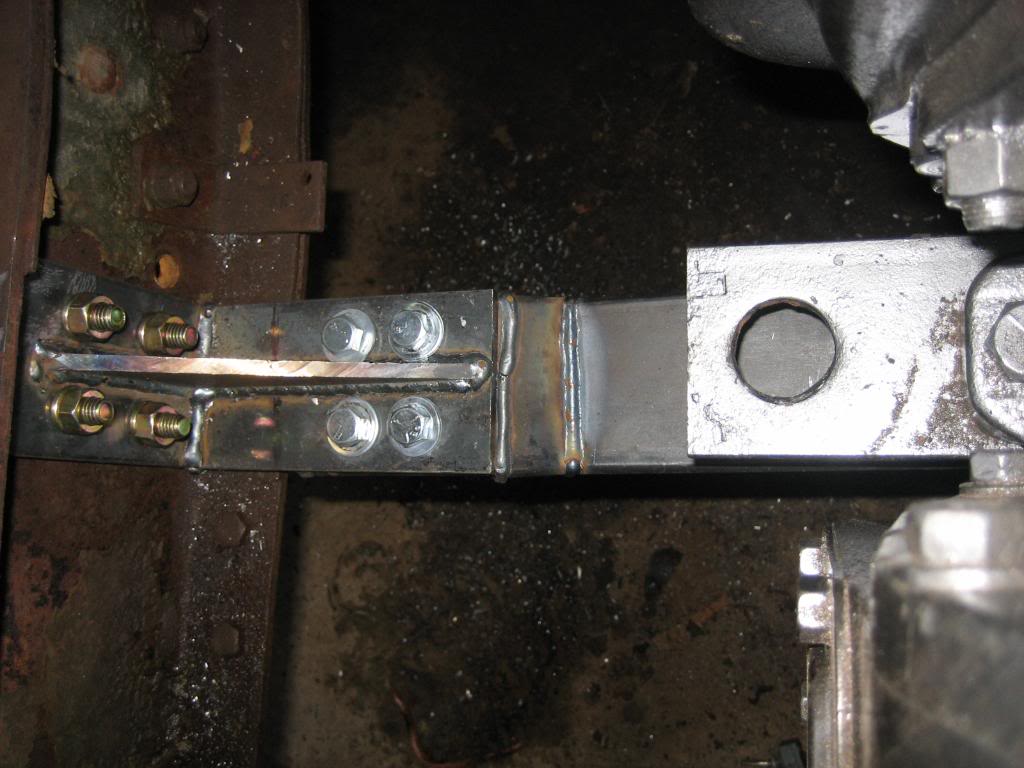
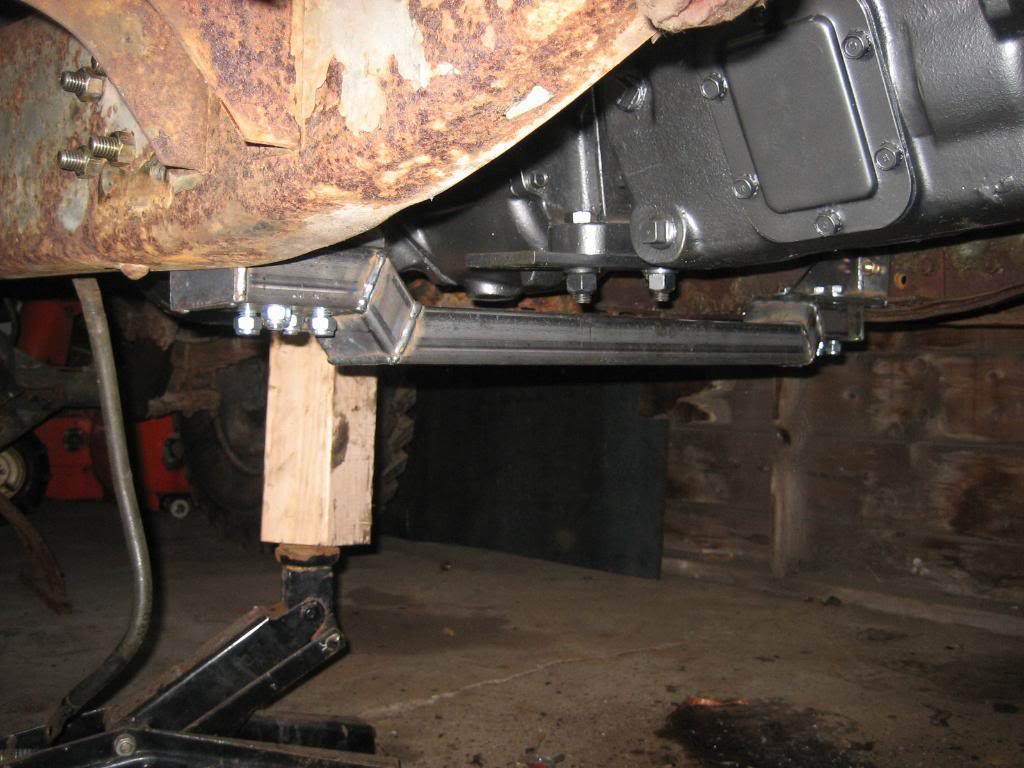
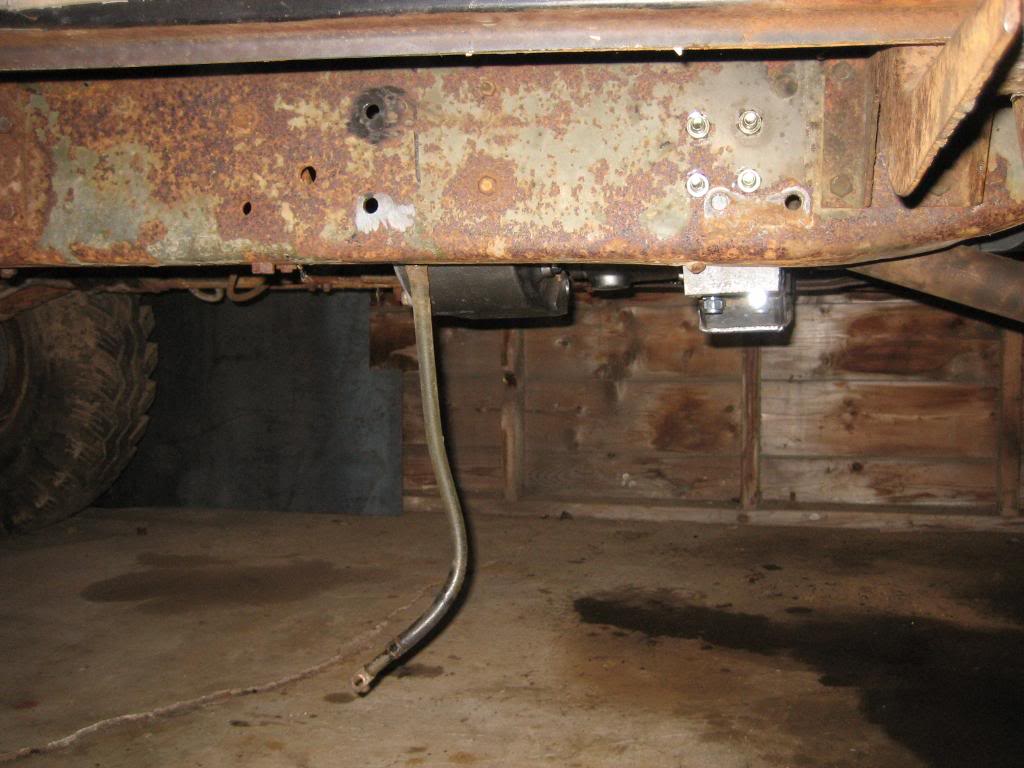
Bolted in:
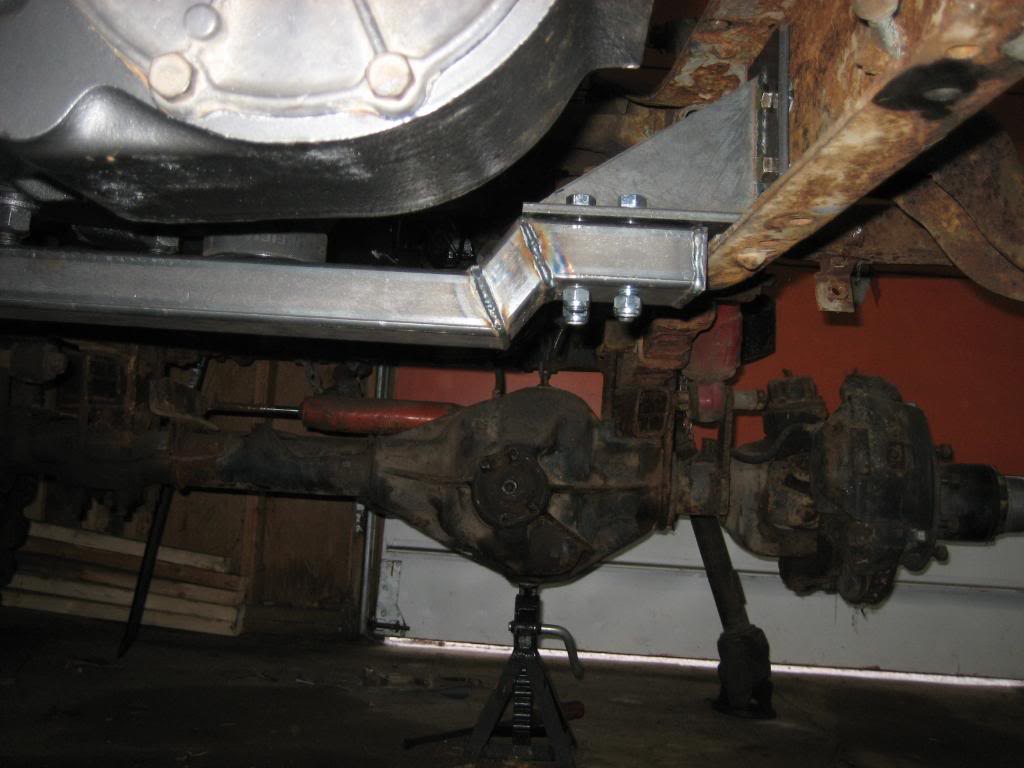
Clears everything nicely:
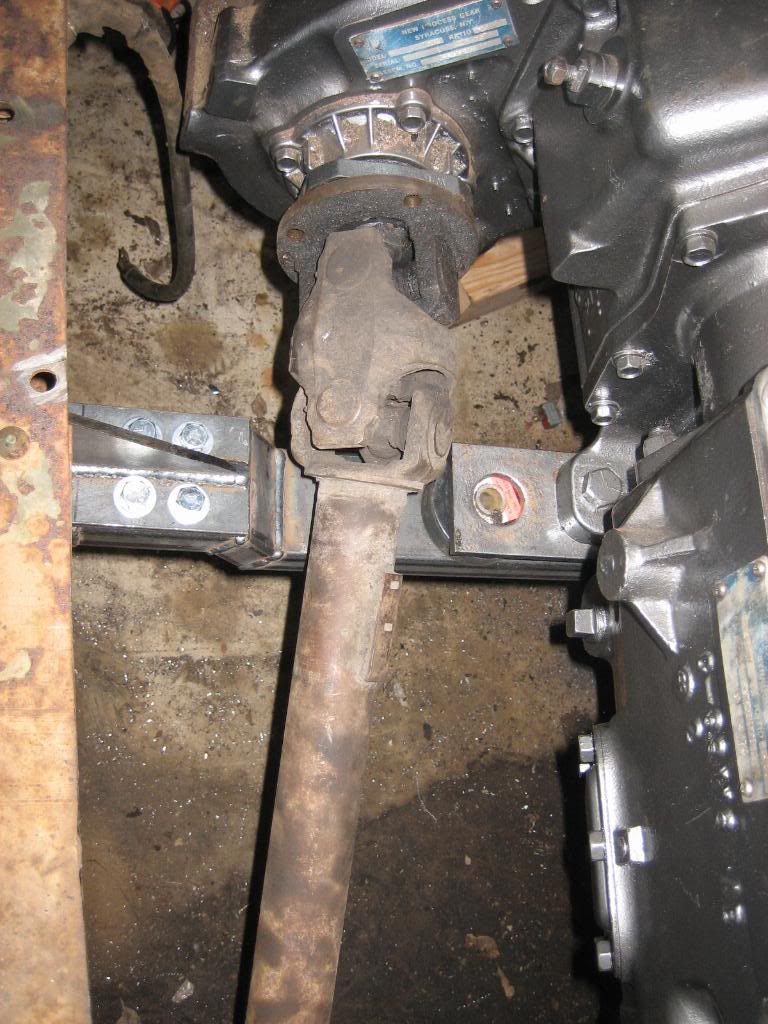
before putting the cab back on:
Cab back on... angle finder on the intake says its on 0* plane
Still fits:
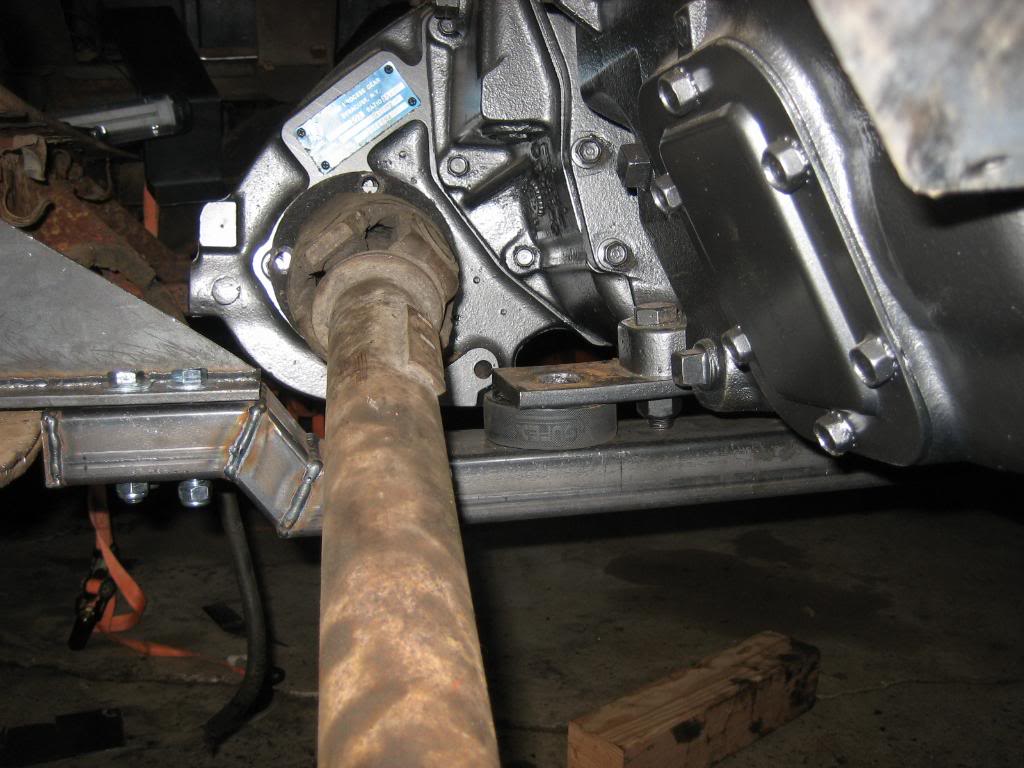
I realize the left side mount isnt sitting down. The engine shifted left to right, and I've got about 5* of slope to the passengers side that will get fixed when I bolt the engine mount in permanently
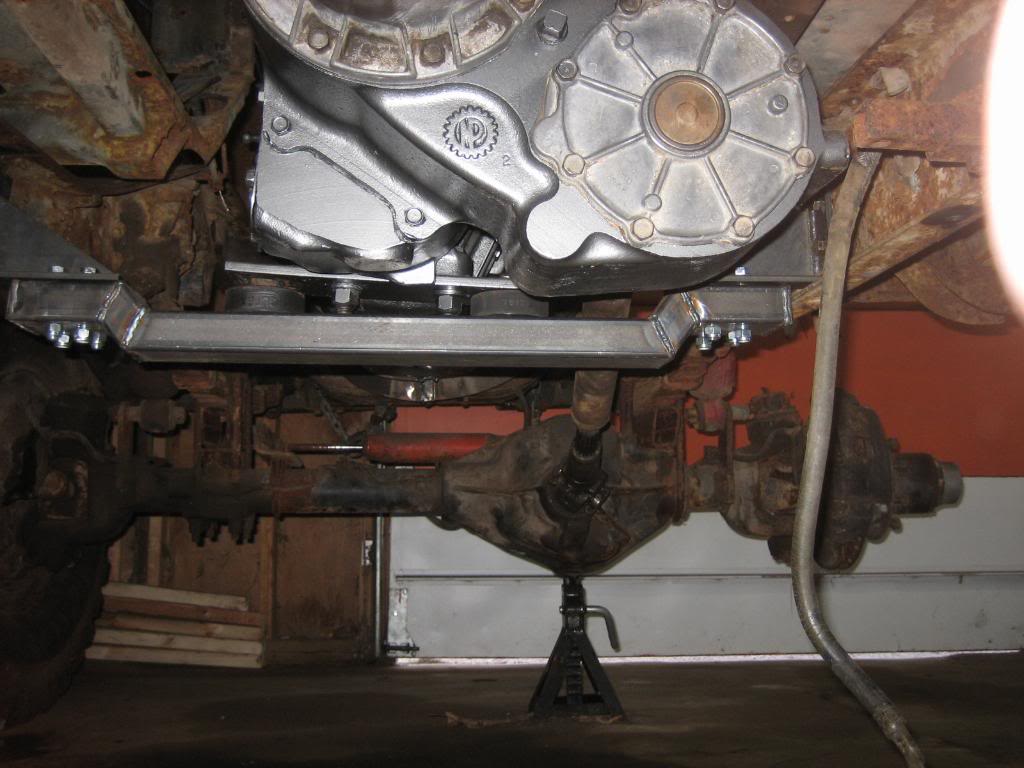
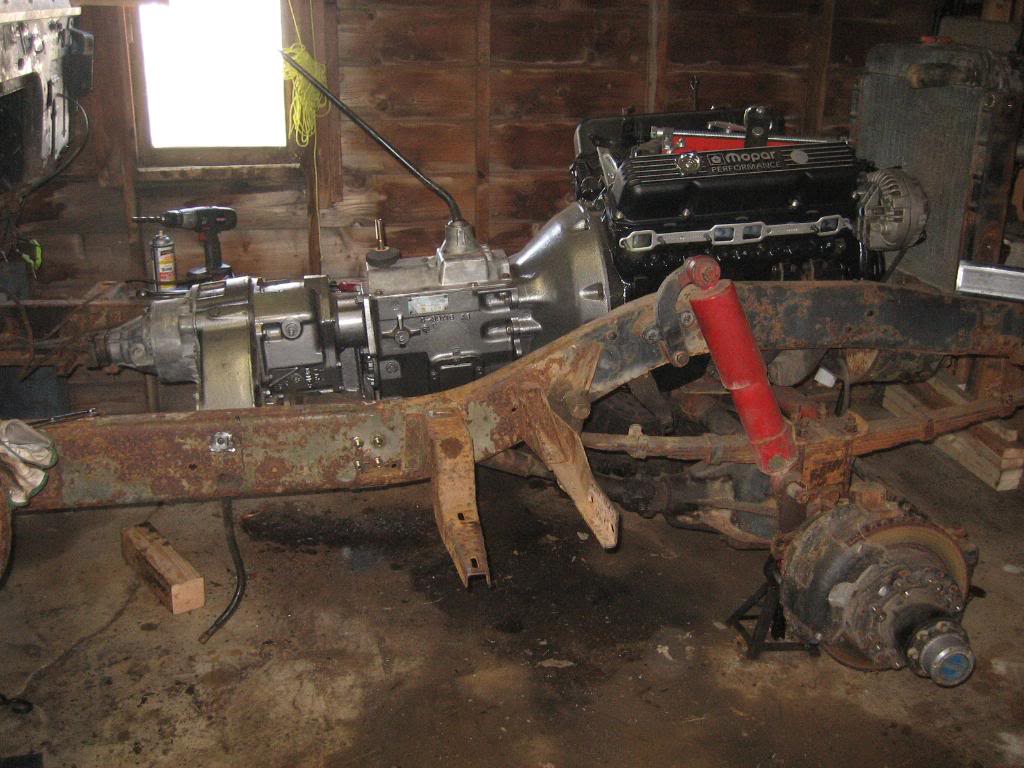
Almost completely in the frame:
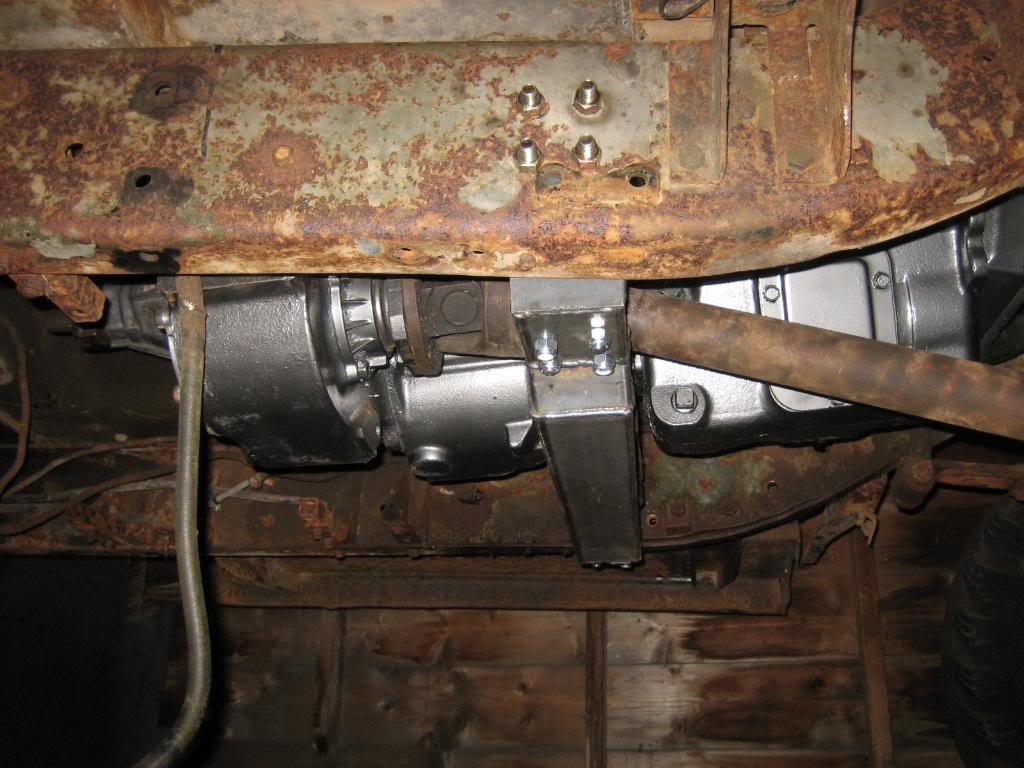
Bottom of the mount:
Lined up nice:
drivers side mount:
Bolted in:
Clears everything nicely:
before putting the cab back on:
Cab back on... angle finder on the intake says its on 0* plane
Still fits:
I realize the left side mount isnt sitting down. The engine shifted left to right, and I've got about 5* of slope to the passengers side that will get fixed when I bolt the engine mount in permanently
Almost completely in the frame:

Thread Starter
1.0 BAR
Joined: Feb 2003
Posts: 461
From: Wisconsin
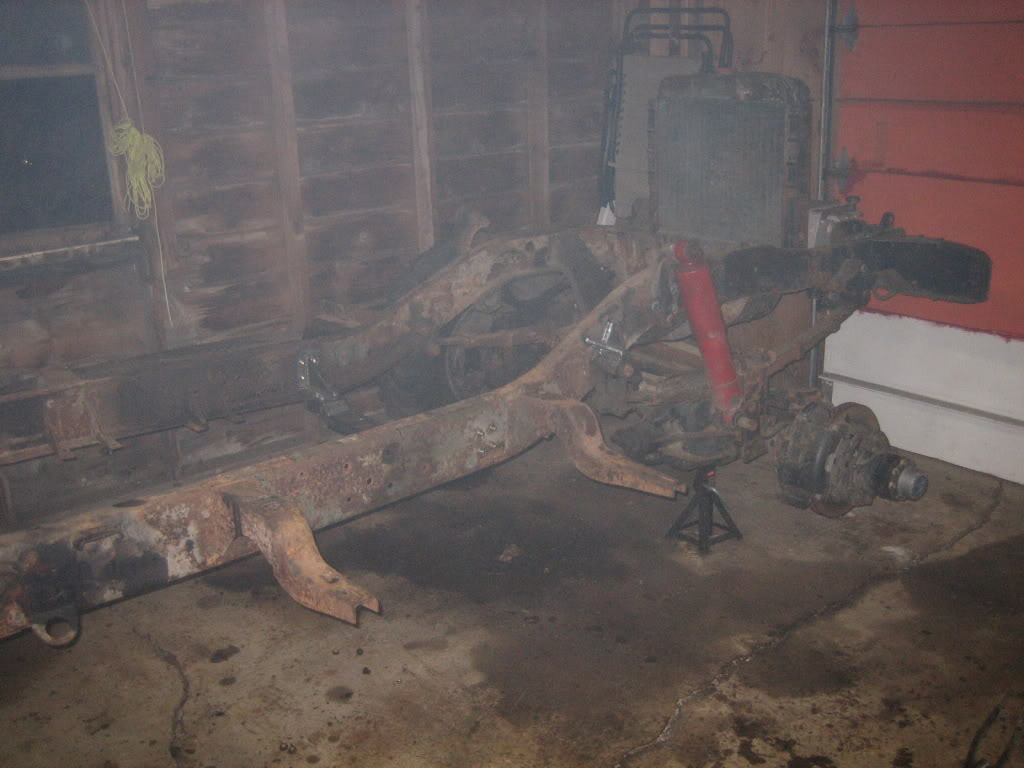
More work done... most of what I did isnt immediately noticeable. I pulled the engine and cab off, and then started removing all the old fuel and brake lines and associated brackets. I then reinforced the spring relocation bracket on the right front spring, as I noticed when I tore the truck down that the bracket it is bolted to had actually bent slightly, so, I welded in a brace at a 90* angle, and poured a few more beads in for added strength. the original welds were marginal, at best, and, it showed with the bracket being tweaked slightly. It won't move now though!
oh, ignore the haze... its from welding... the camera flash makes it look alot worse then it is...
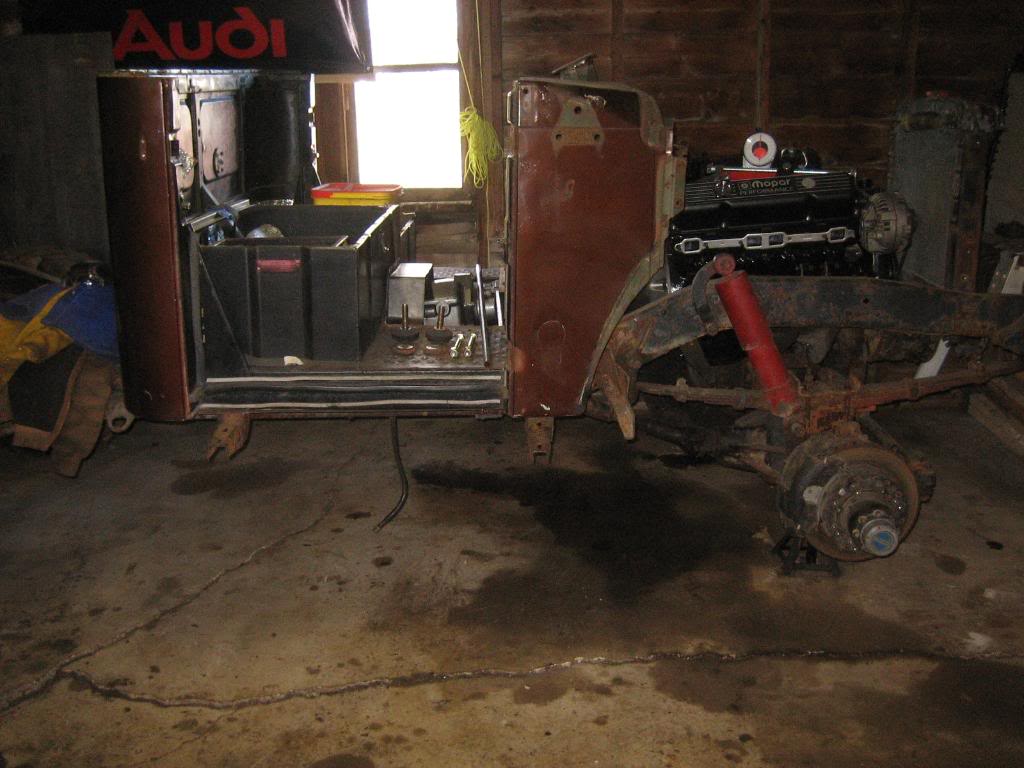
Cut the battery box out of the old cab before putting it on the curb with a "free"sign on it... The original cab was full of rust except for under the batter box. Ironically, my new cab is rust free, except at the battery box, so, I'll cut the floor out of my new cab, and weld in the battery box from my old one:
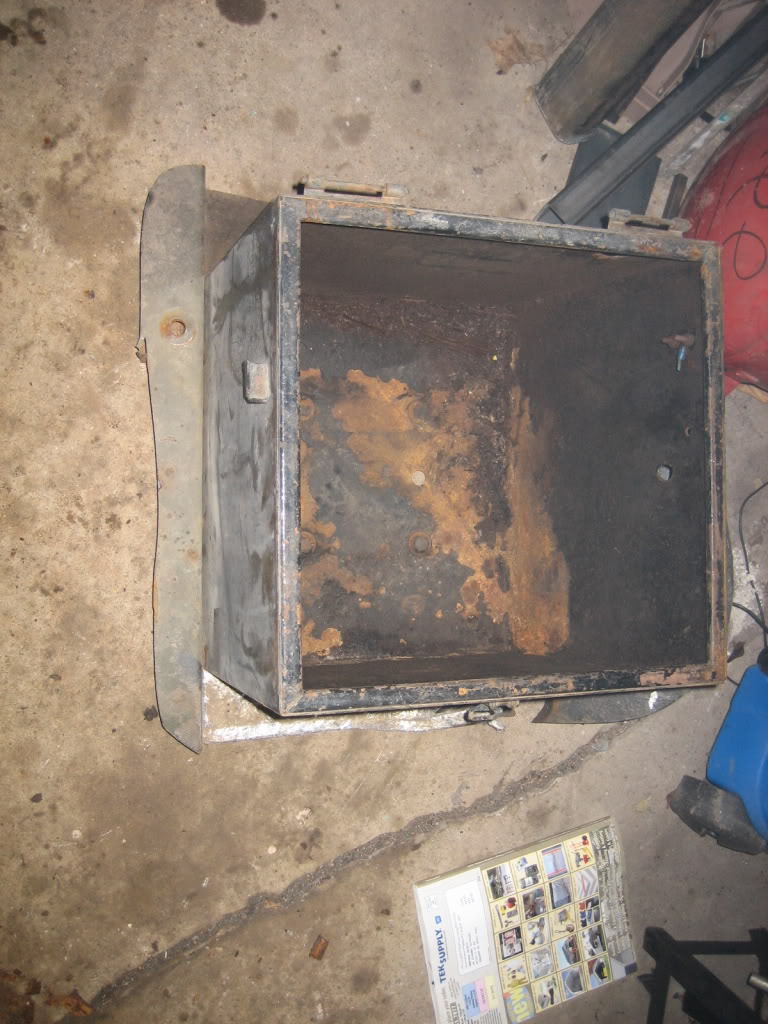
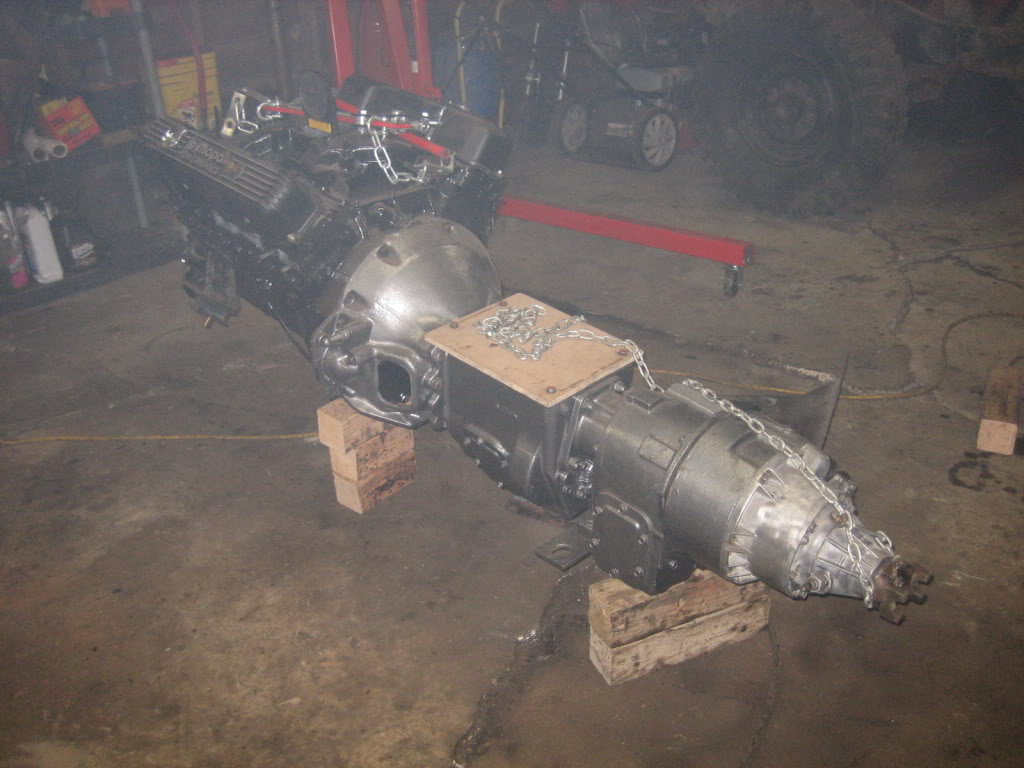
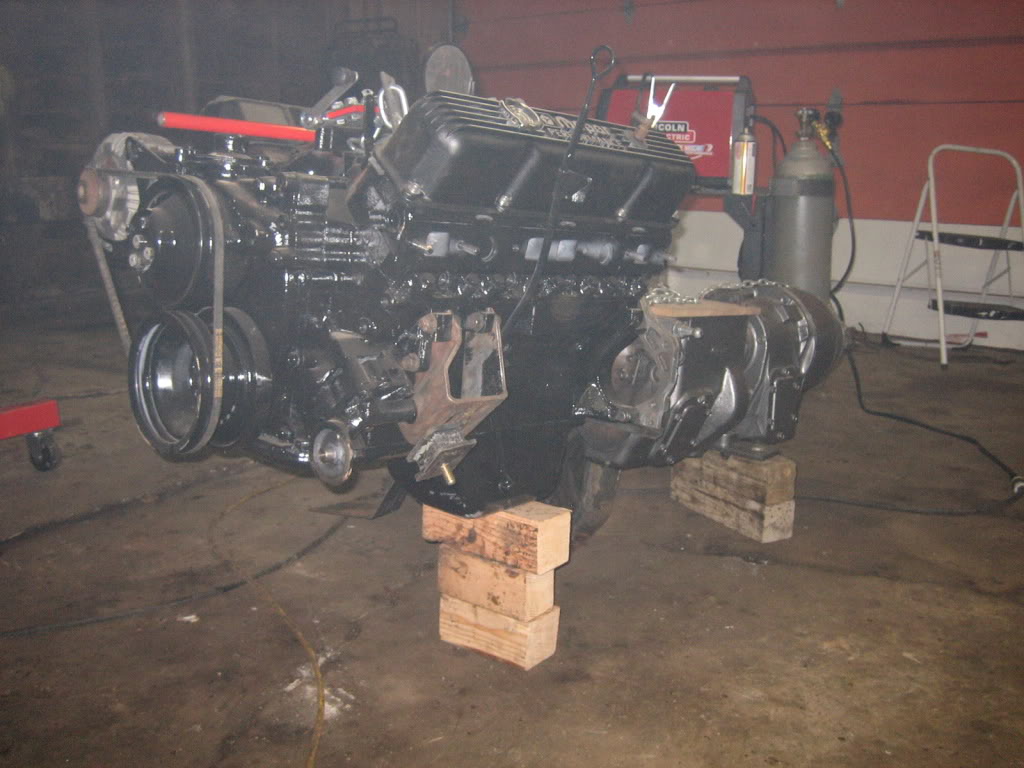
Engine out:
oh, ignore the haze... its from welding... the camera flash makes it look alot worse then it is...
Cut the battery box out of the old cab before putting it on the curb with a "free"sign on it... The original cab was full of rust except for under the batter box. Ironically, my new cab is rust free, except at the battery box, so, I'll cut the floor out of my new cab, and weld in the battery box from my old one:
Engine out:
Thread Starter
1.0 BAR
Joined: Feb 2003
Posts: 461
From: Wisconsin
new update:
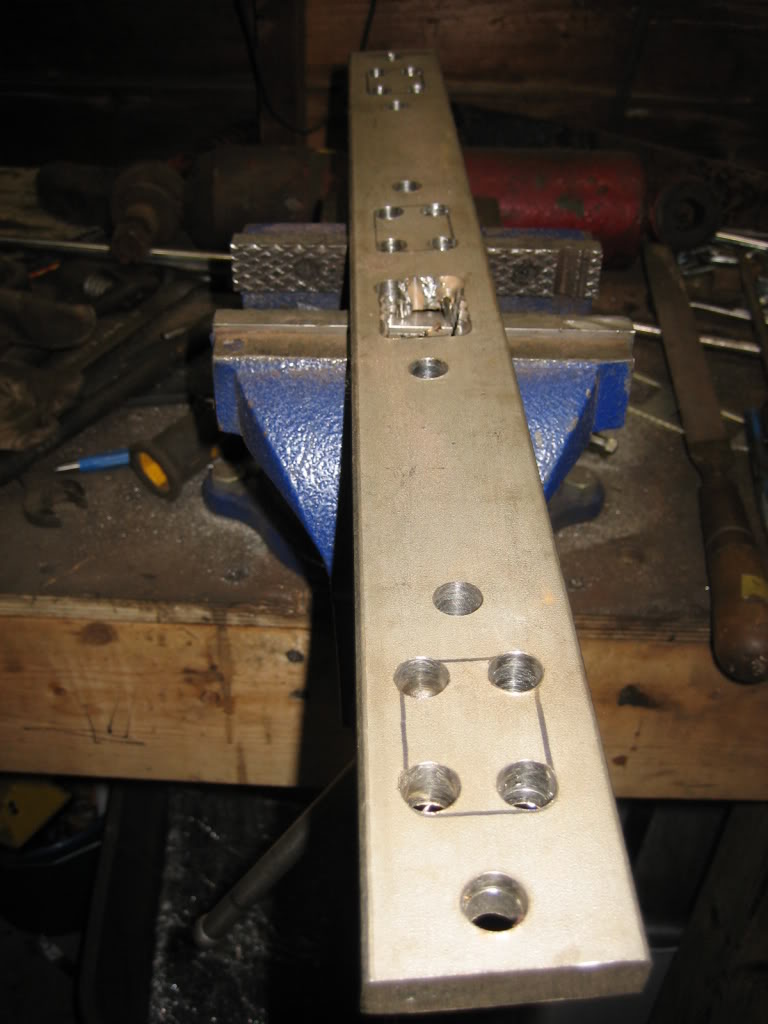
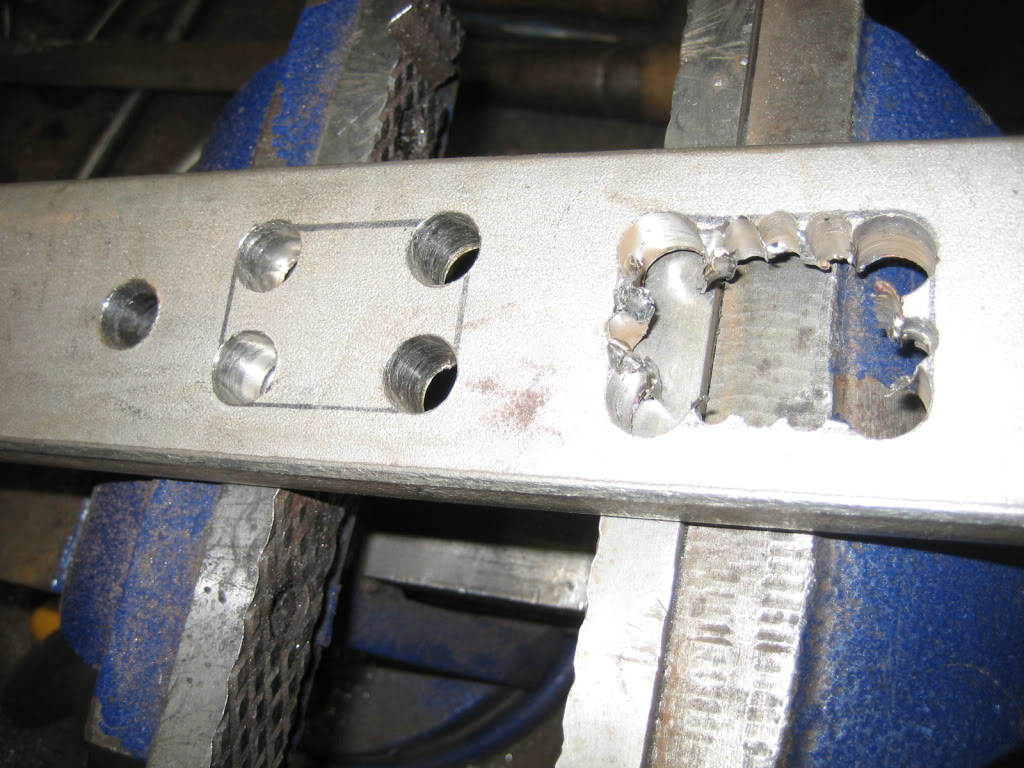
Havent done alot lately, but, starter working last night on the stainless steel headers. Bough 4 feet of 2"X1/2" bar stock, cut ti down to two equal lengths, and started cutting ports... Now, keep in mind, that, these are hand made in 1/2" thick 304 stainless. They are definately not perfect, but, for hand made, they aren't bad. I couldnt get them made for less that $150 each in 1/2" SS, so, I did it myself...
I've wrecked SEVERAL drill bits... thankfully I have literally a pile of them, as when I worked at facilities at school, they were throwing out a whole bunch of them, so, I went dumpster diving. They are very old (WW2 era) bits, so, they only last for a few holes before snapping off, but, its better then nothing...
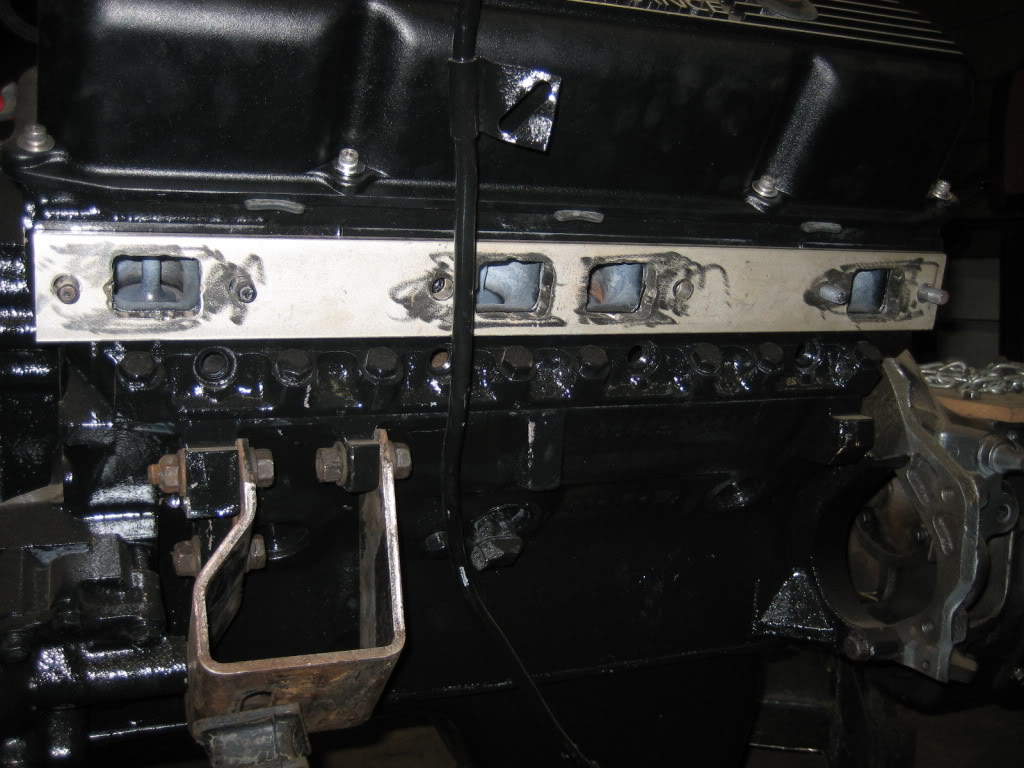

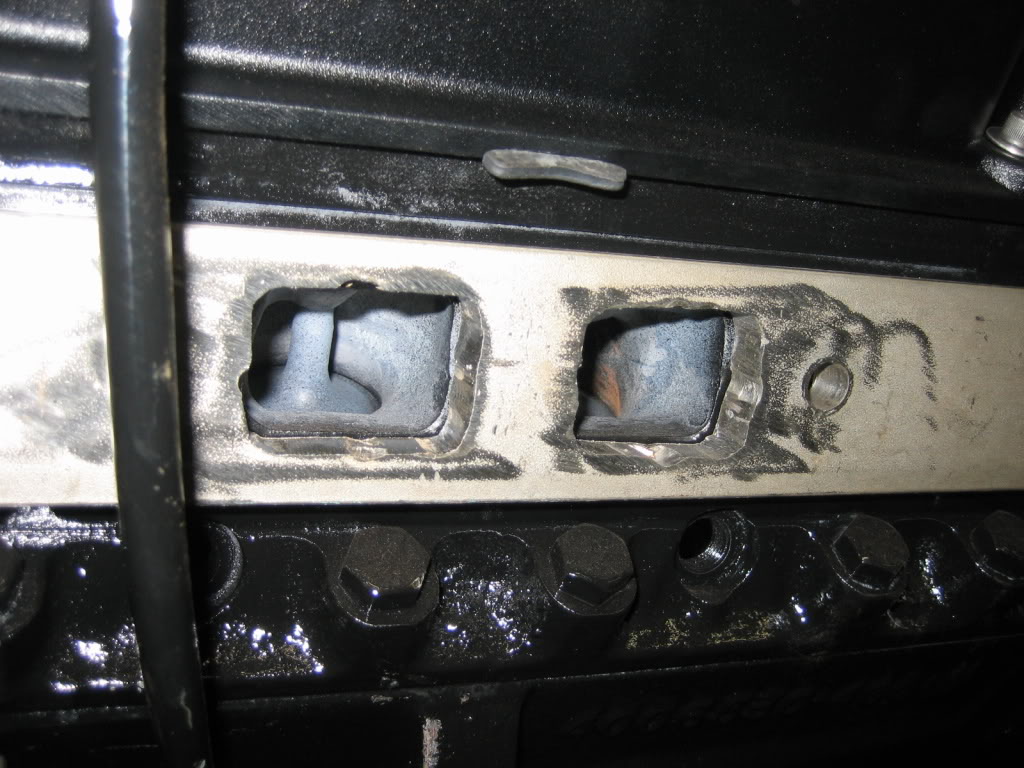
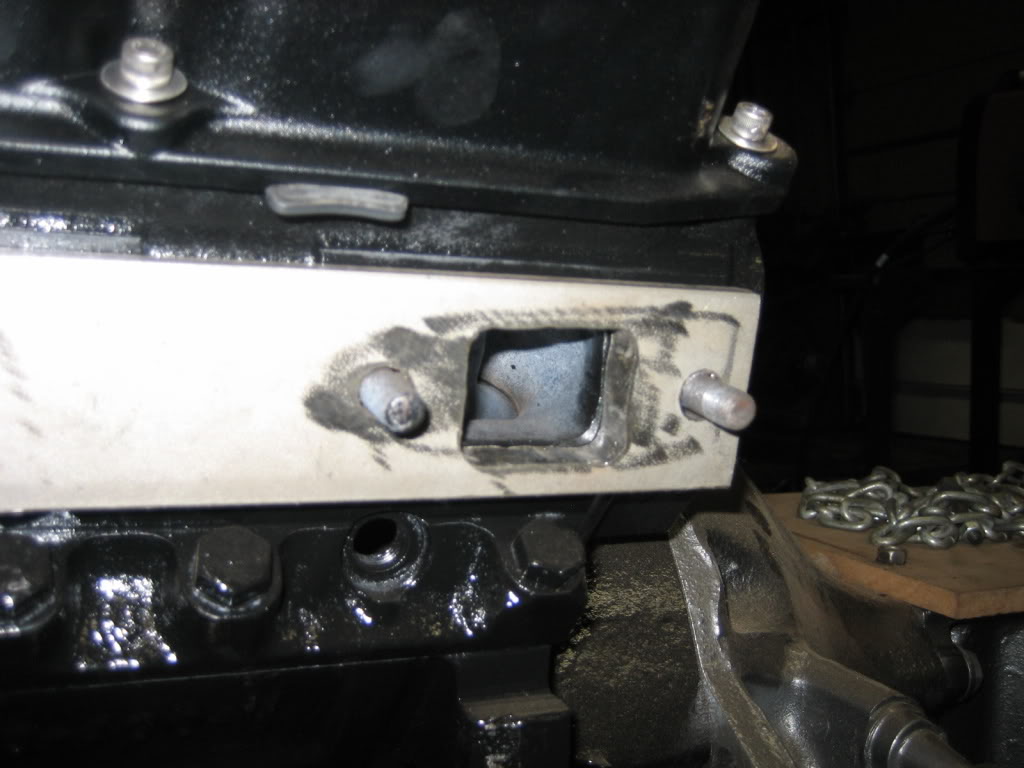
In Process:
Havent done alot lately, but, starter working last night on the stainless steel headers. Bough 4 feet of 2"X1/2" bar stock, cut ti down to two equal lengths, and started cutting ports... Now, keep in mind, that, these are hand made in 1/2" thick 304 stainless. They are definately not perfect, but, for hand made, they aren't bad. I couldnt get them made for less that $150 each in 1/2" SS, so, I did it myself...
I've wrecked SEVERAL drill bits... thankfully I have literally a pile of them, as when I worked at facilities at school, they were throwing out a whole bunch of them, so, I went dumpster diving. They are very old (WW2 era) bits, so, they only last for a few holes before snapping off, but, its better then nothing...
In Process:


