
Power Wagon Rebuild (Update: 11/5/08)


Thread Starter
1.0 BAR
Joined: Feb 2003
Posts: 461
From: Wisconsin
I'm going to lay an epoxy primer over all the body steel, andthen come back with a high build primer to take out any imperfections.
The floors are the same vintage, so, I dont anticipate any cracking issues.
The floors are the same vintage, so, I dont anticipate any cracking issues.

Thread Starter
1.0 BAR
Joined: Feb 2003
Posts: 461
From: Wisconsin
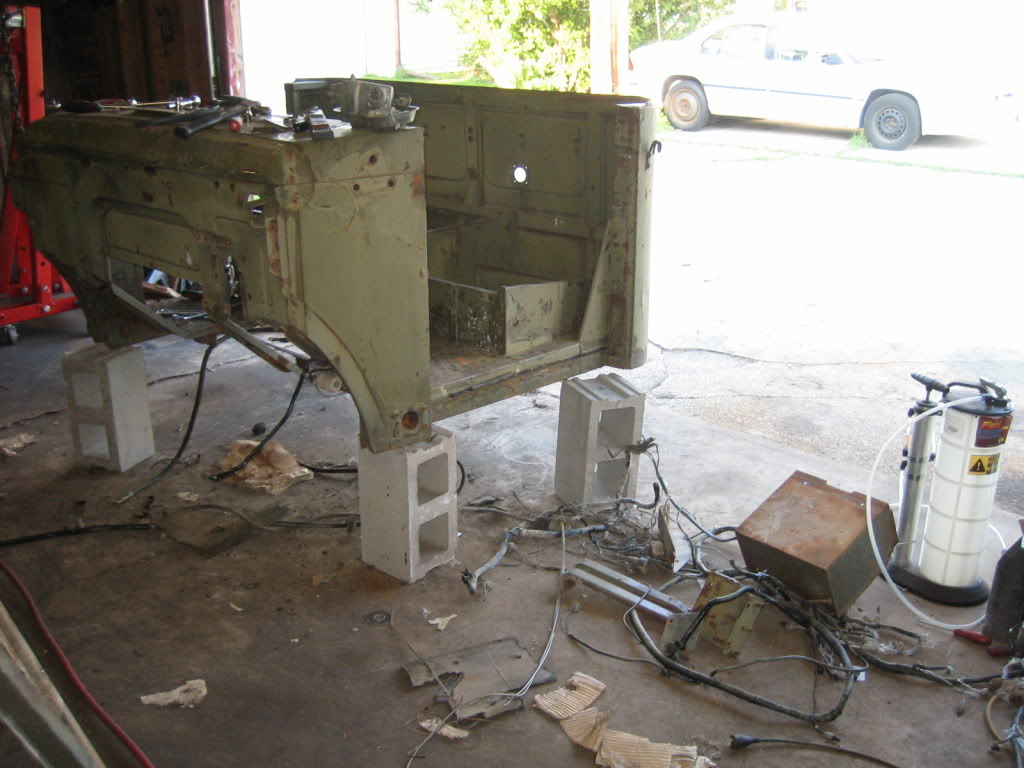
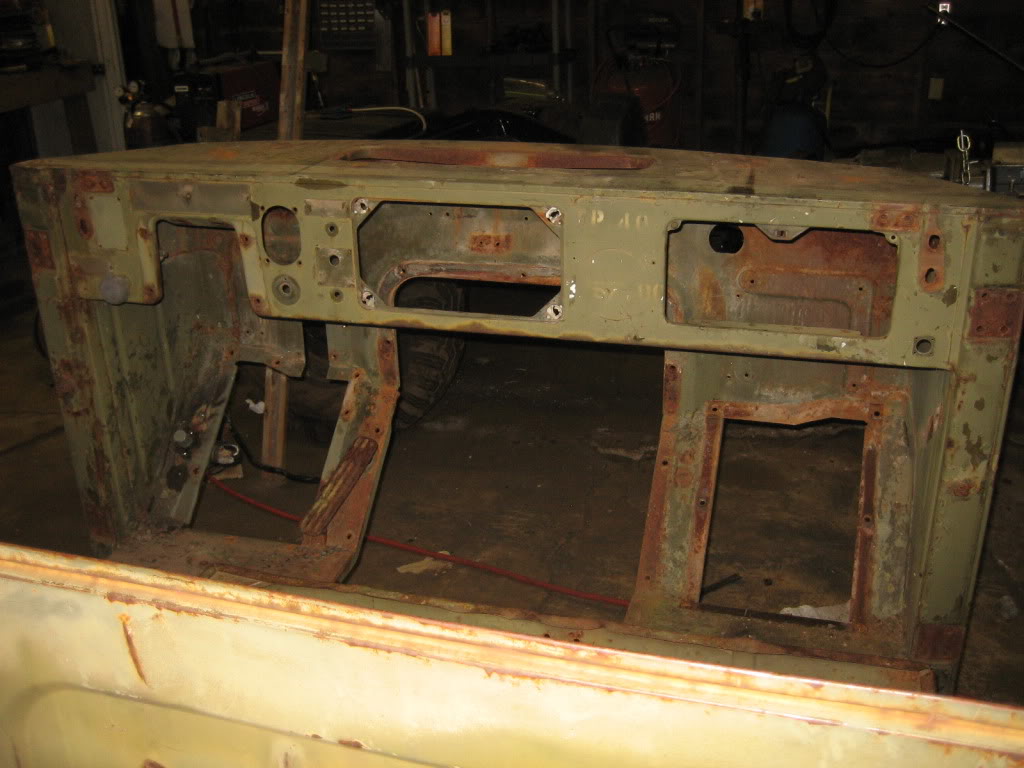
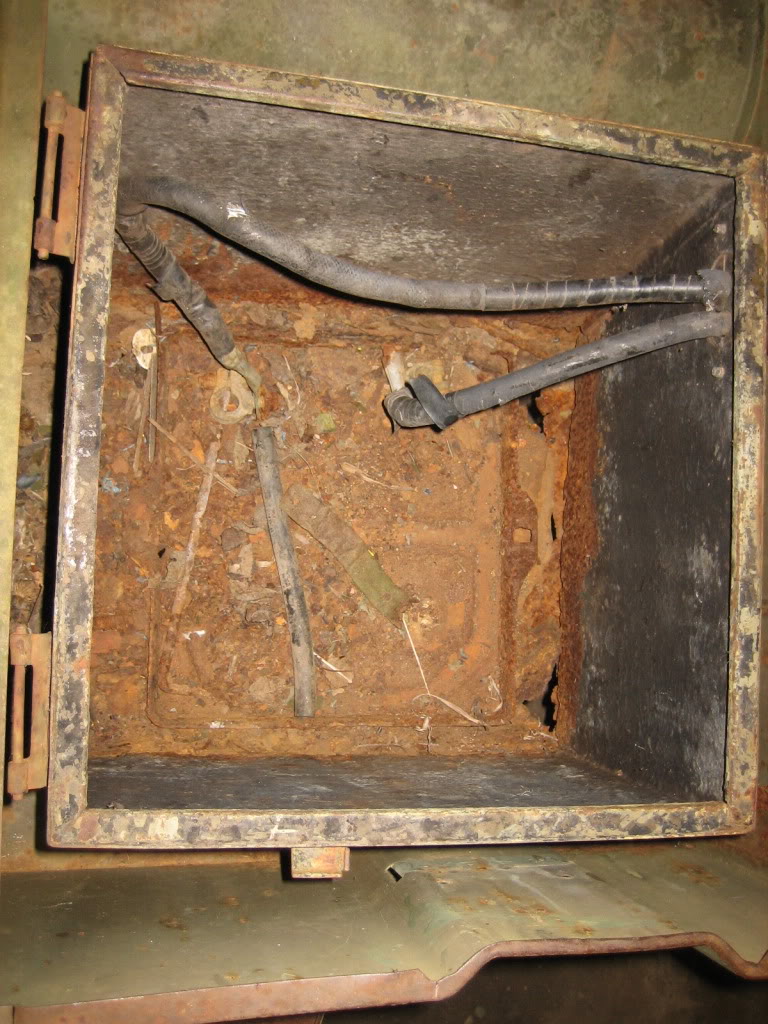
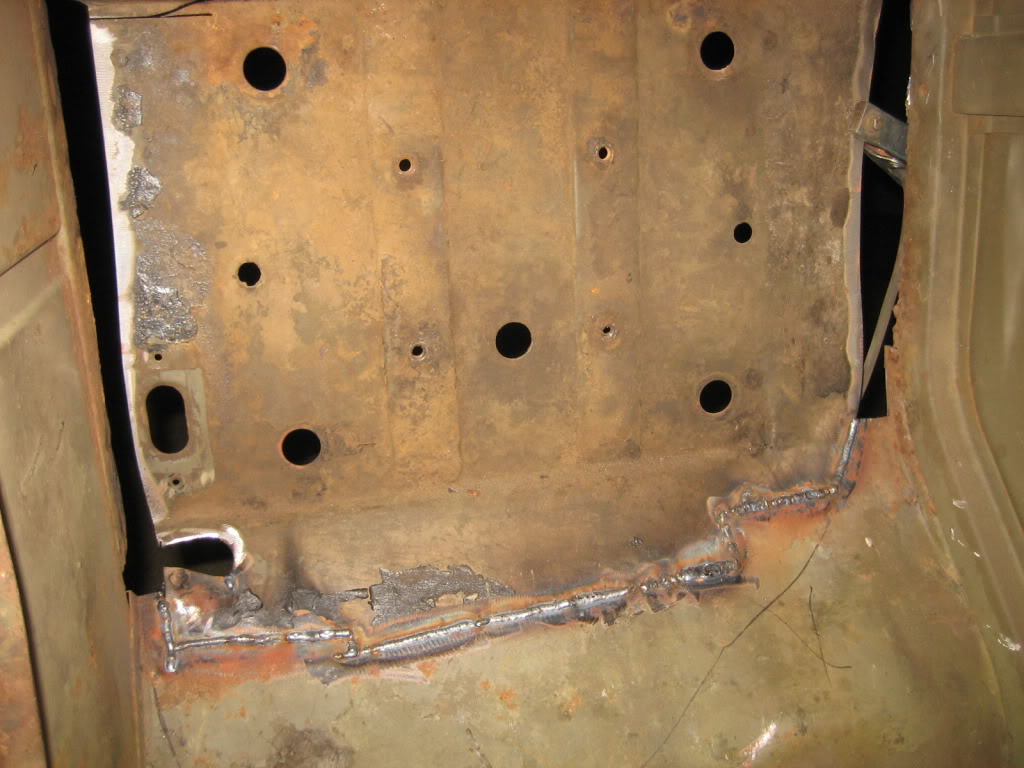
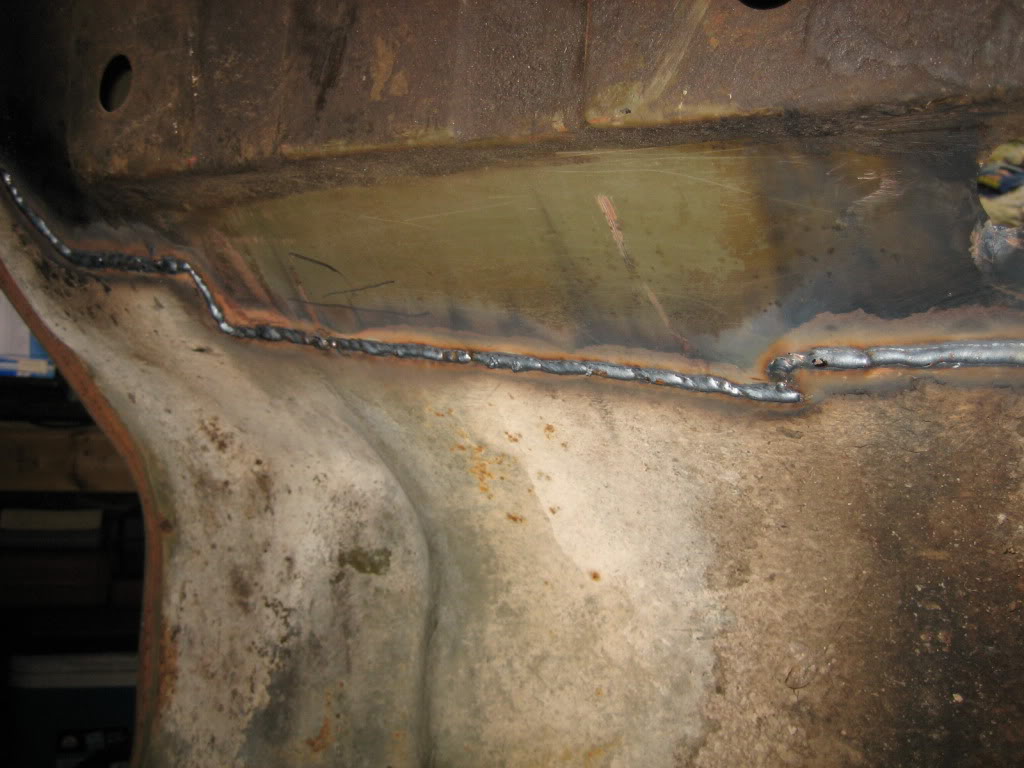
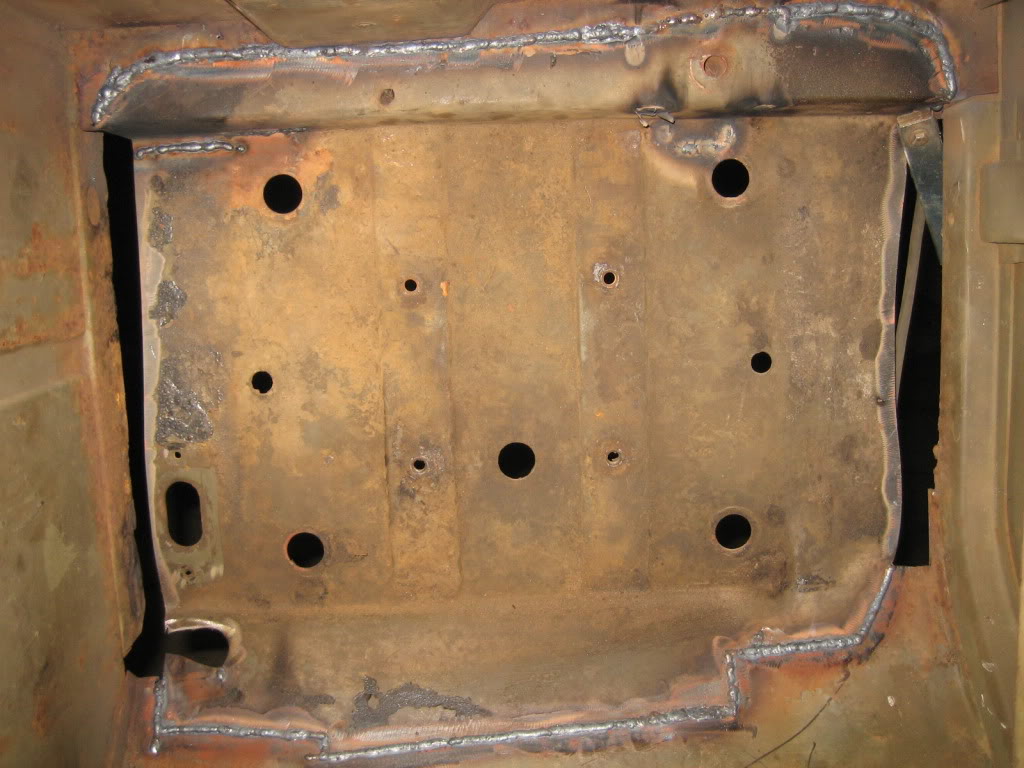
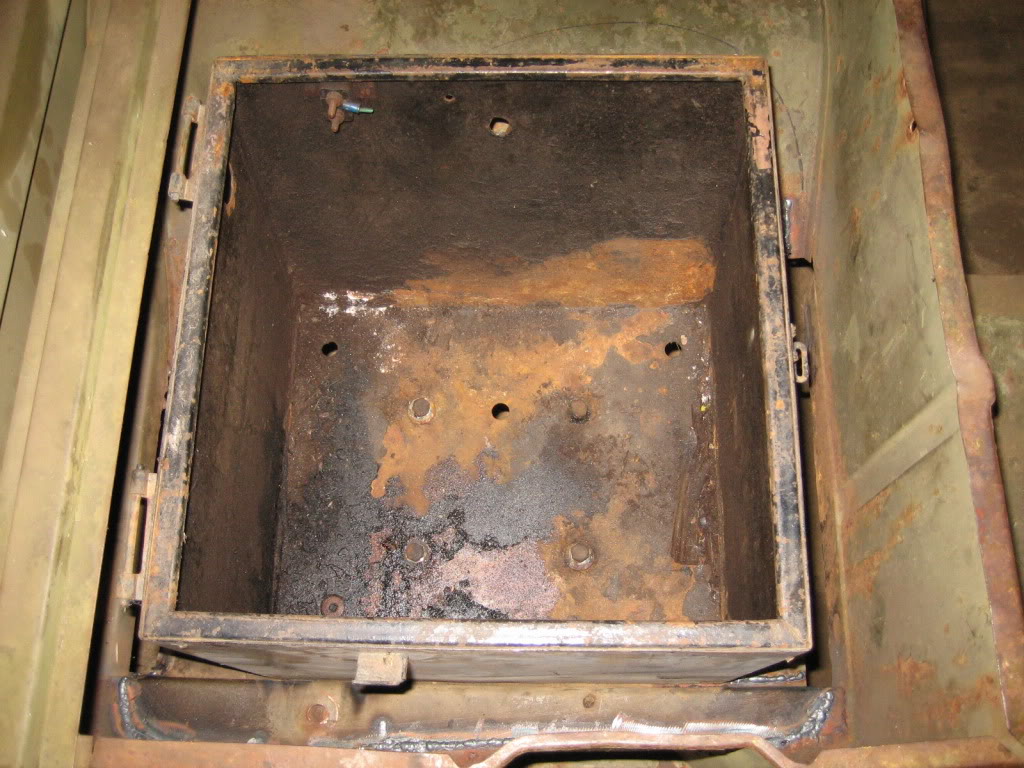
Did some more "Free" work today... My parents brought the new cab down from their place, so, now I officially have all the parts at my place. The new body is rust free, except for the battery box. Someone must have spilt a whole lotta acid at one point in time, cause there is absolutely nothing left of the floor under the box, so, I spent this evening stripping the new tub, and fixing that mess:
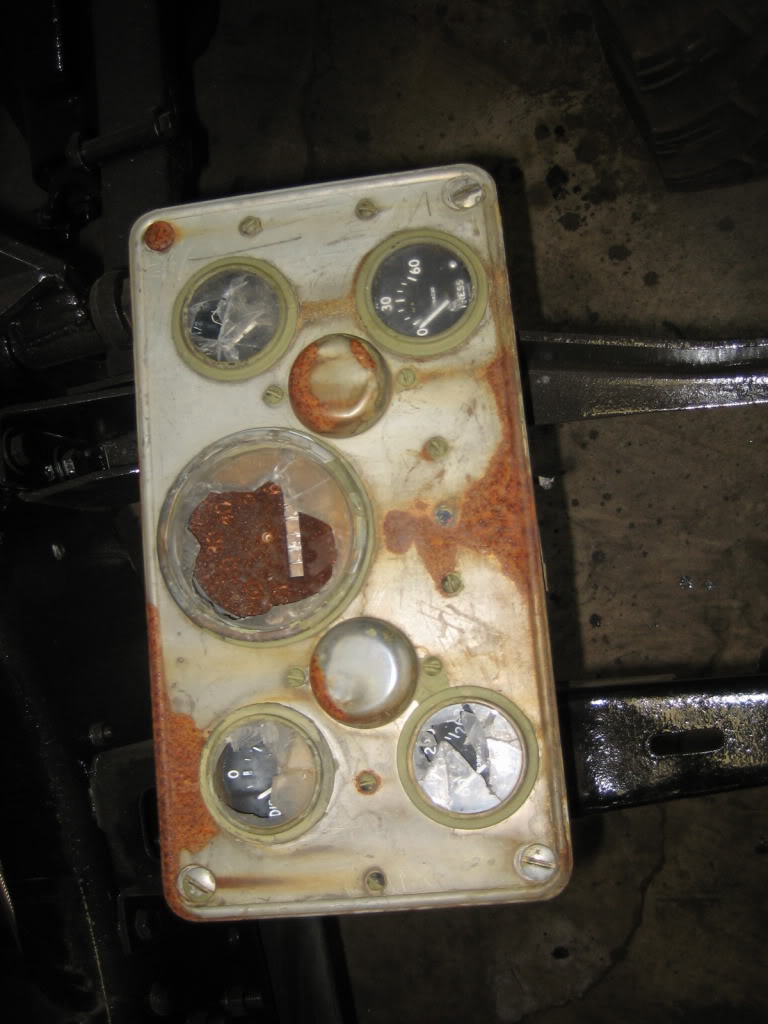
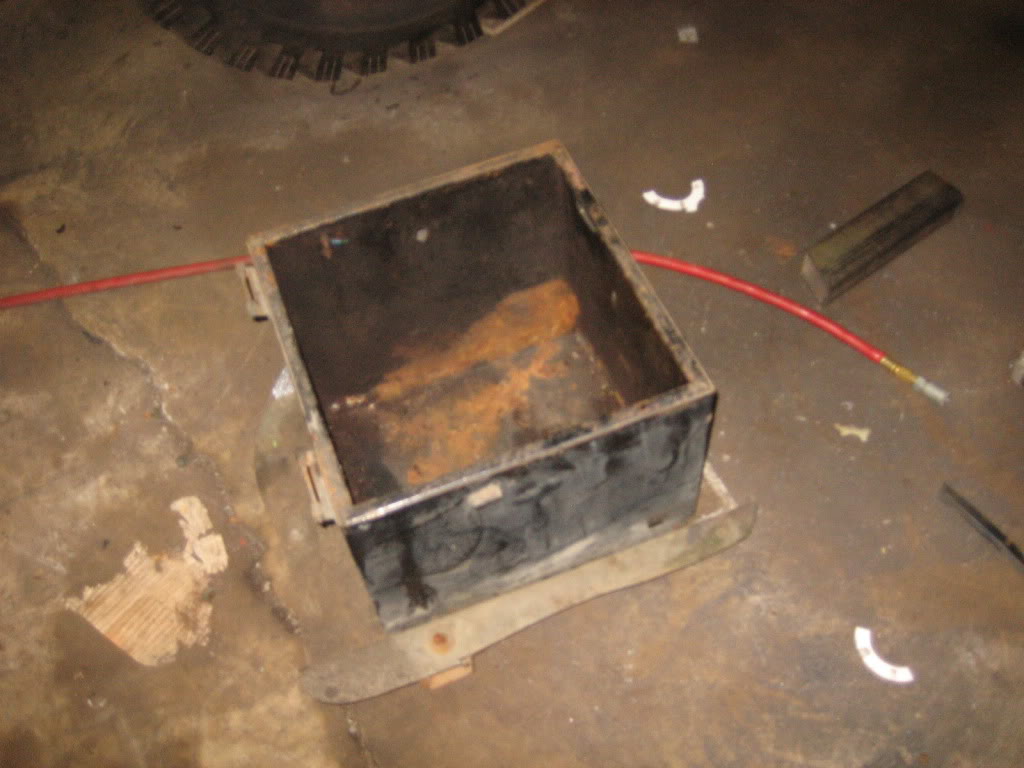
I've got plans for this, and they involve leaving it just as it is:
Stripped:

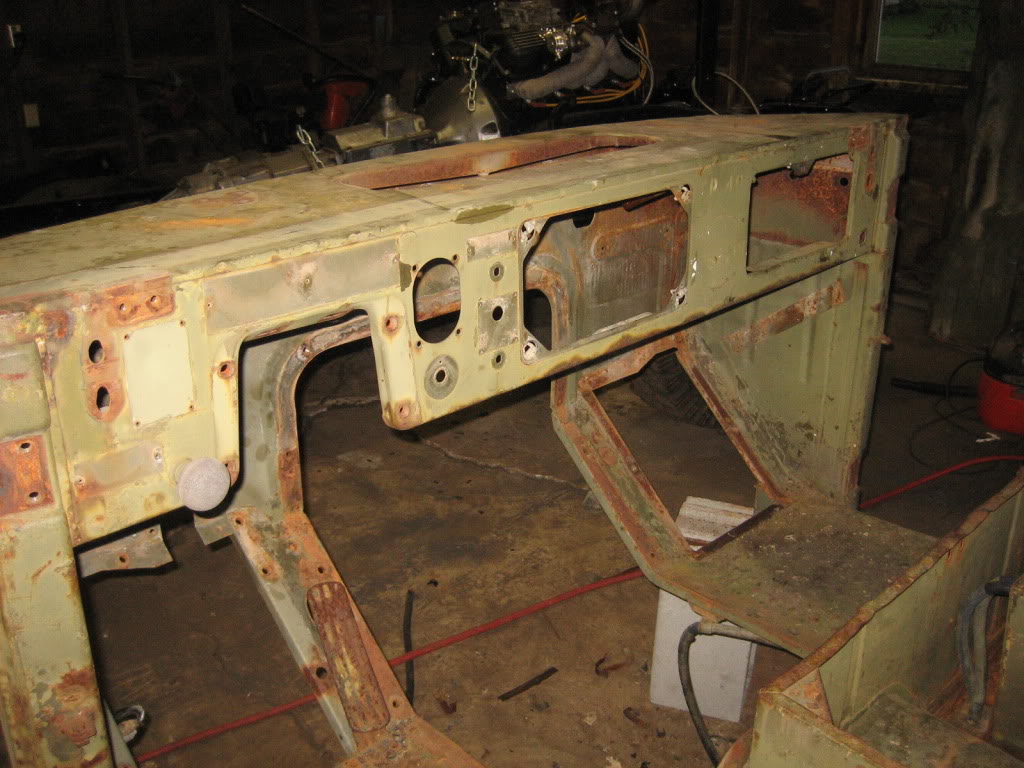
And, on with the NASTY:
looked bad, but, the further I got, the more and more a realized, it was BAD!!!!!!
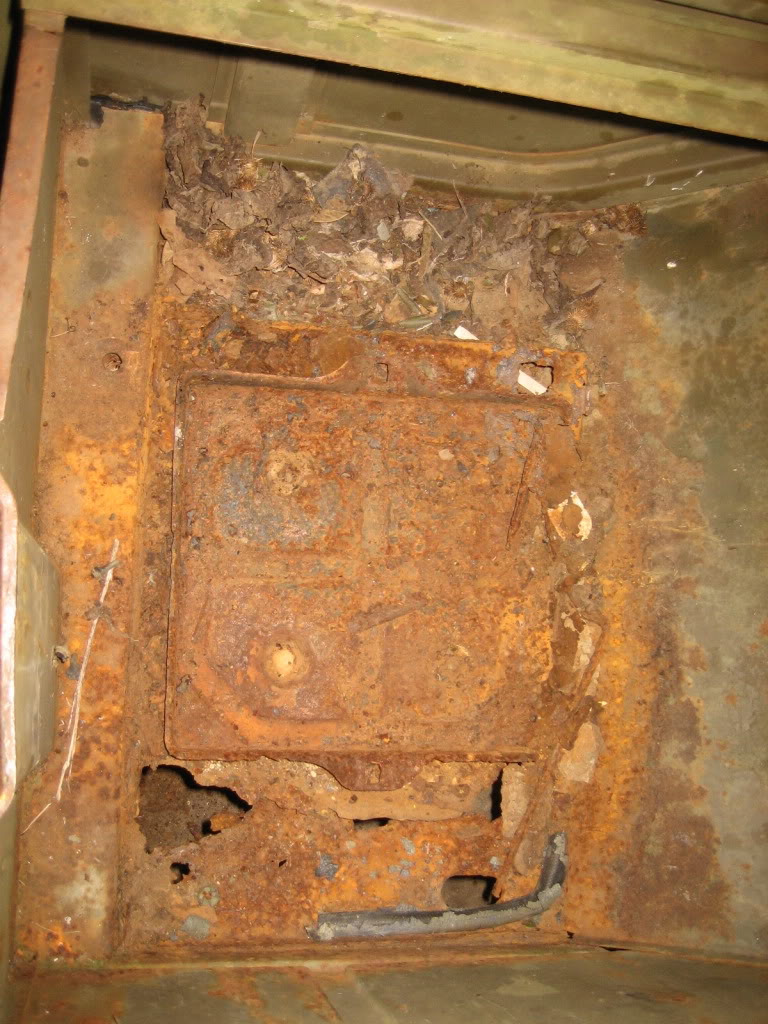


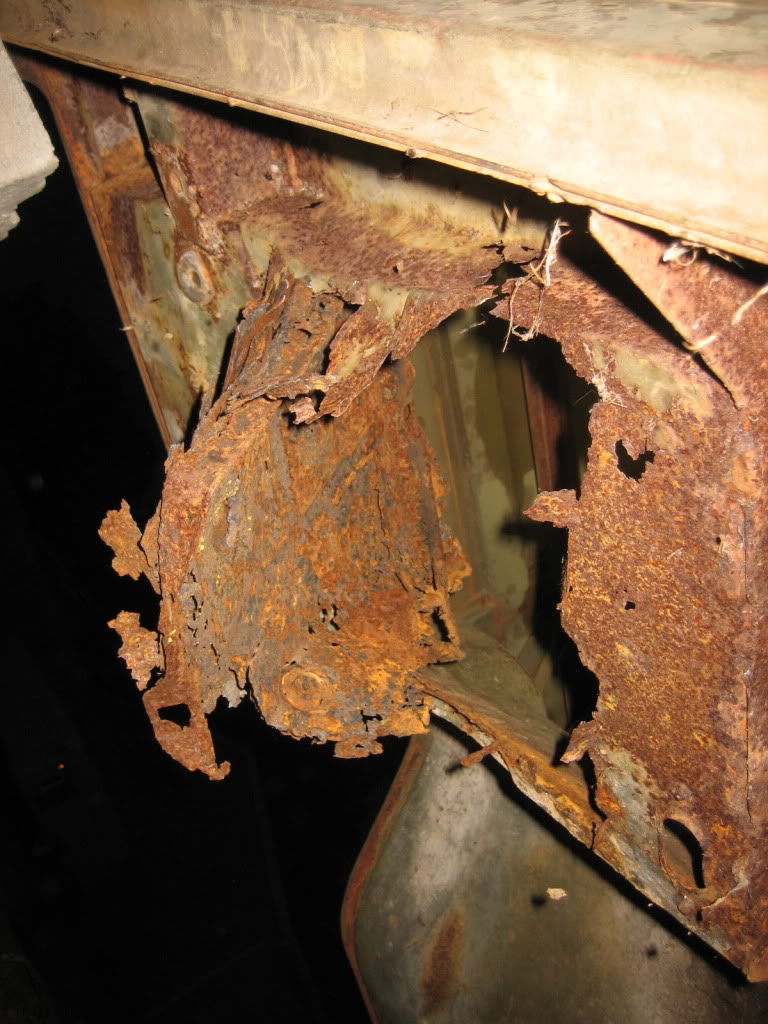
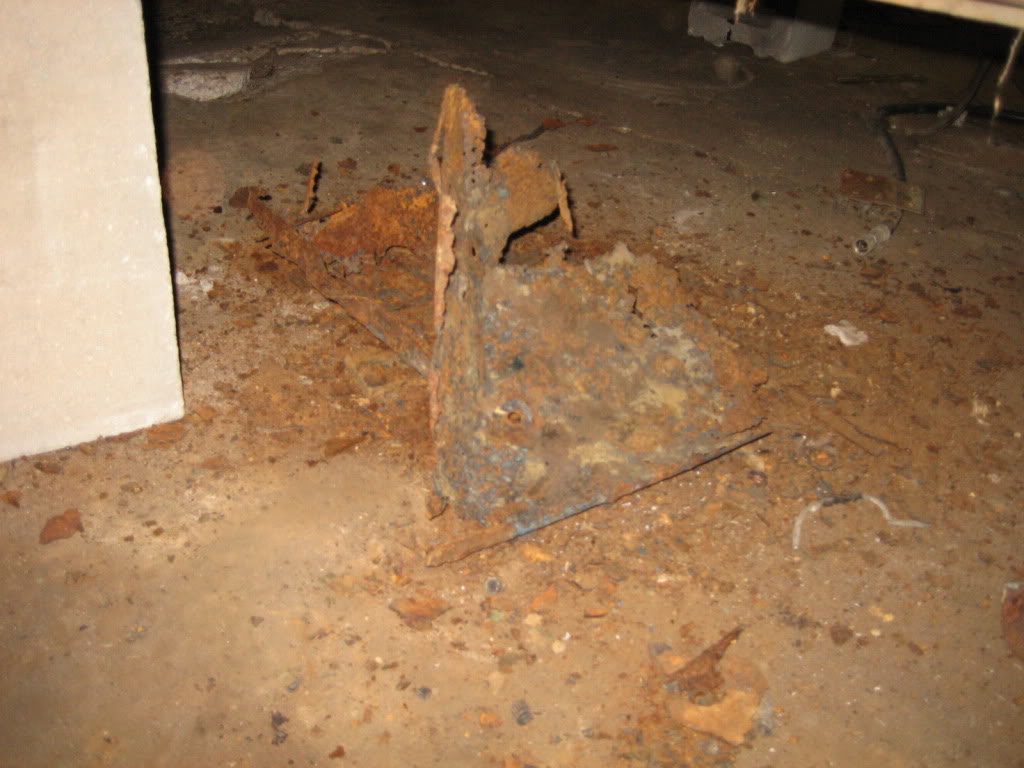

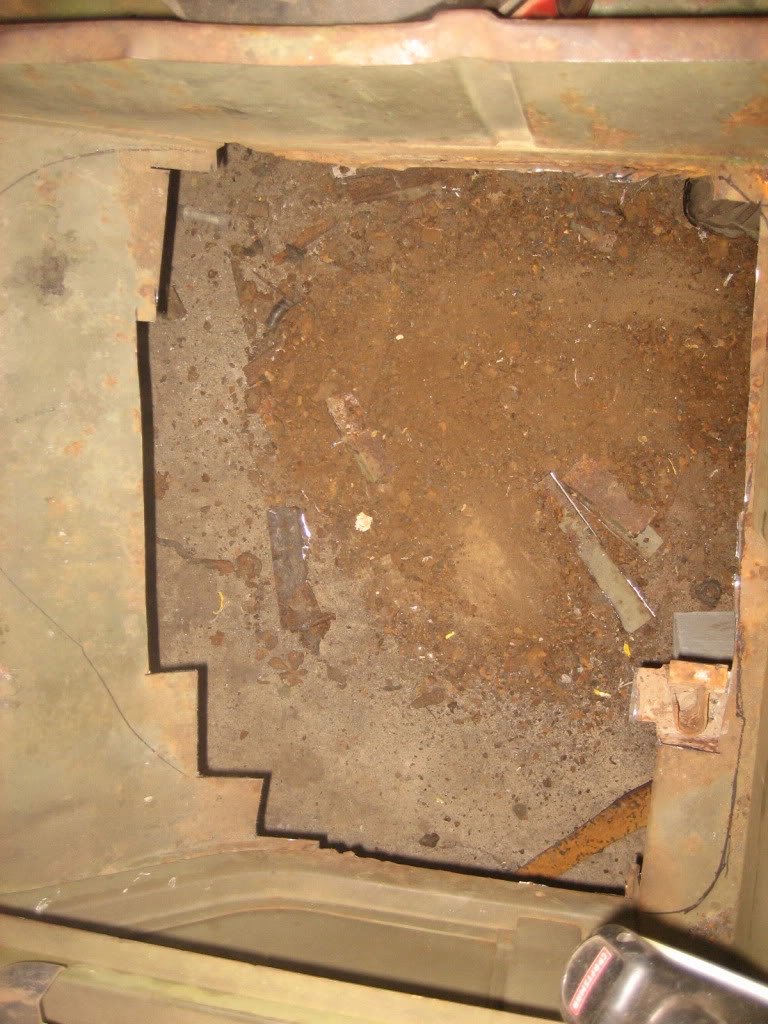
Man, what a hole:


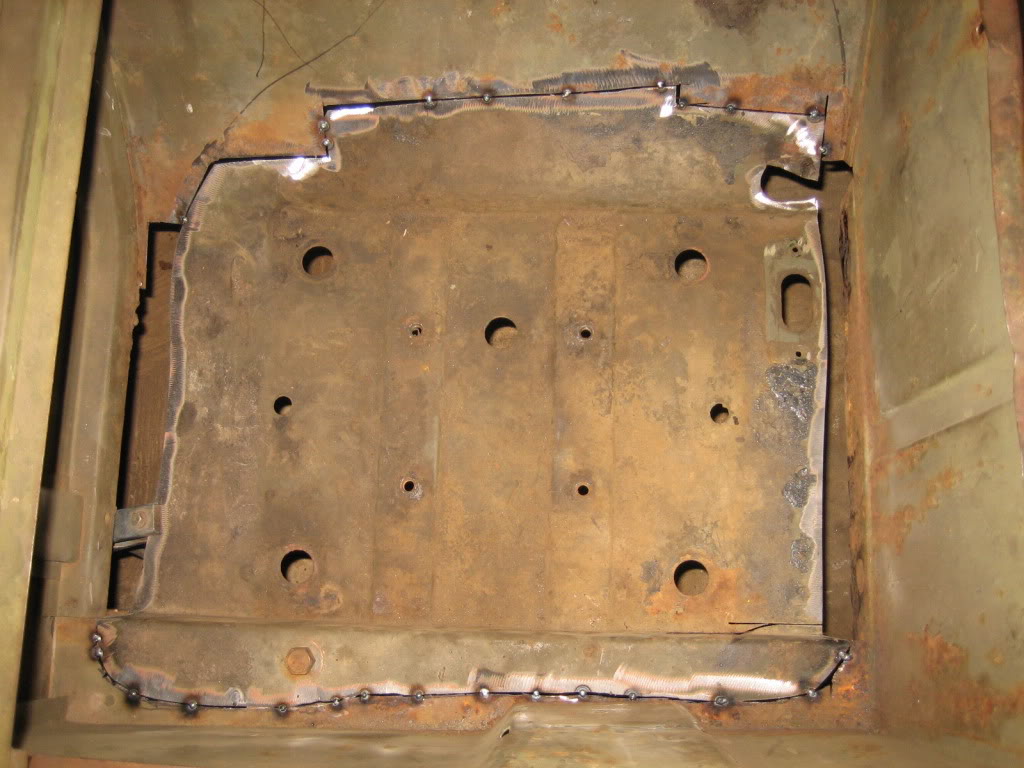
and, the fix:


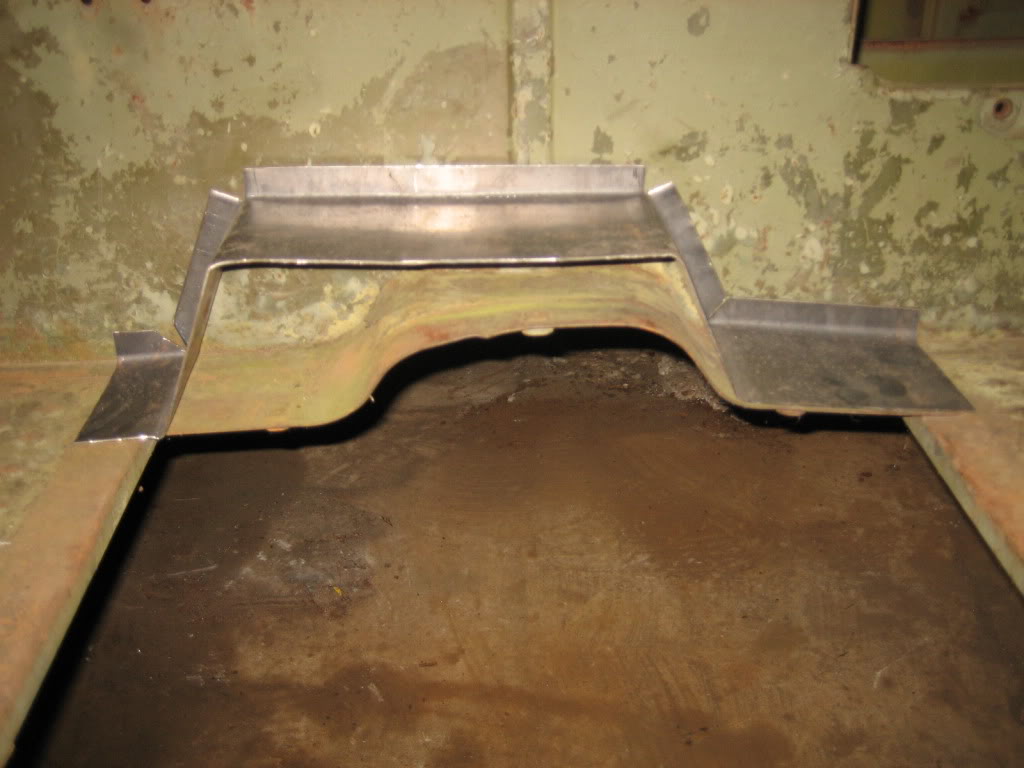
Next stop, bumping up the doghouse for the new T case:
I've got plans for this, and they involve leaving it just as it is:
Stripped:
And, on with the NASTY:
looked bad, but, the further I got, the more and more a realized, it was BAD!!!!!!
Man, what a hole:
and, the fix:
Next stop, bumping up the doghouse for the new T case:

 the truck just keep on rising

Thread Starter
1.0 BAR
Joined: Feb 2003
Posts: 461
From: Wisconsin
well, she's put away for the winter, but, that doesnt mean the work stops, it just means it evolves... I decided to go EFI. I was going to do carb, but, I couldnt justify the $1200 price tag for a custom built carb when I can do EFI with distributorless ignition mapping and boost retard control for a grand more...
Simple Digital Systems EM-4
Comes with everything but throttle bodies, fuel rails, and injectors, (all of the sensors, harness, interface tool, etc, just plug it in, hook it up to power, and start tuning). I got two F*rd 65mm 4.6L throttle bodies at the junkyard last weekend for $10 each. 65mm is 2.55 inches, which is the same size as the turbocharger discharges, so that works out nice. to get the air into the intake, I drew up an intake manifold design:
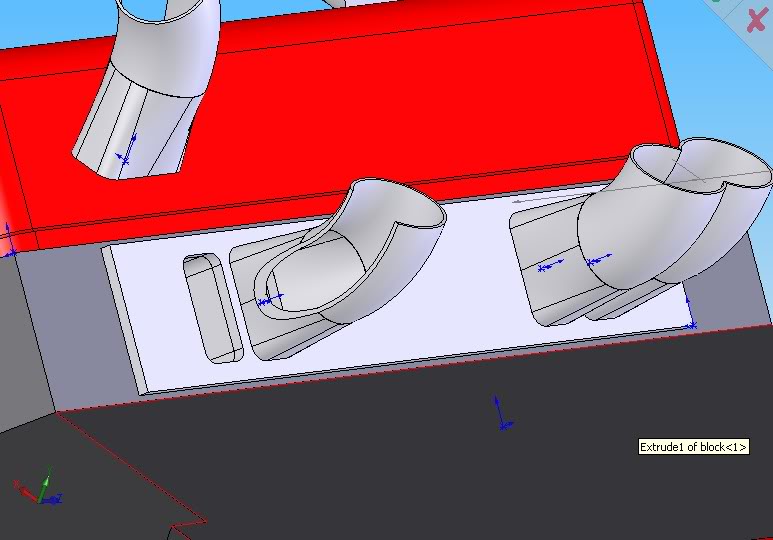
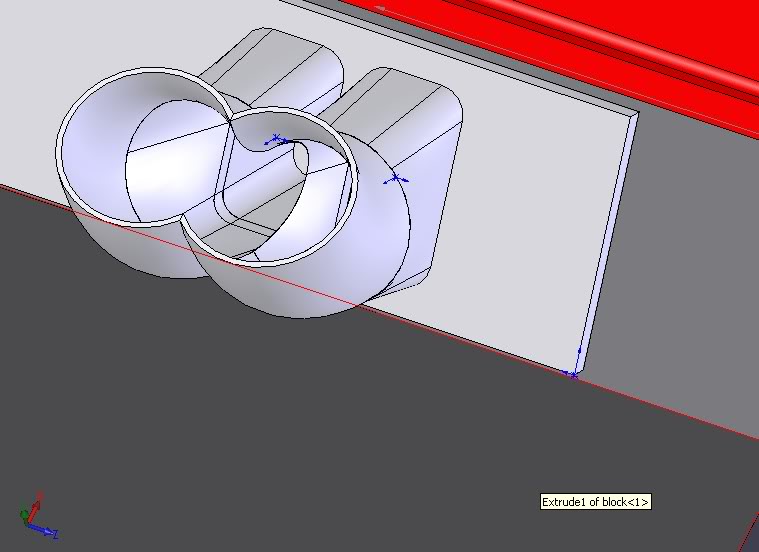
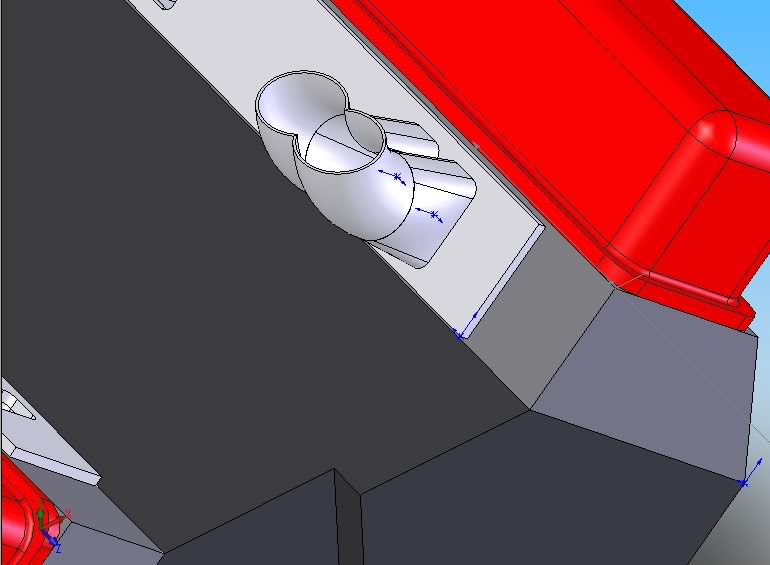

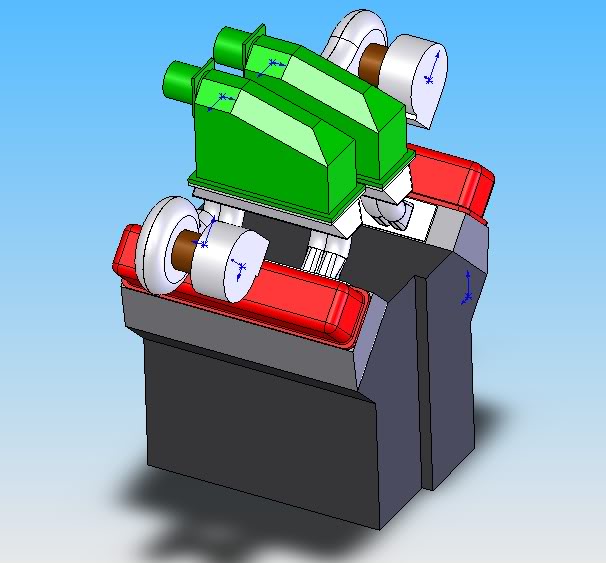
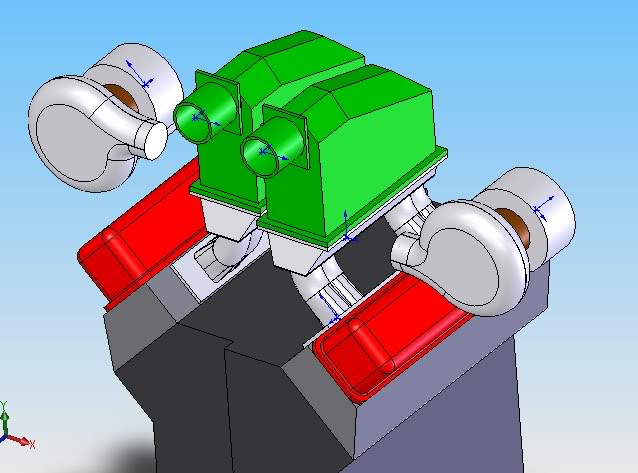
the runners are tall because they integrate an air to water intercooler core into each side. I plan on adding a pair of balance tubes between the grey plenum boxes, as well as cutting it down in height. It measures out at 15 inches on the model in height from the deck of the bock, but, I only have 13" of hood clearance. I'm pretty confident I can find the extra 2" needed, as my runners are pretty tall. I might go back and model it with the port shape transition and 45* curve mapped into one piece of tube... that would give me the 2" I need, but, be a real bear to draw, and form in real life... I'd like to find the 2" elsewhere, but, there isnt a whole lot of other places to get it. If all else fails, I dont run intercooled plenums, but, it sure would be nice. would be really sweet to connect the turbo discharges to the plenum intakes with a set of carbon fiber hard pipes... I might give it a shot and see how it goes. I played with carbon fiber at school, and, when done right, its gorgeous.
Simple Digital Systems EM-4
Comes with everything but throttle bodies, fuel rails, and injectors, (all of the sensors, harness, interface tool, etc, just plug it in, hook it up to power, and start tuning). I got two F*rd 65mm 4.6L throttle bodies at the junkyard last weekend for $10 each. 65mm is 2.55 inches, which is the same size as the turbocharger discharges, so that works out nice. to get the air into the intake, I drew up an intake manifold design:
the runners are tall because they integrate an air to water intercooler core into each side. I plan on adding a pair of balance tubes between the grey plenum boxes, as well as cutting it down in height. It measures out at 15 inches on the model in height from the deck of the bock, but, I only have 13" of hood clearance. I'm pretty confident I can find the extra 2" needed, as my runners are pretty tall. I might go back and model it with the port shape transition and 45* curve mapped into one piece of tube... that would give me the 2" I need, but, be a real bear to draw, and form in real life... I'd like to find the 2" elsewhere, but, there isnt a whole lot of other places to get it. If all else fails, I dont run intercooled plenums, but, it sure would be nice. would be really sweet to connect the turbo discharges to the plenum intakes with a set of carbon fiber hard pipes... I might give it a shot and see how it goes. I played with carbon fiber at school, and, when done right, its gorgeous.

Thread Starter
1.0 BAR
Joined: Feb 2003
Posts: 461
From: Wisconsin
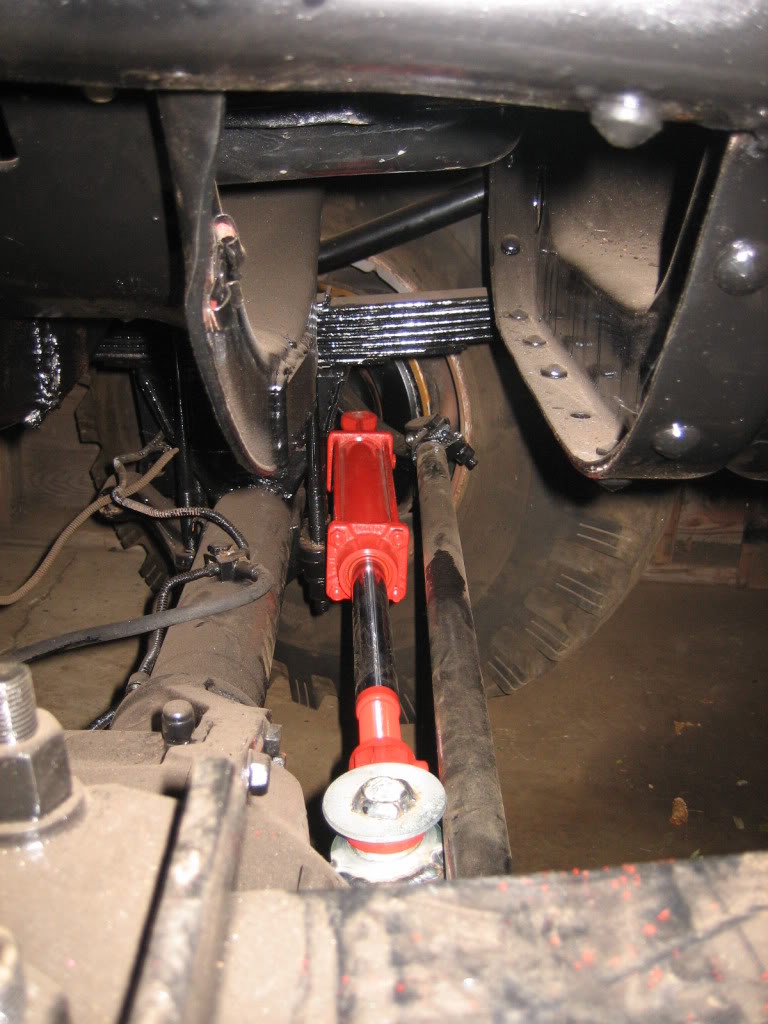
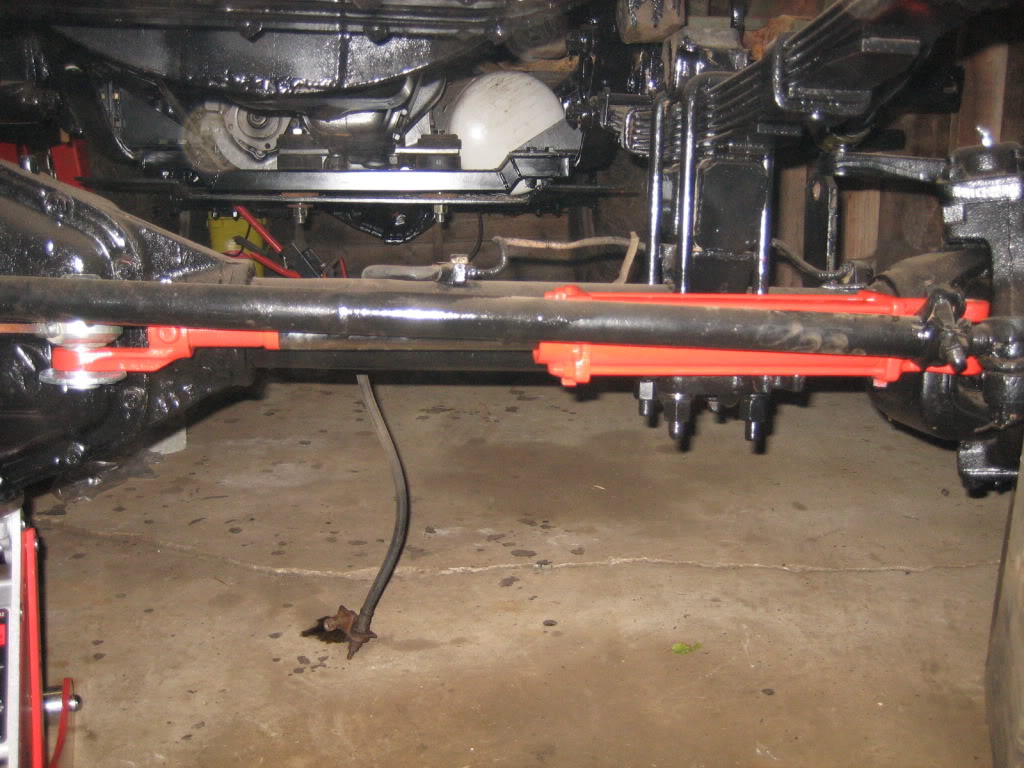
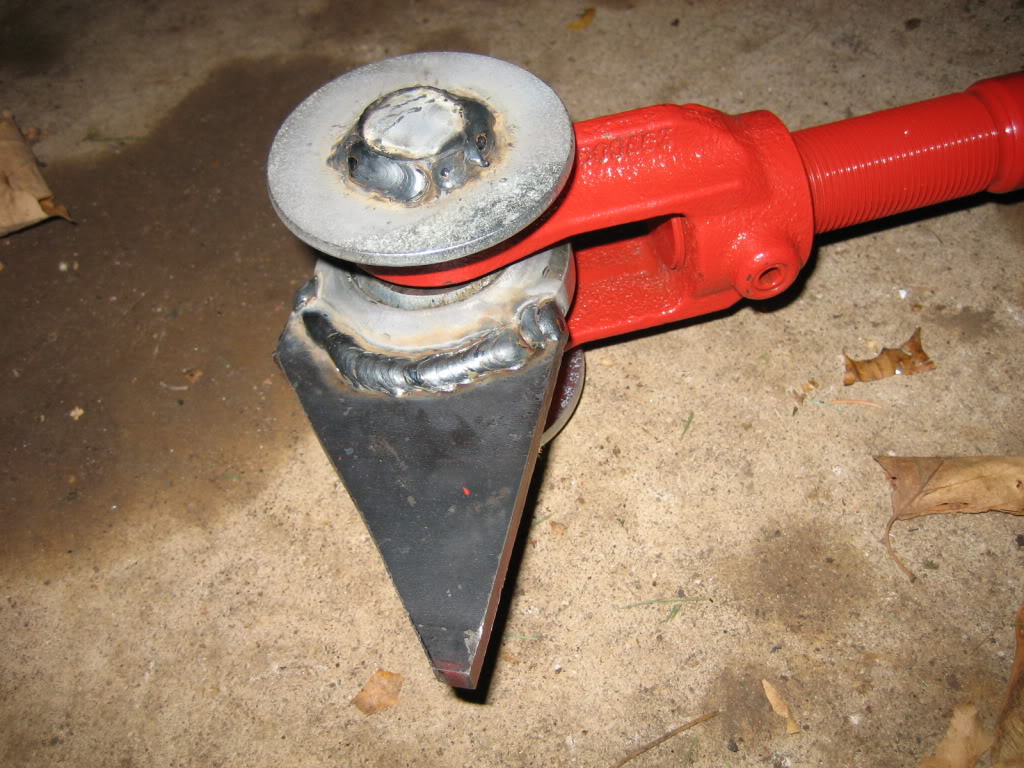
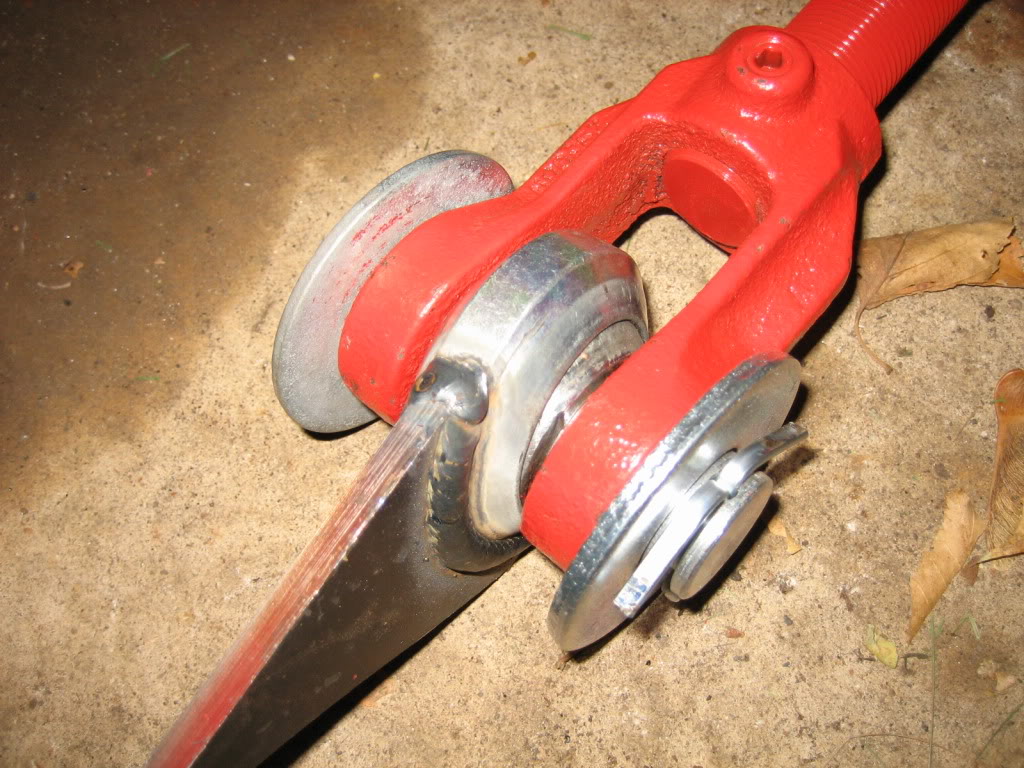
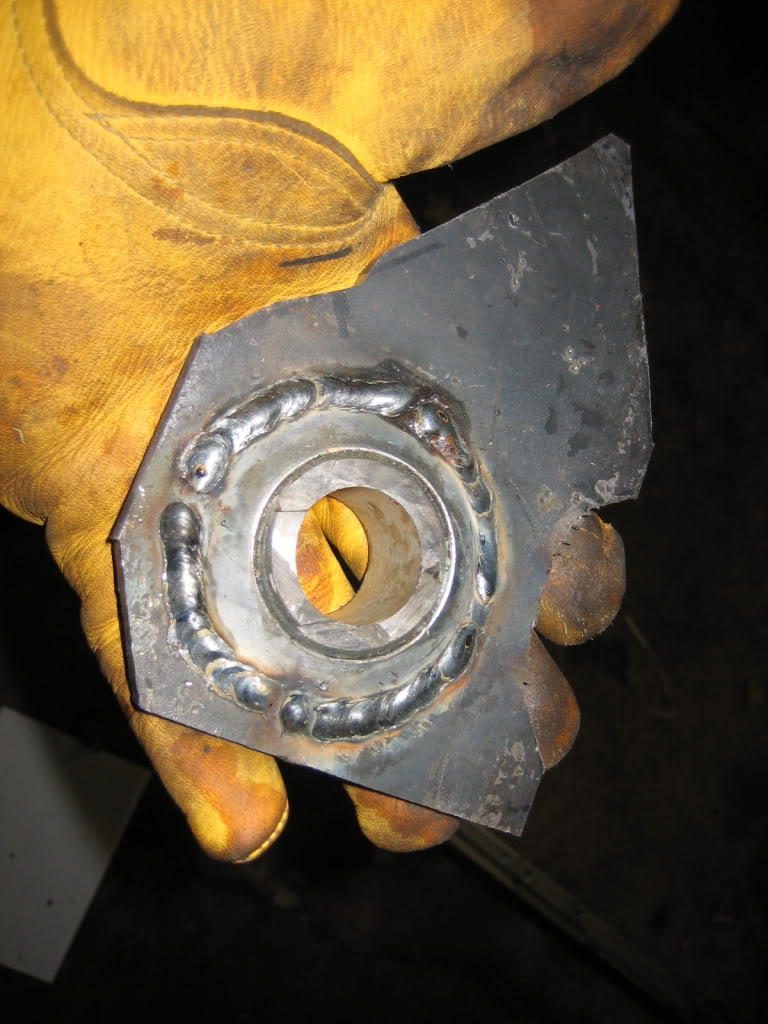
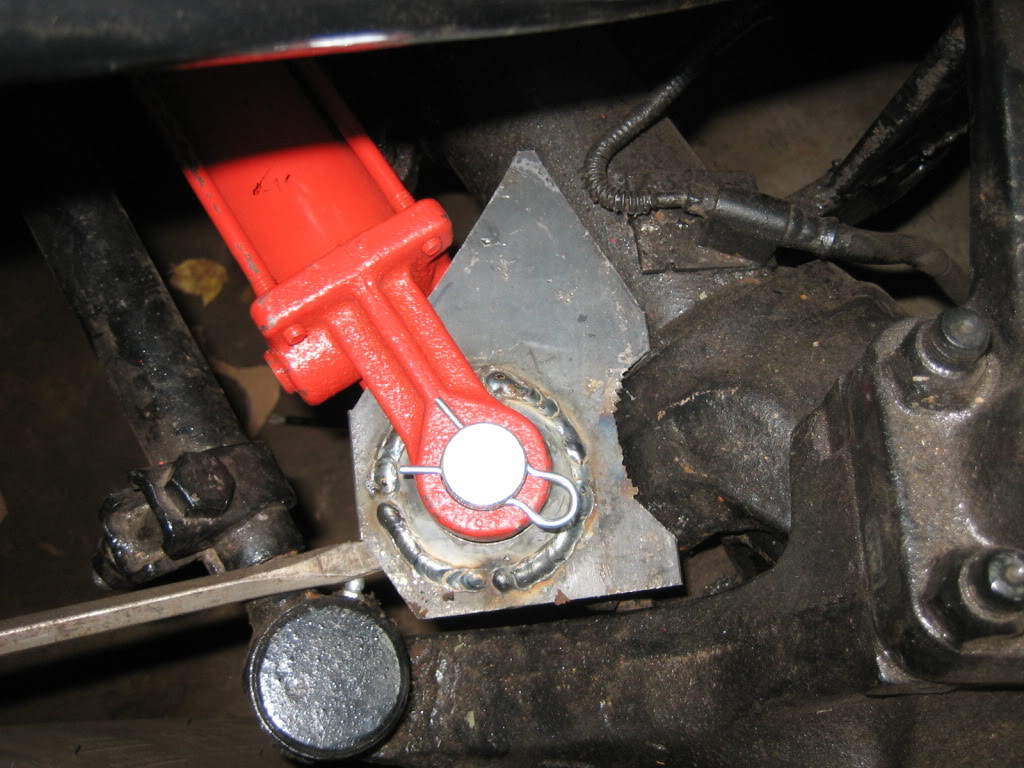
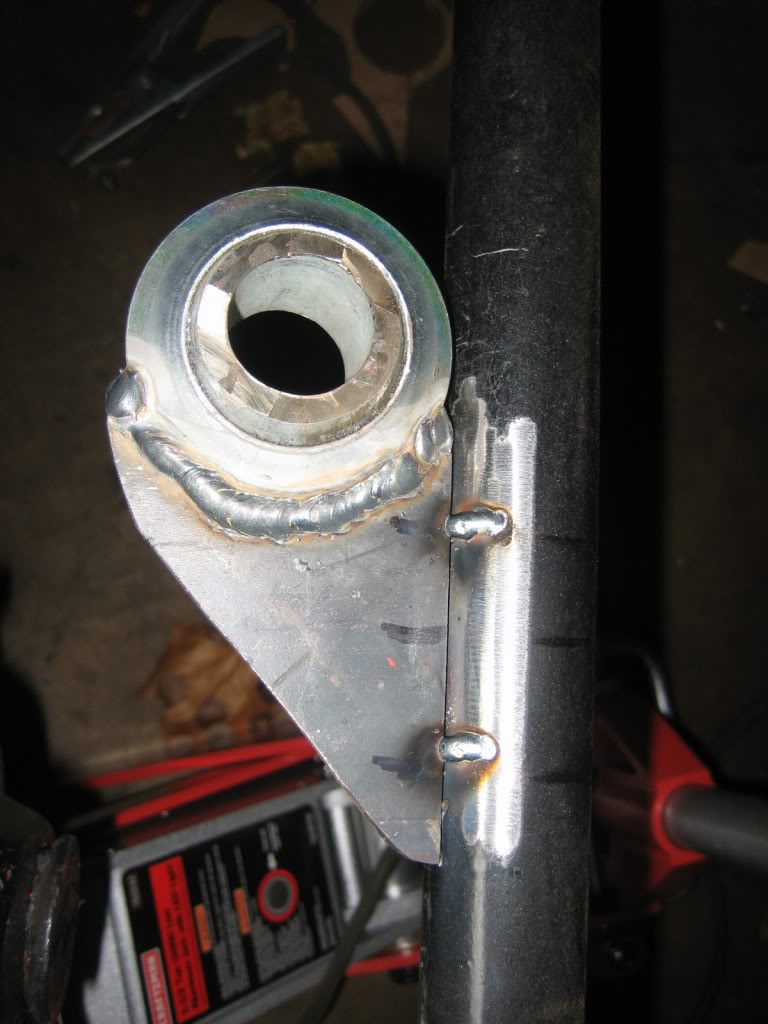
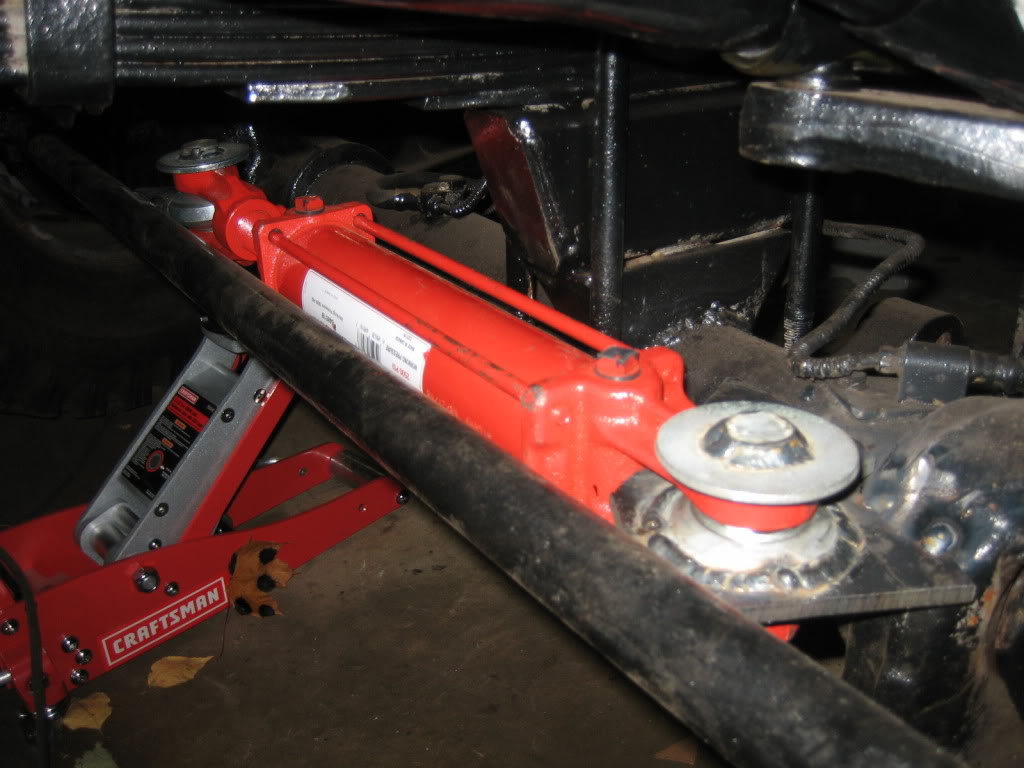
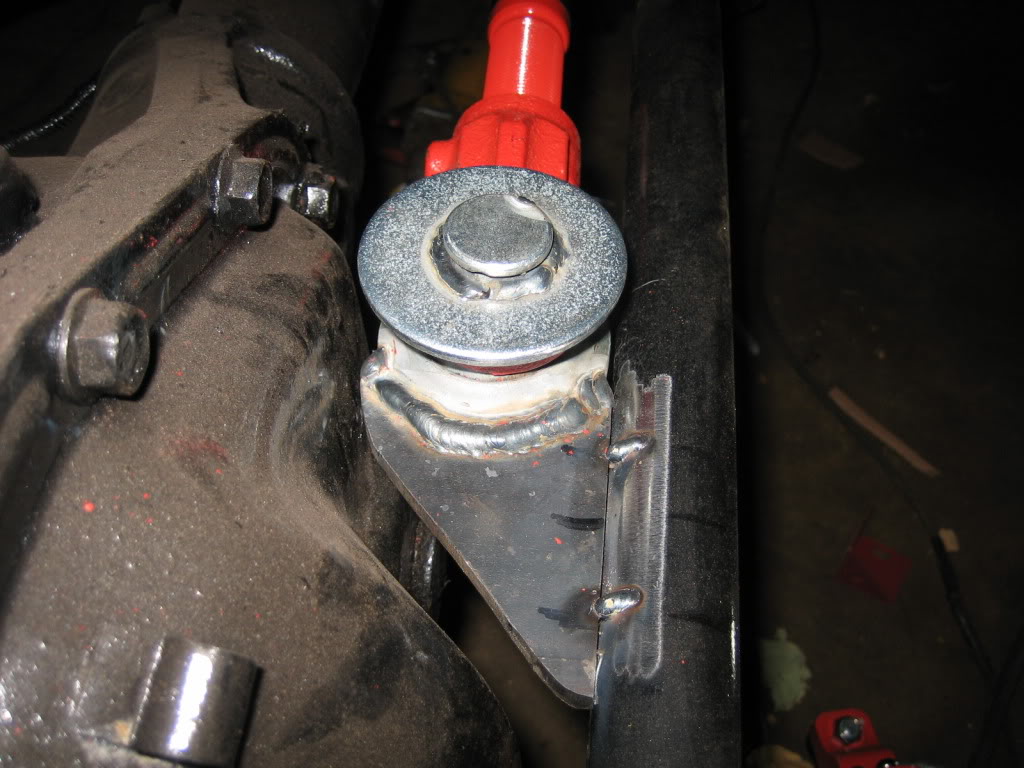
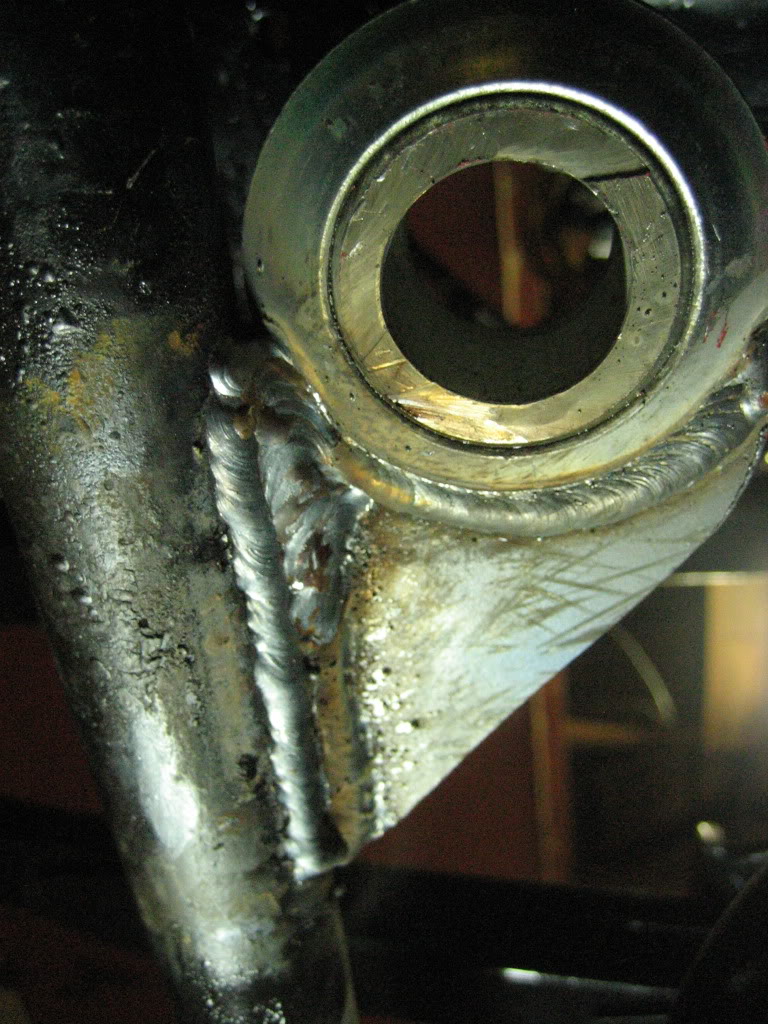
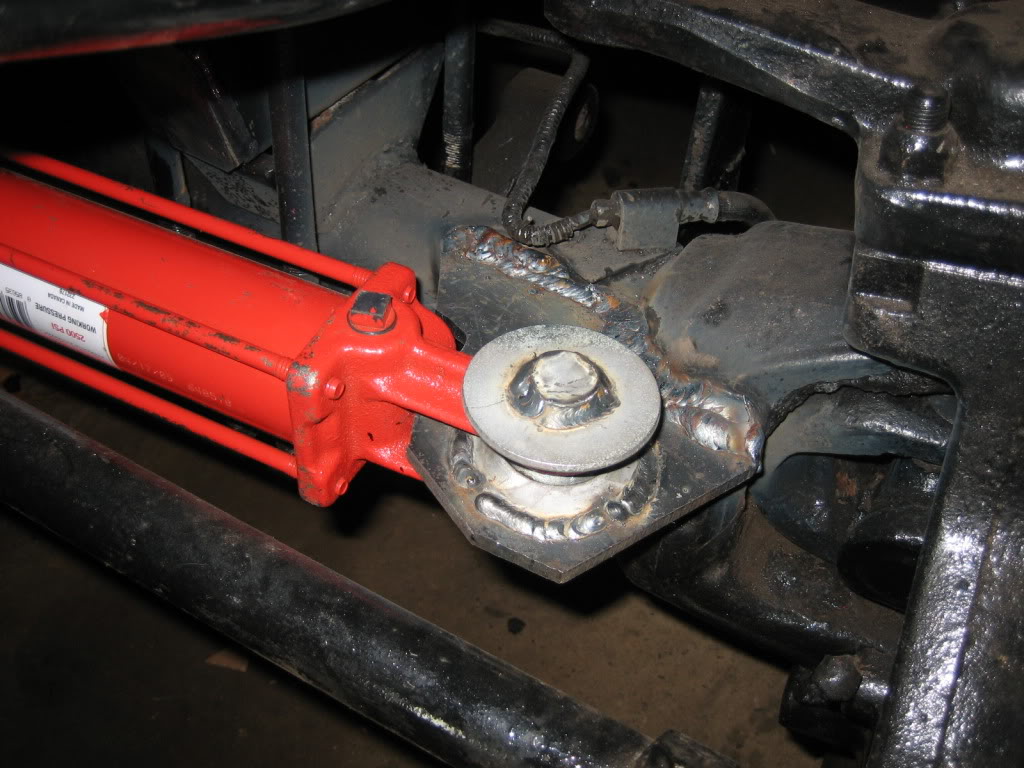
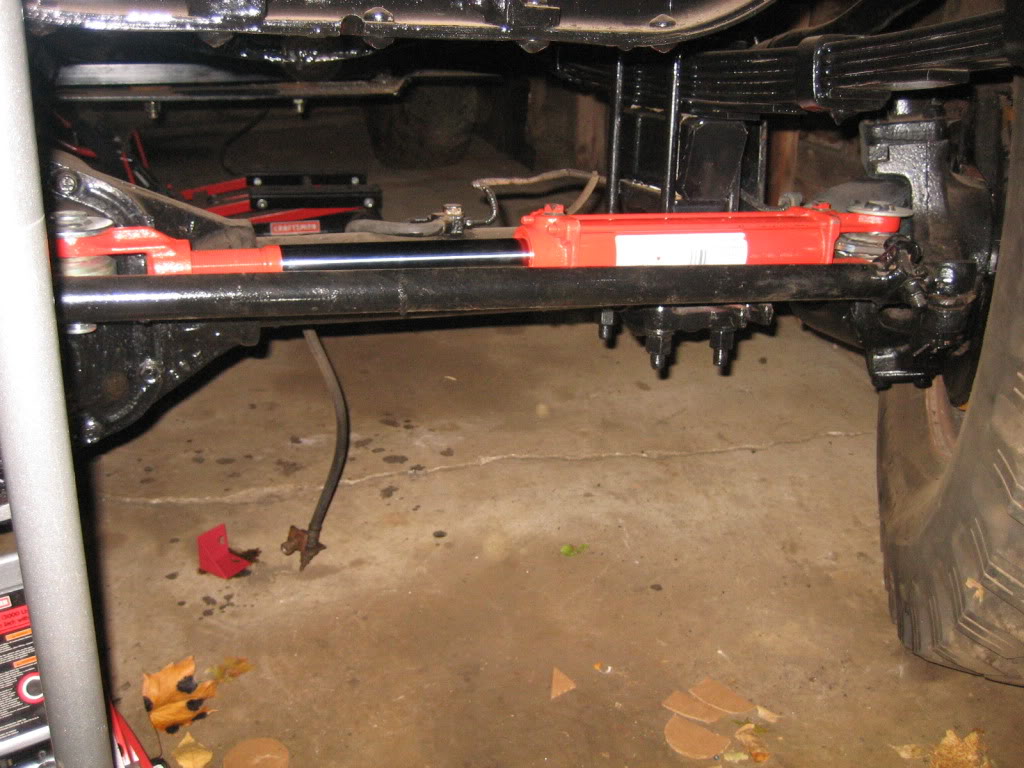
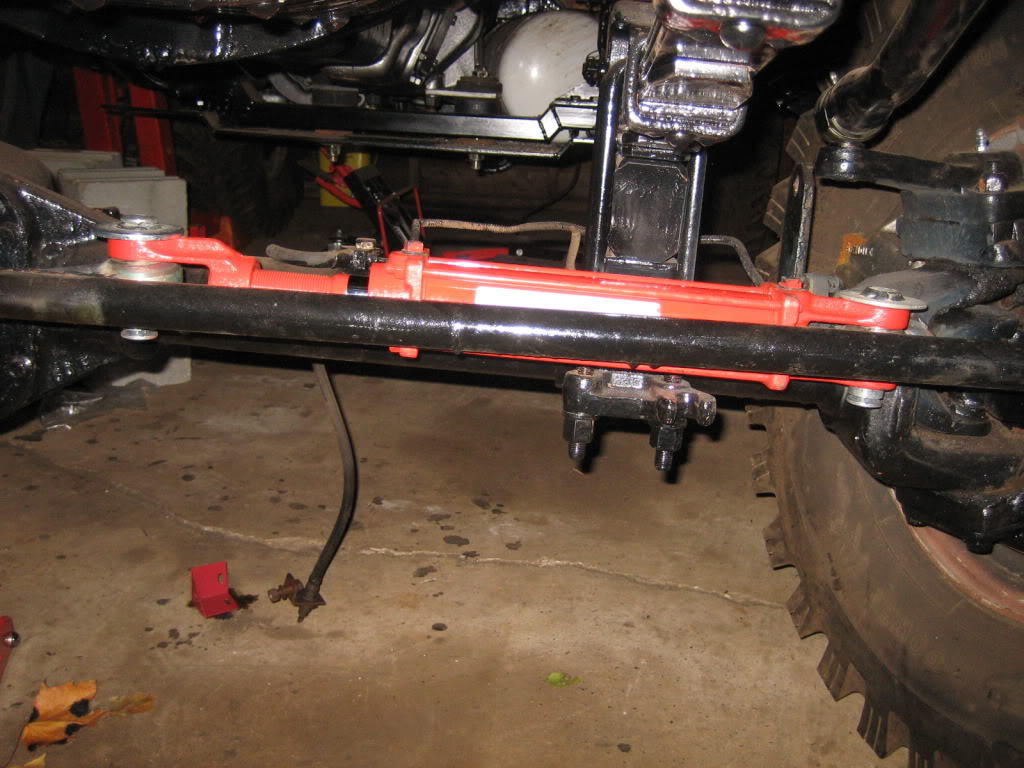
Decided since I have read some horror stories of the stock steering arms not holdng up under the load of bigger tires and power steering, I would add hydraulic ram assist. Cost me just under $100 to do this.
Parts list:
1) 2" bore X 8" stroke Lion double acting cylinder
1) 6"X12"X.25" plate of steel
2) 3/16"X2" cotter pins
2) 1" bore washers
2" 1" bore spherical bearings for tractor implement arms
The pictures are pretty self explanatory, but, the part not shown, or complete yet s the tap into the steering box. I'm going to rebuild the box, my kit will be here on wednesday, so, later this week I'll upload some of the rebuild and modifications to the box to run the ram. The ram should take between 60-75% of the load off of the steering box and related lnkages, so, this setup should have lower load on the factory link arms than the original manual steering.


