Power Wagon Rebuild (Update: 11/5/08)



Thread Starter
1.0 BAR
Joined: Feb 2003
Posts: 461
From: Wisconsin

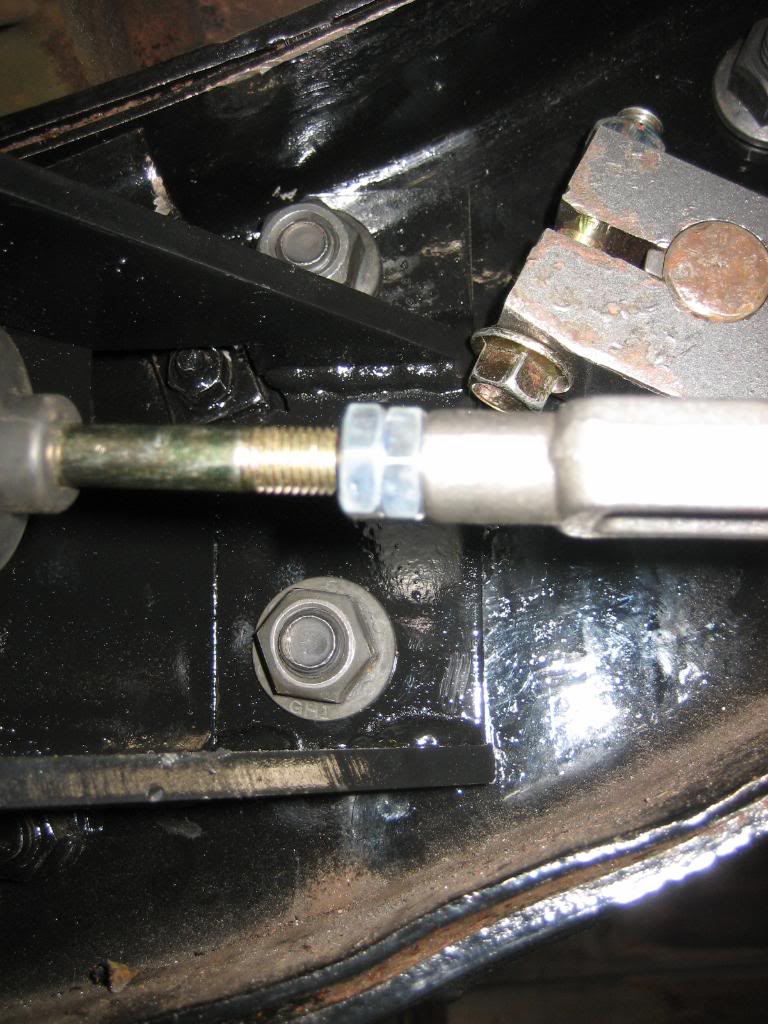
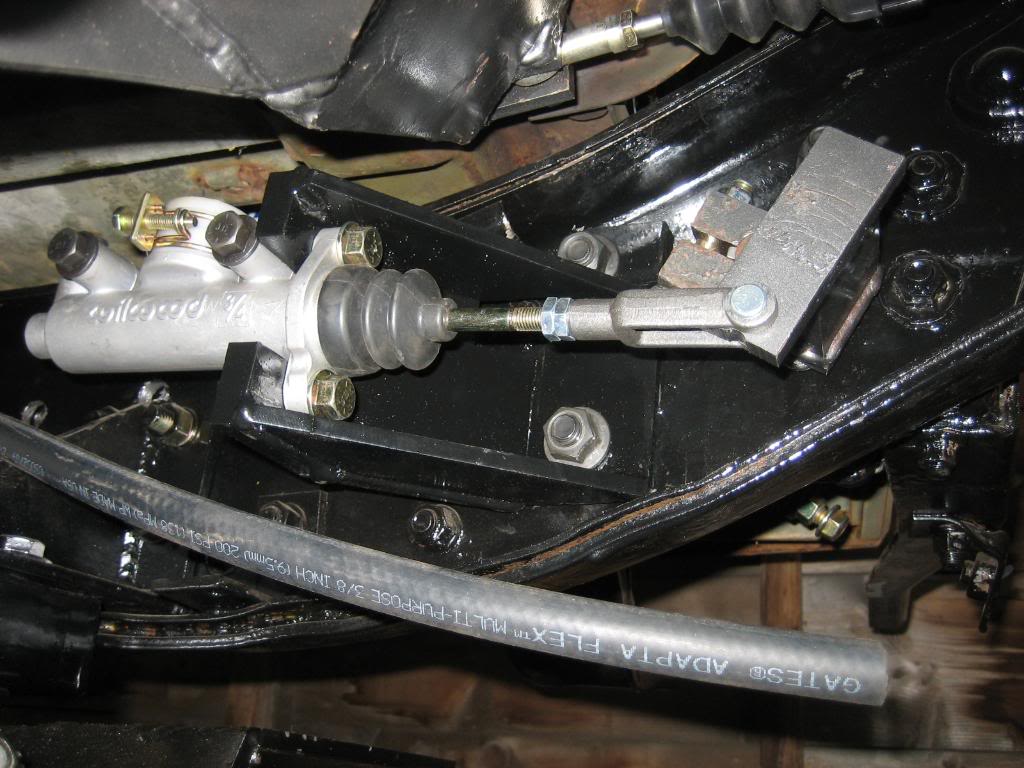
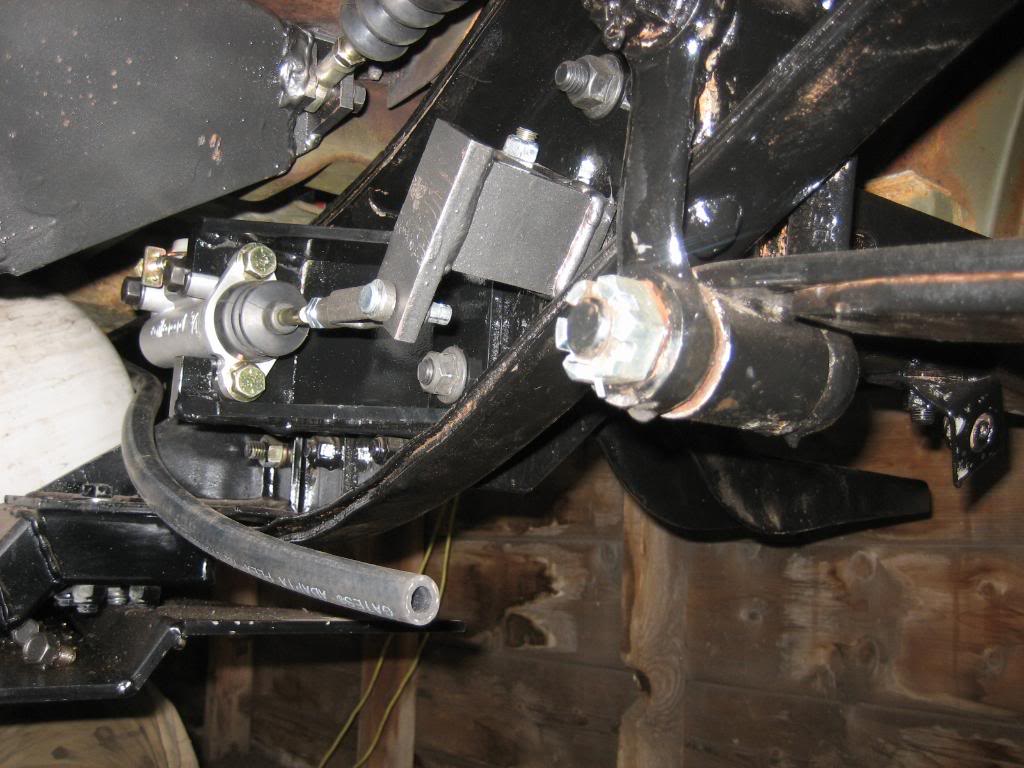
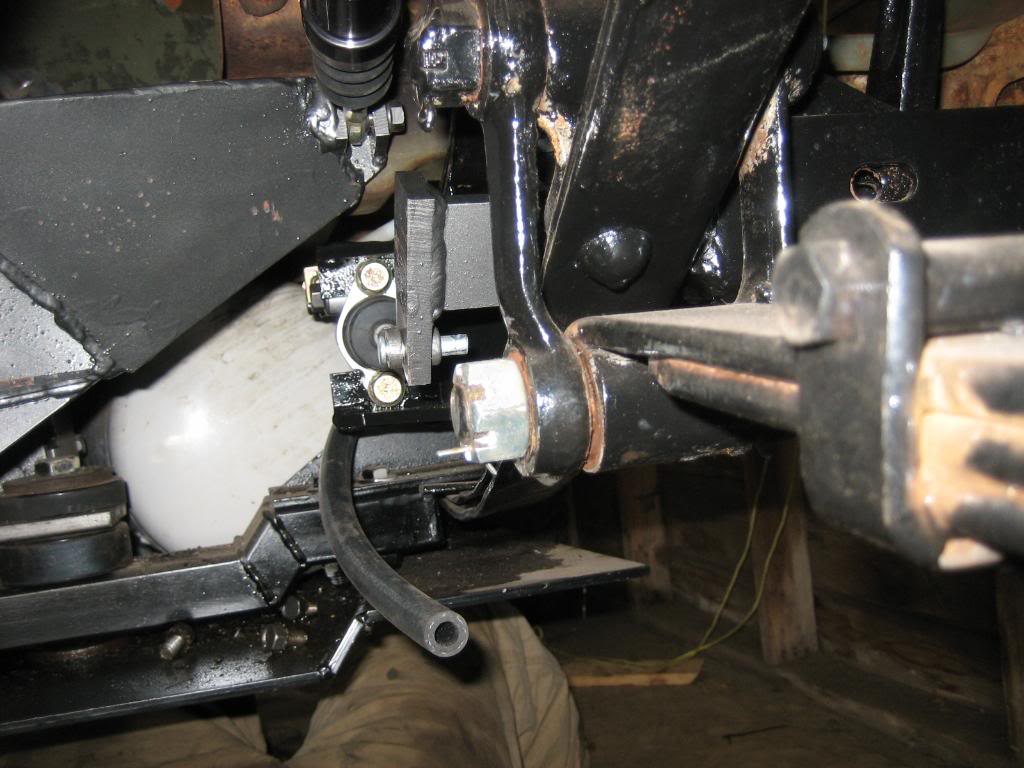
finished the clutch master cylinder. I am fully aware that the upper brace is not parallel to the lower one... it was intentional to clear the bolts on the frame. I reused the bolts that mount the clutch and brake peda gear outboard of the frame so that I did not have to drill any additional holes in it.
I am not too impressed with the coverage of the POR 15. I see surface rust coming through the seams everywhere, and it's irritating me to put it lightly. Once I get the cab tub back off I'm going to have to go over the frame and drivetrain with a fine toothed comb and make sure I cover all those spots.
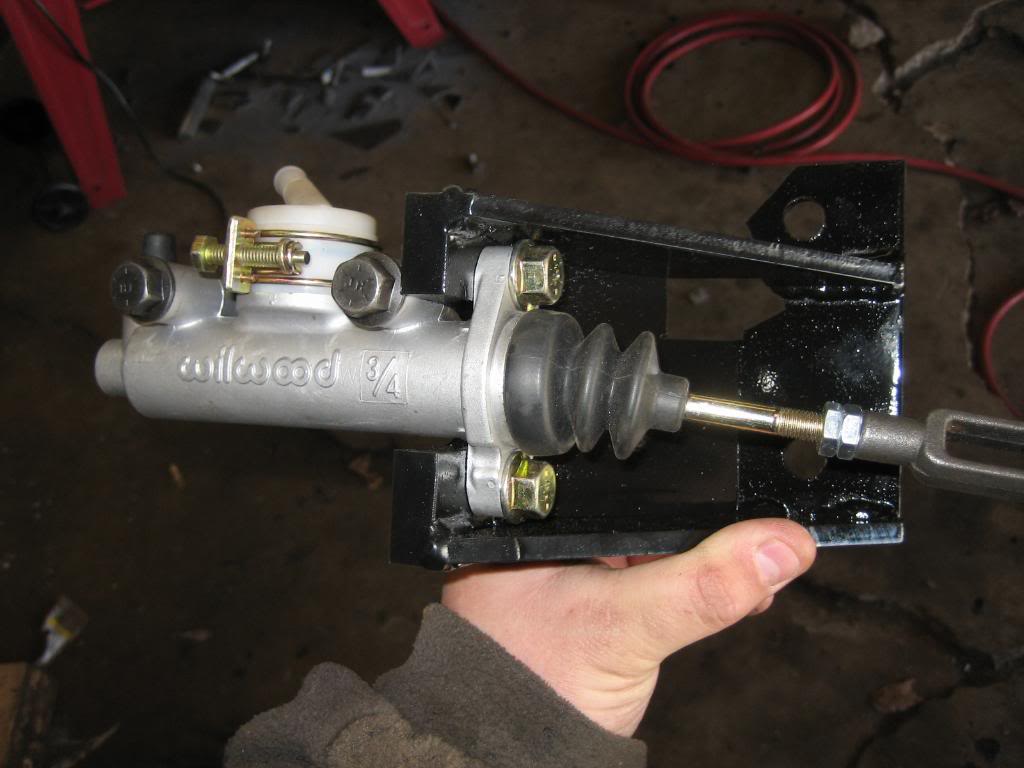
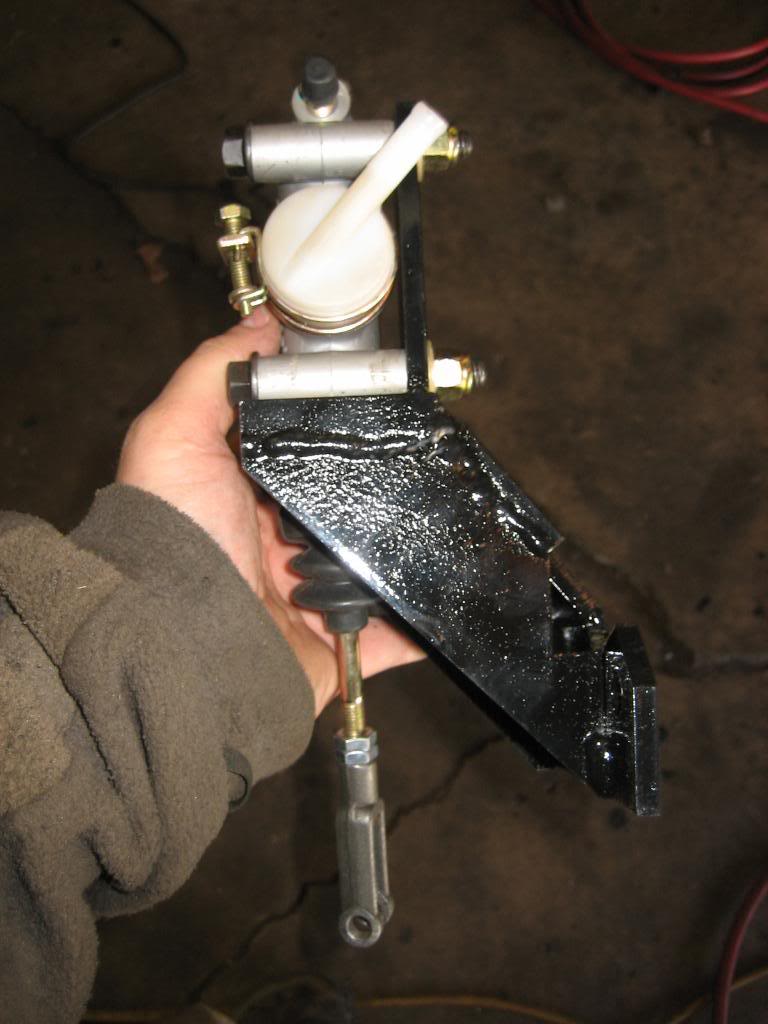
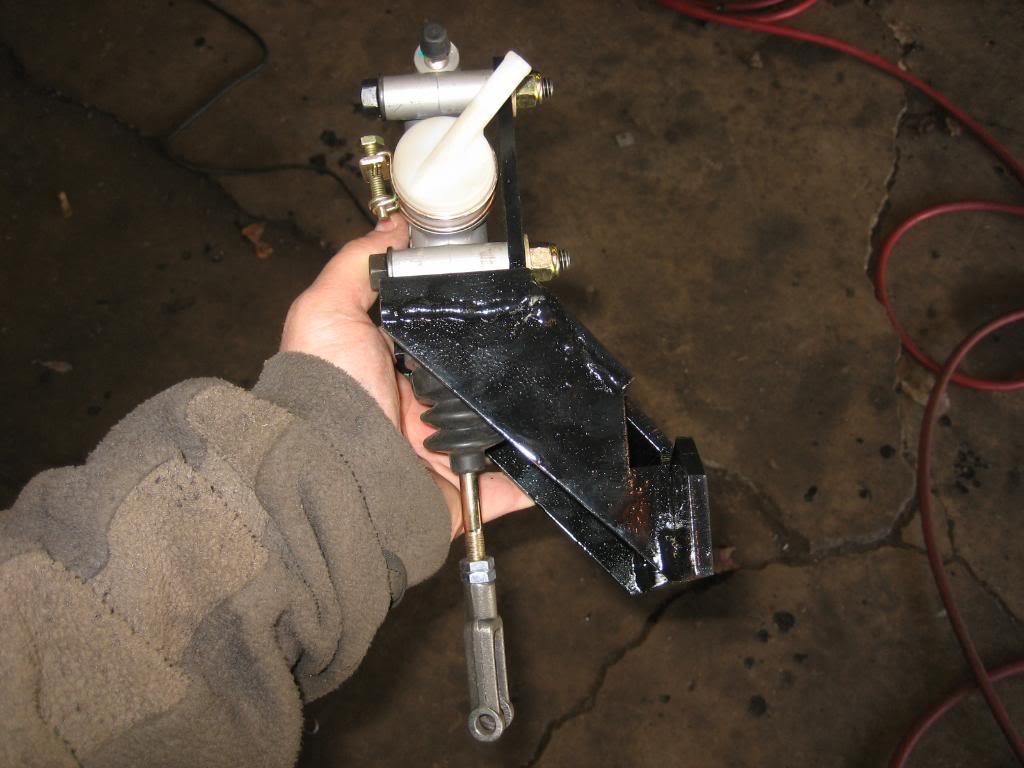
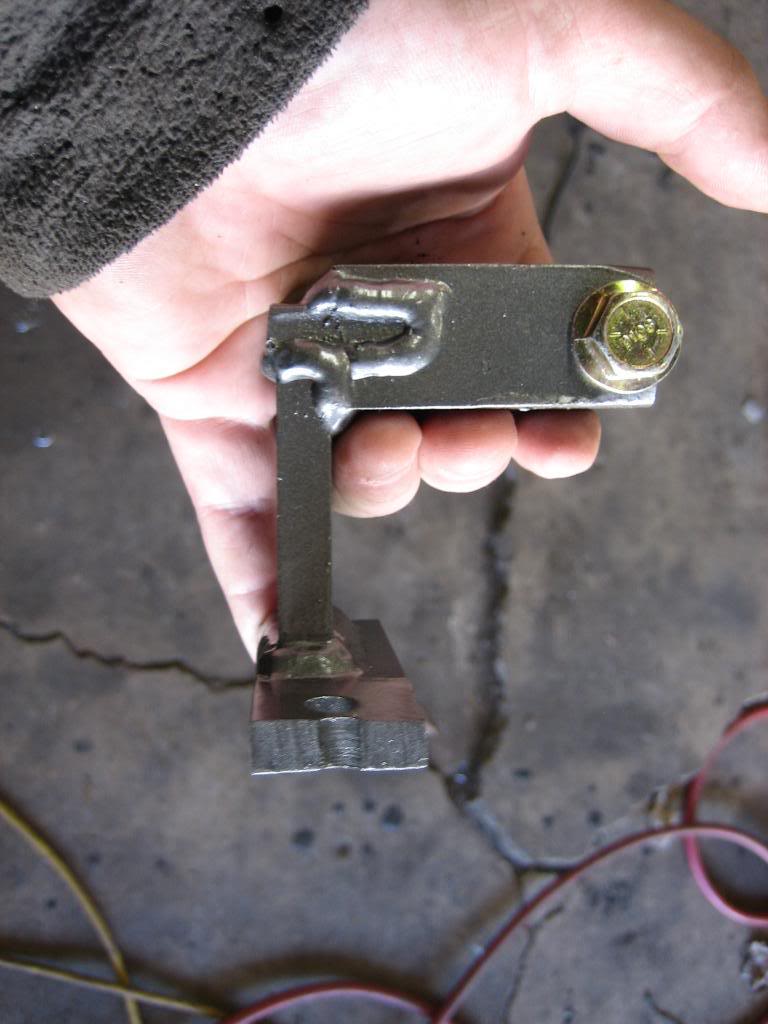
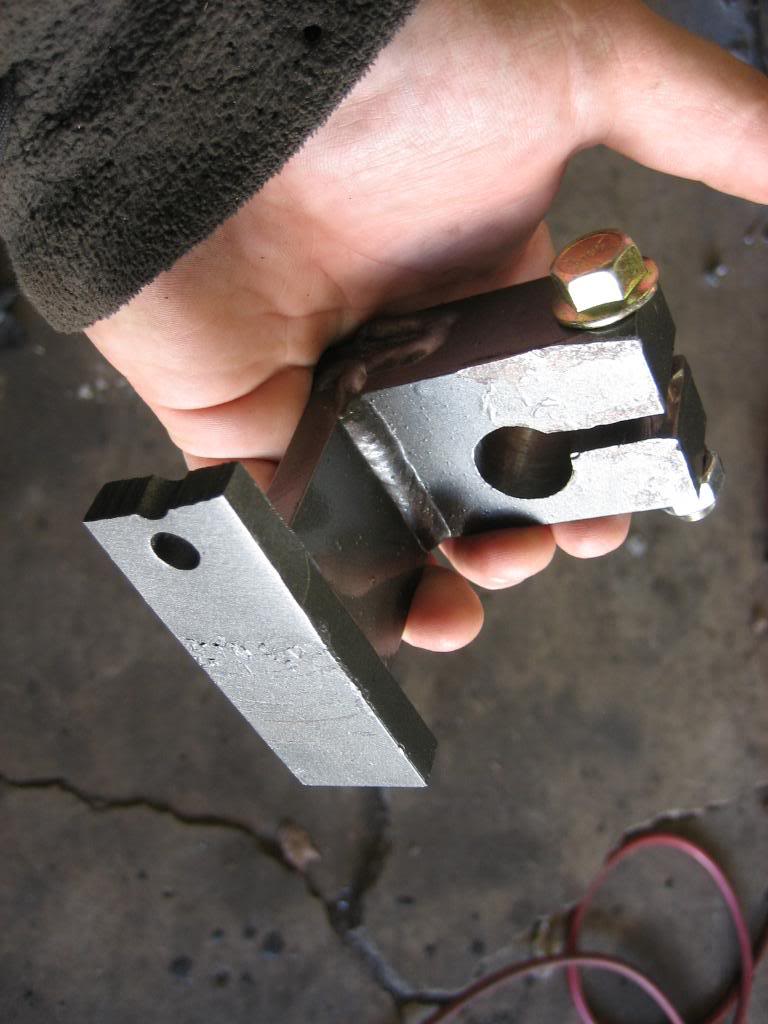
The grey arm is the link arm off the factory clutch pedal rod. I cut it from a solid block of 1"X2", and then welded on some 3/8" plate to make the rest. I slotted it and burned it in all the way around to give it plenty of strength.
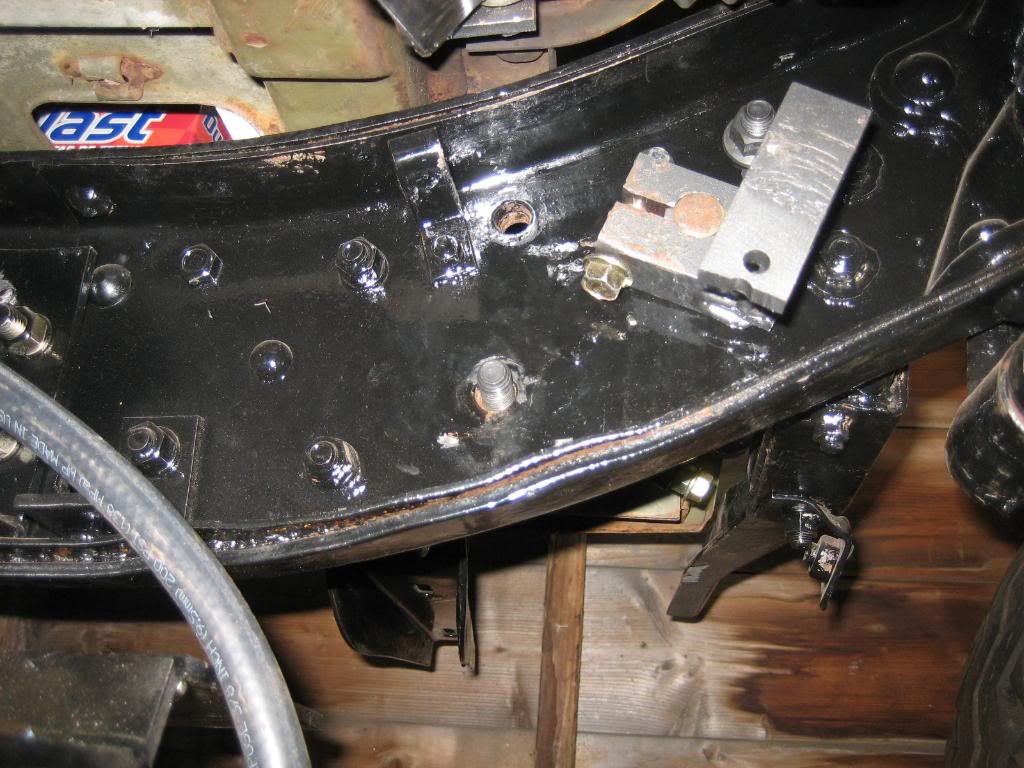
Pedal travel is perfect. Pedal sits right in the middle of the adjustment on the rod to pedal, and I have adjustment at the MC rod to fork. The pedal bottoms against the floor at the same point that the MC bottoms:
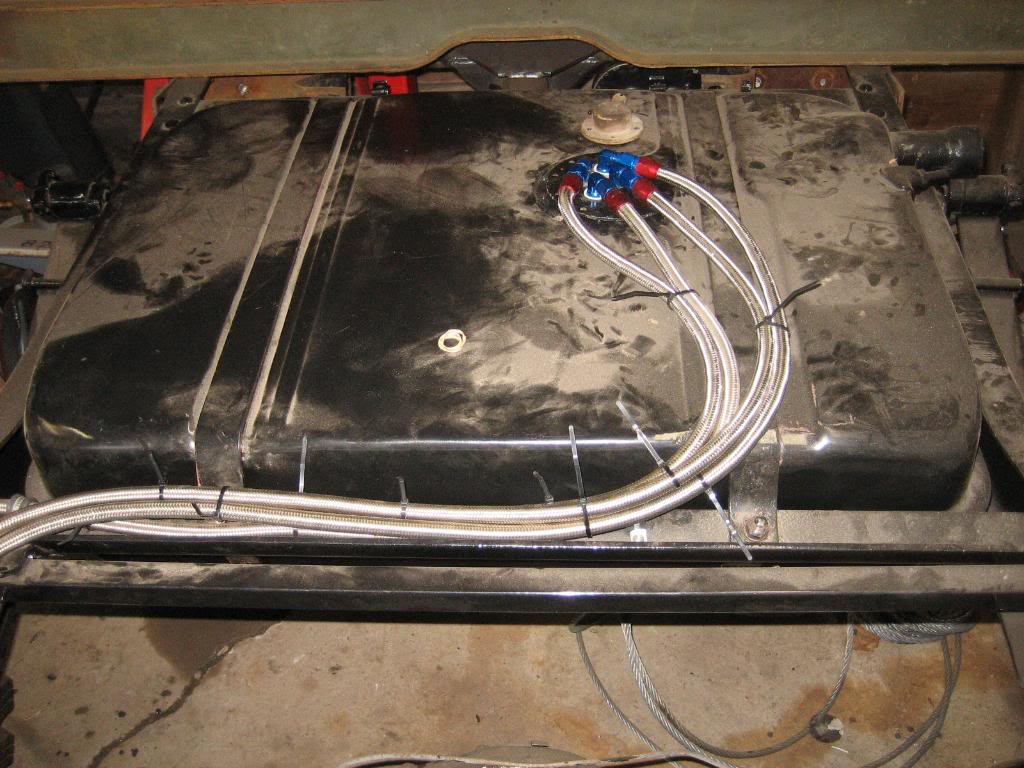
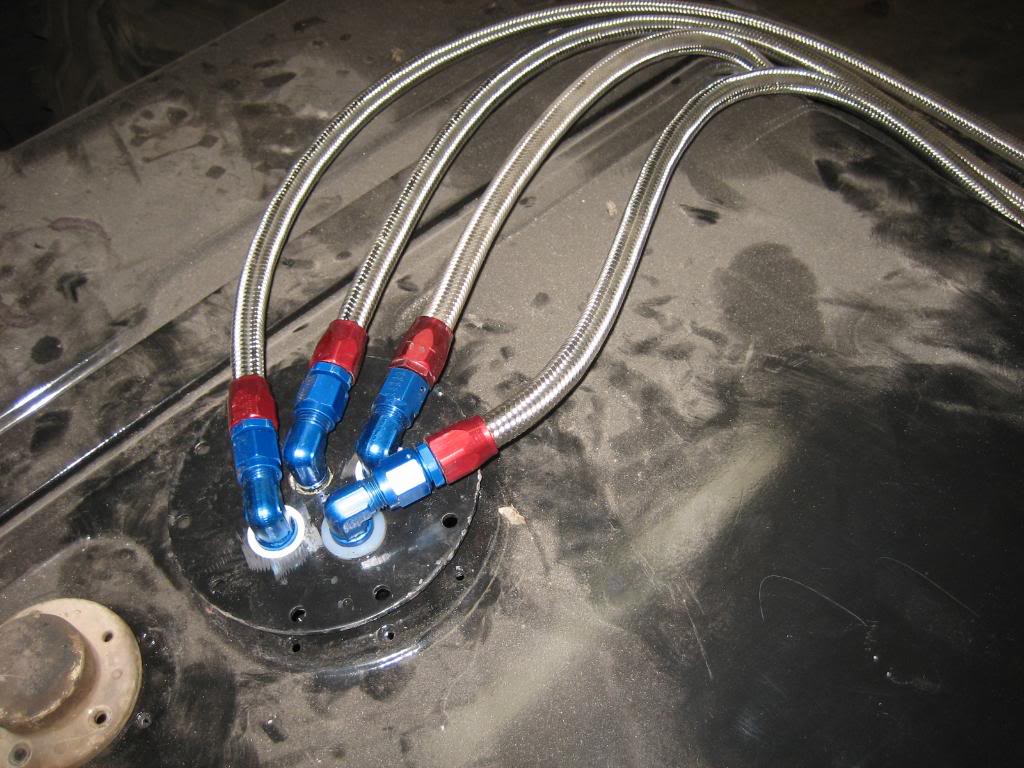
Also did some work on the fuel system. Got my 4 lines set up on the tank cap. The two on the drivers side are returns, and the two on the passengers side are feeds.
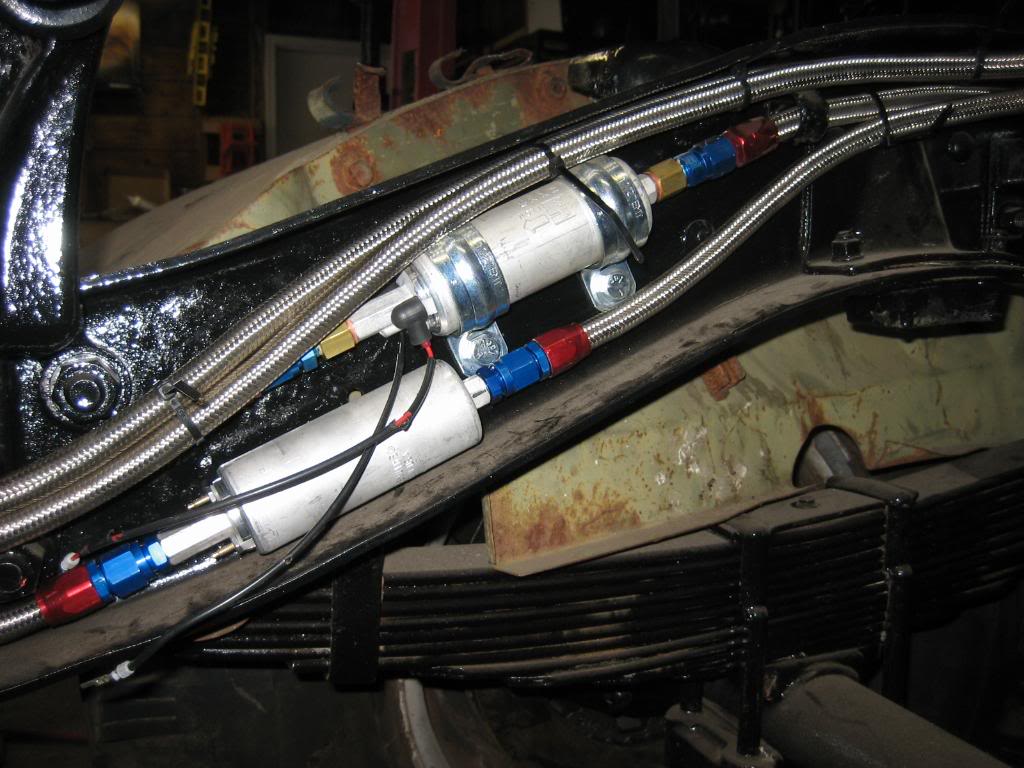
Dual fuel pumps. Lower one is not the right one, it's a spare from another project, but it happens to be the same type as the right one (Walbro GLS392) so it makes a good mock up:
I am not too impressed with the coverage of the POR 15. I see surface rust coming through the seams everywhere, and it's irritating me to put it lightly. Once I get the cab tub back off I'm going to have to go over the frame and drivetrain with a fine toothed comb and make sure I cover all those spots.
The grey arm is the link arm off the factory clutch pedal rod. I cut it from a solid block of 1"X2", and then welded on some 3/8" plate to make the rest. I slotted it and burned it in all the way around to give it plenty of strength.
Pedal travel is perfect. Pedal sits right in the middle of the adjustment on the rod to pedal, and I have adjustment at the MC rod to fork. The pedal bottoms against the floor at the same point that the MC bottoms:
Also did some work on the fuel system. Got my 4 lines set up on the tank cap. The two on the drivers side are returns, and the two on the passengers side are feeds.
Dual fuel pumps. Lower one is not the right one, it's a spare from another project, but it happens to be the same type as the right one (Walbro GLS392) so it makes a good mock up:


Thread Starter
1.0 BAR
Joined: Feb 2003
Posts: 461
From: Wisconsin
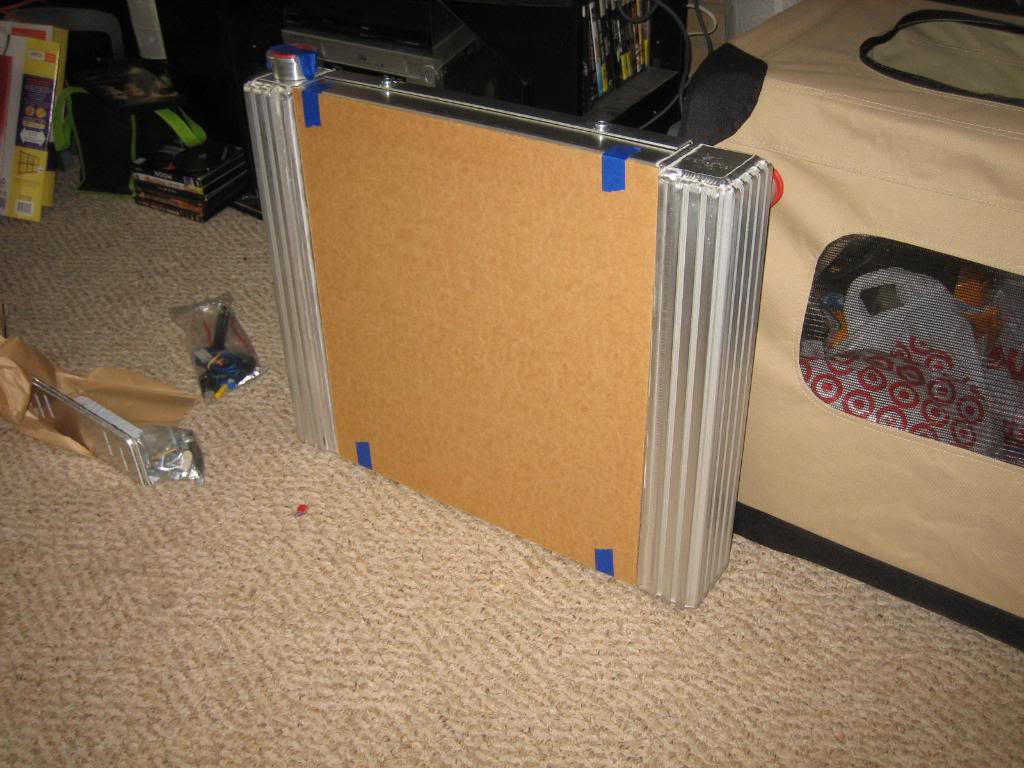
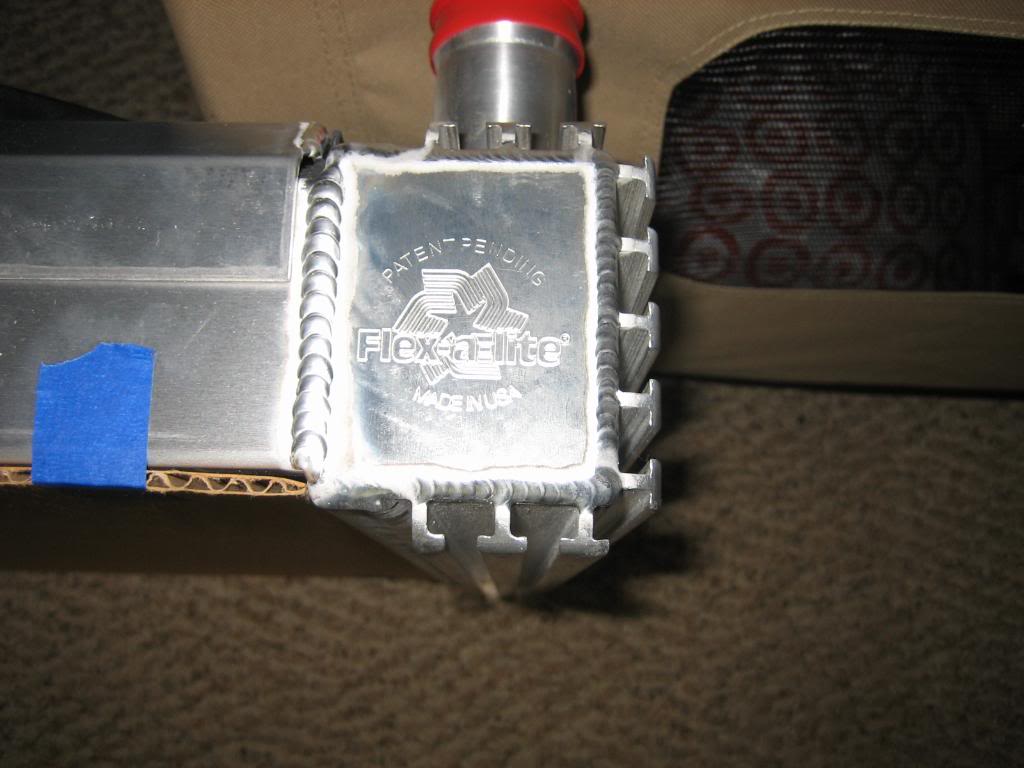
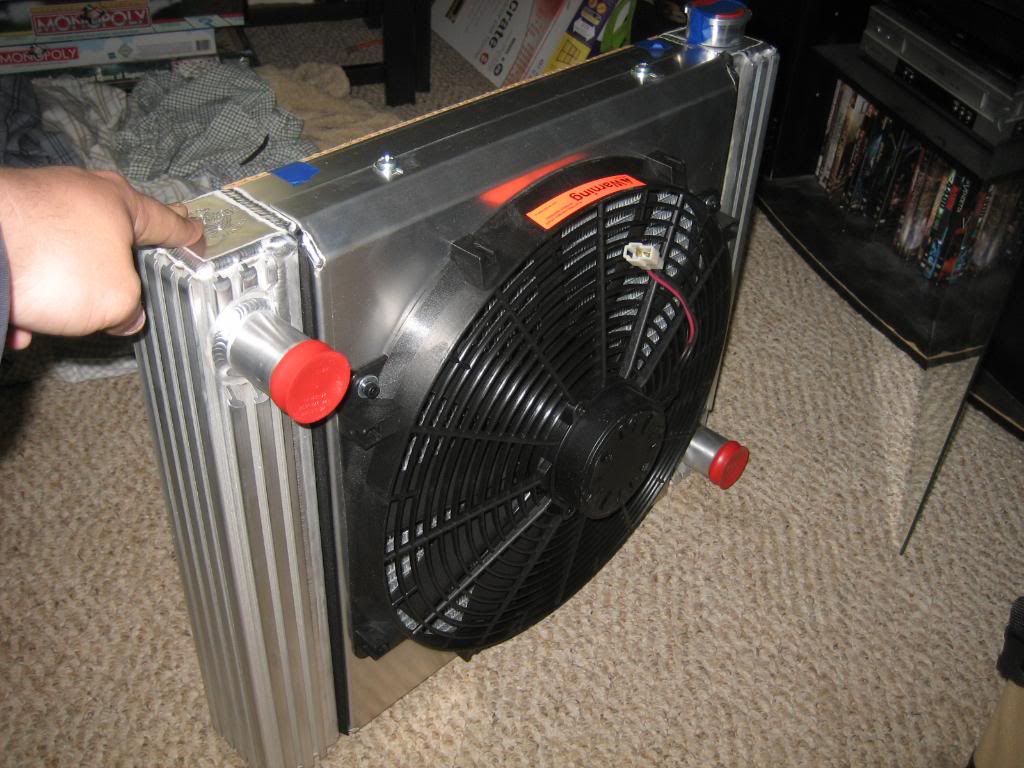
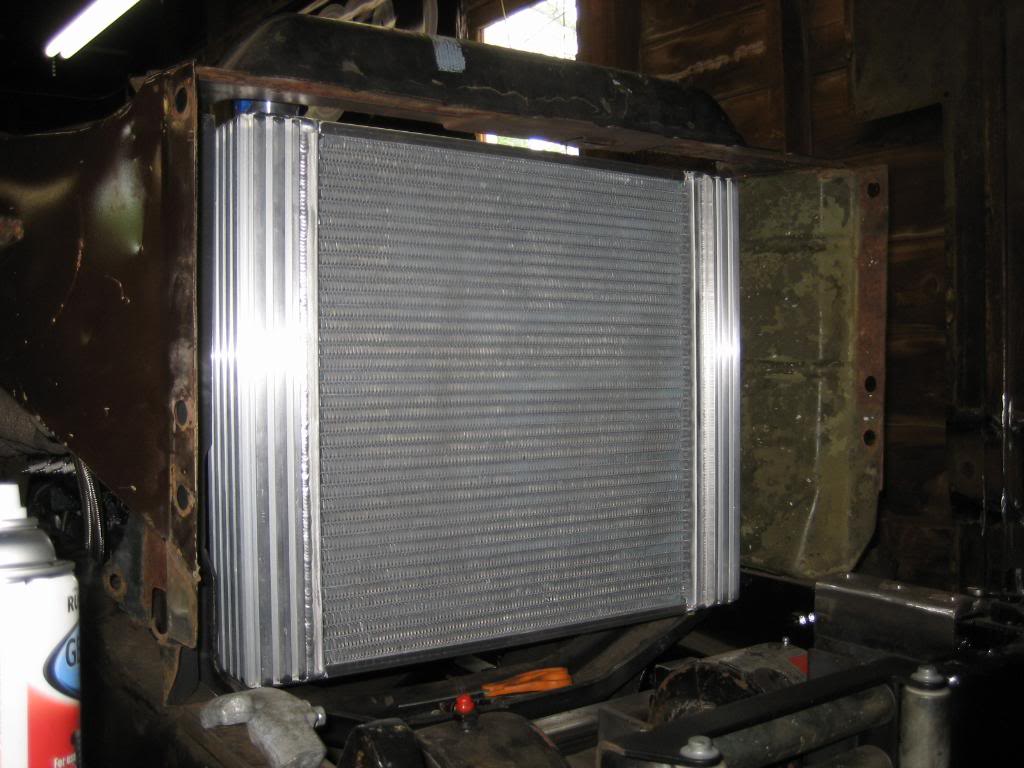
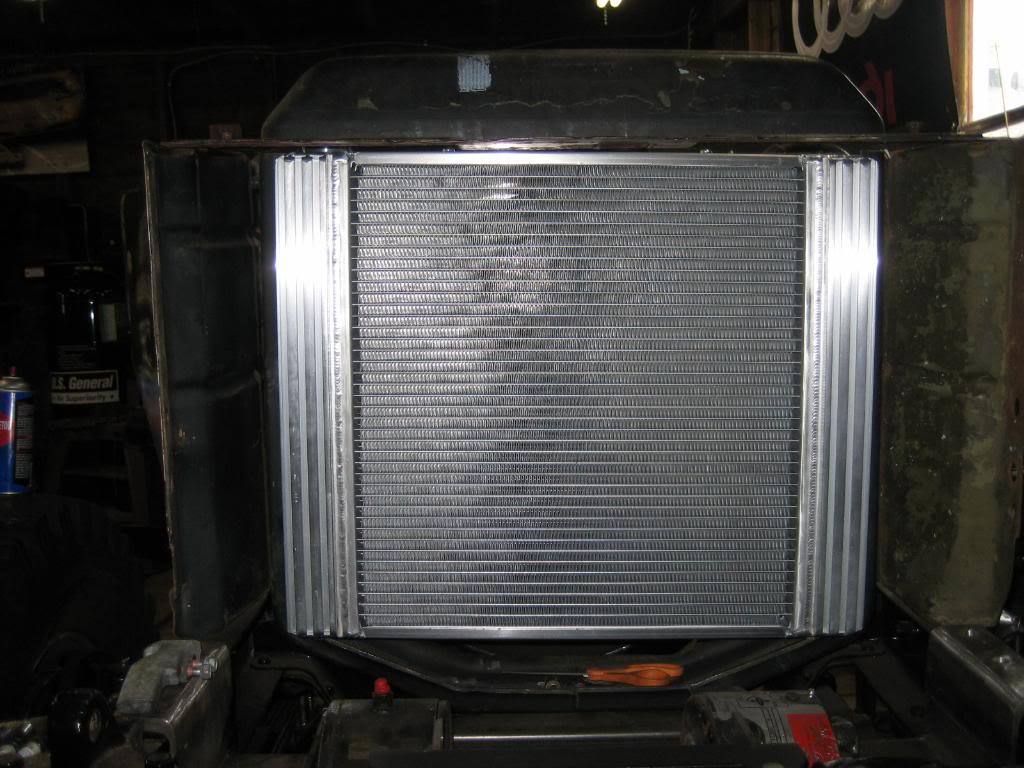
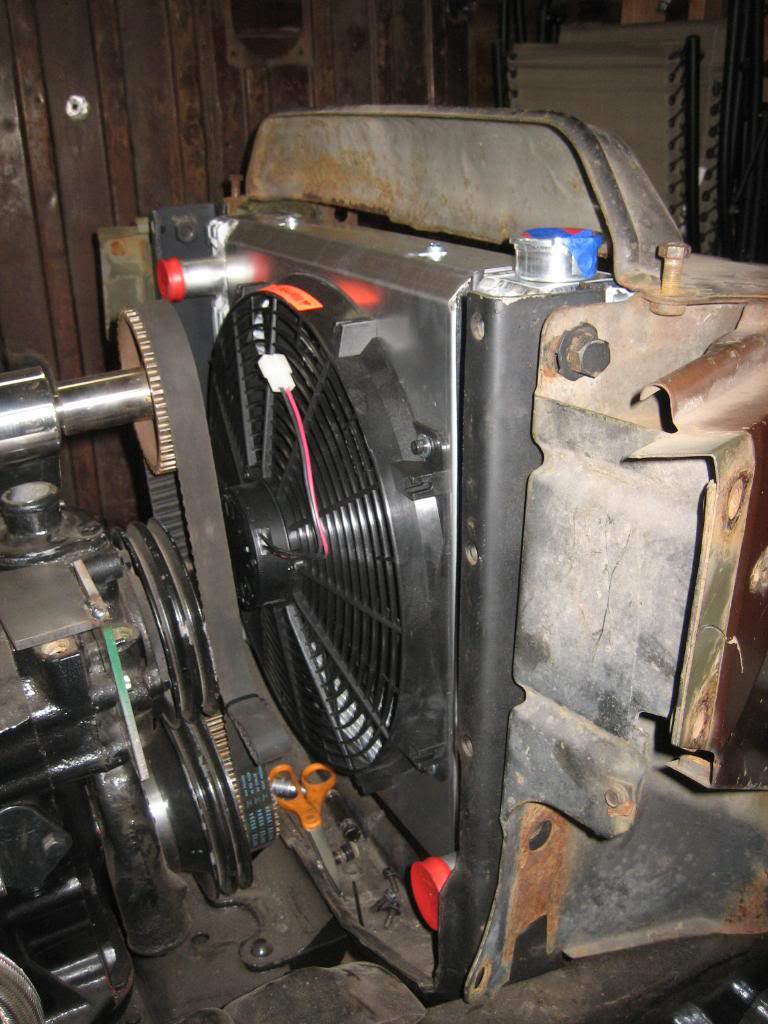
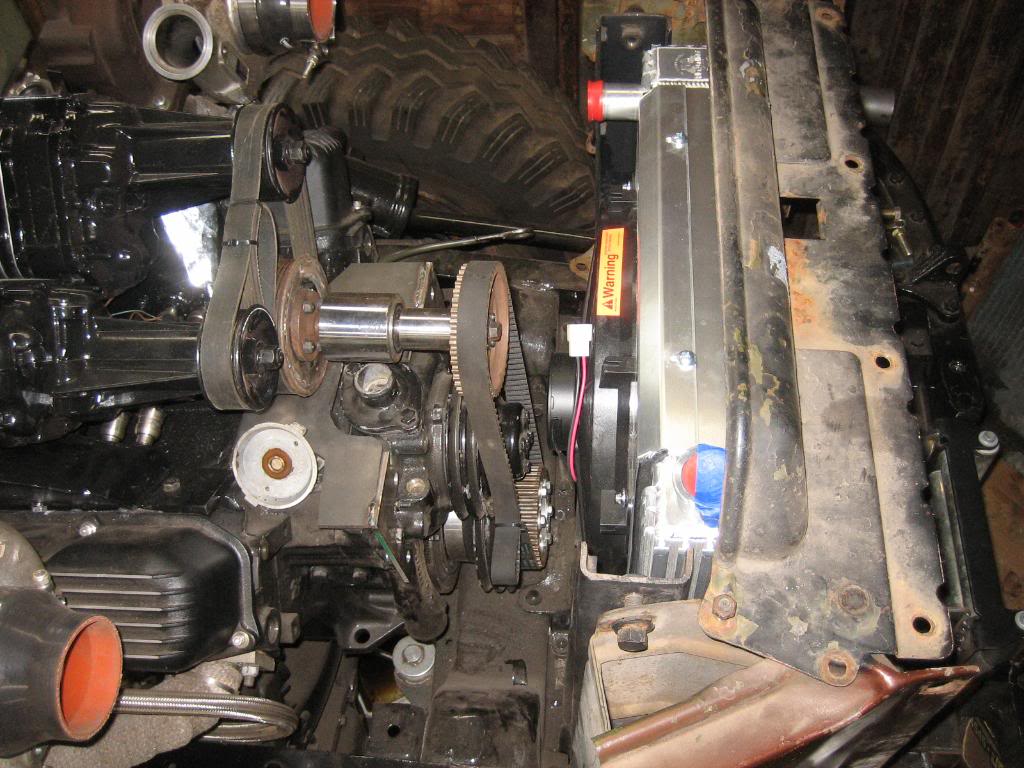
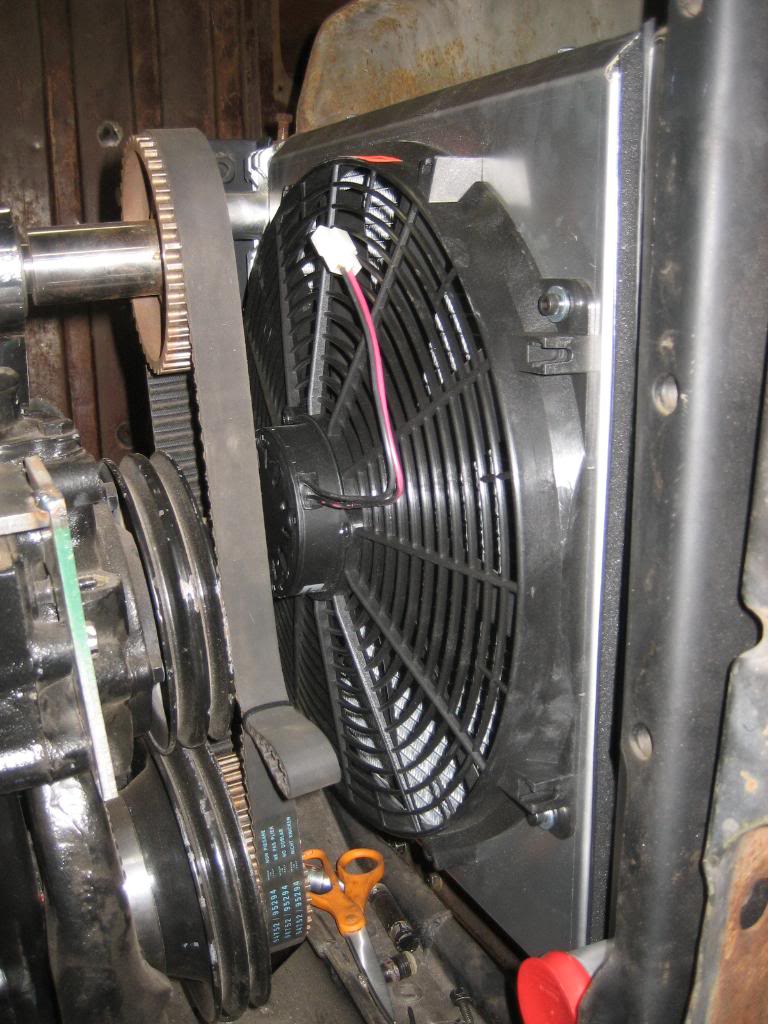
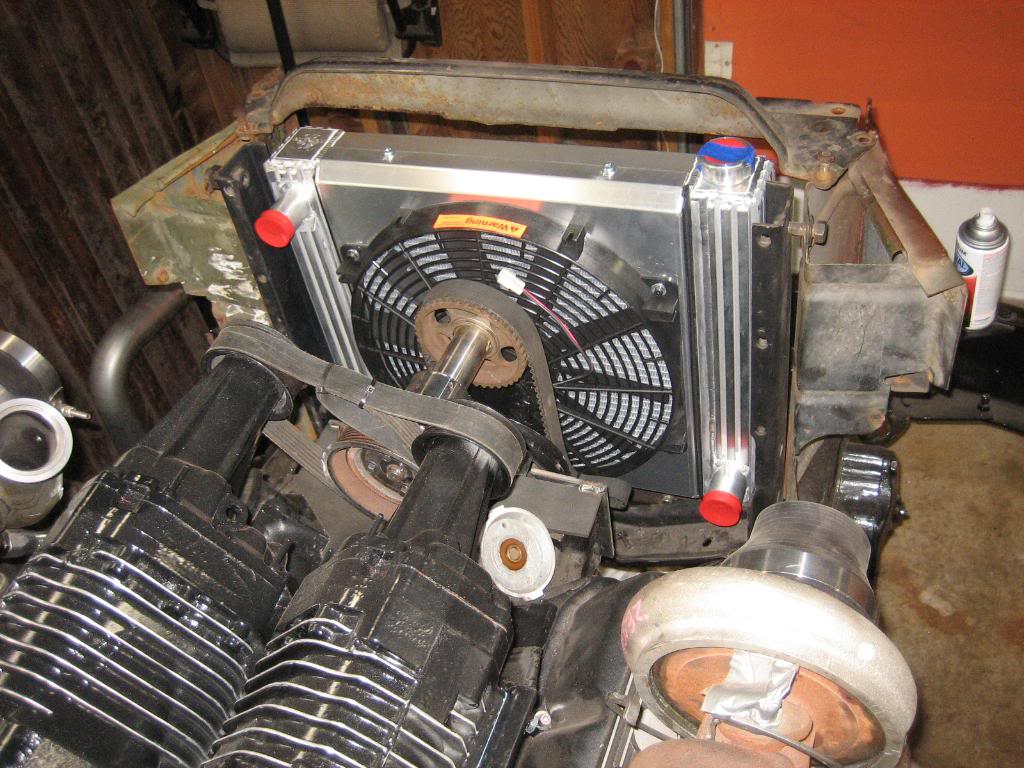
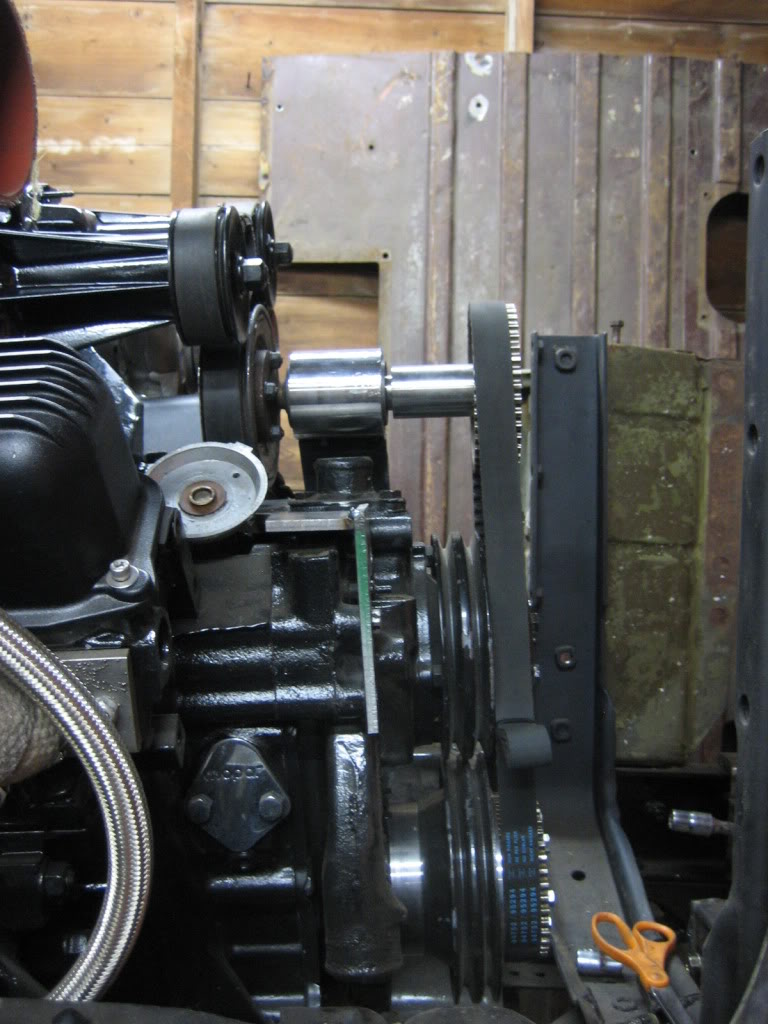
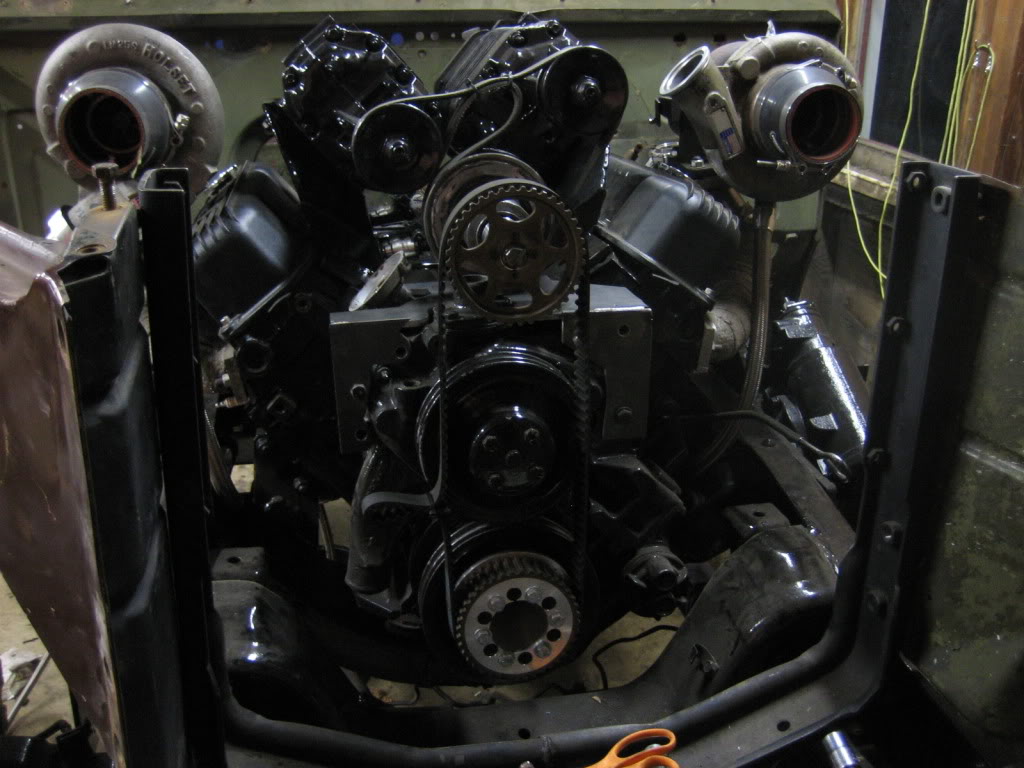
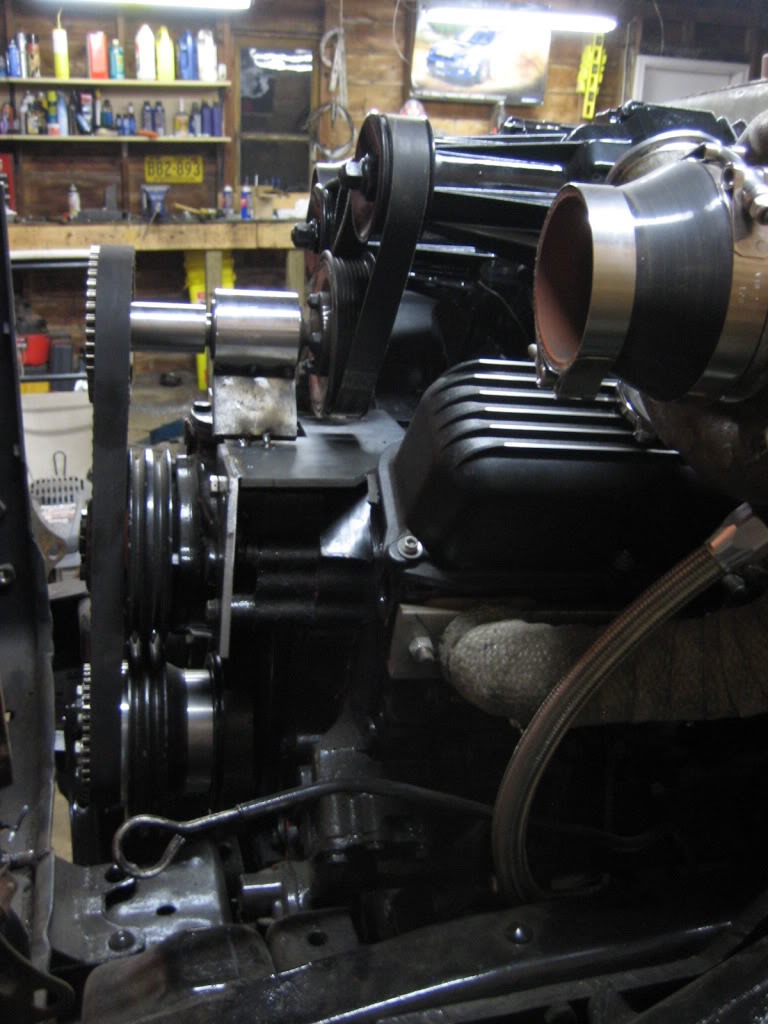
ordered the radiator... fits PERFECT. Sides drag on the stock core support on the way in. Beast is made in the USA by Flex-a-lite, and comes with a 3K CFM fan on the backside that could be relocated to the front if needed with the included parts. I'll leave it on the back side, as I like the looks better. Rated to 600 HP continuous. If you look at the tanks, you'll see they have a unique way of mounting. the T grooves are there for mounting with the hardware they include. comes with brackets, hardware, electric fan plug and wires, fueses etc, everything EXCEPT a friggin radiator cap. :roll: Kinda bummed about that, but, oh well. VERY nice piece, and would still order it again.