Power Wagon Rebuild (Update: 11/5/08)
#73
#77
cool, just shoot a PM over, I dont mind visitors at all. I'll be working on the headers here for a bit... I'm leaning towards doing Megasquirt EFI with Ford EDIS ignition now... I hate carbs... lol.
#78
no new update, other than to say I'm still working on those damn stainless flanges, and, my credit card bill went from $450 to paid off to $450 at light speed, lol... I got paid, paid it off, and then bought the turbo flanges, the oil line fittings, and the weld fittings, all in a matter of 20 mintes lol... but, I have all I need now to finish the headers and the turbo mounts. Now I just need the wastegates, and the second turbo, and the exhaust side/oiling will be all done. I need to decide if I'm going to do EFI or carb before I work on the intake side too much. I'm still leaning towards Megasquirt, with the EDIS ignition at this point.
#79
Finally, an update! Between being on the road all week for work, and working on house projects, I haven't touched it in a week!
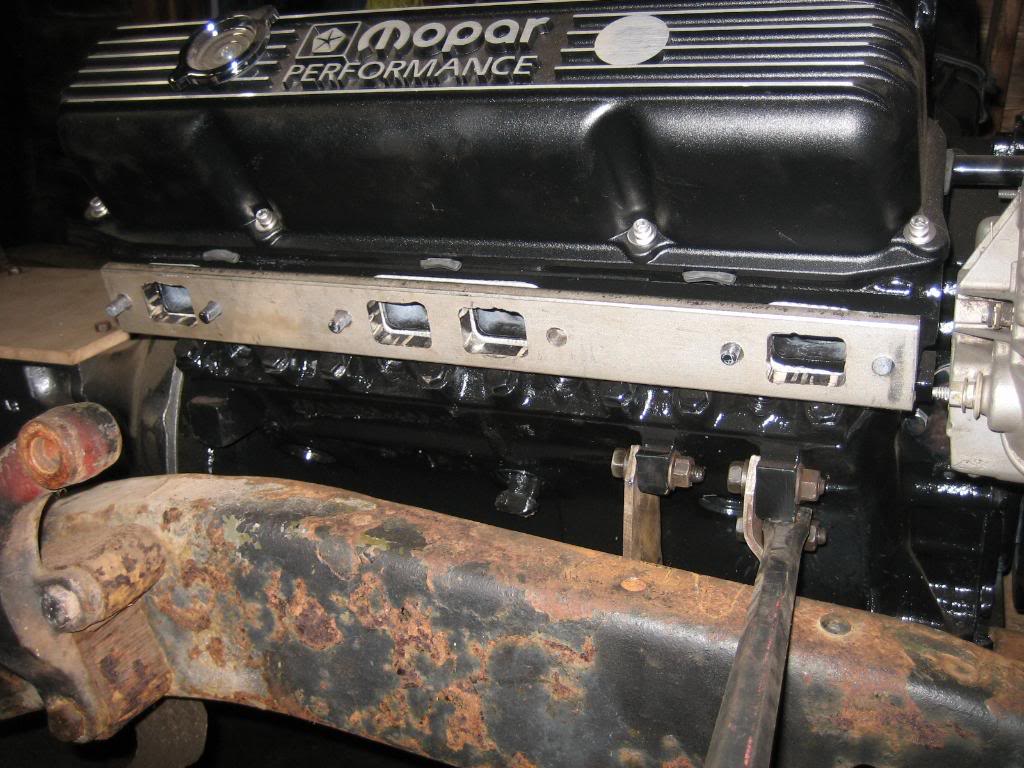
Got the header flanges done, just in time too, as the material to make the rest of the headers should show up monday or tuesday. I need to get some SS mig wire. My dad brought down my brother's old scrap 440 head, so, I have a spare head to bolt the flanges to to weld it on, which will work as a nice heat sink to keep the warpage to a minimum.
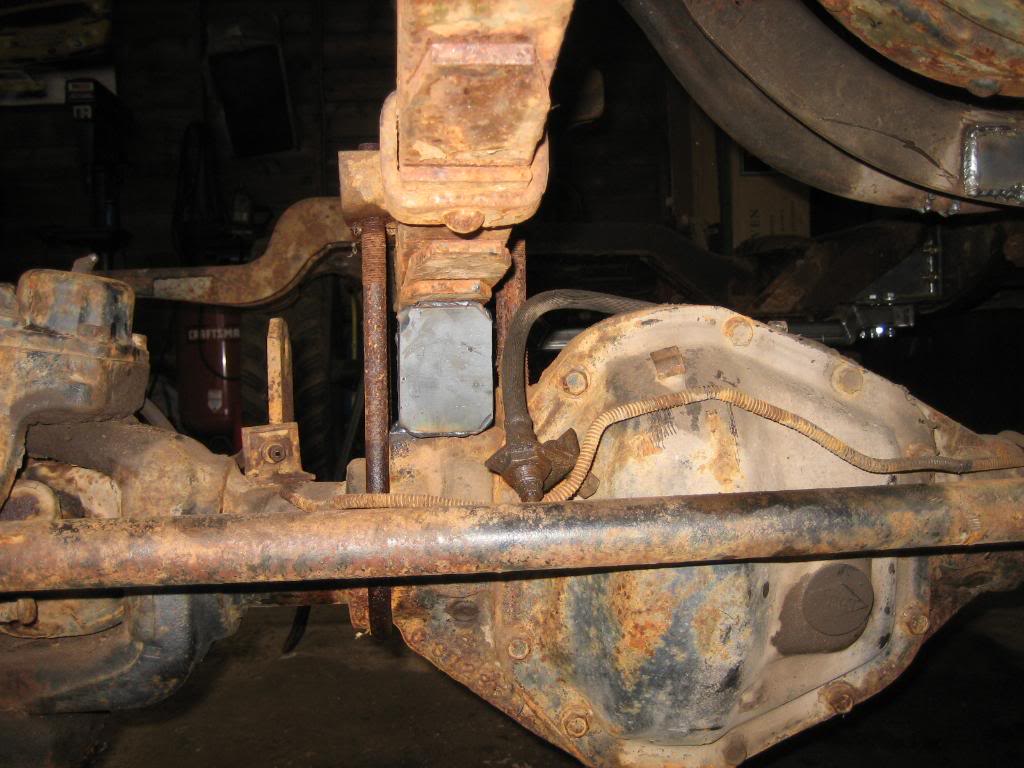
I also replaced the old lift blocks in the front axle... I know, I've heard everyone say you shouldn't use them, but, It's always "My dad's uncles, brothers best friend used em and got in a bad wreck" or, in other words, I've never seen a REAL story about them. And, besides, they came factory on Deuce and a half 6X6's, so, how bad can they really be?
New blocks, boxed on the ends, welded the nut on the inside for the spring pack bolt:
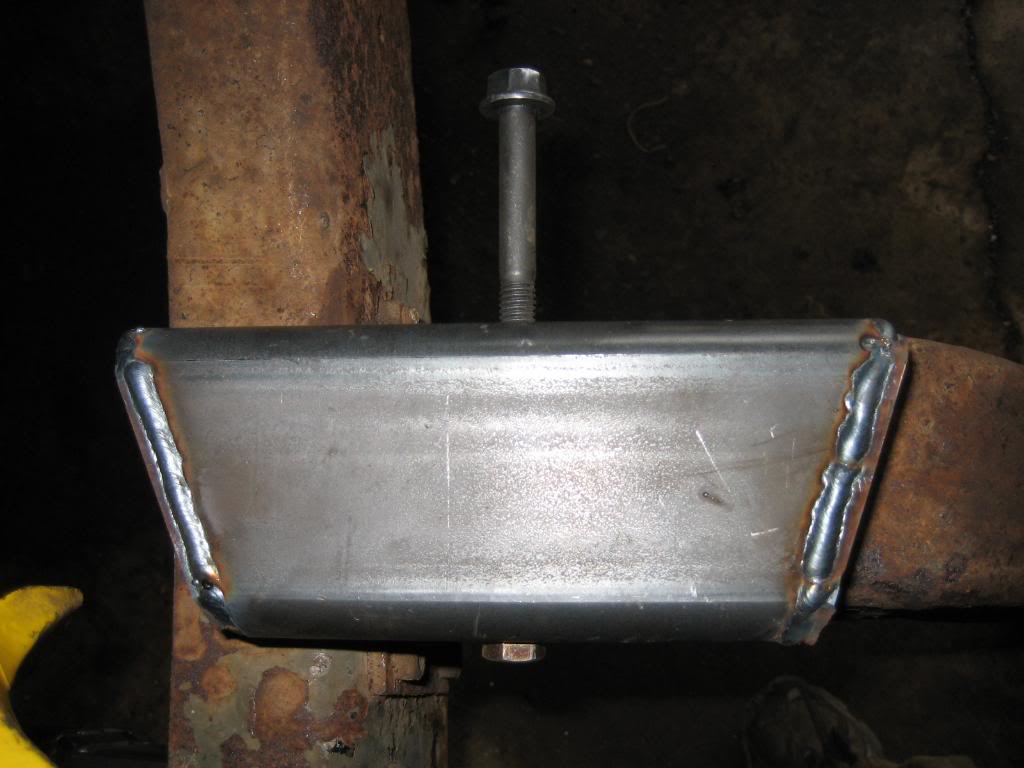
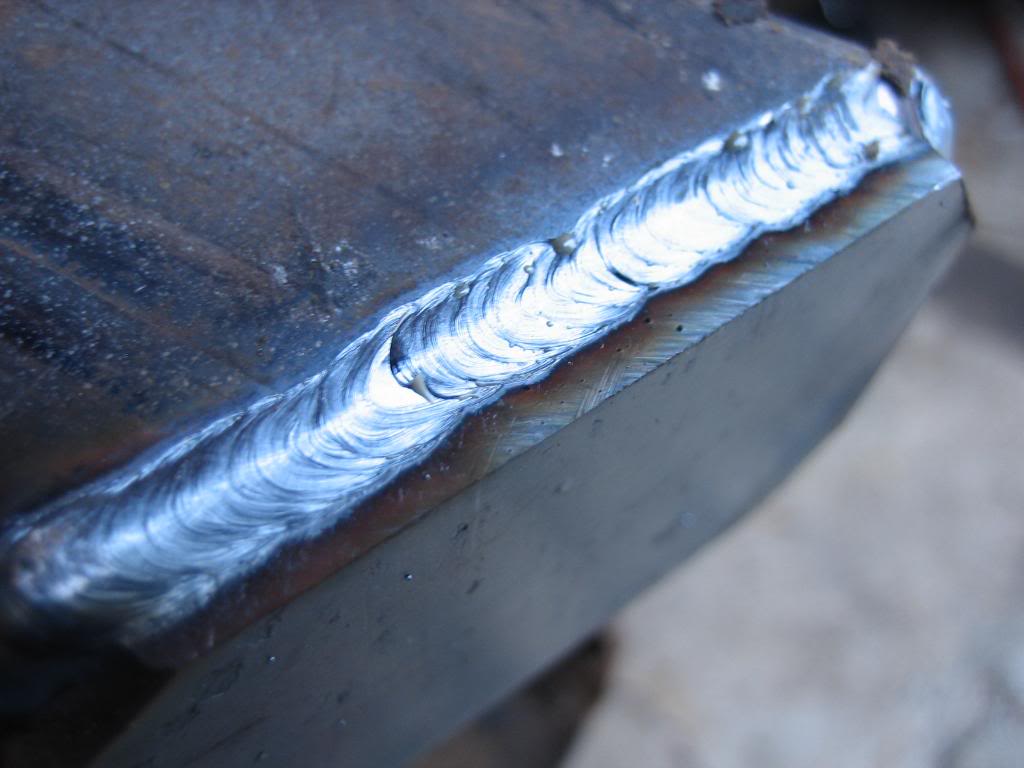
Decent welds:
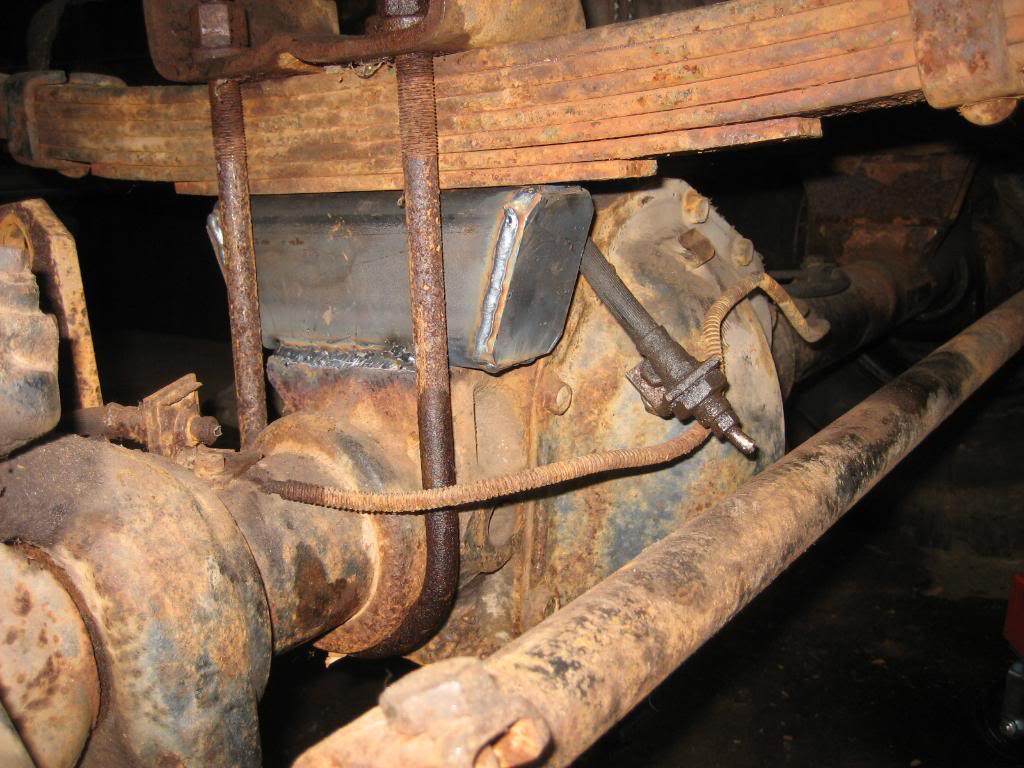
Welded it to the spring perch on the passenger's side. If you look carefully, you can see the weld cracked on cooling, but, it provides an interface to prevemt the block from rotating, as the U bolts are far from the block on each side, and gave it room to wiggle before. The driver's side doesnt have this issue, as the U bolts almost touch the block on that side.
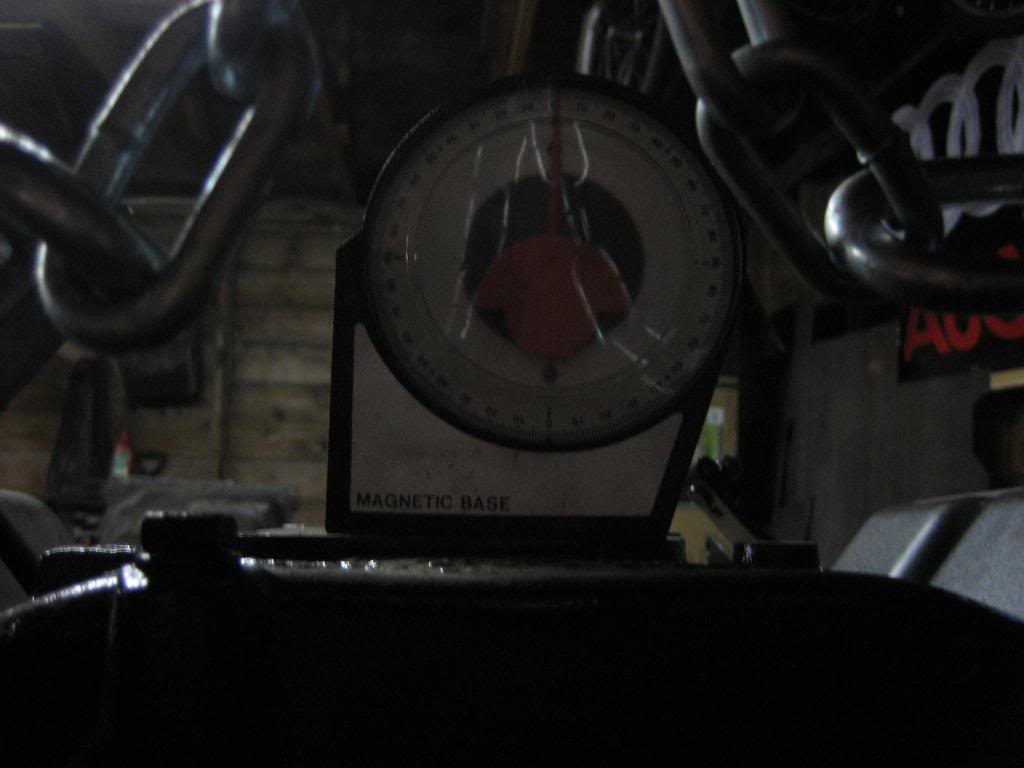
Finally, I put the engine back in to verify the location (I'm going to start keeping track of how many times I move that 1200 lb beast, as I've had to have put it in the frame at least 1/2 a dozen times by now). Very happy with how it sits, it is on plane left to right, and is almost on plane front to rear:
Bolted the trans mount down tight, looks good:
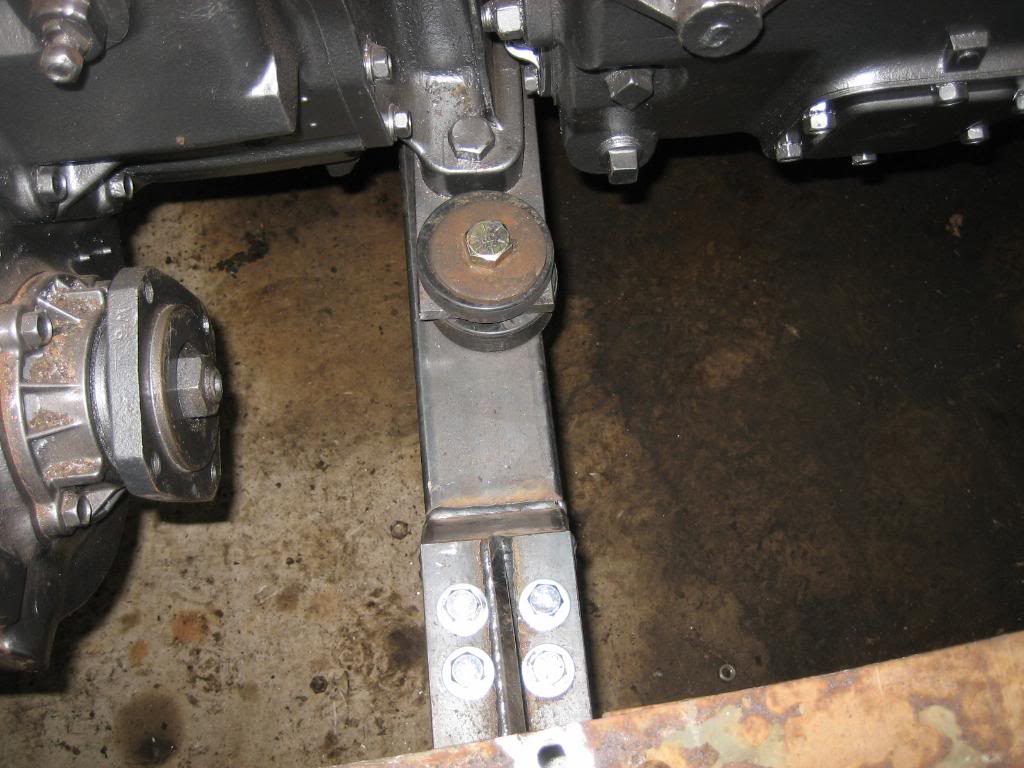
Bolts are long on purpose, It will be the mount point for the skid plate:
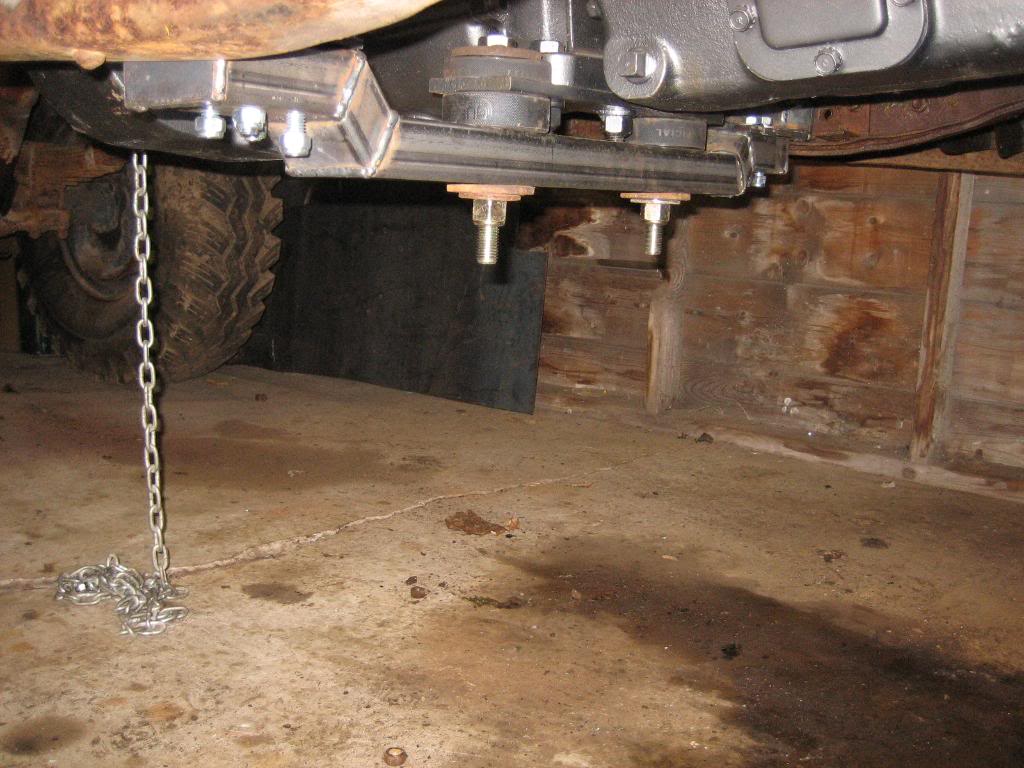
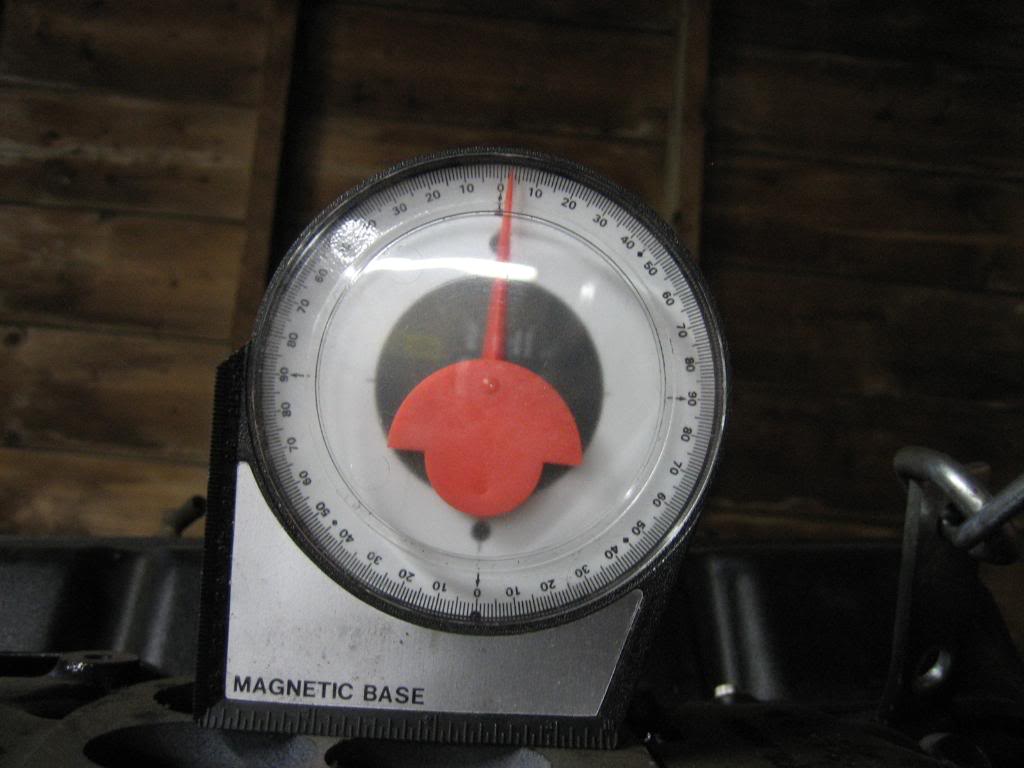
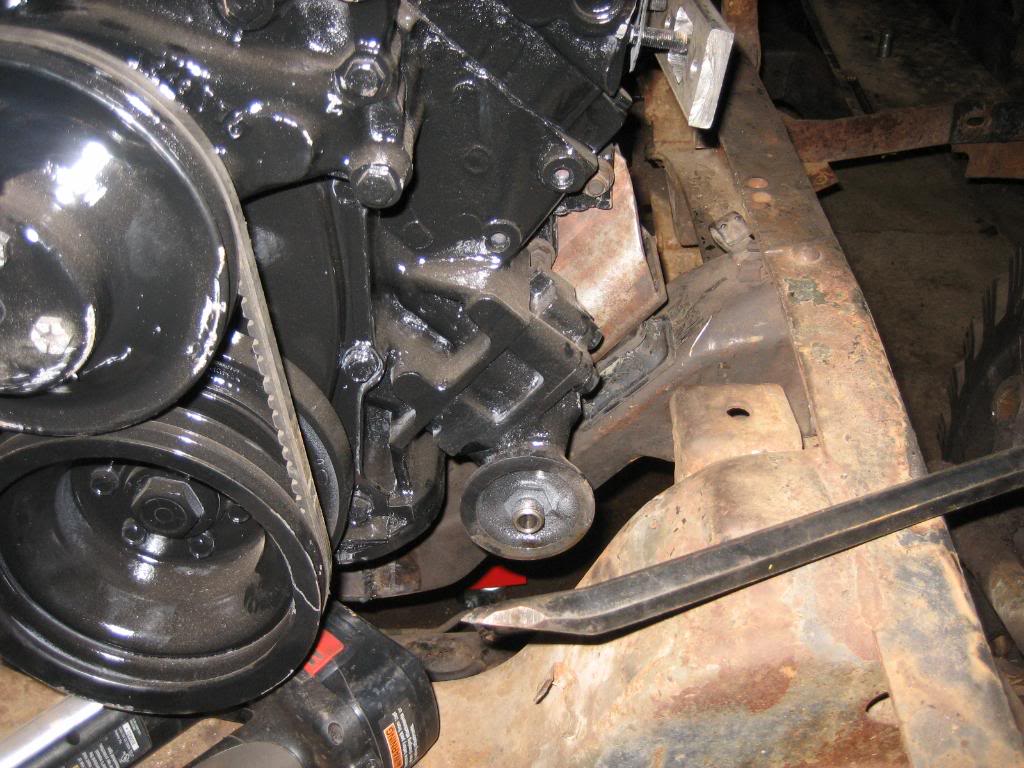
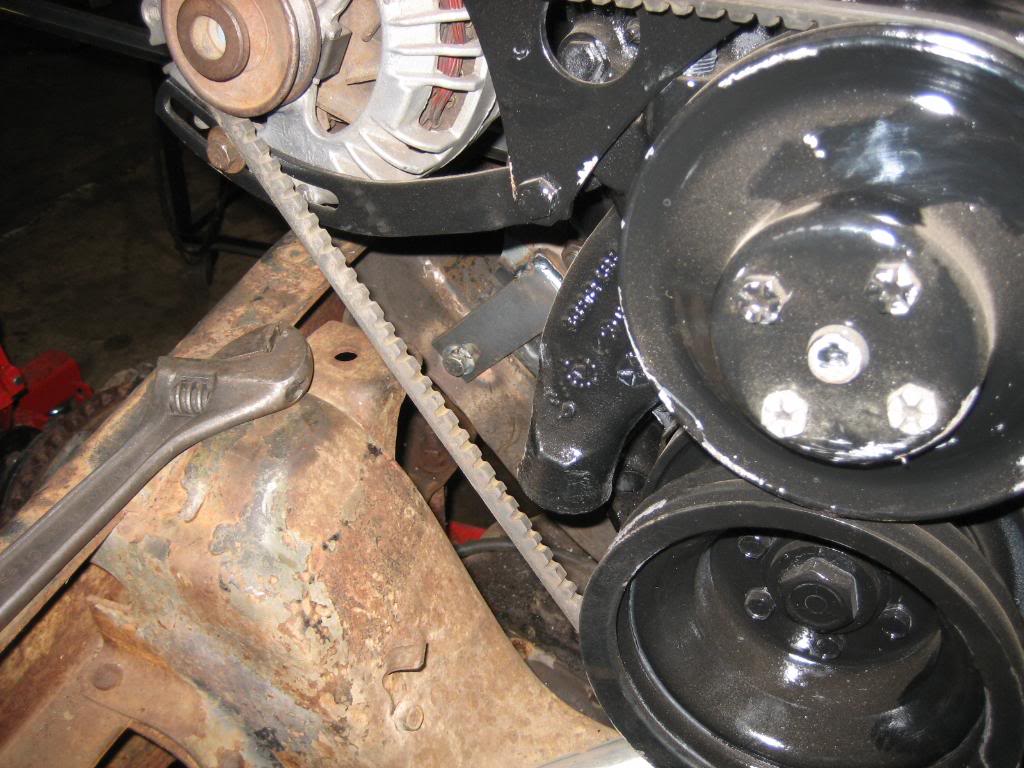
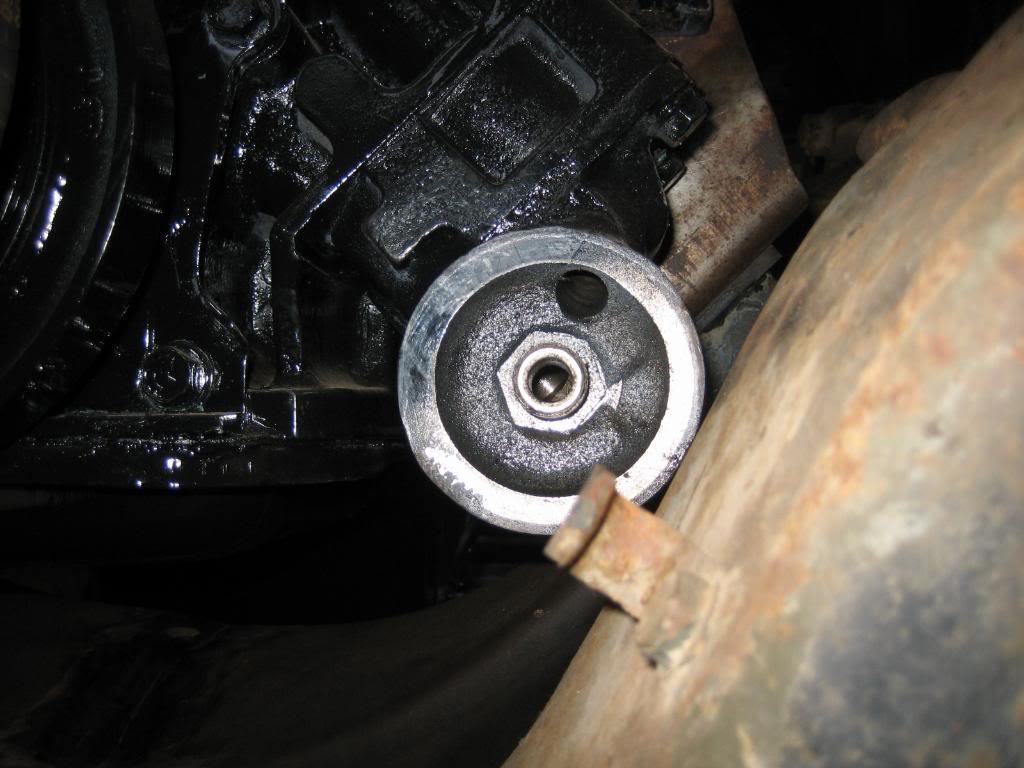
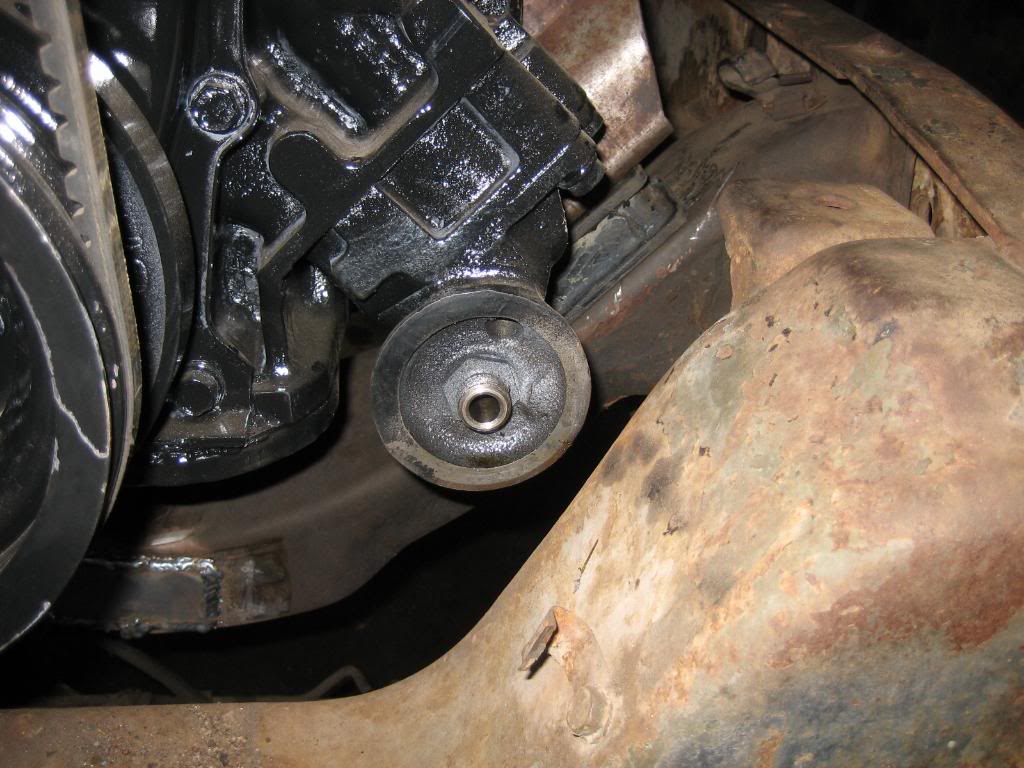
Still have the issue with the oil filter... I'm going to see if I can get a relocation kit to fit, so I dont have to modify the frame crossmember:
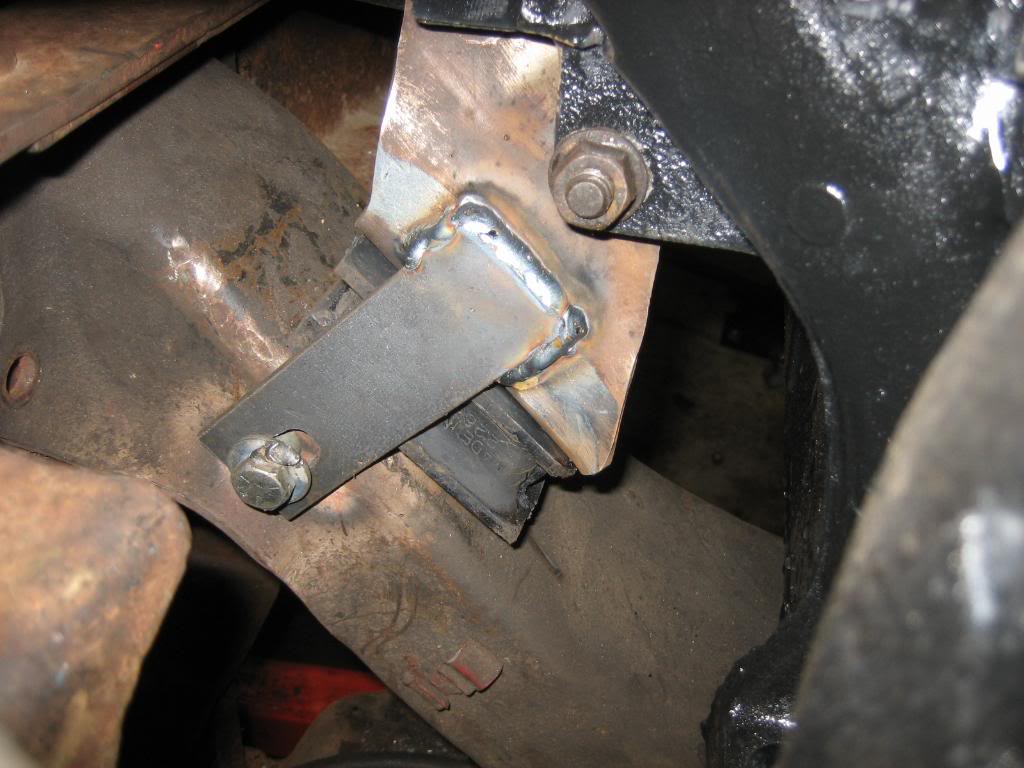
I got the front mount location finalized, as well as made a torque limiter for the engine. I've seen muscle cars use chains, or, cables, but, it always looks sloppy, so, I used a 3/16" thick, 1 1/2" wide plate, welded it to the motor mount, then drilled a slotted hole, and passed a 7/16" shank bolt through. I used a longer bolt, where some of it isnt threaded, and cut the threads off at the thickness of a nut. I then drilled the crossmember at the top of the slotted hole, but, left it a bit down, so there was no contact with the bolt to the bracket. I then welded the nut to the backside of the crossmember mount hole, and put the cut bolt through, and tightened it down. Now, the engine can only move about 3/4-1" upwards before the limiter strap restrains it. Hopefully it will work as I plan, and it'll keep the 500 HP monster from introducing itself into the hood, or, worse, ripping the motor mounts. Below are pictures and a video of the limiter.

Video:

Got the header flanges done, just in time too, as the material to make the rest of the headers should show up monday or tuesday. I need to get some SS mig wire. My dad brought down my brother's old scrap 440 head, so, I have a spare head to bolt the flanges to to weld it on, which will work as a nice heat sink to keep the warpage to a minimum.

I also replaced the old lift blocks in the front axle... I know, I've heard everyone say you shouldn't use them, but, It's always "My dad's uncles, brothers best friend used em and got in a bad wreck" or, in other words, I've never seen a REAL story about them. And, besides, they came factory on Deuce and a half 6X6's, so, how bad can they really be?
New blocks, boxed on the ends, welded the nut on the inside for the spring pack bolt:

Decent welds:

Welded it to the spring perch on the passenger's side. If you look carefully, you can see the weld cracked on cooling, but, it provides an interface to prevemt the block from rotating, as the U bolts are far from the block on each side, and gave it room to wiggle before. The driver's side doesnt have this issue, as the U bolts almost touch the block on that side.


Finally, I put the engine back in to verify the location (I'm going to start keeping track of how many times I move that 1200 lb beast, as I've had to have put it in the frame at least 1/2 a dozen times by now). Very happy with how it sits, it is on plane left to right, and is almost on plane front to rear:
Bolted the trans mount down tight, looks good:

Bolts are long on purpose, It will be the mount point for the skid plate:


Still have the issue with the oil filter... I'm going to see if I can get a relocation kit to fit, so I dont have to modify the frame crossmember:


I got the front mount location finalized, as well as made a torque limiter for the engine. I've seen muscle cars use chains, or, cables, but, it always looks sloppy, so, I used a 3/16" thick, 1 1/2" wide plate, welded it to the motor mount, then drilled a slotted hole, and passed a 7/16" shank bolt through. I used a longer bolt, where some of it isnt threaded, and cut the threads off at the thickness of a nut. I then drilled the crossmember at the top of the slotted hole, but, left it a bit down, so there was no contact with the bolt to the bracket. I then welded the nut to the backside of the crossmember mount hole, and put the cut bolt through, and tightened it down. Now, the engine can only move about 3/4-1" upwards before the limiter strap restrains it. Hopefully it will work as I plan, and it'll keep the 500 HP monster from introducing itself into the hood, or, worse, ripping the motor mounts. Below are pictures and a video of the limiter.


Video:

#80
Test fitting done today:
Jacked it up 2" and put it on stands to simulate the height when I put the 1100X16 Michelins on... I'm 5'11" with my shoes on... the fornt corner of the cab door opening stands 5'1" off the ground... its BIG:
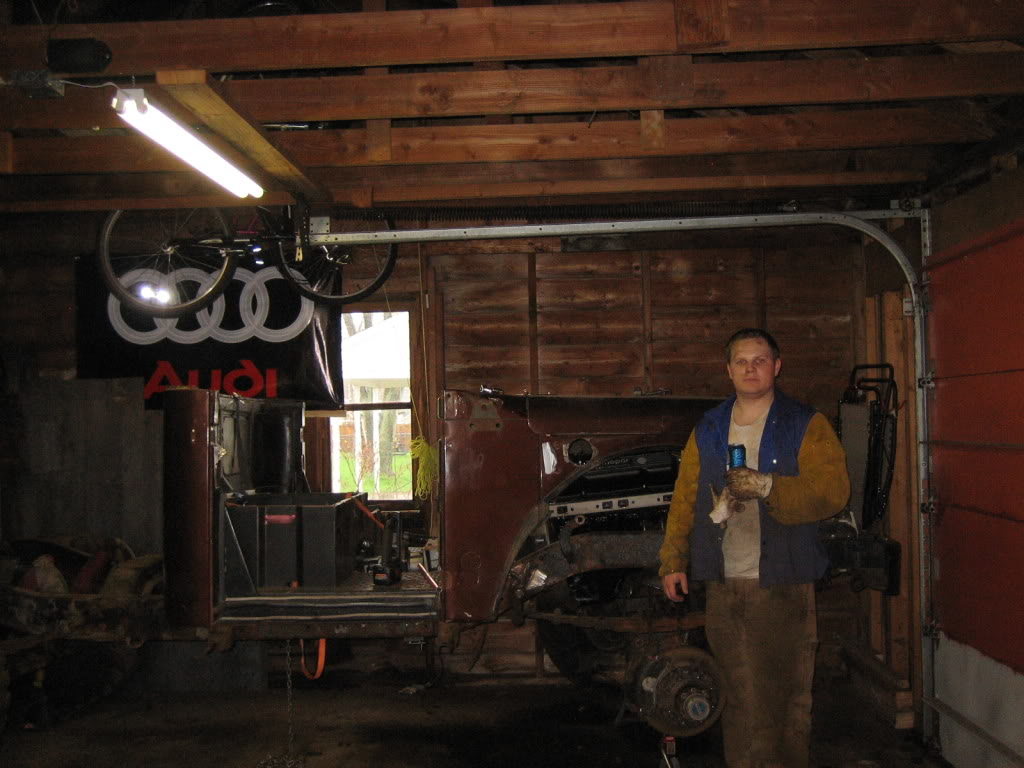
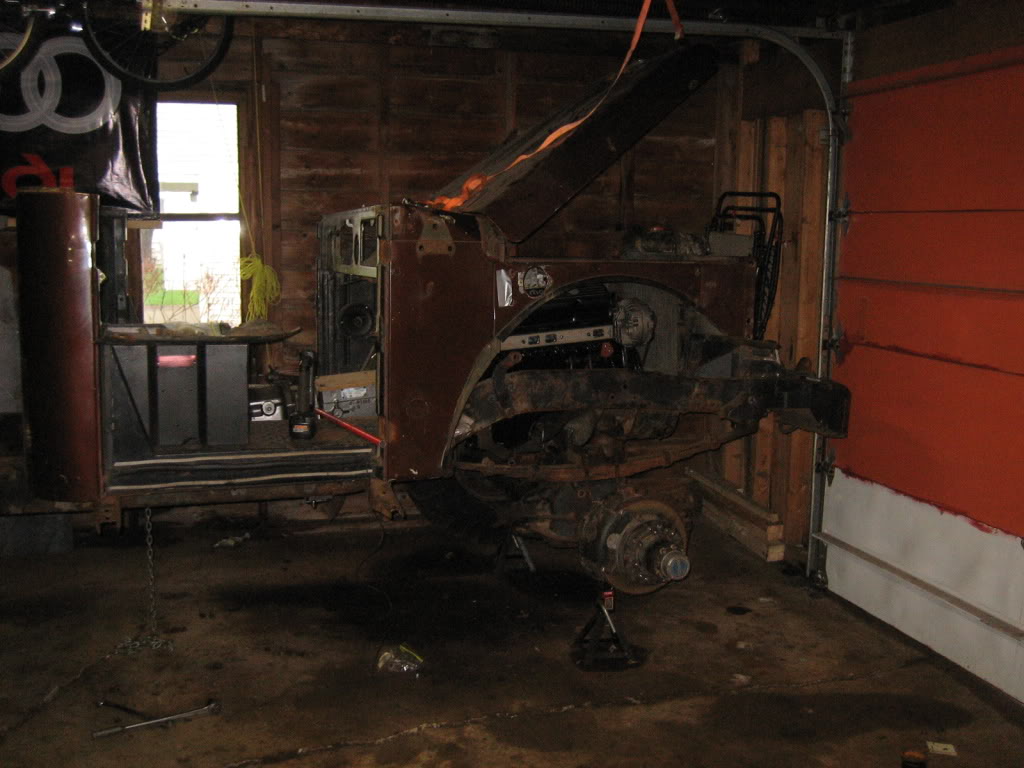
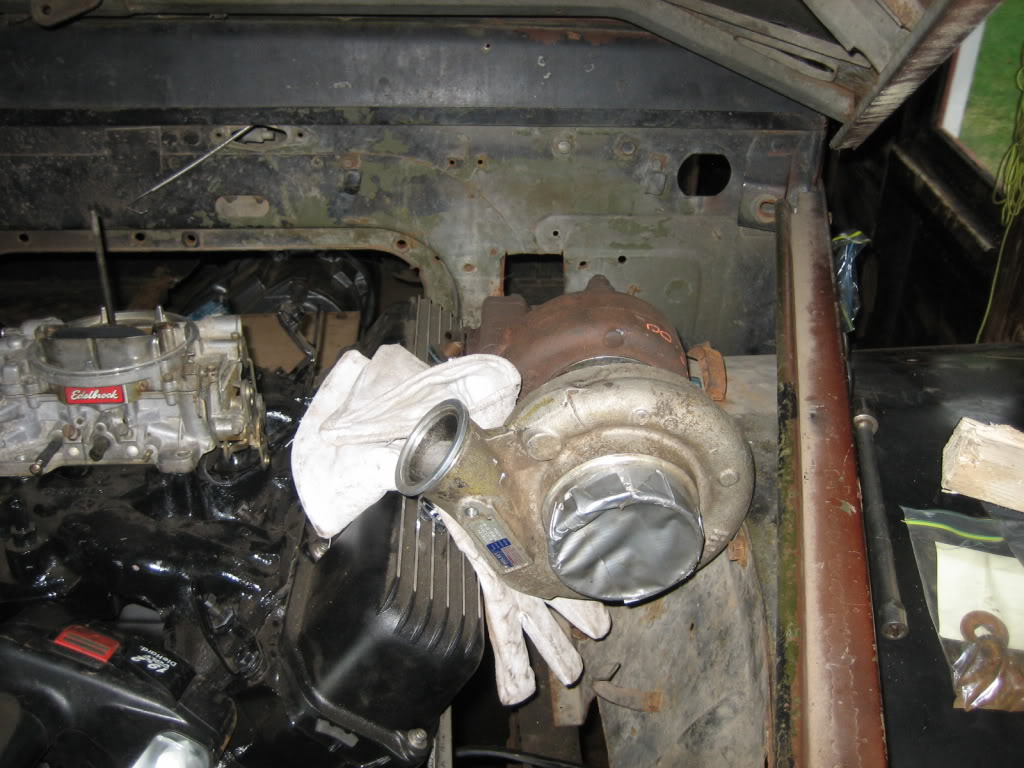
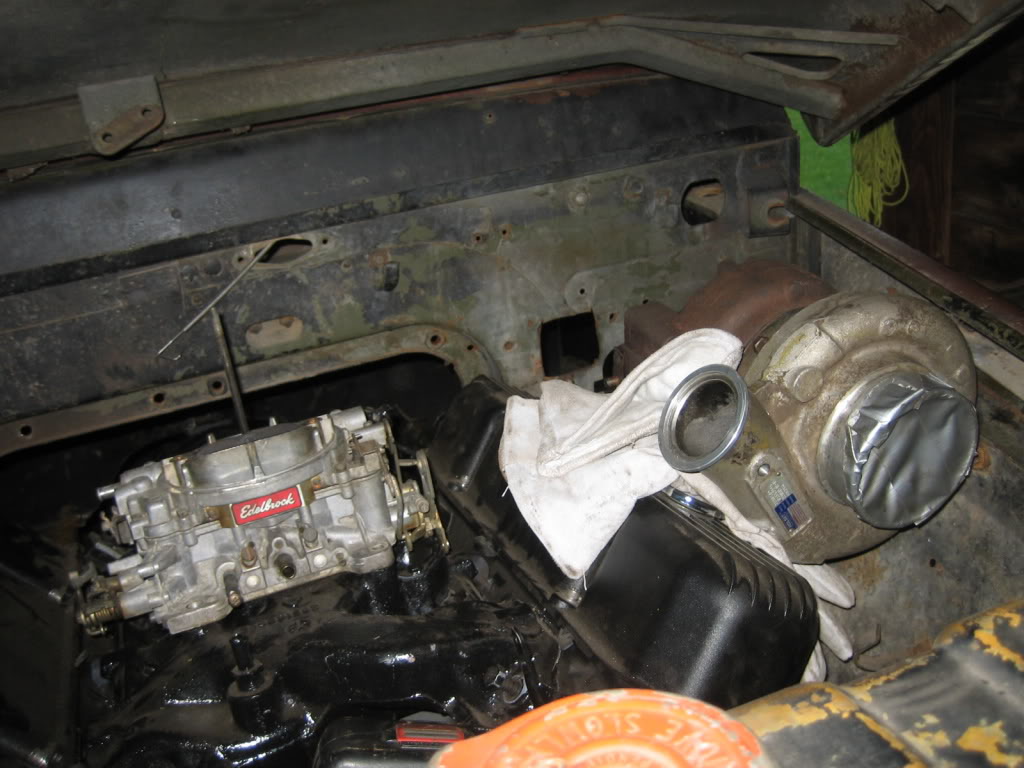
Engine fits fantastic in the bay, all sorts of room on both sides for the hot headers and turbo. Plenty of hood room as well. The Edelbrock carb is a old one I had laying around that I used to simlulate carb height. I plan on getting a Barry Grant Mighty Demon 750. It comes set up for boost, and is only $650, so, that made my carb/EFI decision pretty easy. I found it yesterday while crusing the net.
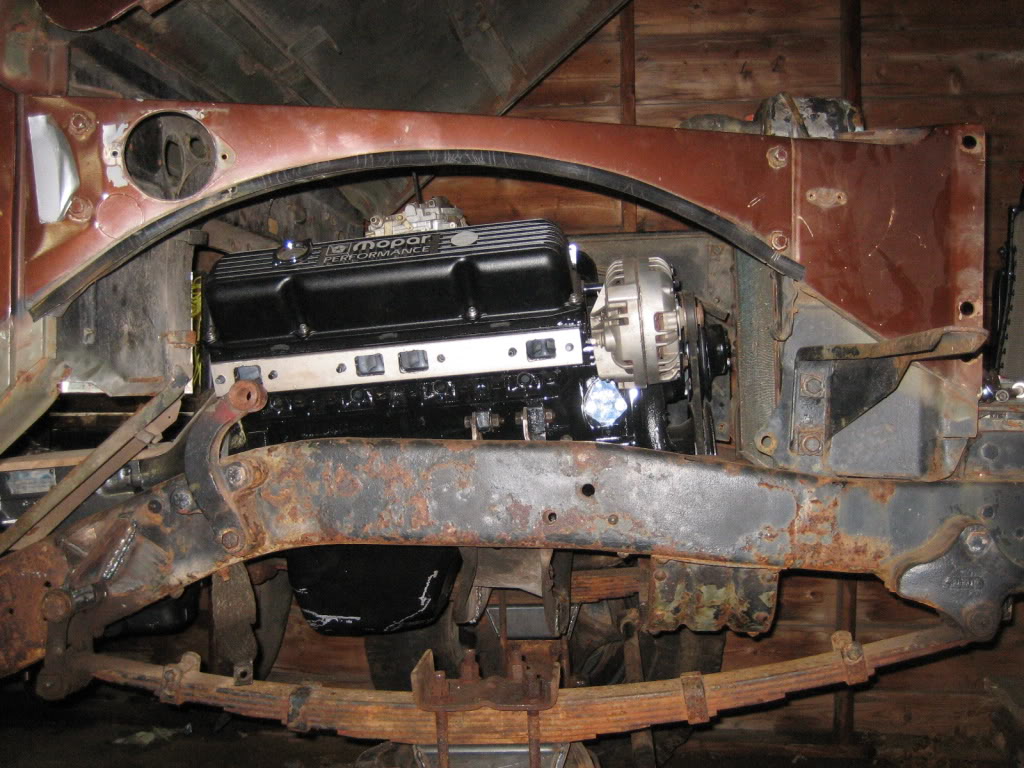
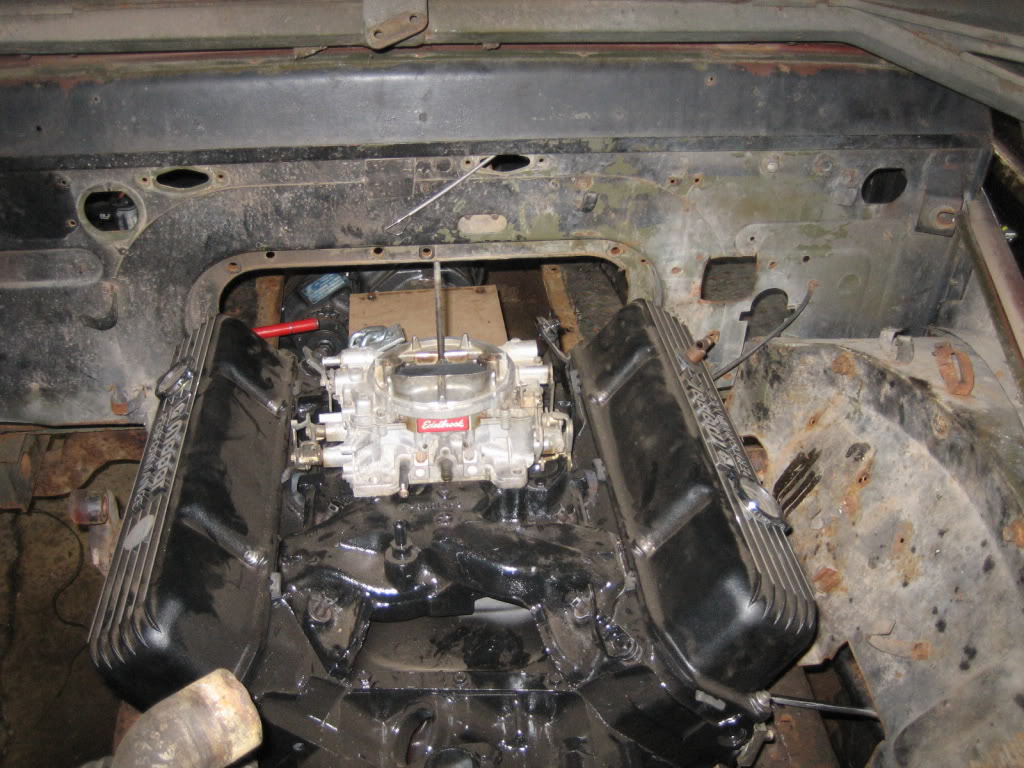
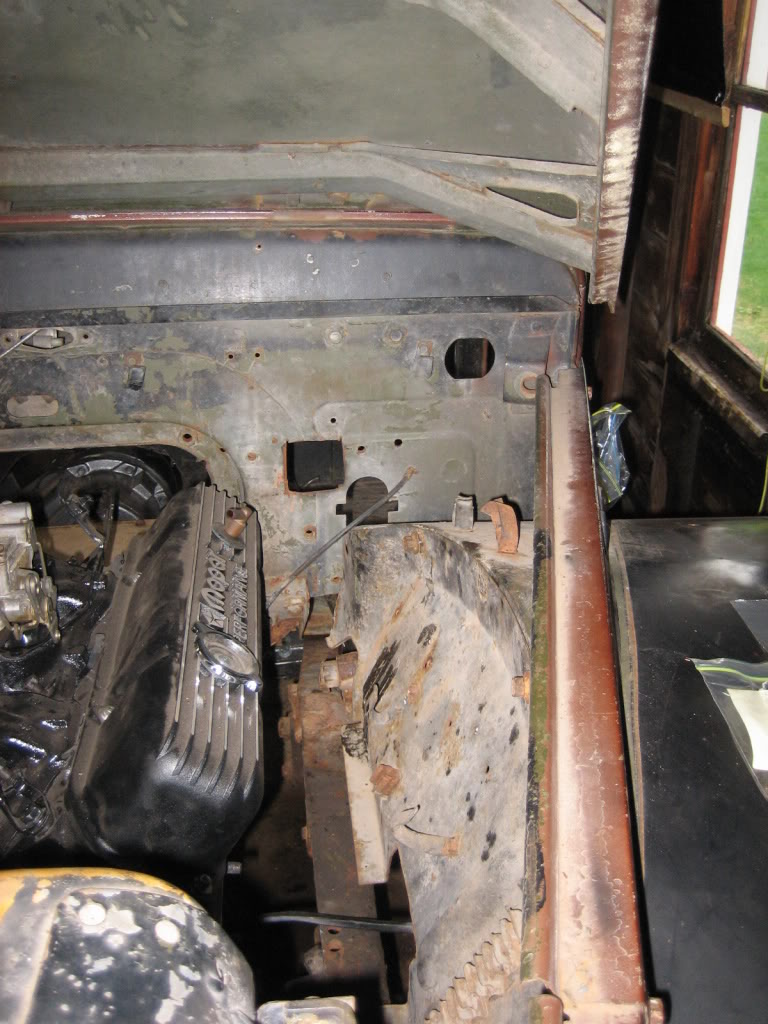
Turbo location is pretty close. It will sit a hair higher, but these pictures give a pretty good idea on how it will go.
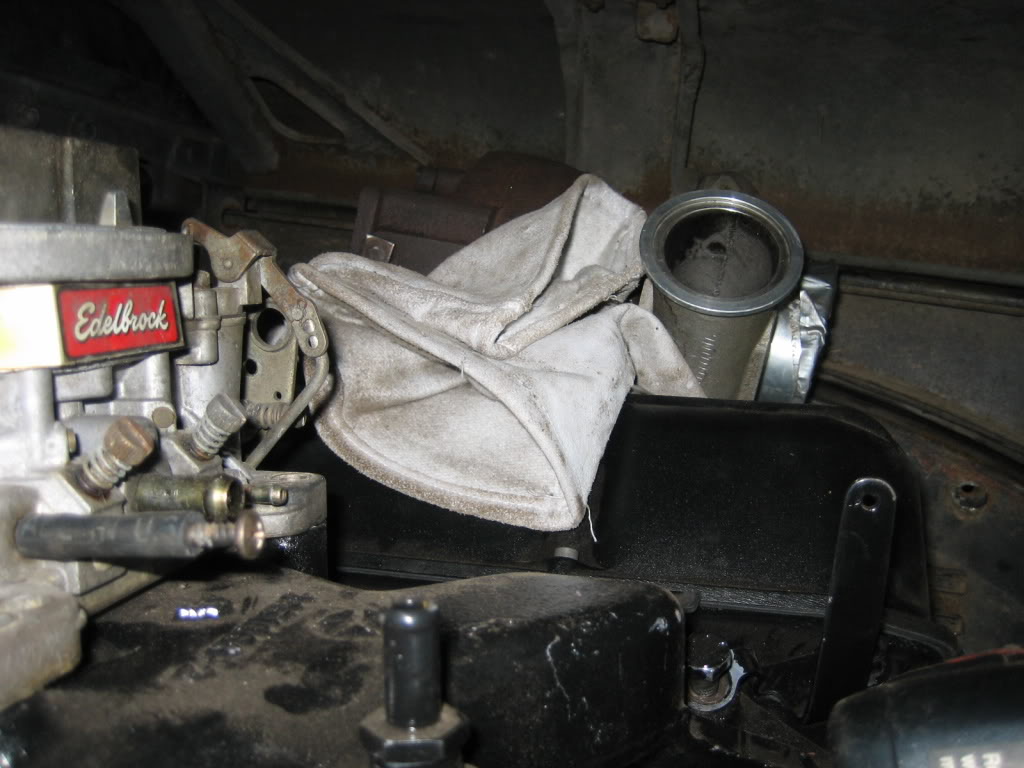 .
.
Jacked it up 2" and put it on stands to simulate the height when I put the 1100X16 Michelins on... I'm 5'11" with my shoes on... the fornt corner of the cab door opening stands 5'1" off the ground... its BIG:


Engine fits fantastic in the bay, all sorts of room on both sides for the hot headers and turbo. Plenty of hood room as well. The Edelbrock carb is a old one I had laying around that I used to simlulate carb height. I plan on getting a Barry Grant Mighty Demon 750. It comes set up for boost, and is only $650, so, that made my carb/EFI decision pretty easy. I found it yesterday while crusing the net.


Turbo location is pretty close. It will sit a hair higher, but these pictures give a pretty good idea on how it will go.
 .
.


