
Power Wagon Rebuild (Update: 11/5/08)


Thread Starter
1.0 BAR
Joined: Feb 2003
Posts: 461
From: Wisconsin
thanks... I think its going well...
I got the cab down here from my parent's place, and, I was on the road all week, so, no progress untill this weekend...
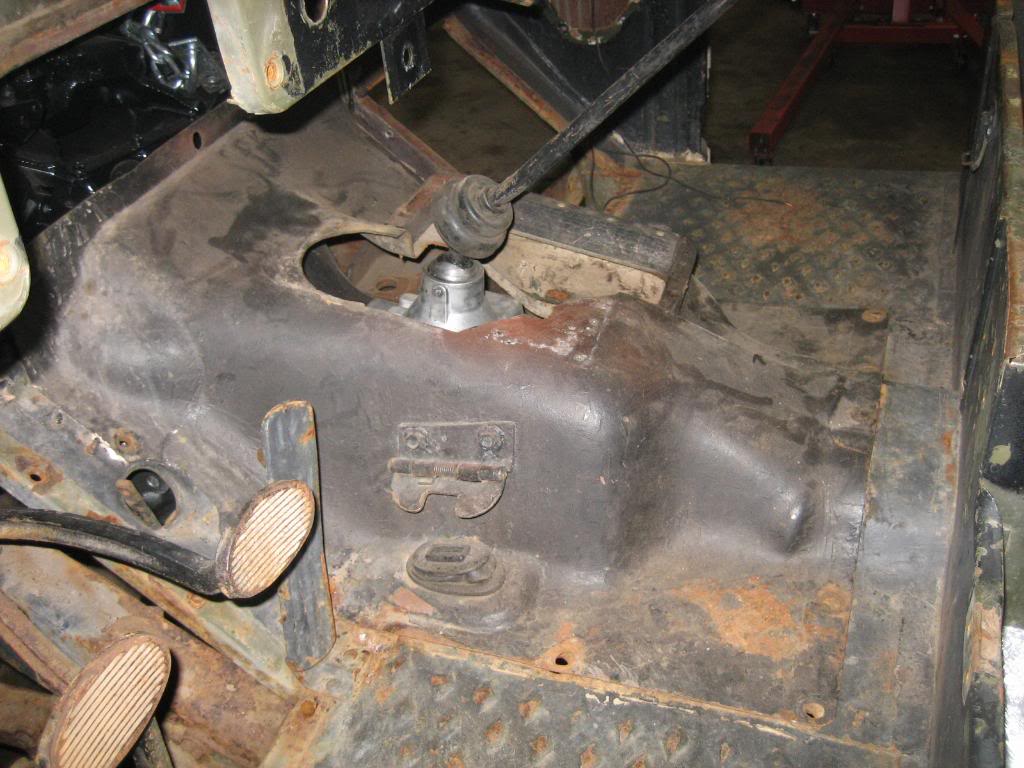
I put the cab on yesterday and promptly ran into some issues:
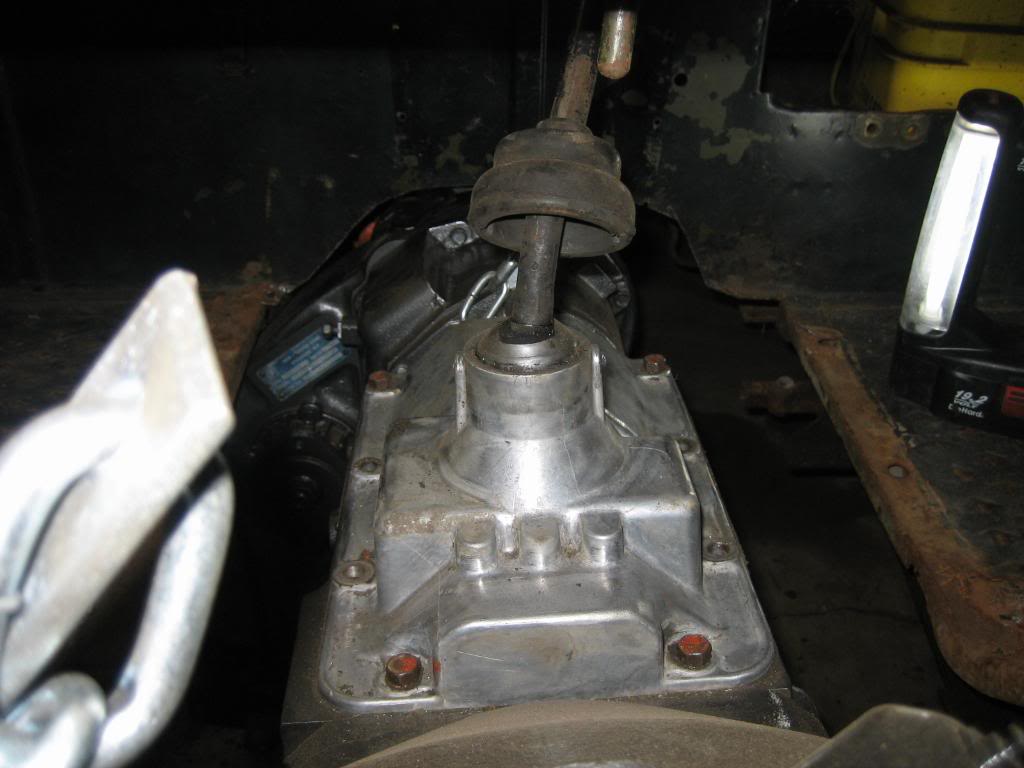
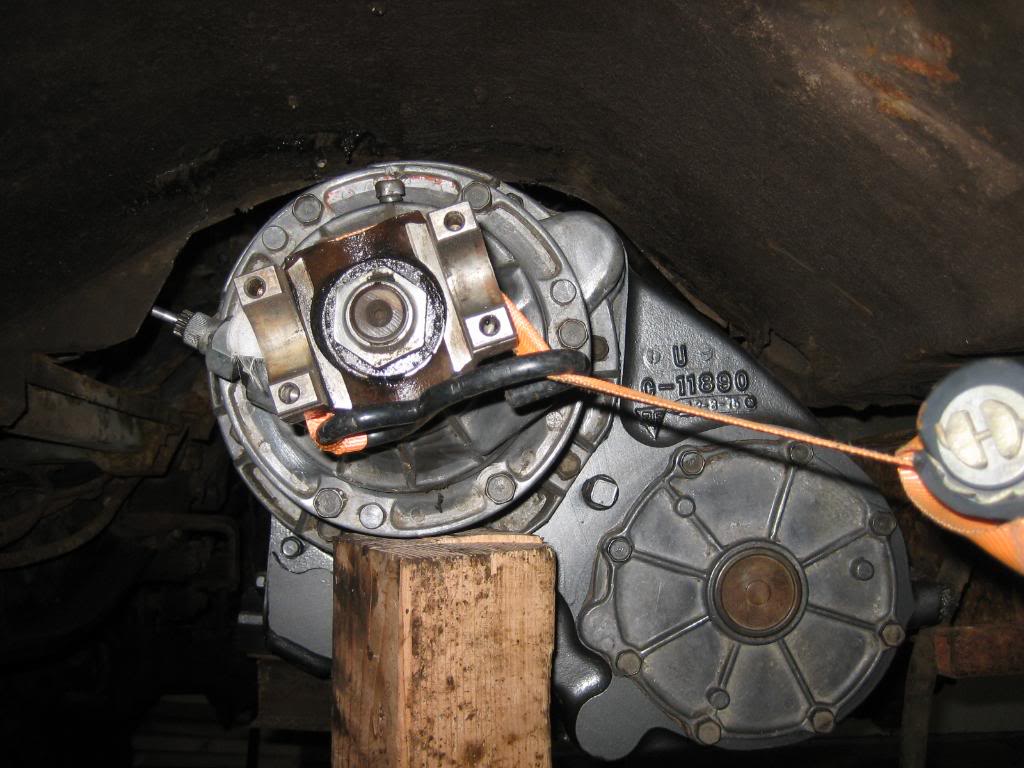
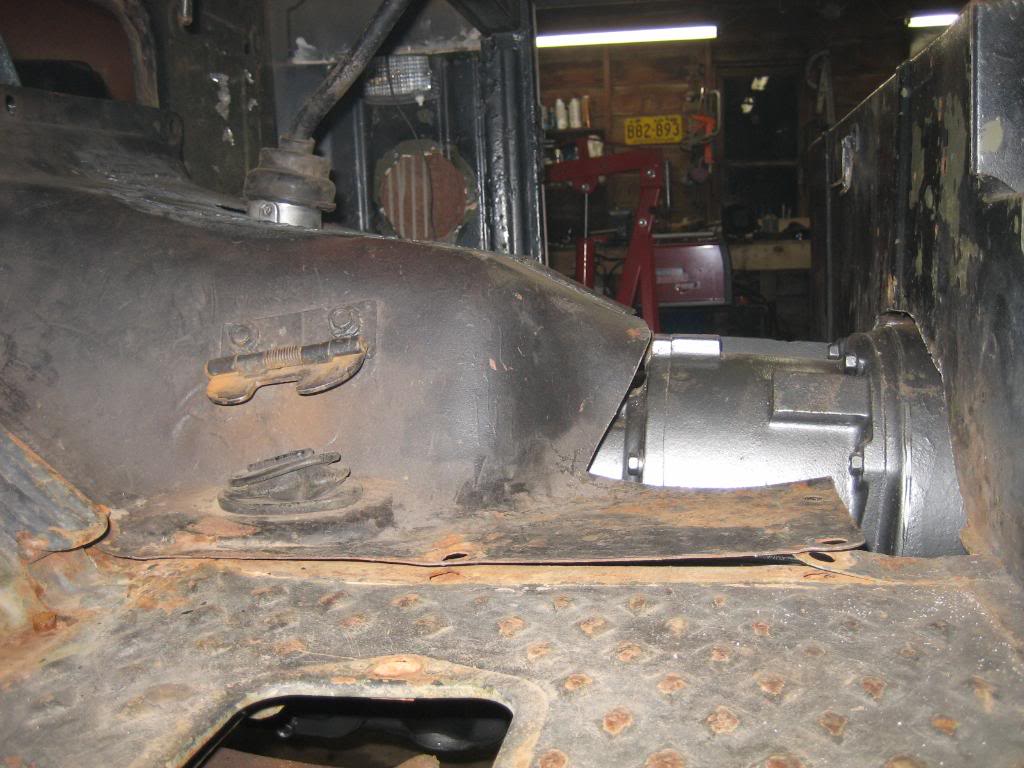
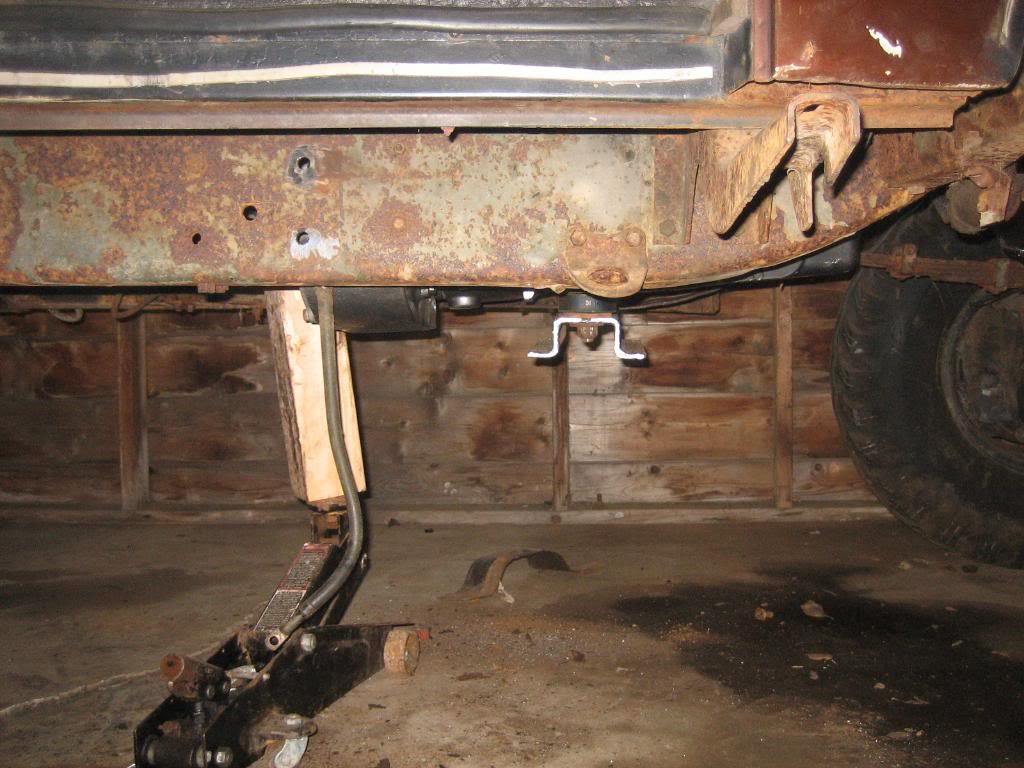
Damn T case is hitting the floor in front of the seat box where the profile is less pronounced on the floorpan...
only way to fix that without cutting anything was to drop the tailshaft...
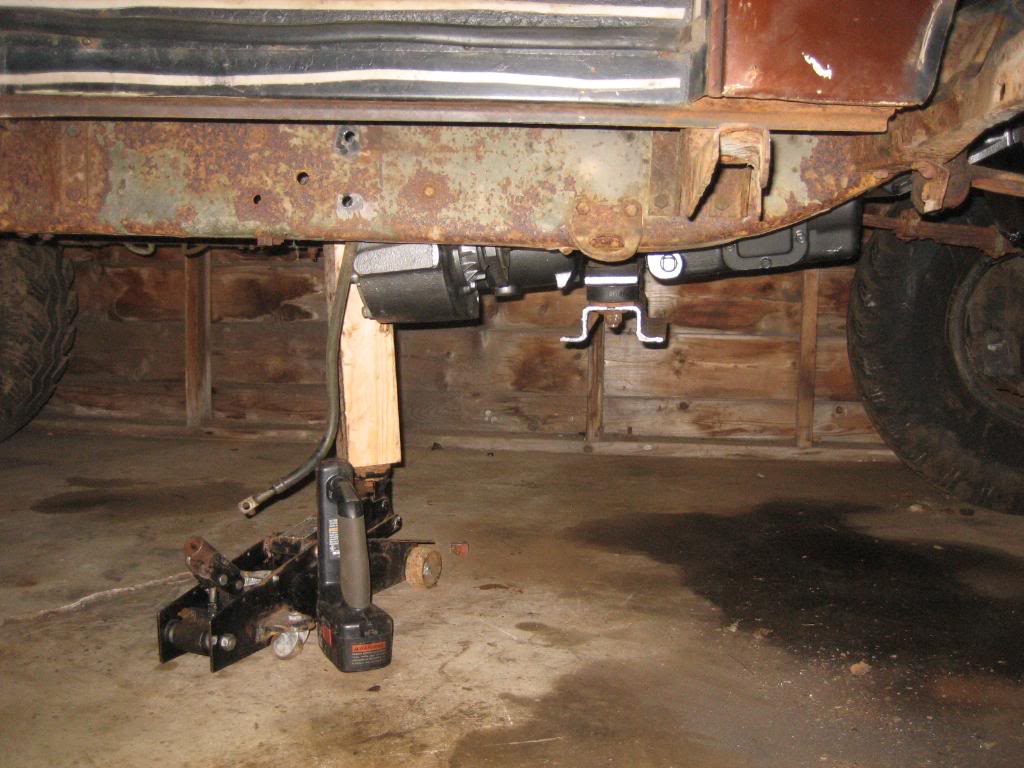
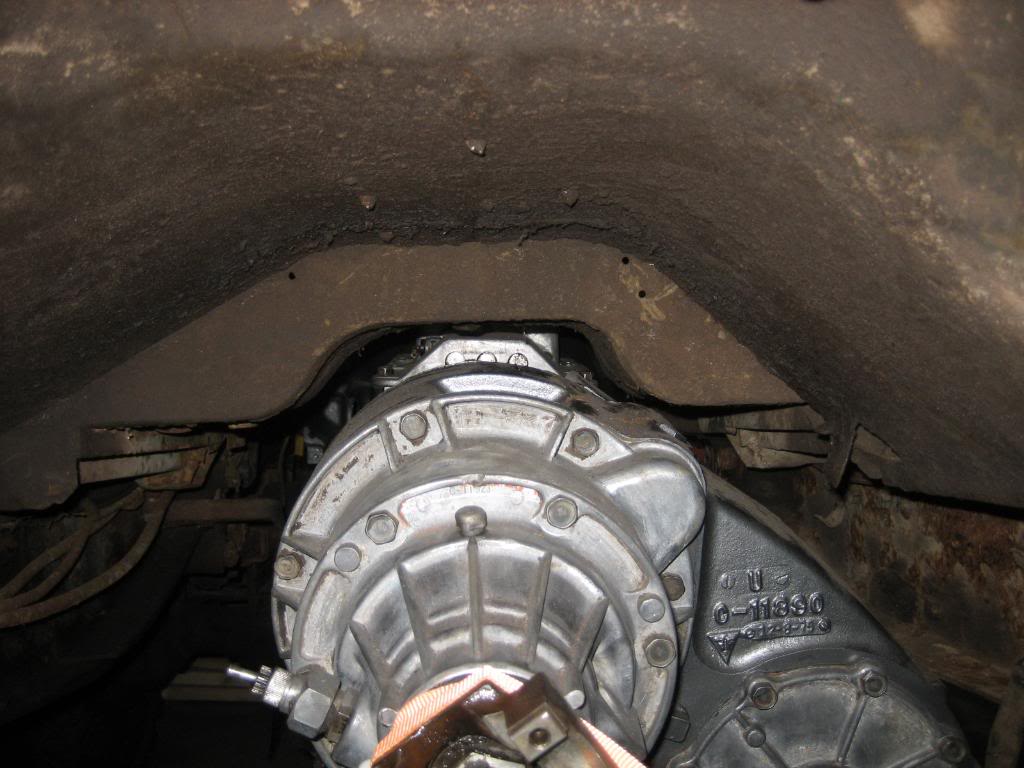
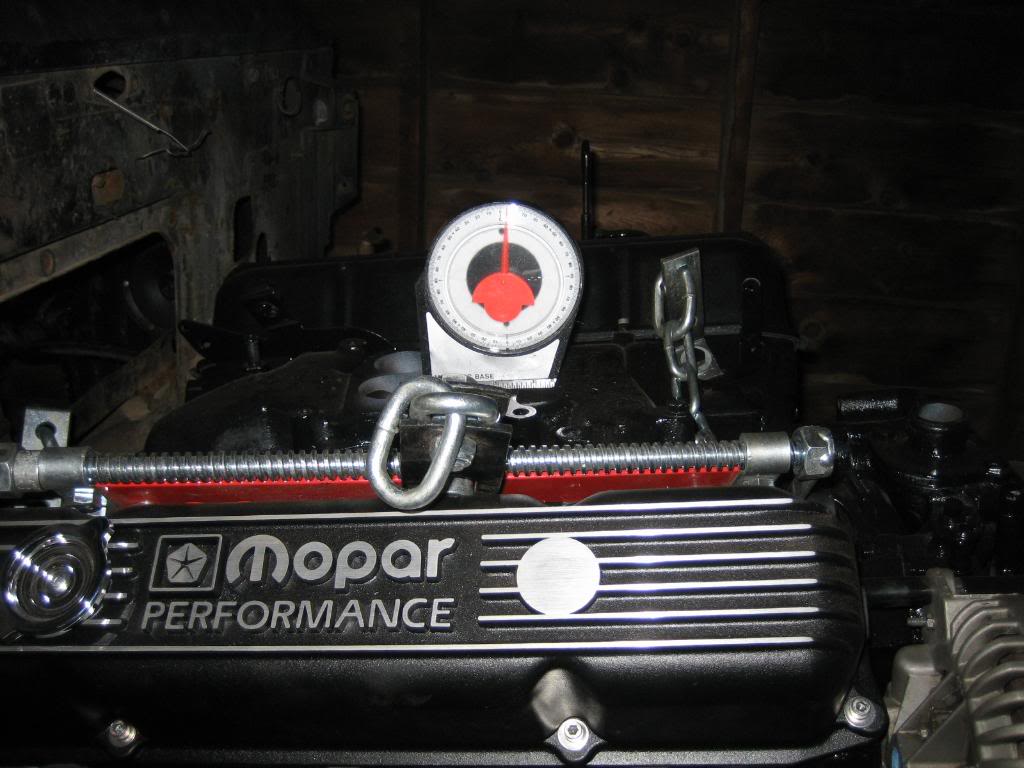
that, however is unacceptable for two reasons. For one, it violates my self issued rule that there cna be nothing hanging down from below the bottom of the frame, and, as you can see from the pic, there is about 4" of T case hanging down. The second problem is that the intake manifold was milled on on angle by Dodge so that the carb sits flat when teh engine is installed properly. With the T case down at that angle, there is about 5* of downward pitch according to my angle finder... not good for the carb.
So, I cringed, and pulled out the sawzall... Thank god I have the original rust filled cab to practice on before I bring the new rust free one down!
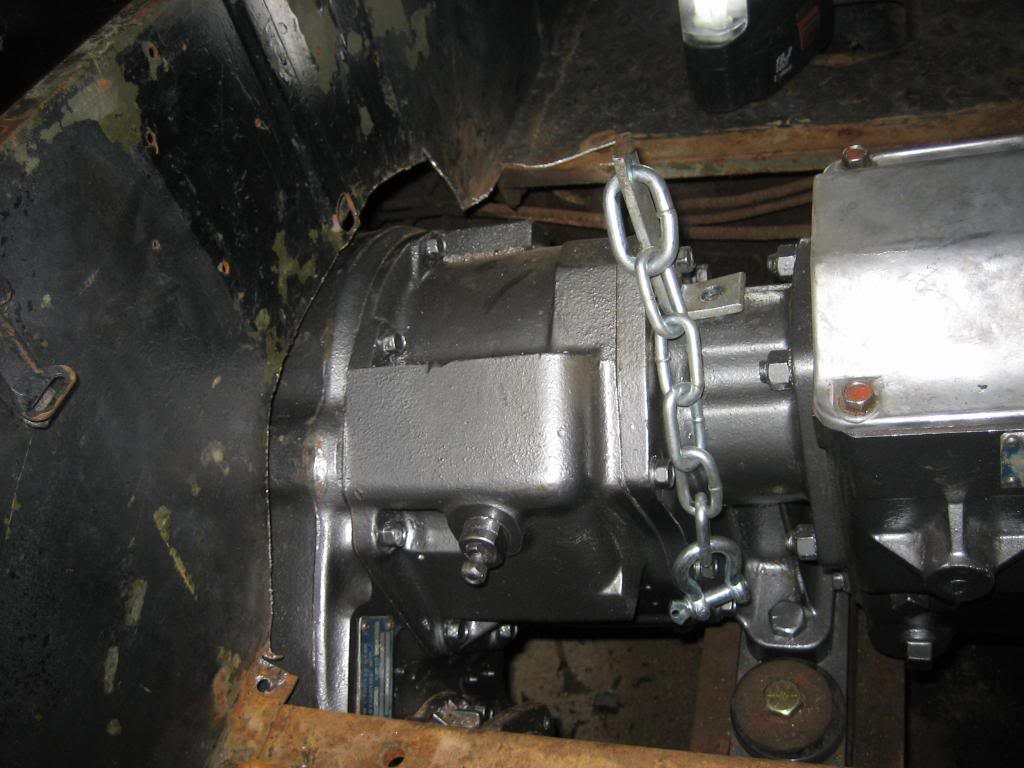
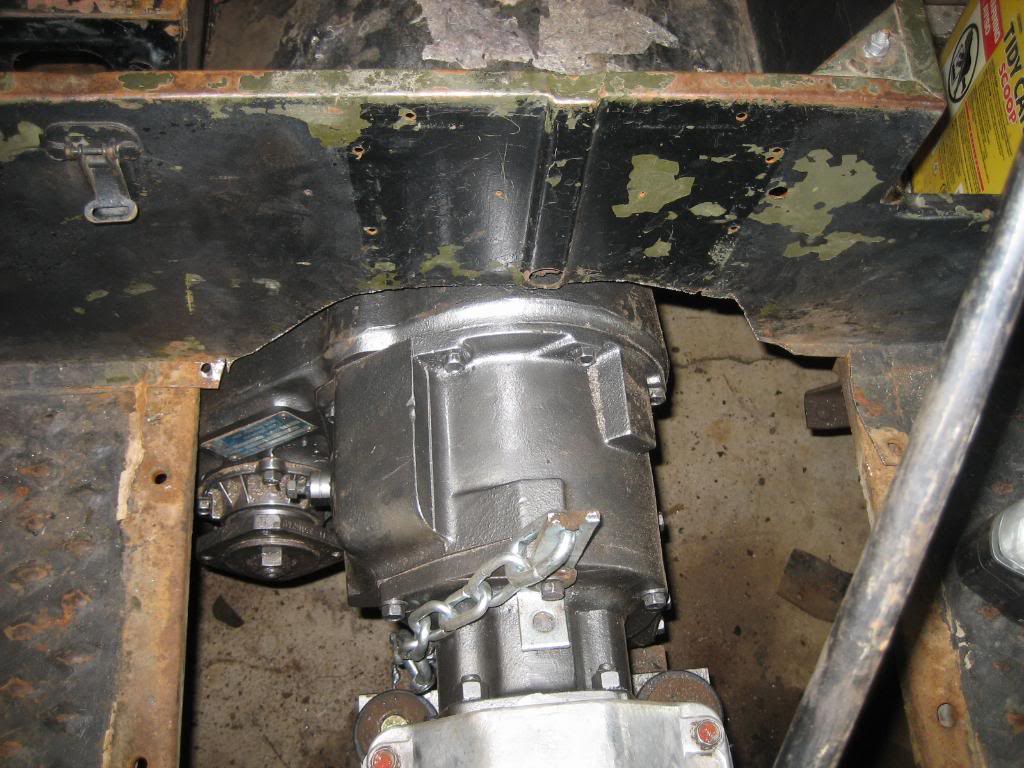
And, the results are it fits magnificently into the frame! only about 1/2" of hang down below the frame!
I decided the best way to fix the mess I have now created is to start at teh firewall and work my way backwards...
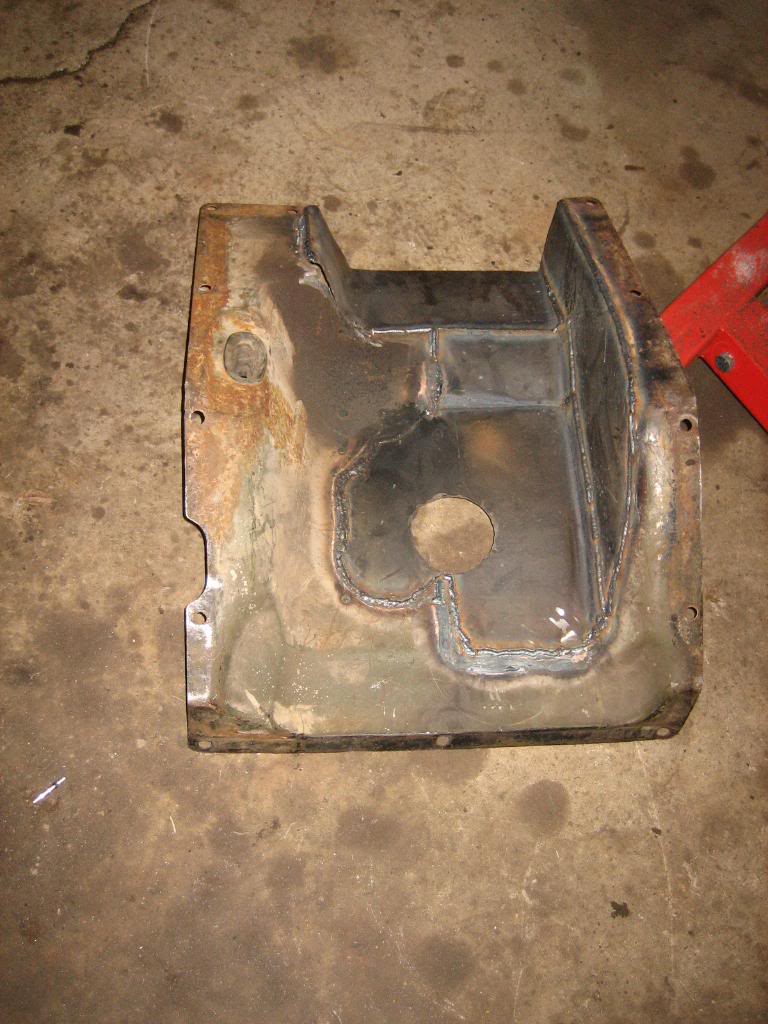
Hole isnt quite centered... need to dome some more work on it, but, its close...
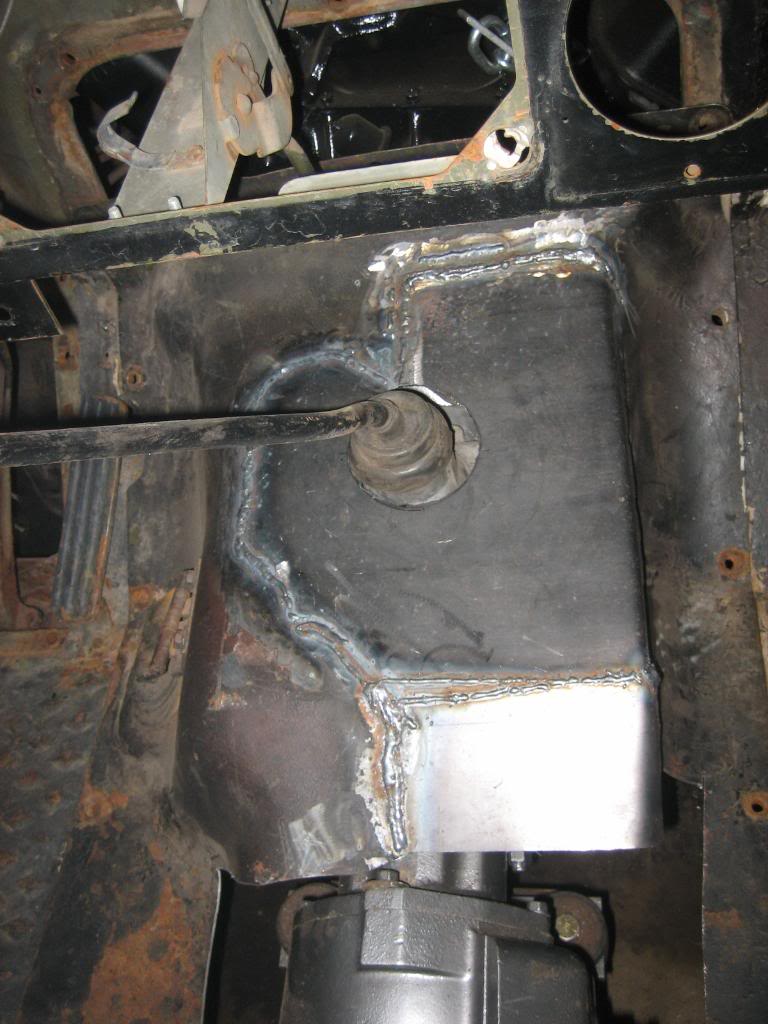
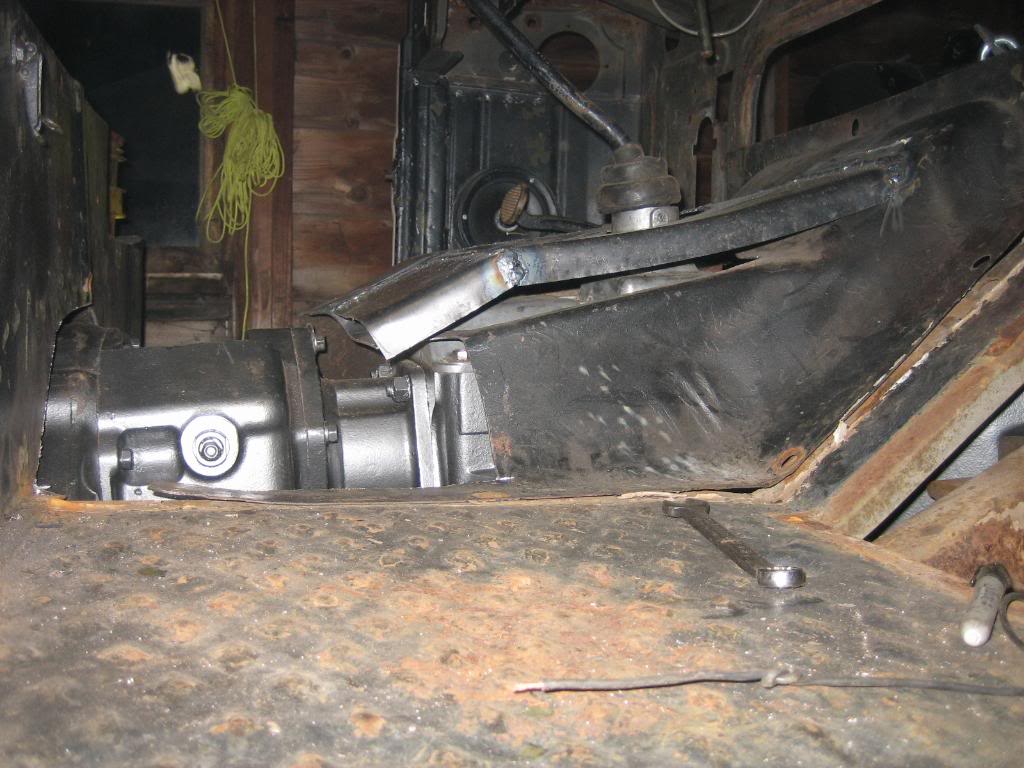
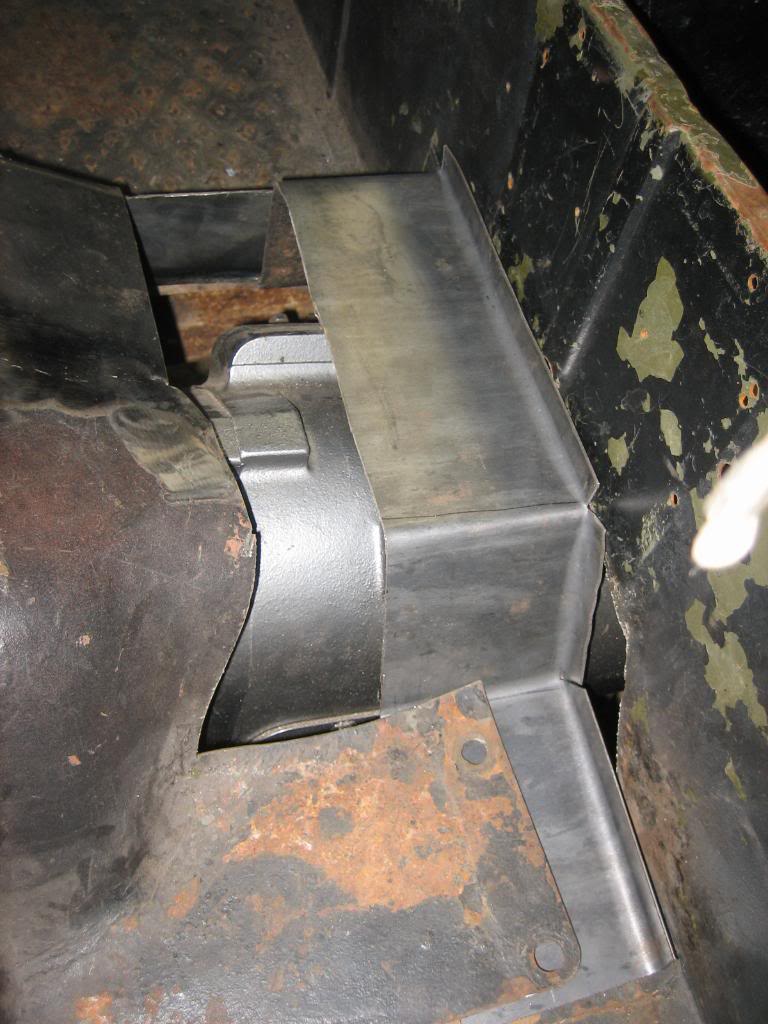
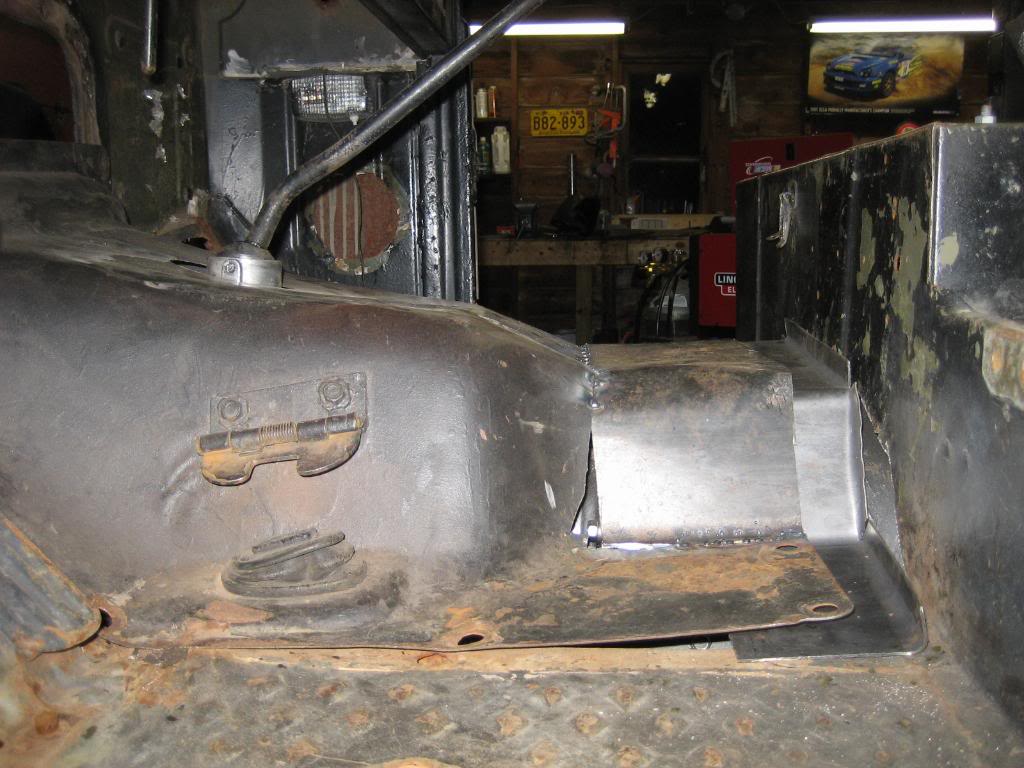
And, the side profile, showing how when its done, it will look almost factory:
Now, I dont like cutting metal, but... I didnt see any way to get around it, and, I think it will turn out pretty good...
I got the cab down here from my parent's place, and, I was on the road all week, so, no progress untill this weekend...
I put the cab on yesterday and promptly ran into some issues:
Damn T case is hitting the floor in front of the seat box where the profile is less pronounced on the floorpan...
only way to fix that without cutting anything was to drop the tailshaft...
that, however is unacceptable for two reasons. For one, it violates my self issued rule that there cna be nothing hanging down from below the bottom of the frame, and, as you can see from the pic, there is about 4" of T case hanging down. The second problem is that the intake manifold was milled on on angle by Dodge so that the carb sits flat when teh engine is installed properly. With the T case down at that angle, there is about 5* of downward pitch according to my angle finder... not good for the carb.
So, I cringed, and pulled out the sawzall... Thank god I have the original rust filled cab to practice on before I bring the new rust free one down!
And, the results are it fits magnificently into the frame! only about 1/2" of hang down below the frame!
I decided the best way to fix the mess I have now created is to start at teh firewall and work my way backwards...
Hole isnt quite centered... need to dome some more work on it, but, its close...
And, the side profile, showing how when its done, it will look almost factory:
Now, I dont like cutting metal, but... I didnt see any way to get around it, and, I think it will turn out pretty good...

Thread Starter
1.0 BAR
Joined: Feb 2003
Posts: 461
From: Wisconsin
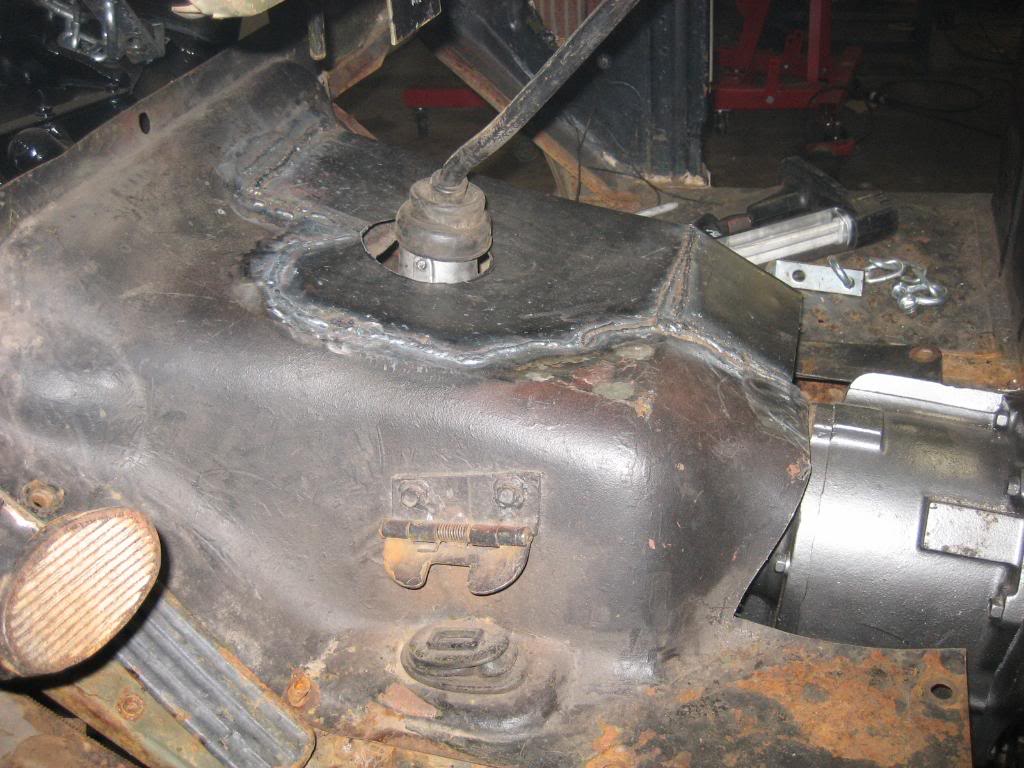
some more progress on the floor reconstruction:
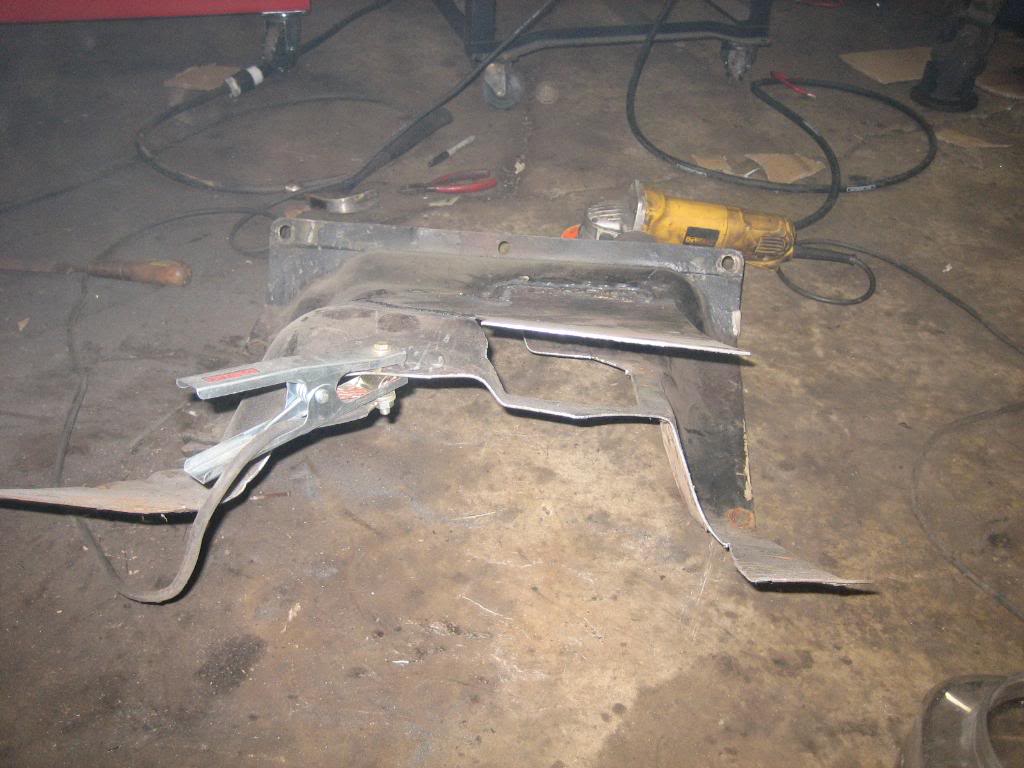
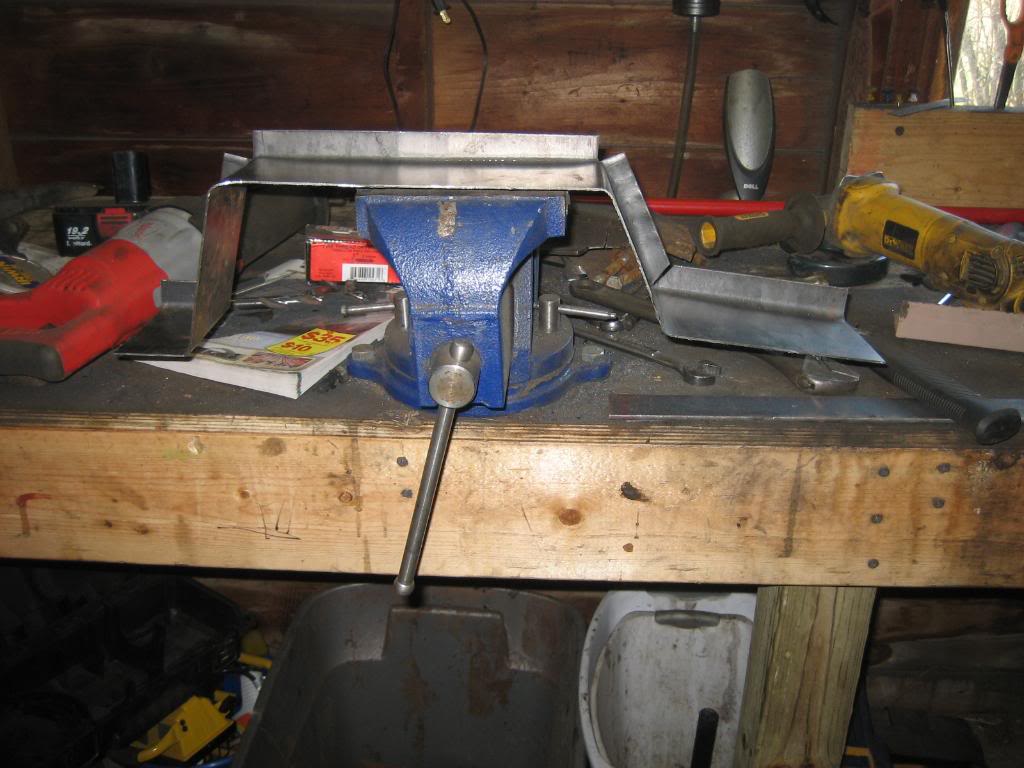
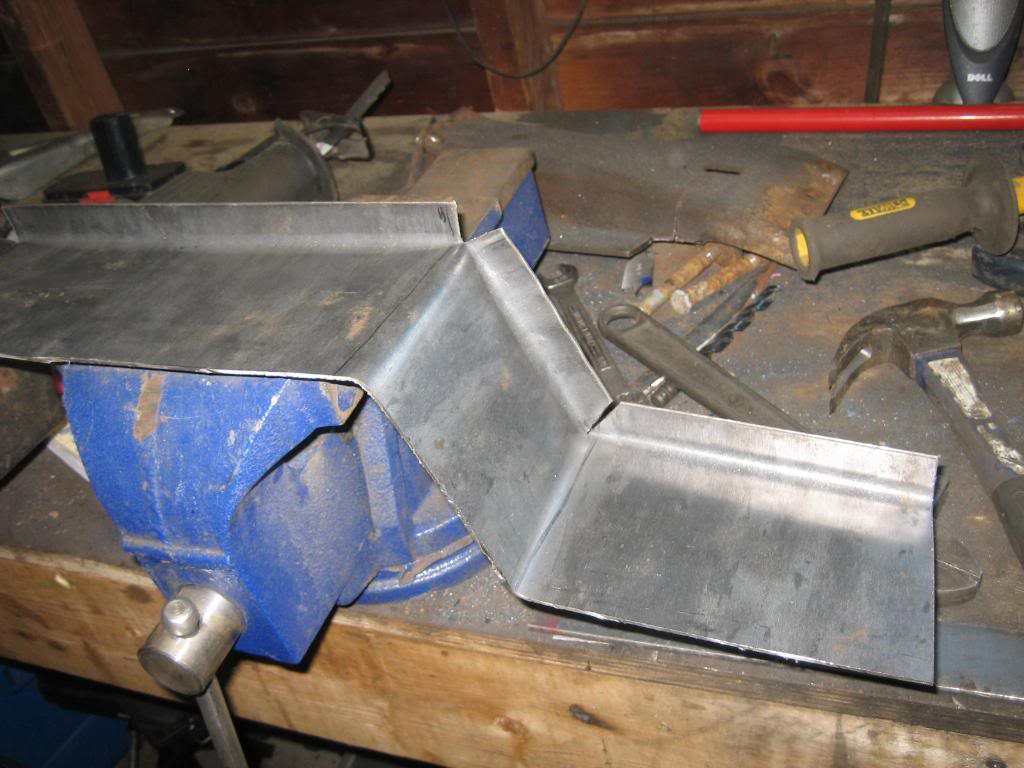
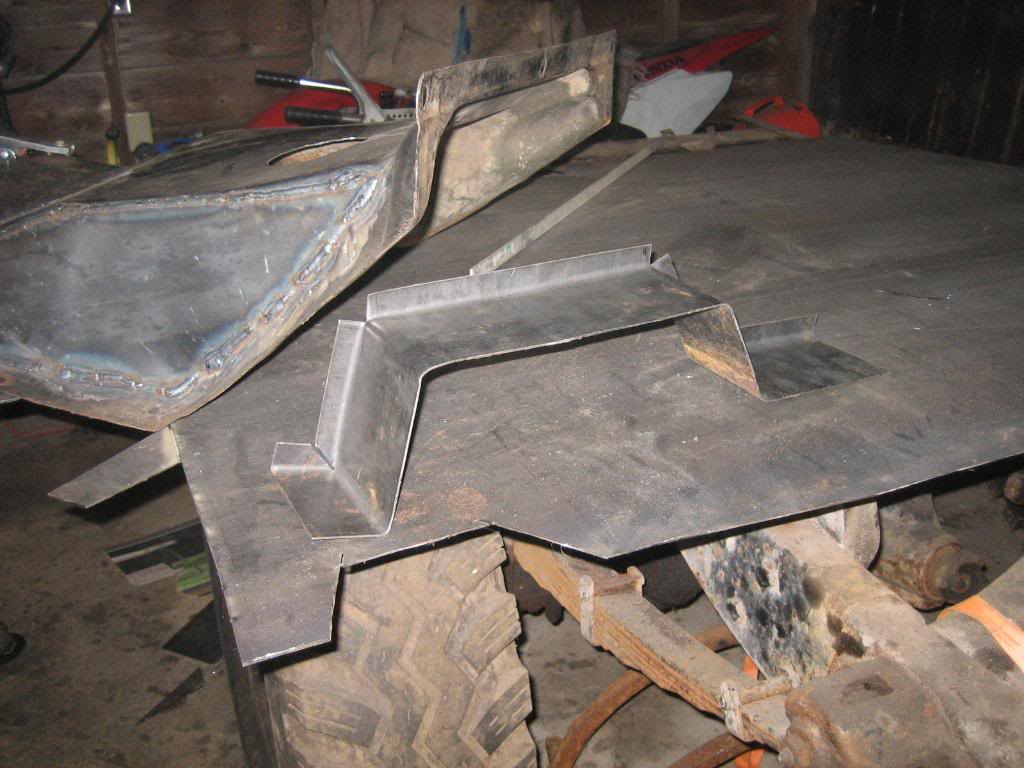
The base plate at the front of the seat... Not bad for just a bench vise and a hammer, eh? :wink:
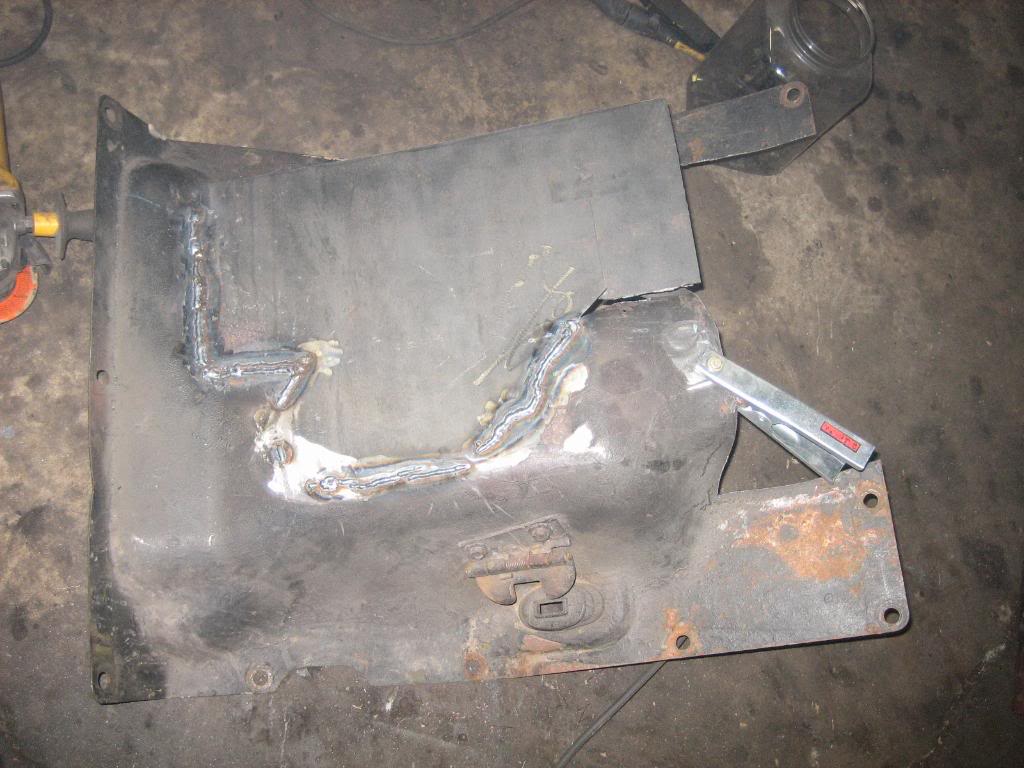
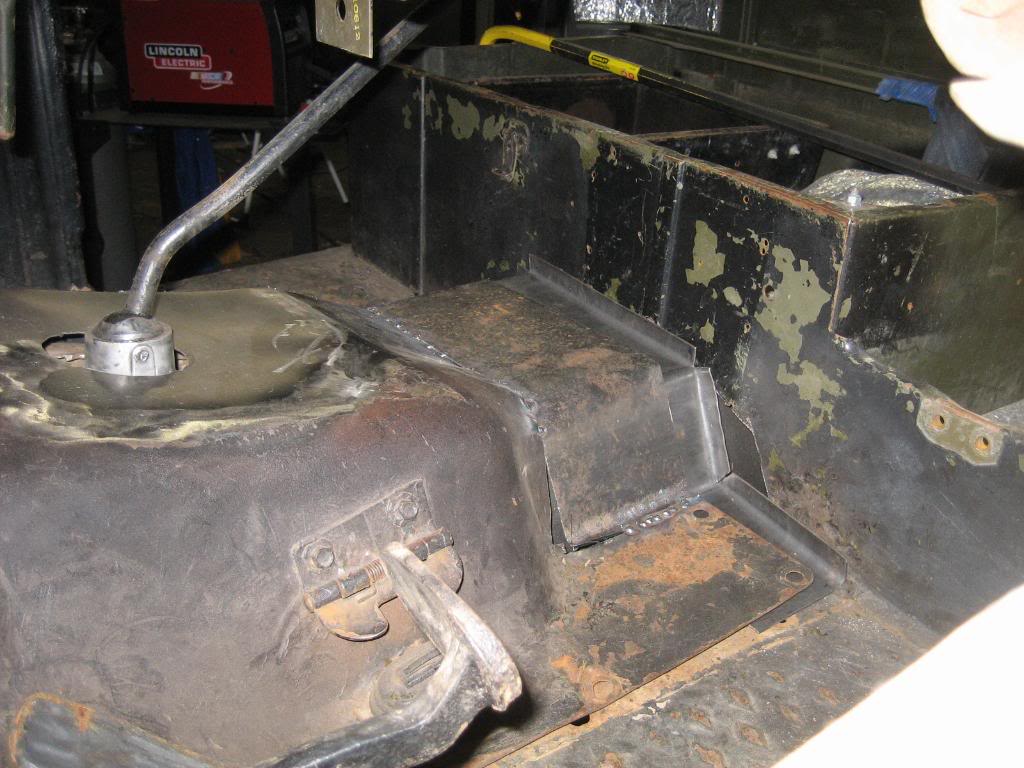
Mating it up to the doghouse cover... Notice I got the other side of the doghouse welded in, and the top of the doghouse welded (relatively) smooth. It'll need a thin skin of body filler or better yet, lead, to fill it in and make it perfectly smooth.
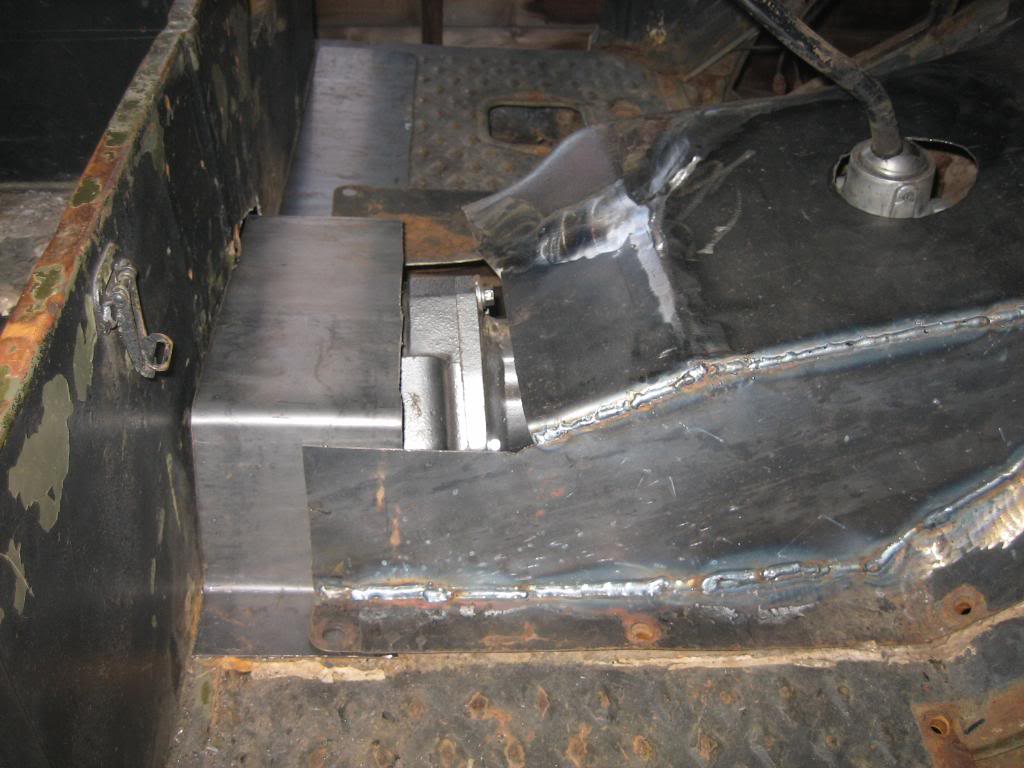
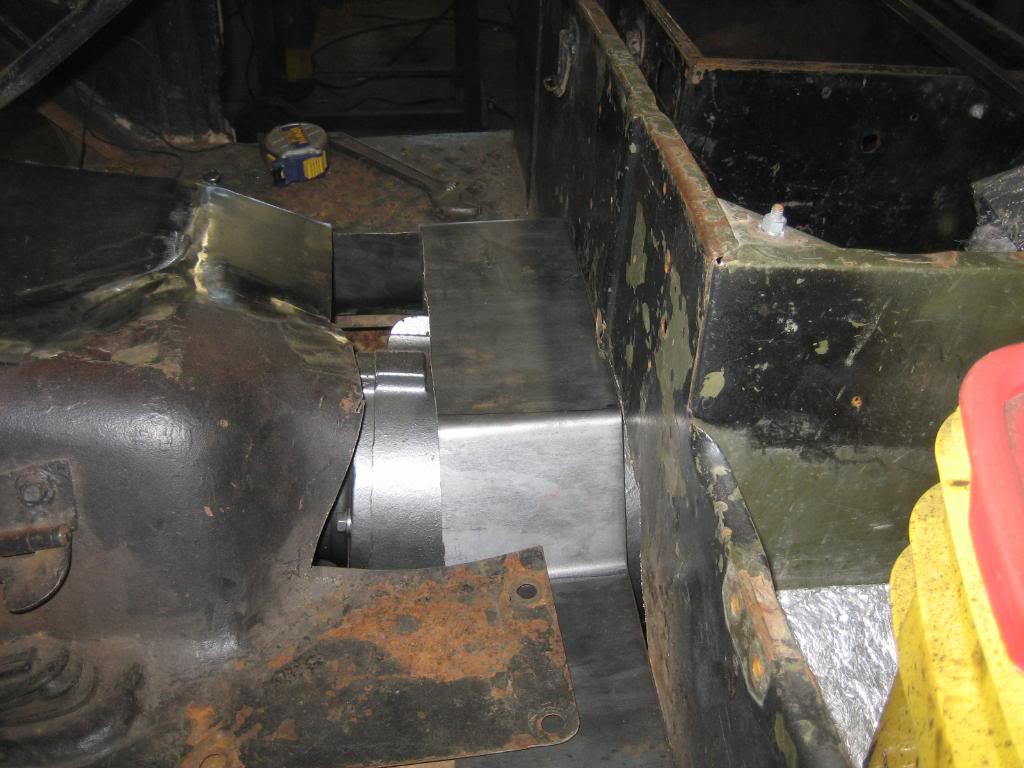
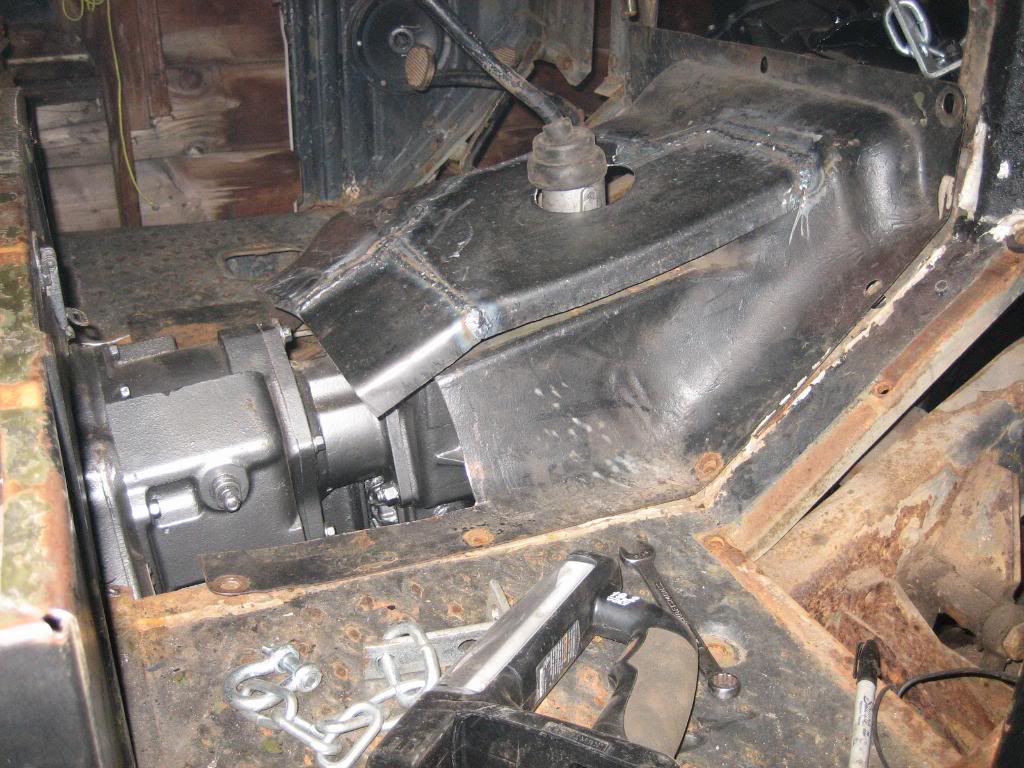
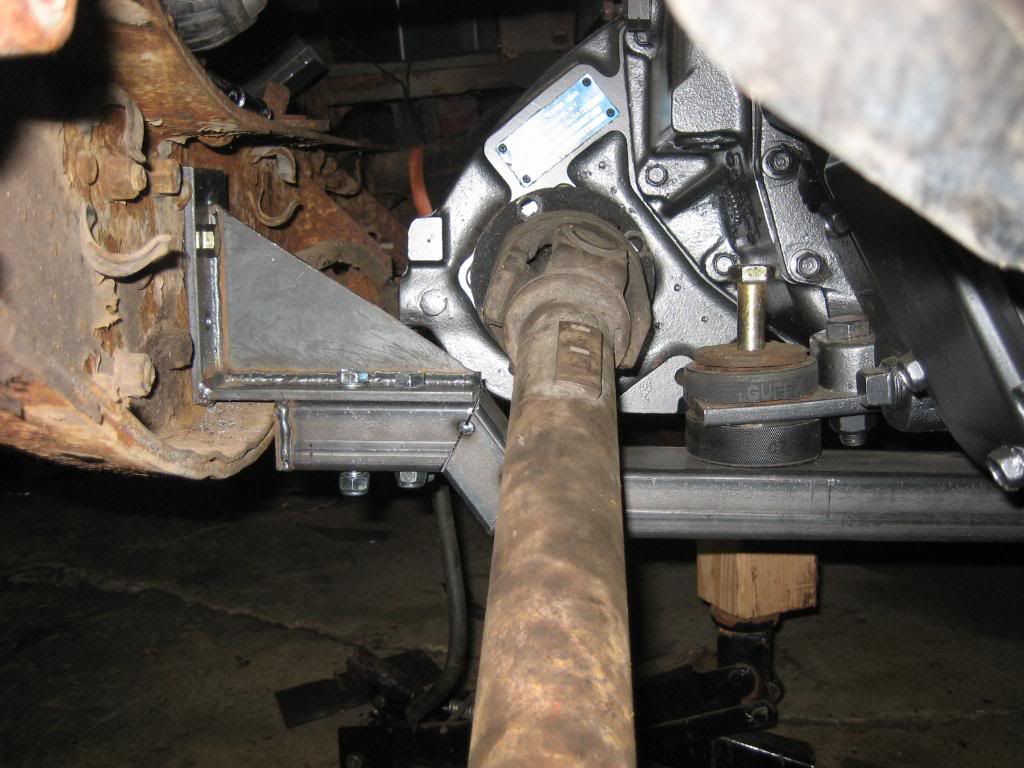
The T case in its final place, it fits GREAT! I need to build a mount for it...
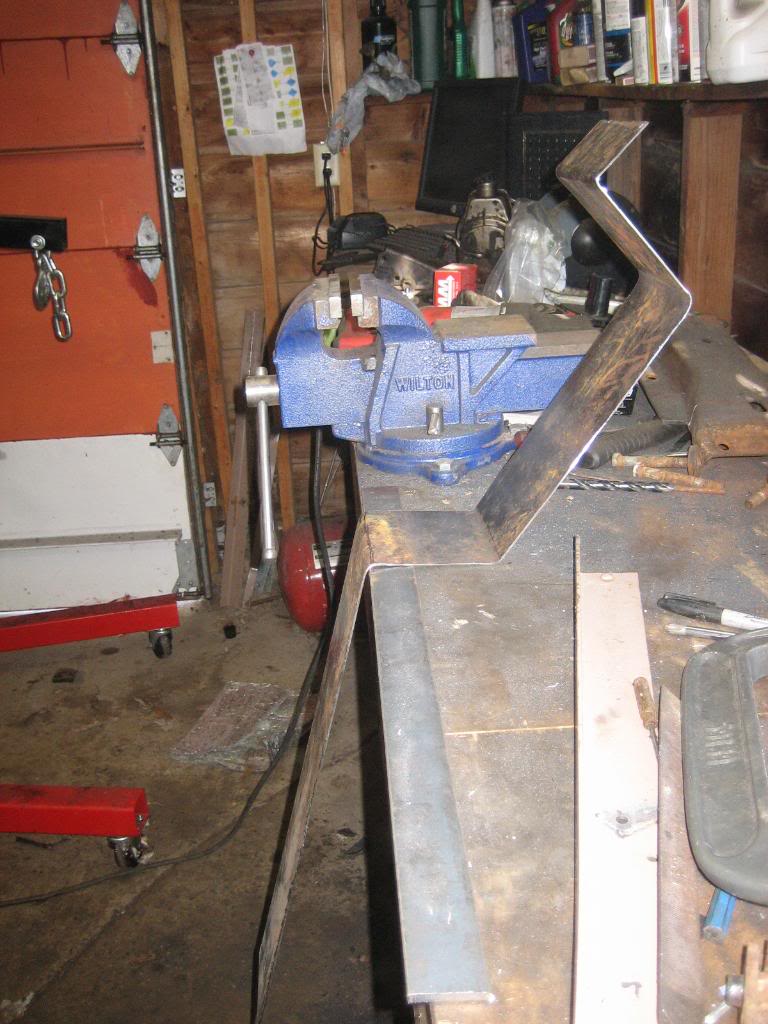
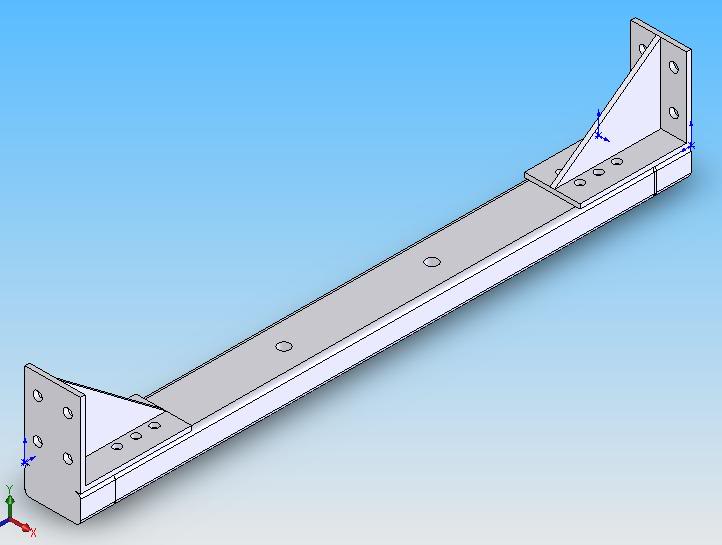
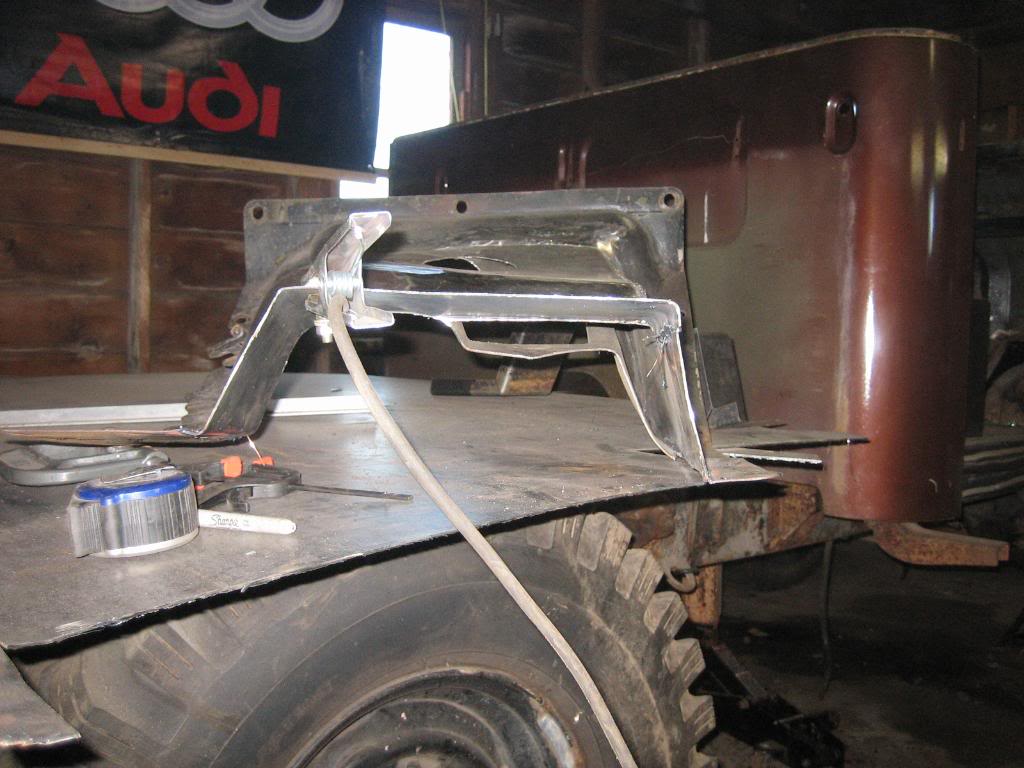
This is what I have in mind. It'll bolt to the inside of the frame channels on each side...
the seat plate all bent up, and the flange folded up to spot weld to the seat base. Again, all hand formed...
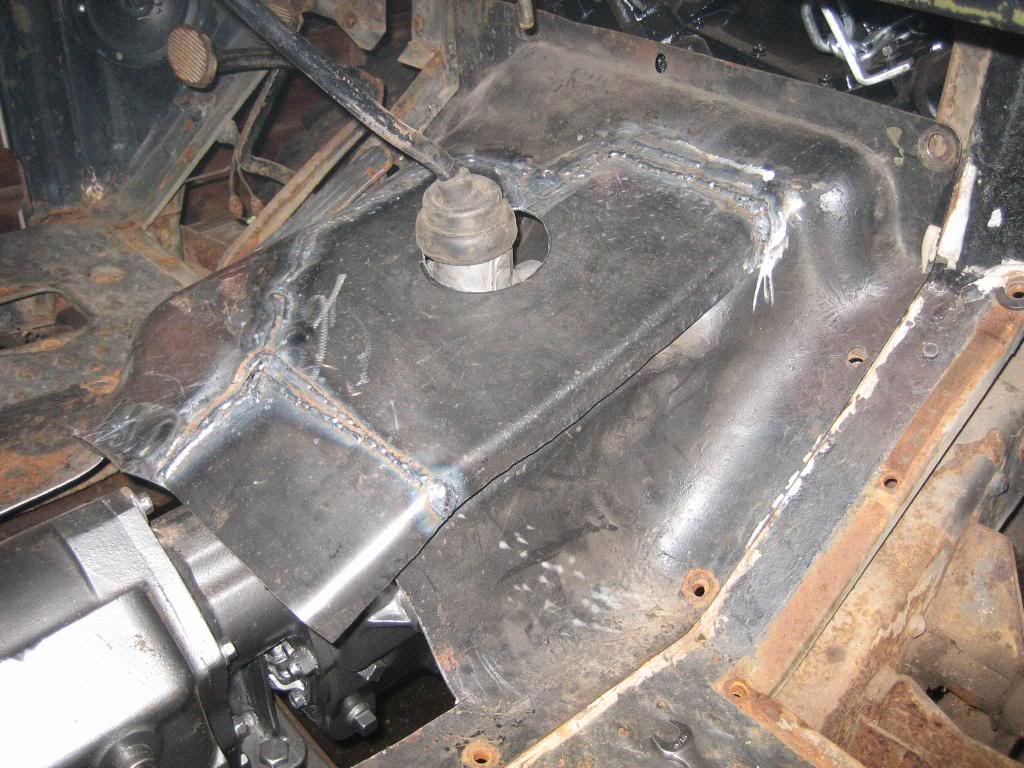
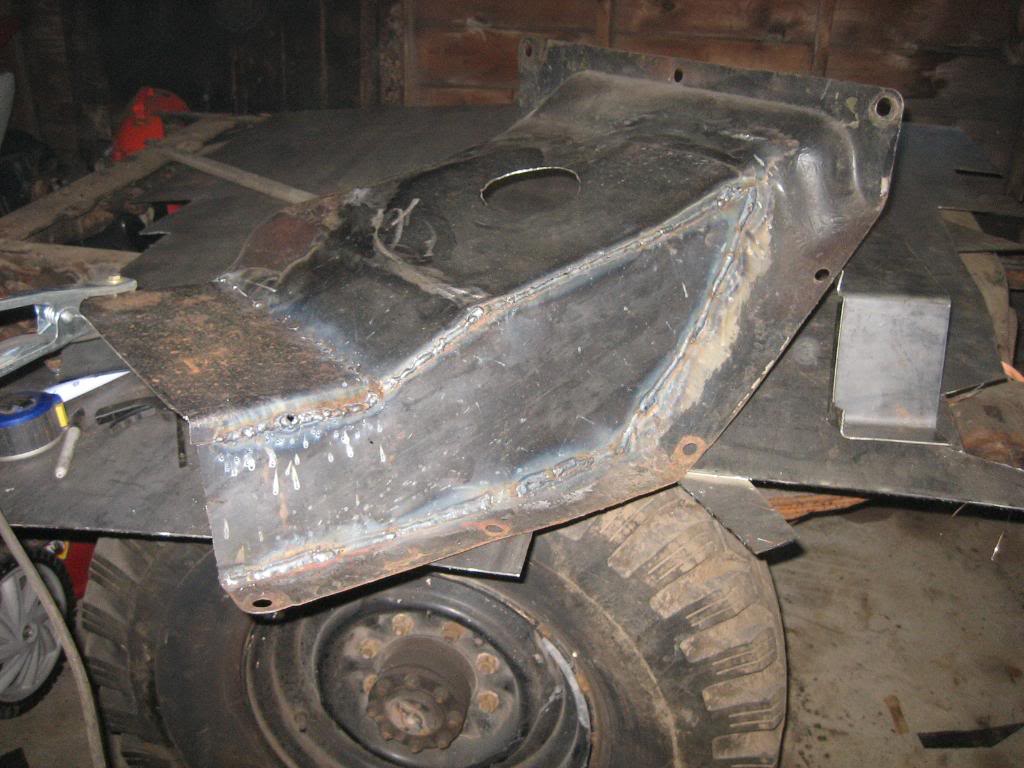
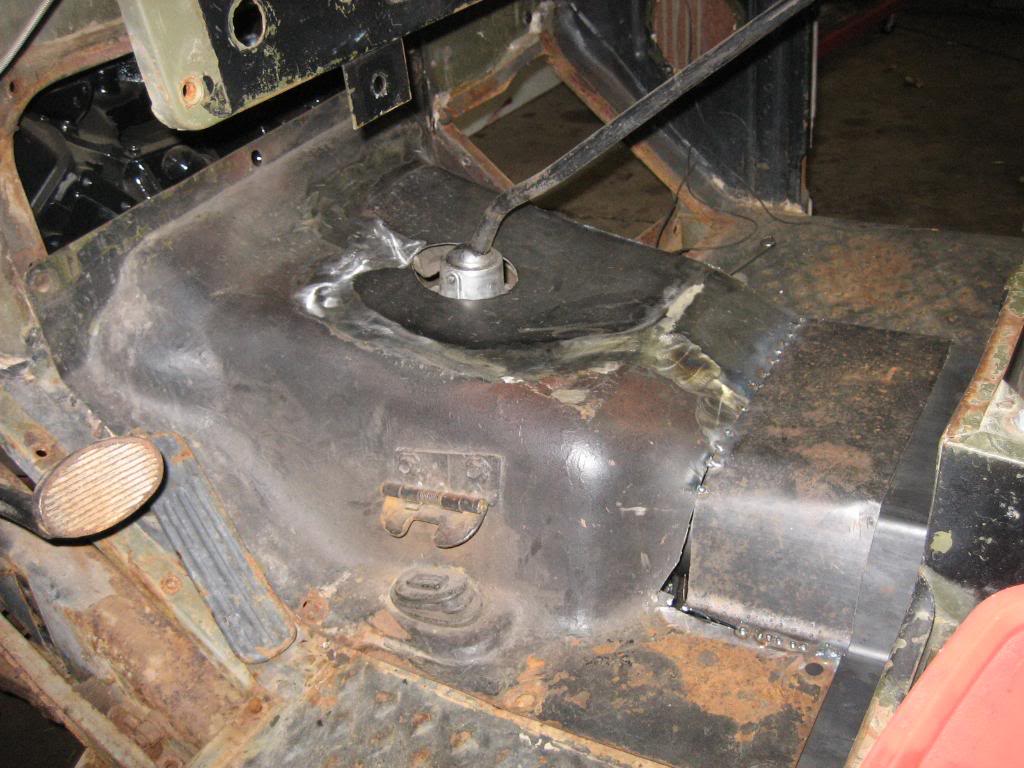
Test fitting in the truck:


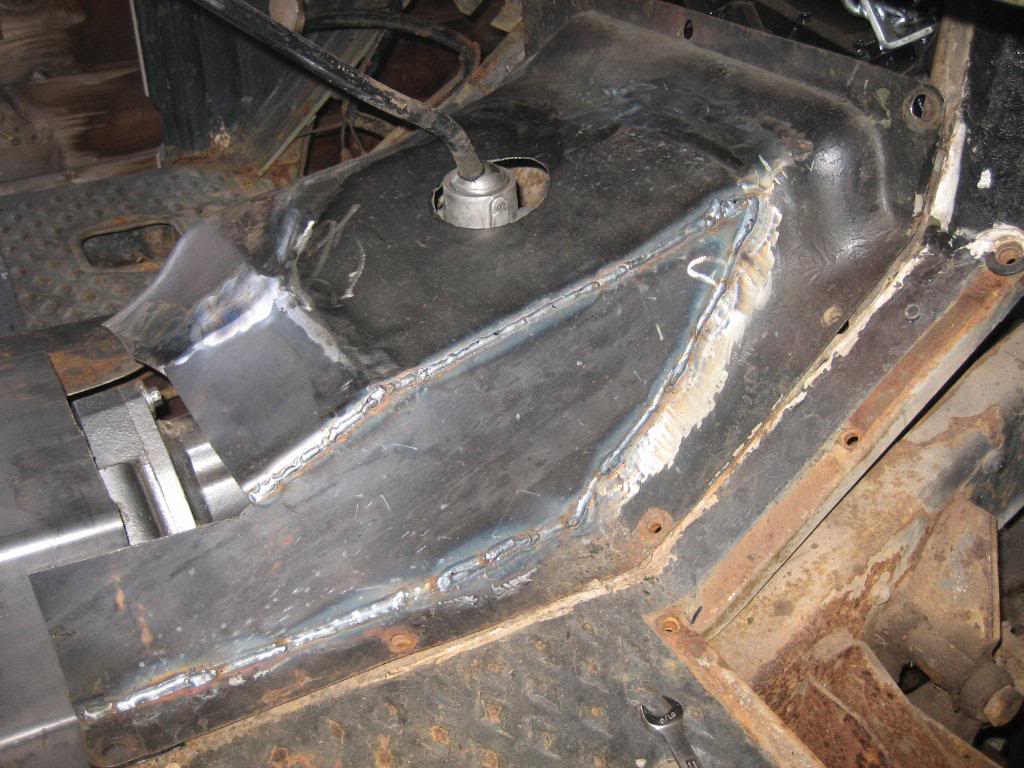
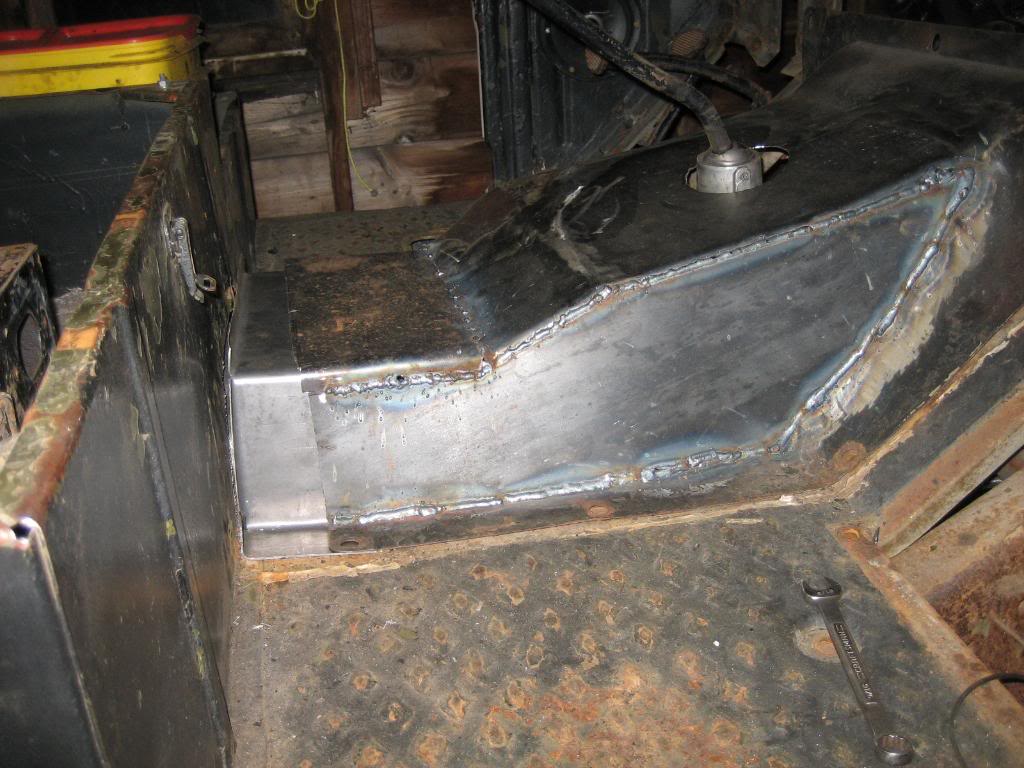
Floorpan all tacked together. I know, my welding leaves somthing to be desired... thank god they make sanding flapper wheels!

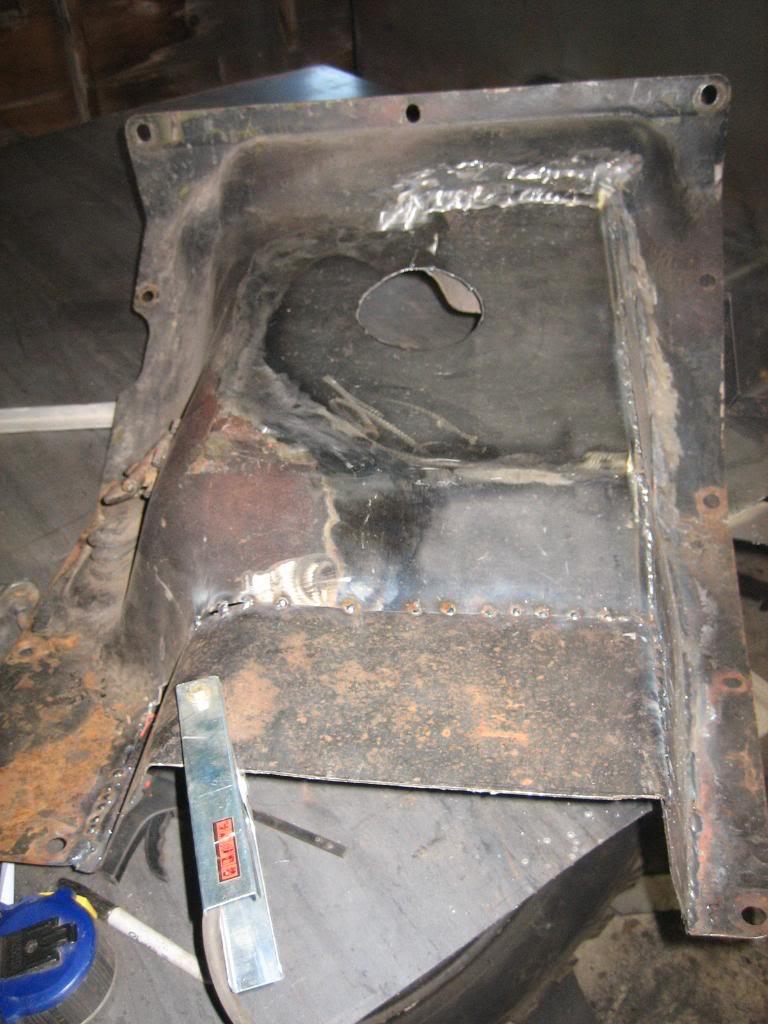
I'll cut all the original metal out of the underside once I get it welded up to prevent dirt from filling it and rusting it out...
Test fit in the truck:
Still need to patch that small hole... no big deal:
The base plate at the front of the seat... Not bad for just a bench vise and a hammer, eh? :wink:
Mating it up to the doghouse cover... Notice I got the other side of the doghouse welded in, and the top of the doghouse welded (relatively) smooth. It'll need a thin skin of body filler or better yet, lead, to fill it in and make it perfectly smooth.
The T case in its final place, it fits GREAT! I need to build a mount for it...
This is what I have in mind. It'll bolt to the inside of the frame channels on each side...
the seat plate all bent up, and the flange folded up to spot weld to the seat base. Again, all hand formed...
Test fitting in the truck:
Floorpan all tacked together. I know, my welding leaves somthing to be desired... thank god they make sanding flapper wheels!
I'll cut all the original metal out of the underside once I get it welded up to prevent dirt from filling it and rusting it out...
Test fit in the truck:
Still need to patch that small hole... no big deal:


Thread Starter
1.0 BAR
Joined: Feb 2003
Posts: 461
From: Wisconsin
More work done tonight... Took a break from the tedious sheetmetal work and did some structural work on the trans mount:
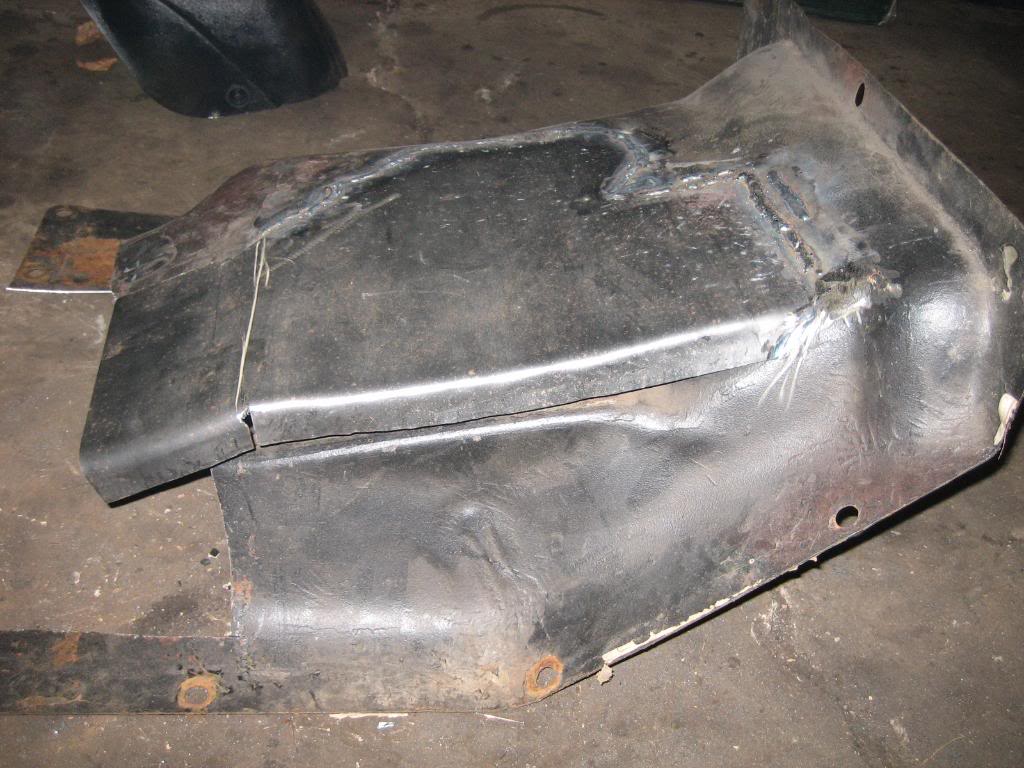
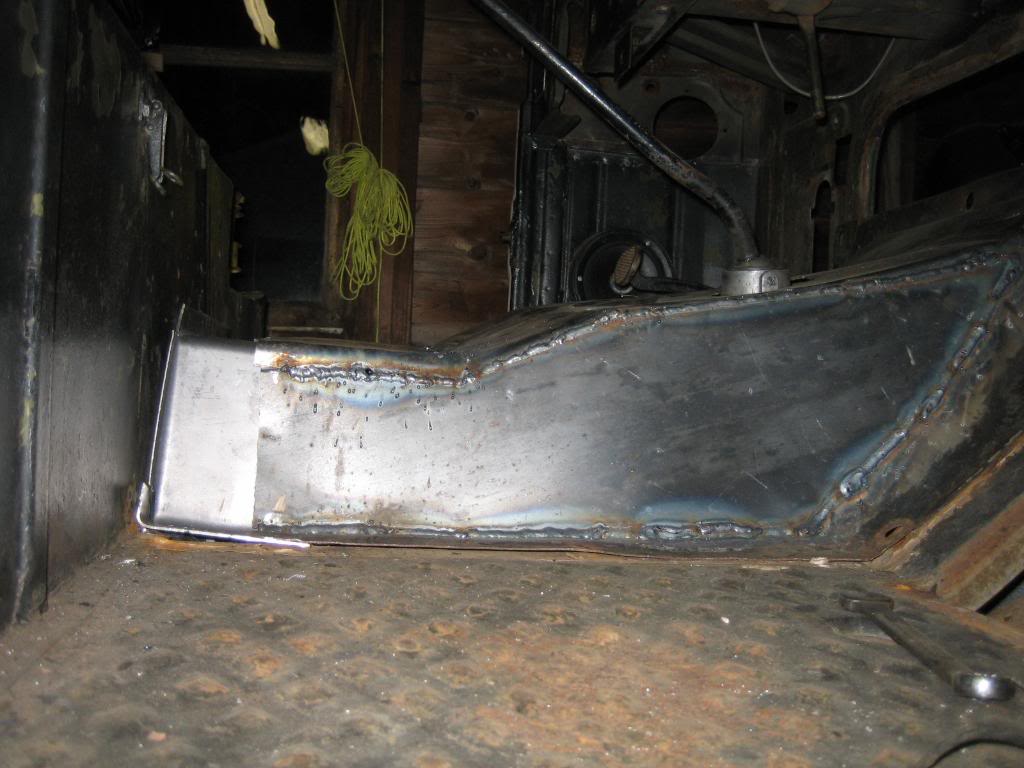
Started off with the floorpan though... welded the back side, and cut out the excess metal. Now its all seam welded and no dirt or salt can get into the seams.
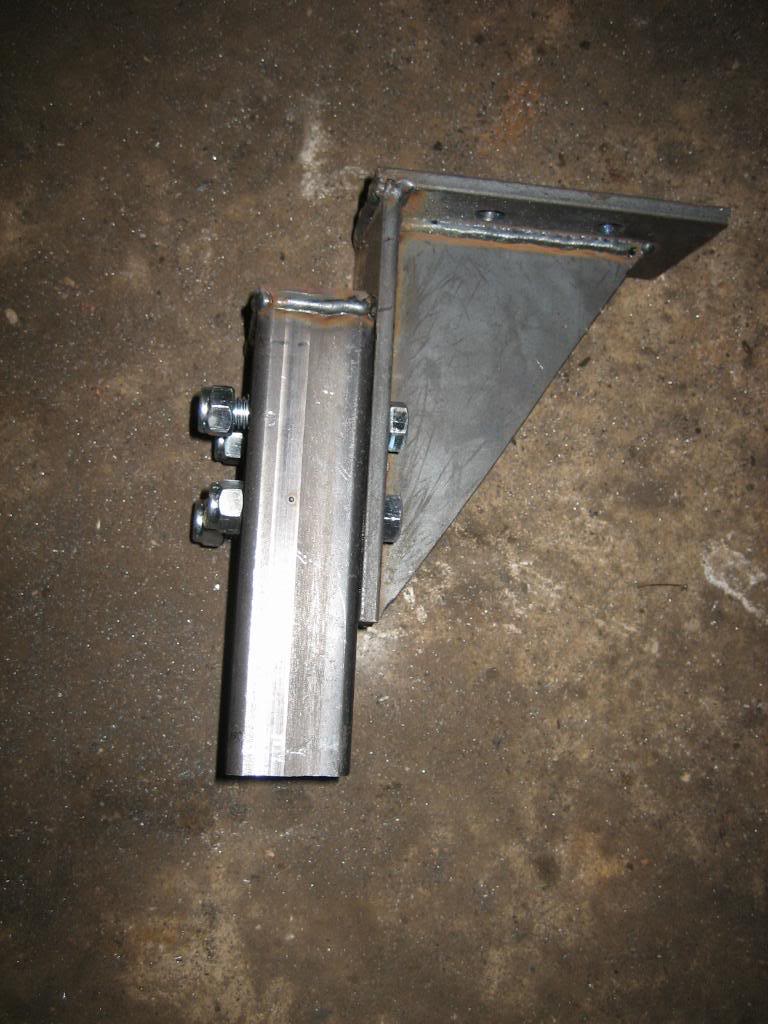
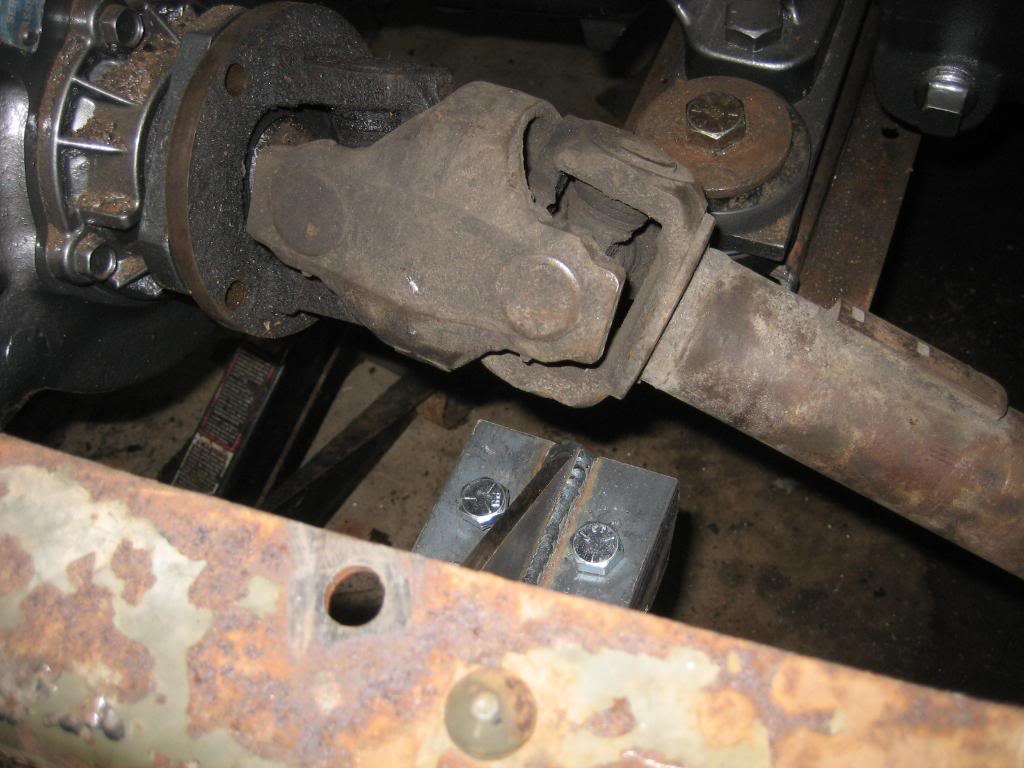
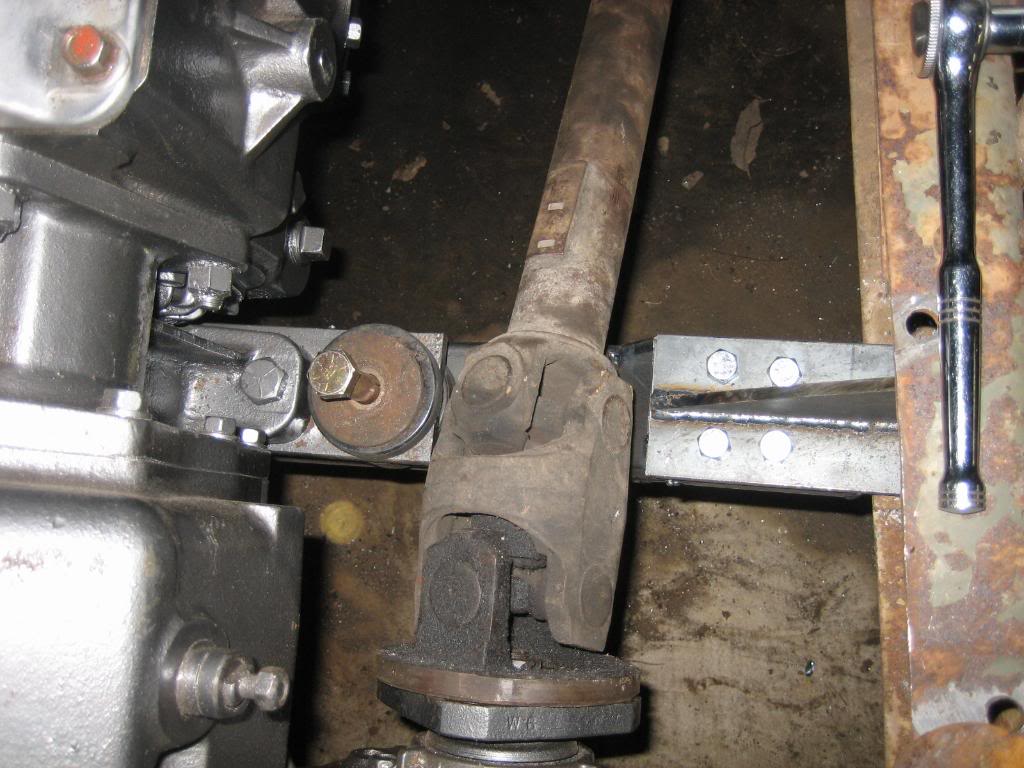
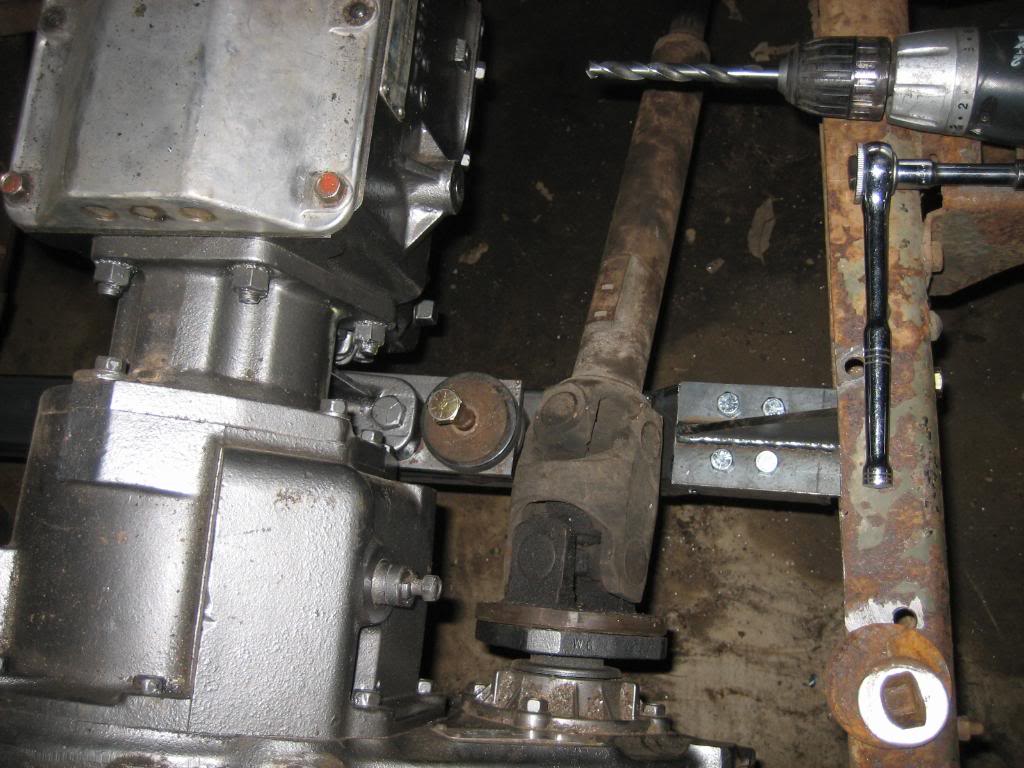
3"X1/4" plate to make the trans mount brackets:
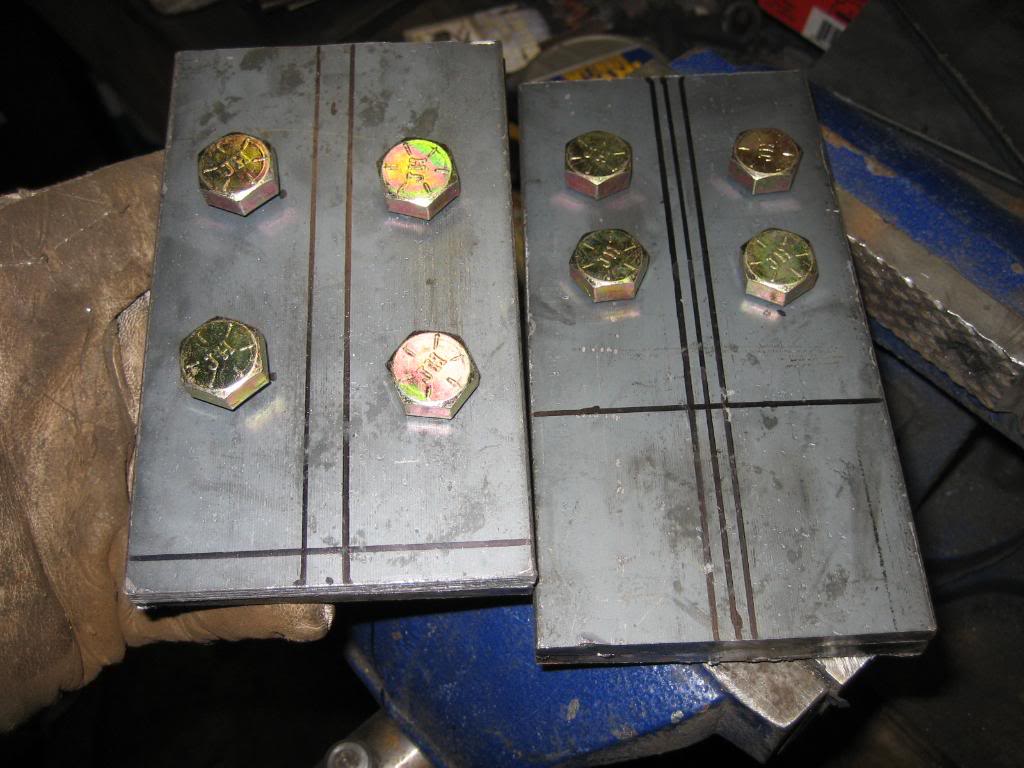
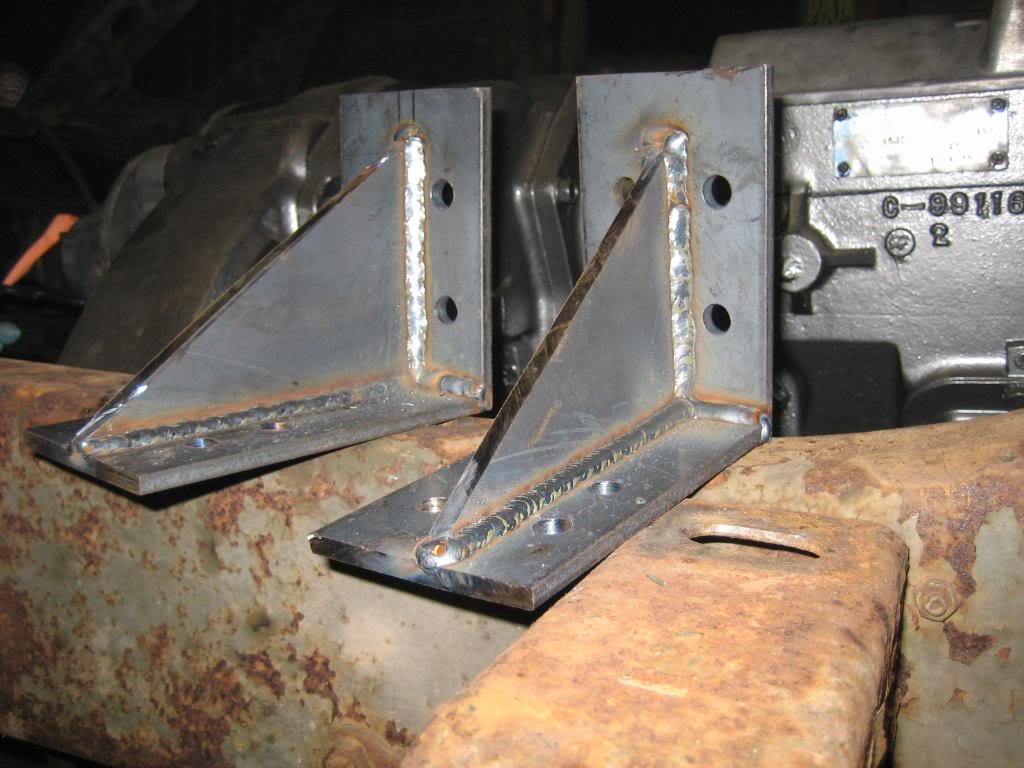
Assembling them:

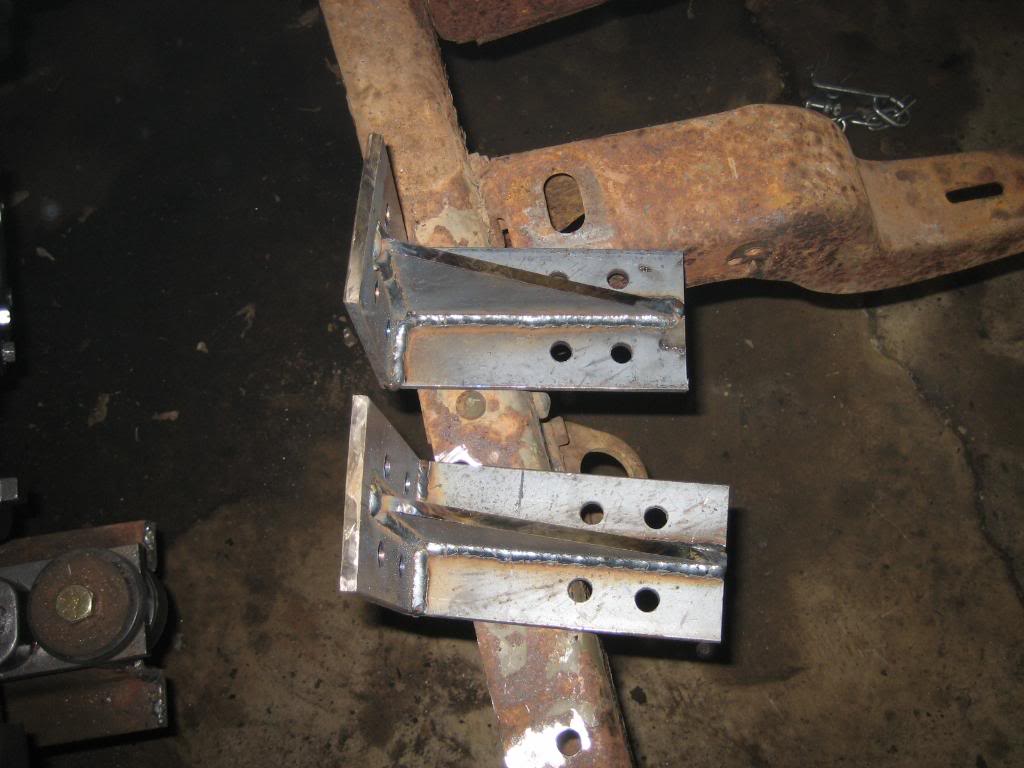
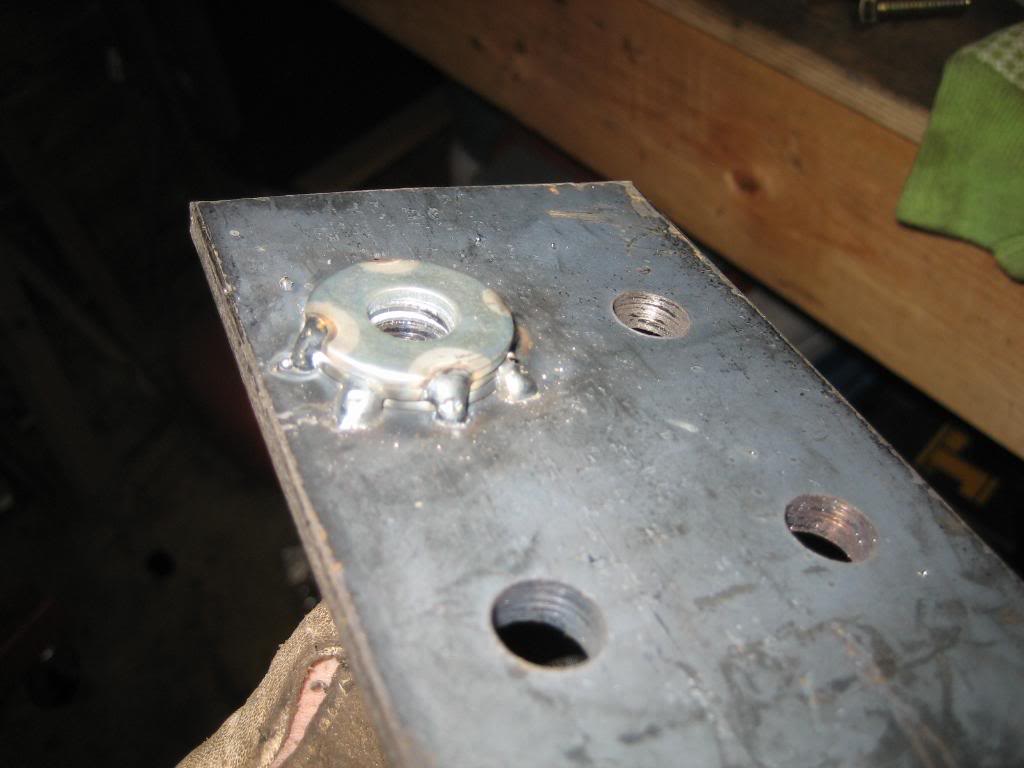
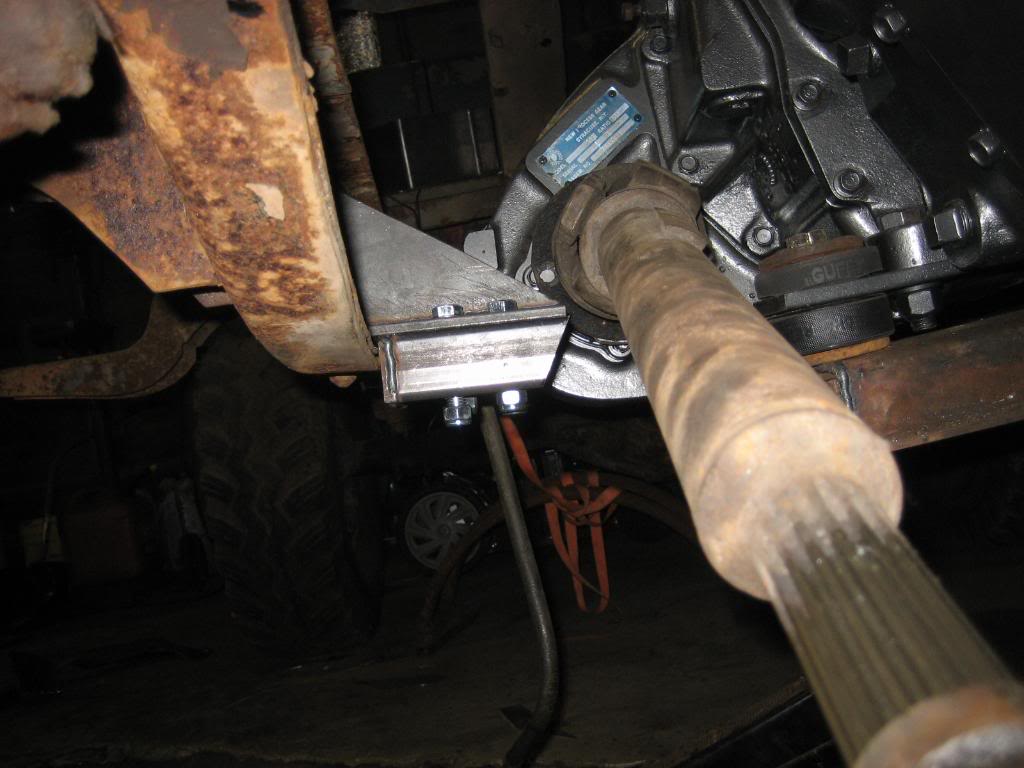
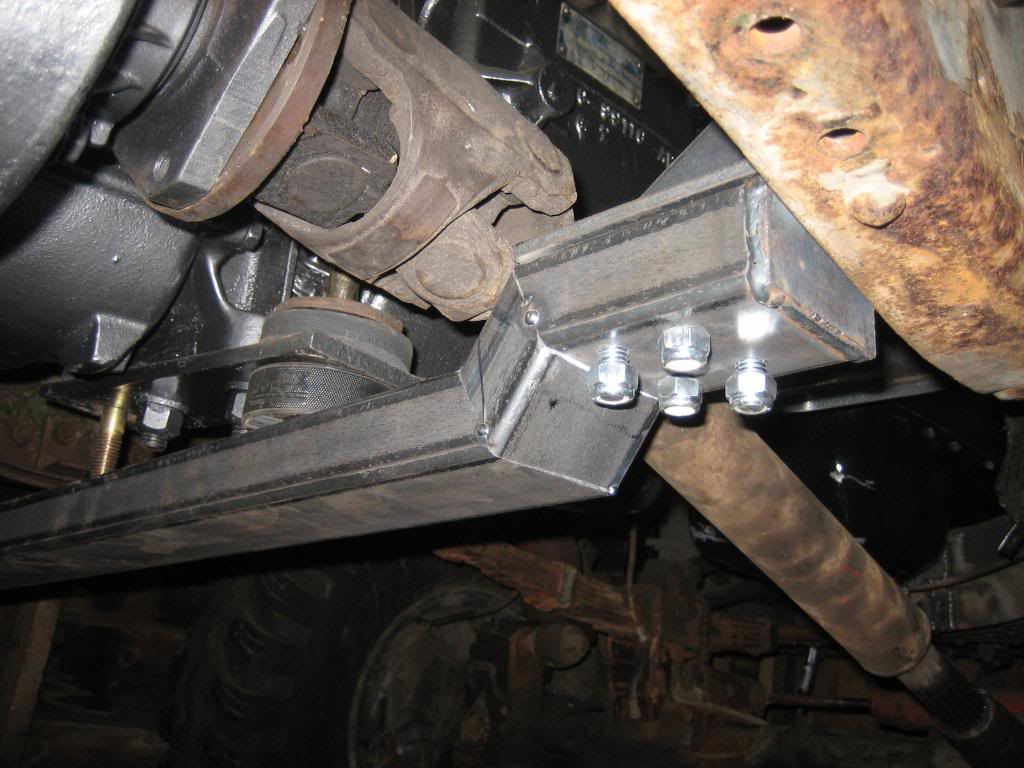
The brackets happen to run into the reinforcing plates where the frame curves up at the front. 3 of the 4 holes sit on that bracket... one does not...
Starting to assemble the cross mount:

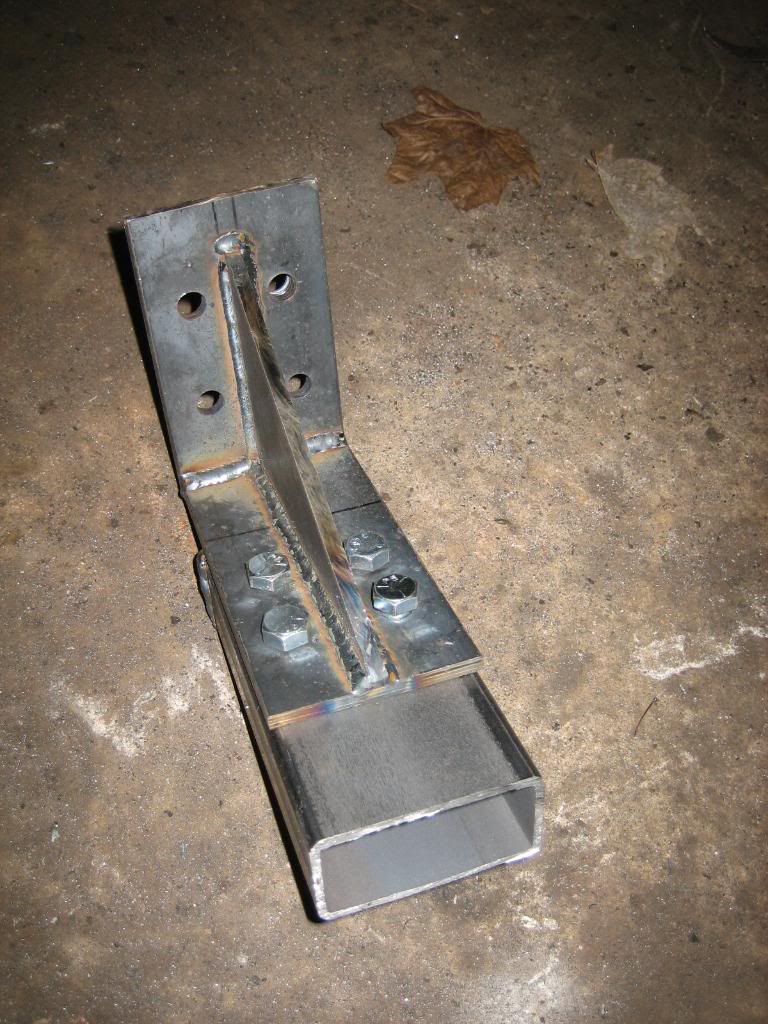
Fitting it to the frame:
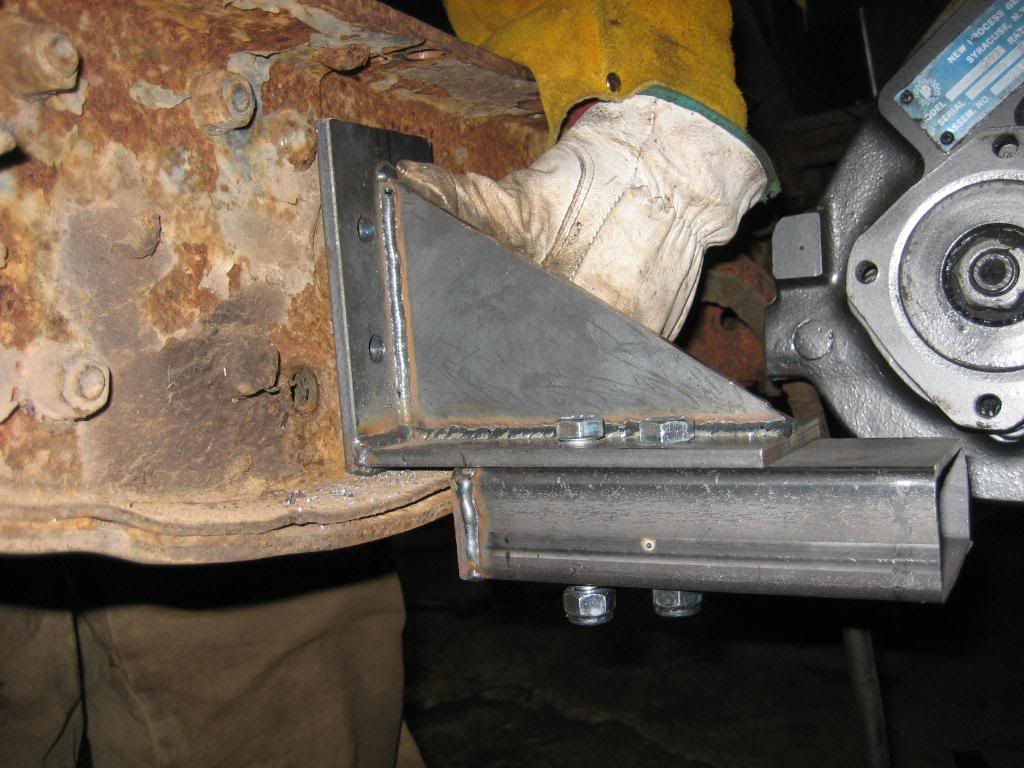
Whew! It's CLOSE!
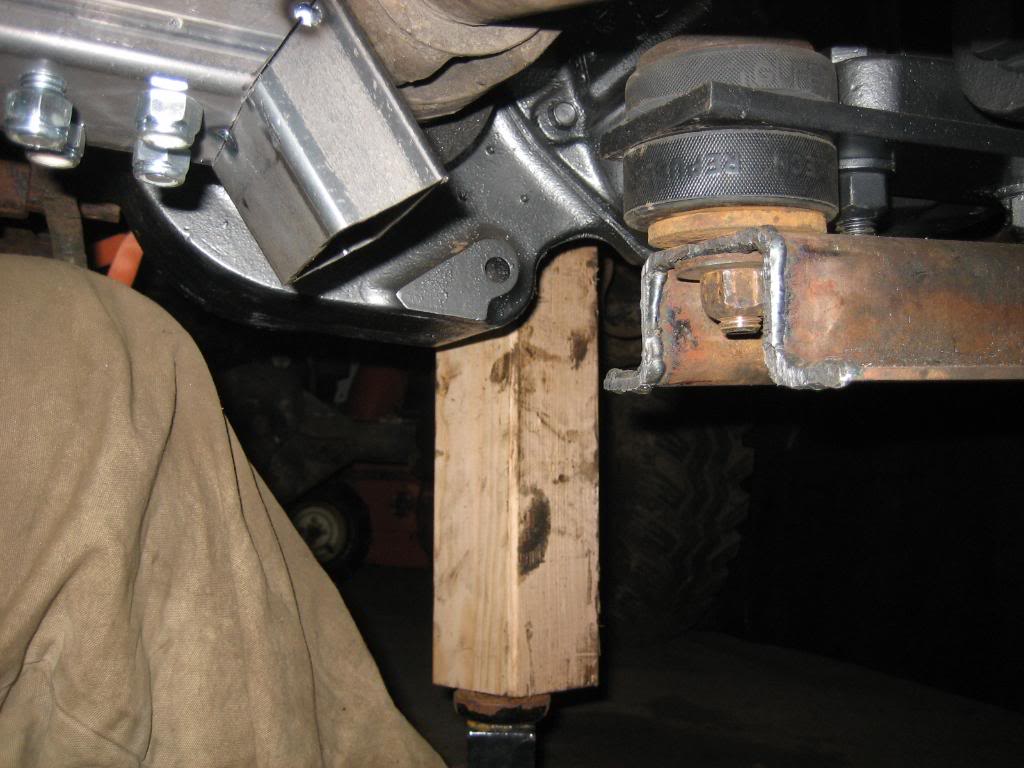
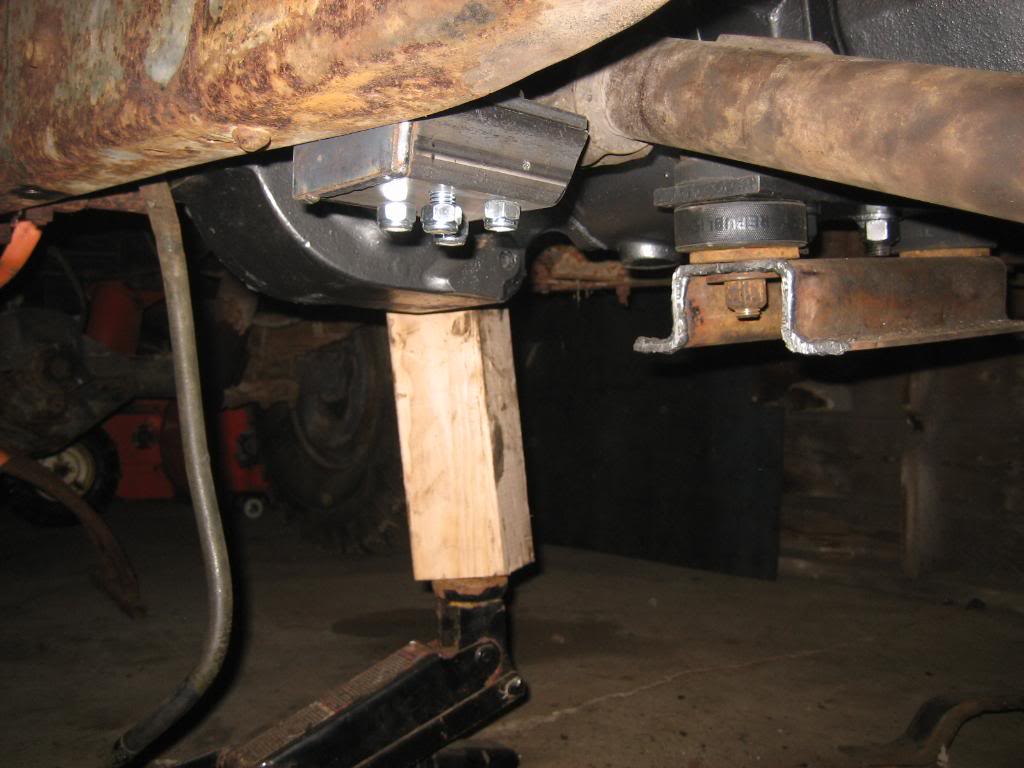
Cross piece tacked on... Have to finish the other side. I also have to break the tacks free and put compression sleeves inside for the bolts to squeeze on the tube:

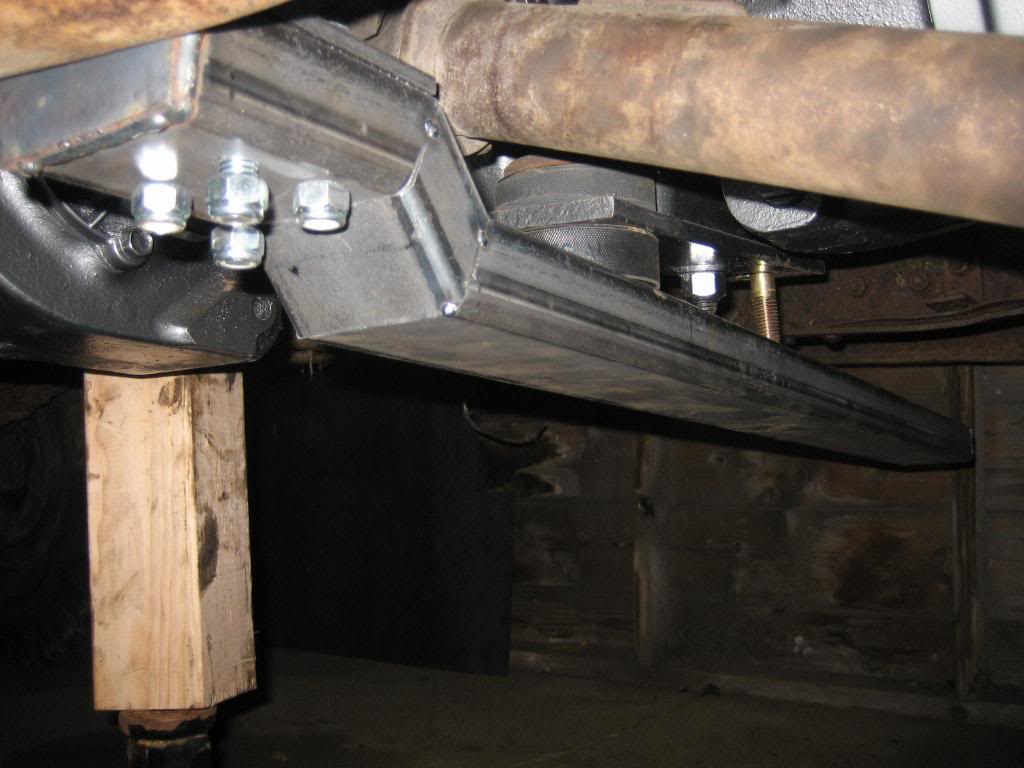
Started off with the floorpan though... welded the back side, and cut out the excess metal. Now its all seam welded and no dirt or salt can get into the seams.
3"X1/4" plate to make the trans mount brackets:
Assembling them:
The brackets happen to run into the reinforcing plates where the frame curves up at the front. 3 of the 4 holes sit on that bracket... one does not...
Starting to assemble the cross mount:
Fitting it to the frame:
Whew! It's CLOSE!
Cross piece tacked on... Have to finish the other side. I also have to break the tacks free and put compression sleeves inside for the bolts to squeeze on the tube:


