Power Wagon Rebuild (Update: 11/5/08)
 11-06-2008, 01:50 PM
#31
0.0 BAR

Join Date: Aug 2007
Location: Okotoks, AB
Posts: 0
Originally Posted by josh19wrc
two HX35's and a lysholm Screw supercharger arent enough?  LOL
LOL 
LOL 

 03-08-2009, 09:04 PM
#34
1.0 BAR
Thread Starter

Join Date: Feb 2003
Location: Wisconsin
Posts: 461
FINALLY:
A drivetrain:
The new drivetrain!


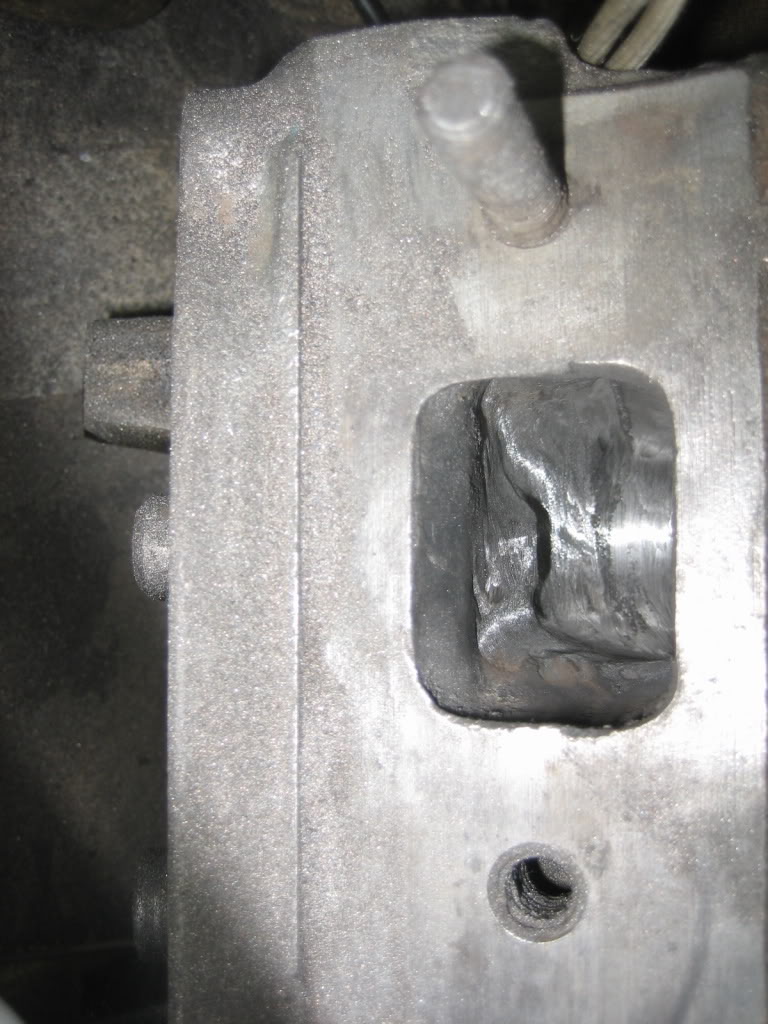
Hoping to use the original engine mounts and transmission mounts with some minor work:


initial measurements say that it will be about 14" shorter then the previous 360/divorced T case combo, meaning, a longer rear shaft, and better rear shaft angles. It's dirty, but, it runs good, and, most of the dirt it from the leaky valve covers drooling all over everything.
A drivetrain:
The new drivetrain!
Hoping to use the original engine mounts and transmission mounts with some minor work:
initial measurements say that it will be about 14" shorter then the previous 360/divorced T case combo, meaning, a longer rear shaft, and better rear shaft angles. It's dirty, but, it runs good, and, most of the dirt it from the leaky valve covers drooling all over everything.


 03-11-2009, 10:40 PM
#39
1.0 BAR
Thread Starter
Join Date: Feb 2003
Location: Wisconsin
Posts: 461
So, I just want to start this post off by saying:
Degreasing engines sucks.
And, degreasing American V8's REALLY sucks, because they are always coated in about 4X as much gunk as other engines ol:
ol:
Done last night:
Stripping the stuff off the engine:


Separated from the drivetrain:

MMM, nice and greasy:

Scraping gunk off the drivetrain:


My floor was CLEAN when I started...

Comparison of the NP435 Granny gear trans cap to the NP445 Sychronized close ratio:


NP4530 (AKA NP445):

NP203 Case:

Done tonight:
LOTS of grease... EVERYWHERE:

Even on the drivetrain:

BUT, she's looking better:


Degreasing engines sucks.
And, degreasing American V8's REALLY sucks, because they are always coated in about 4X as much gunk as other engines
ol: Done last night:
Stripping the stuff off the engine:
Separated from the drivetrain:
MMM, nice and greasy:
Scraping gunk off the drivetrain:
My floor was CLEAN when I started...
Comparison of the NP435 Granny gear trans cap to the NP445 Sychronized close ratio:
NP4530 (AKA NP445):
NP203 Case:
Done tonight:
LOTS of grease... EVERYWHERE:
Even on the drivetrain:
BUT, she's looking better:
03-15-2009, 01:32 AM
#40
1.0 BAR
Thread Starter
Join Date: Feb 2003
Location: Wisconsin
Posts: 461
Lots of work done roday:
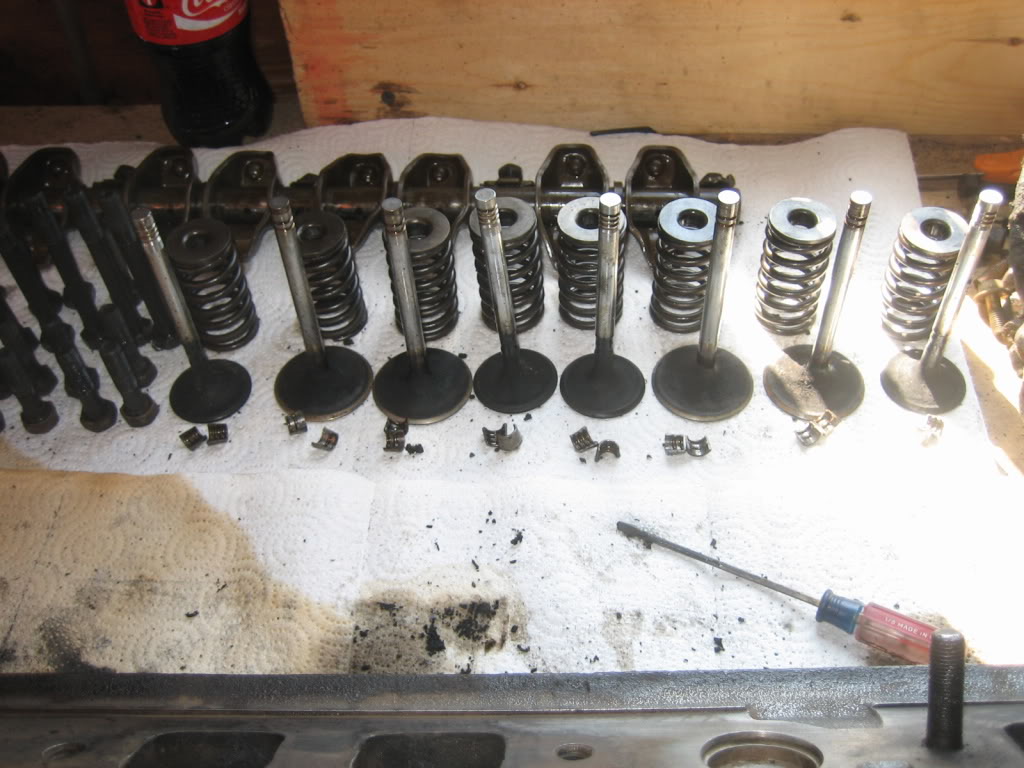
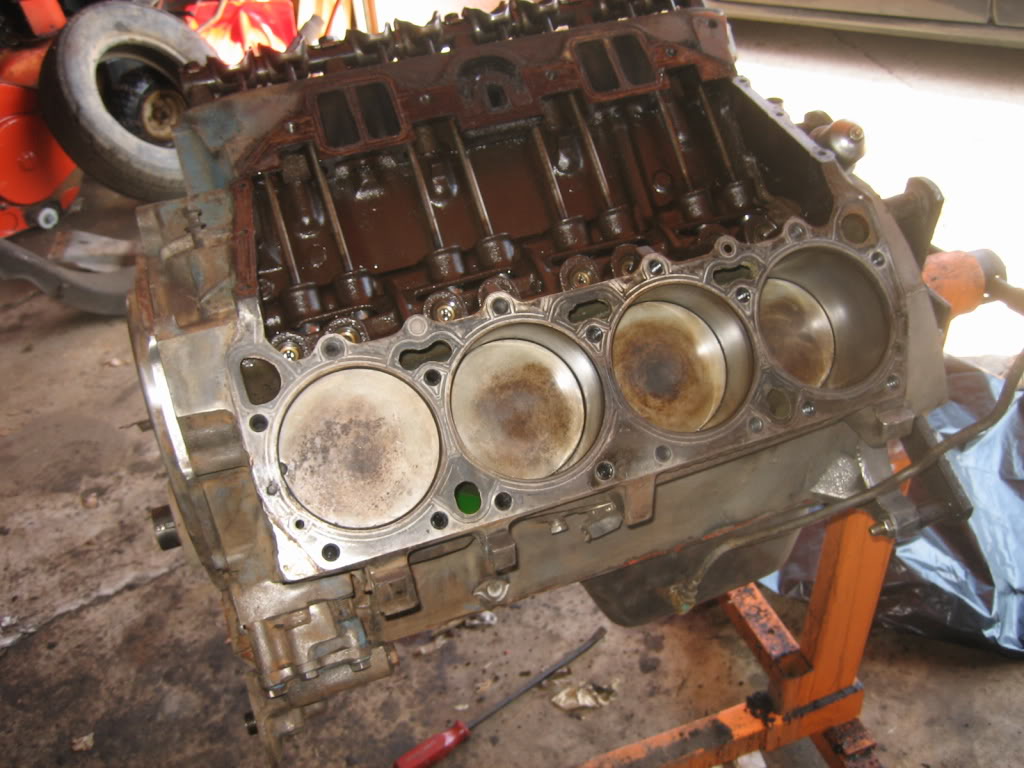
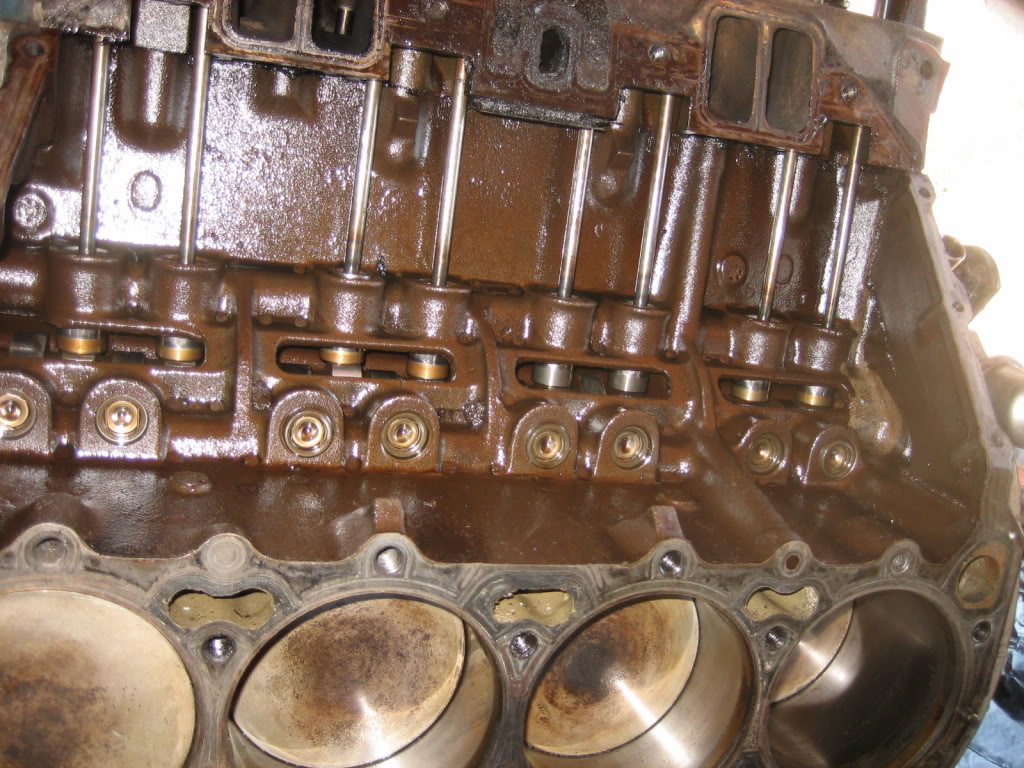
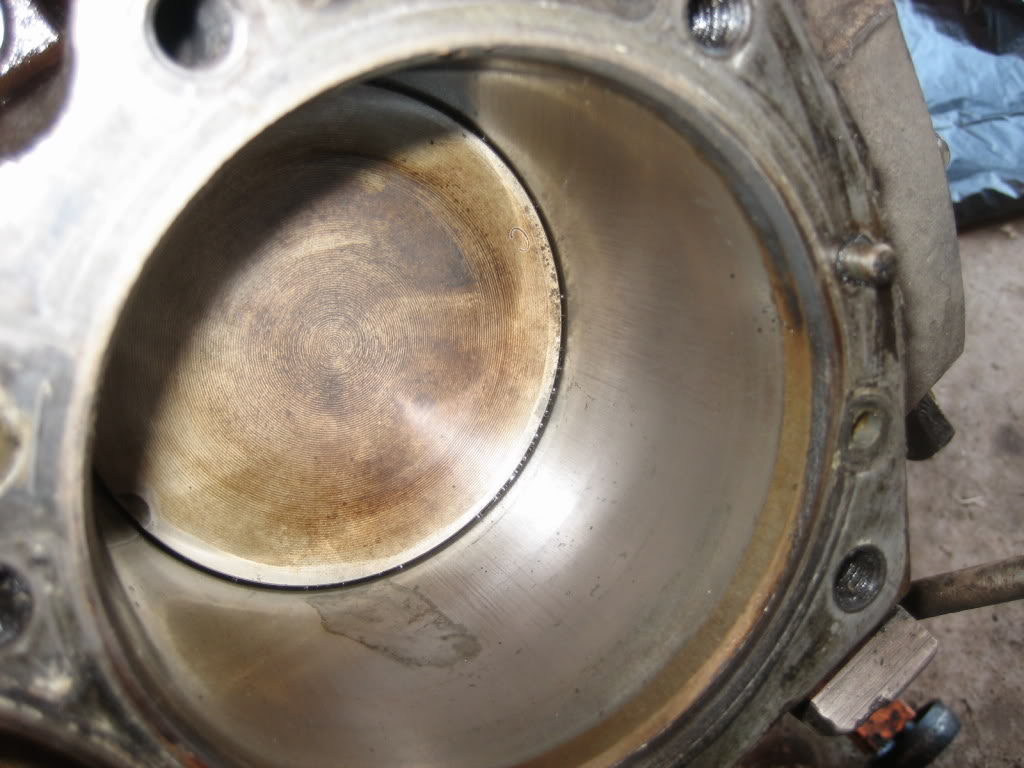
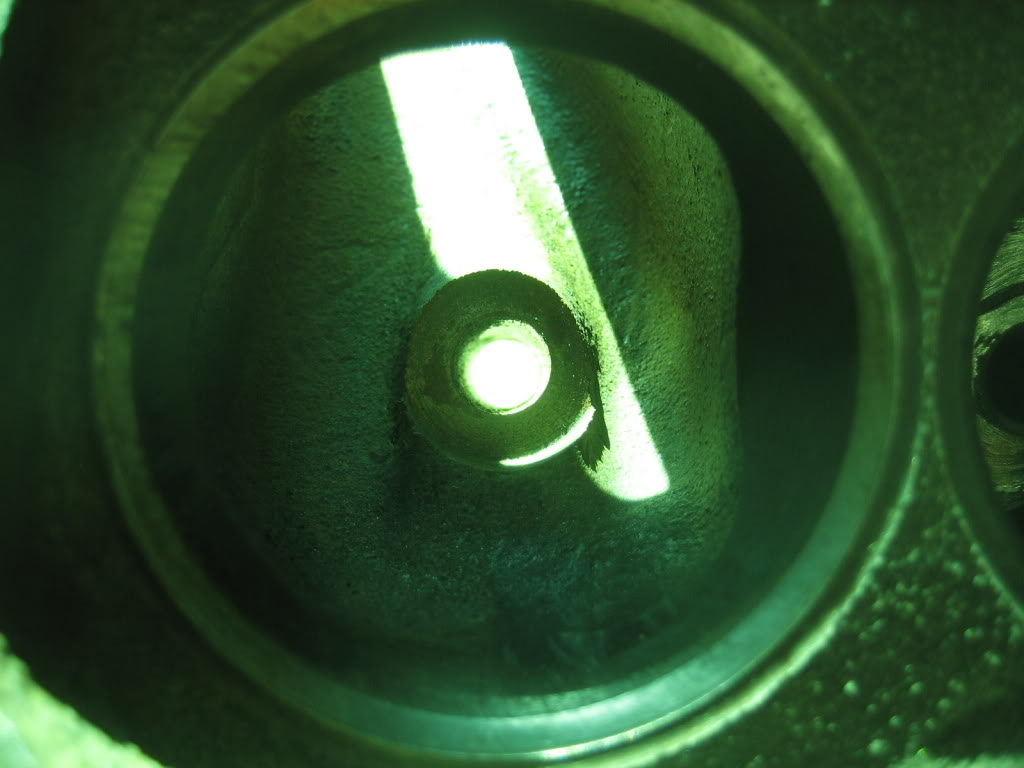
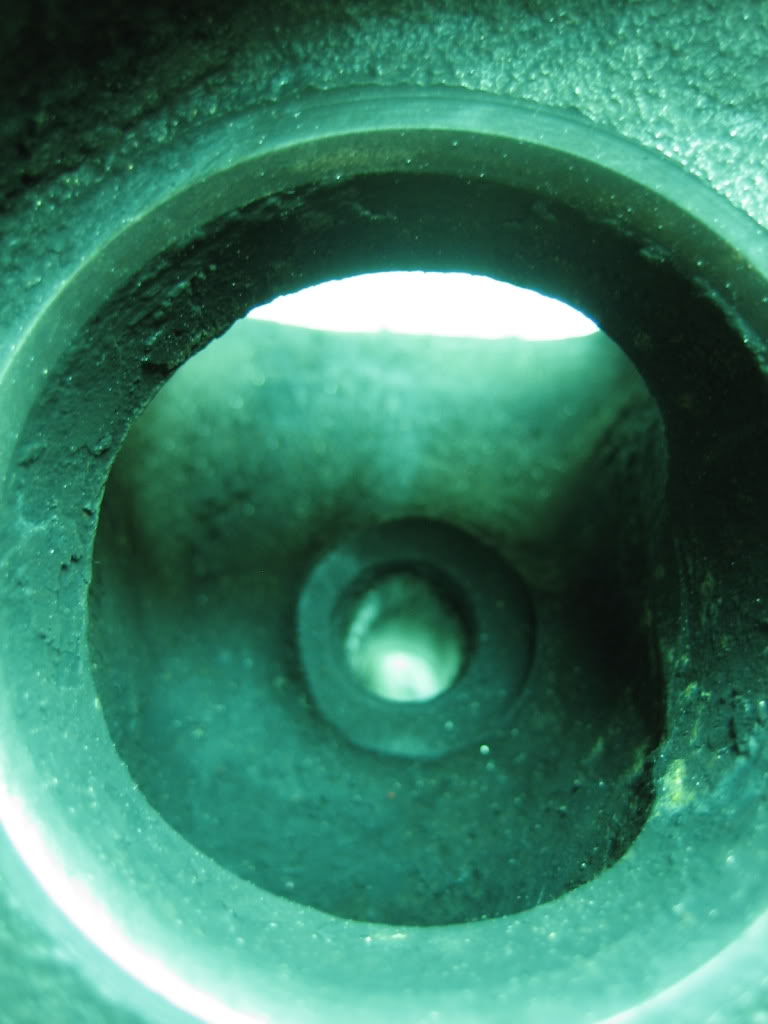
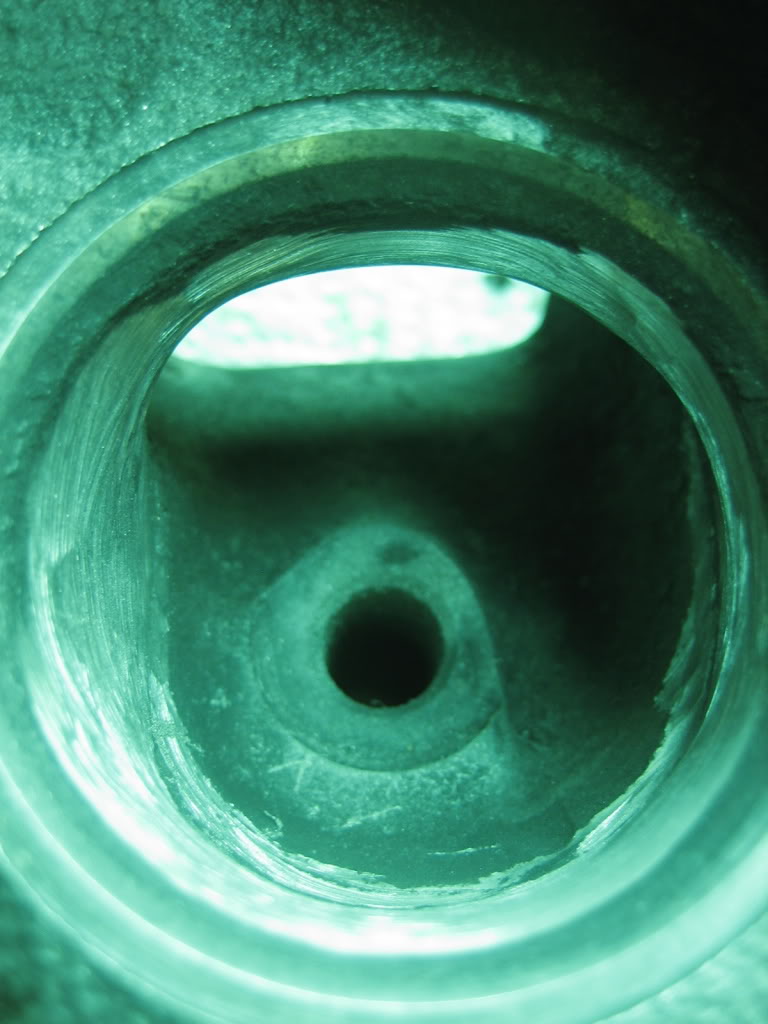
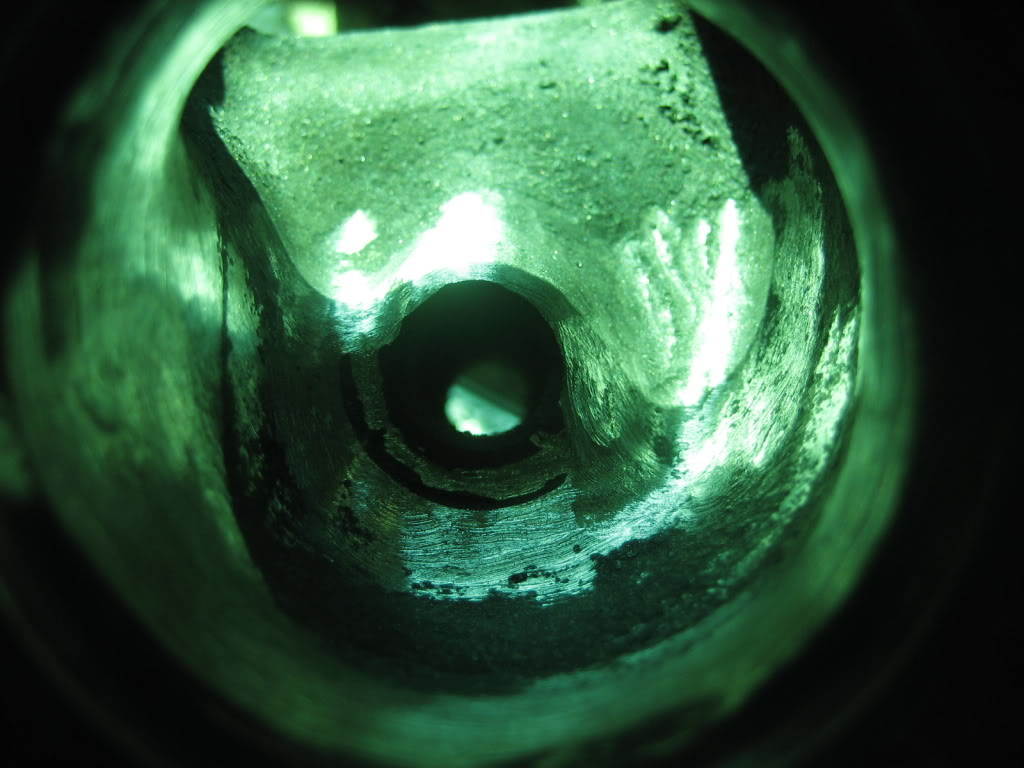
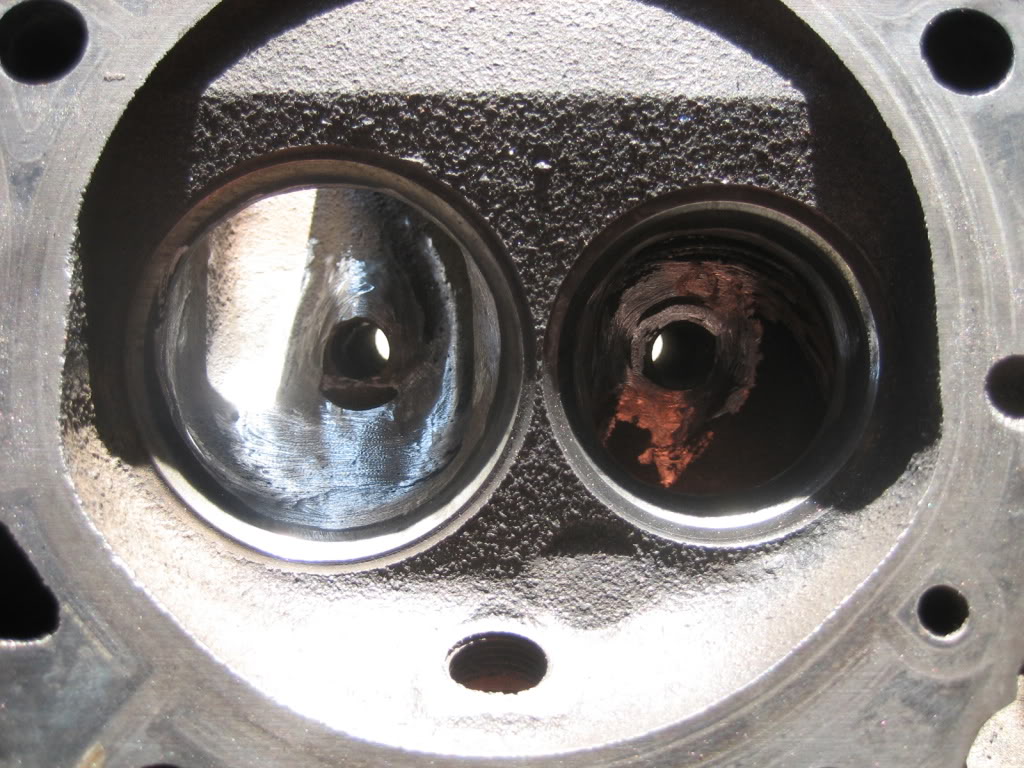
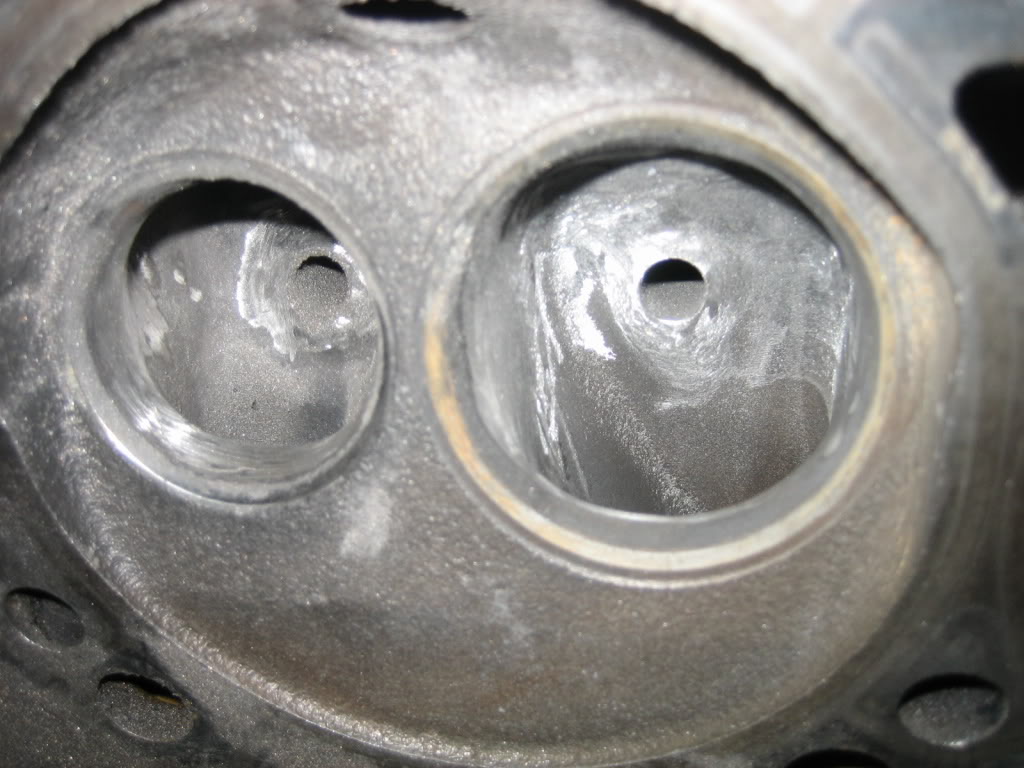
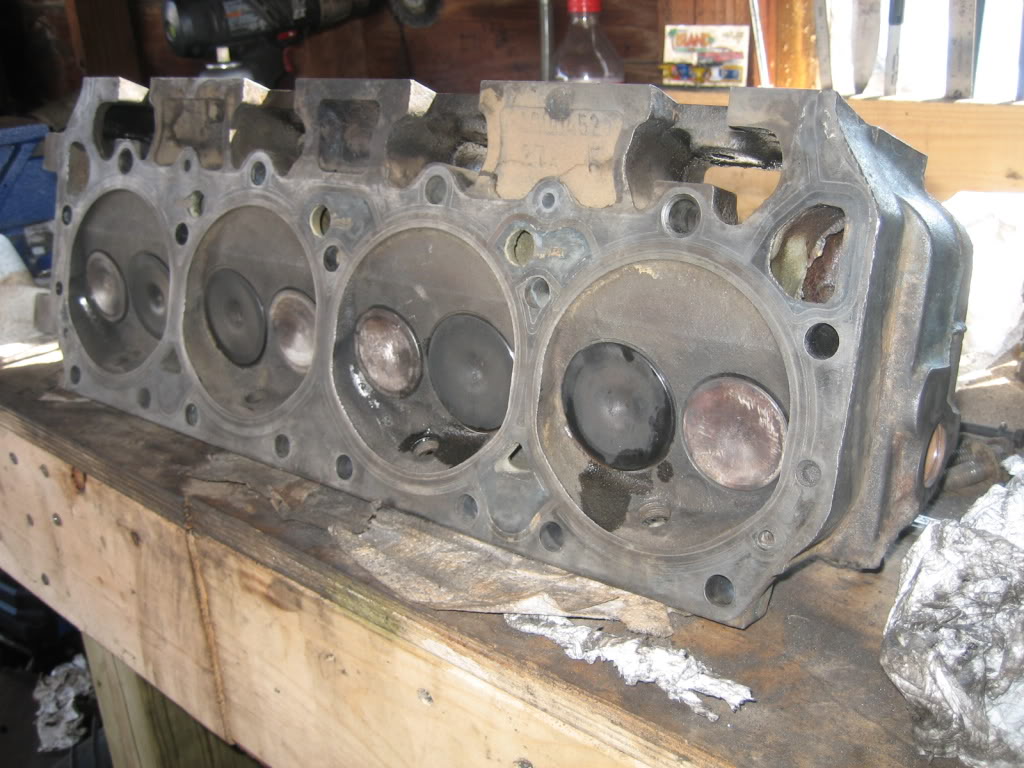
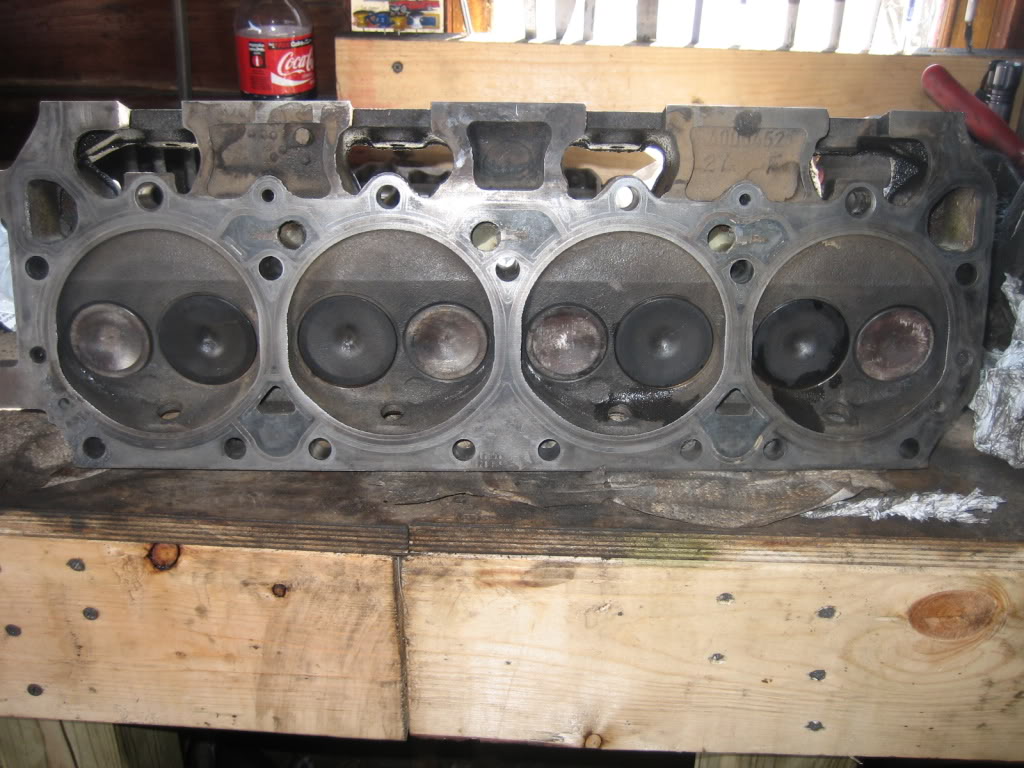
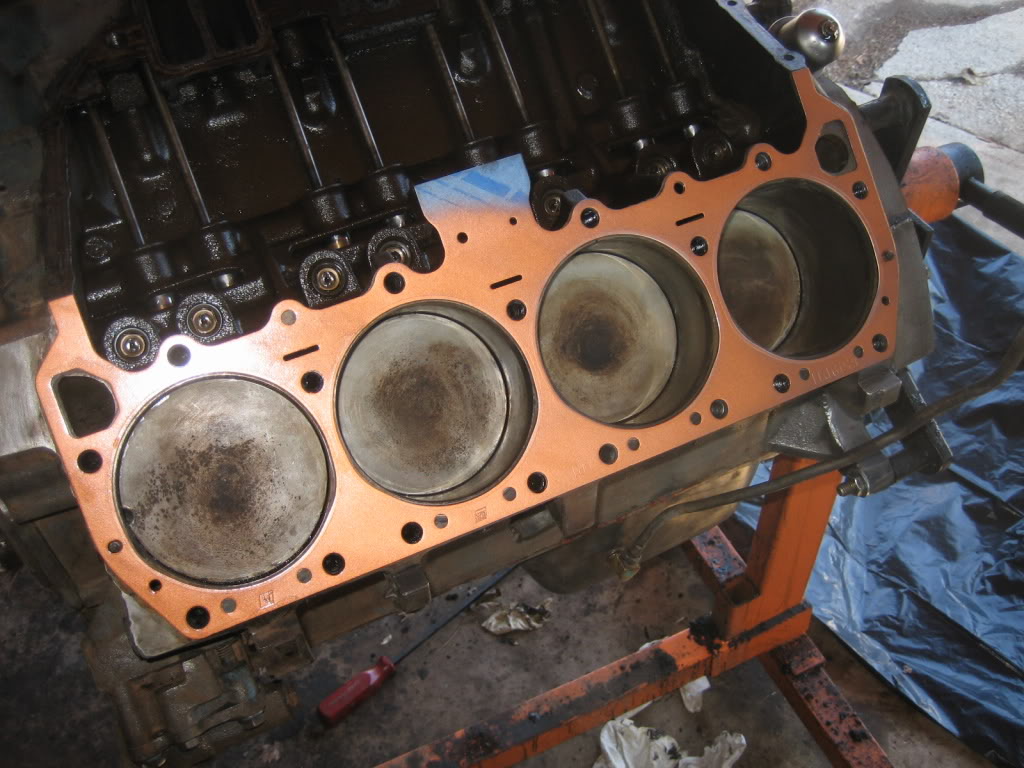
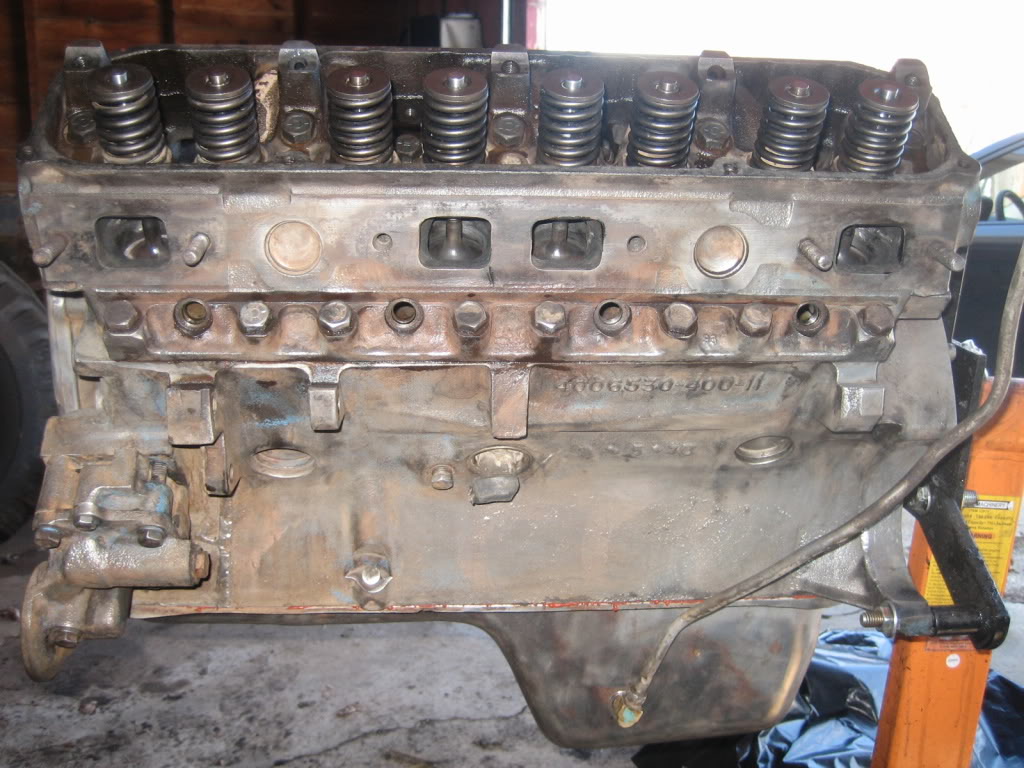
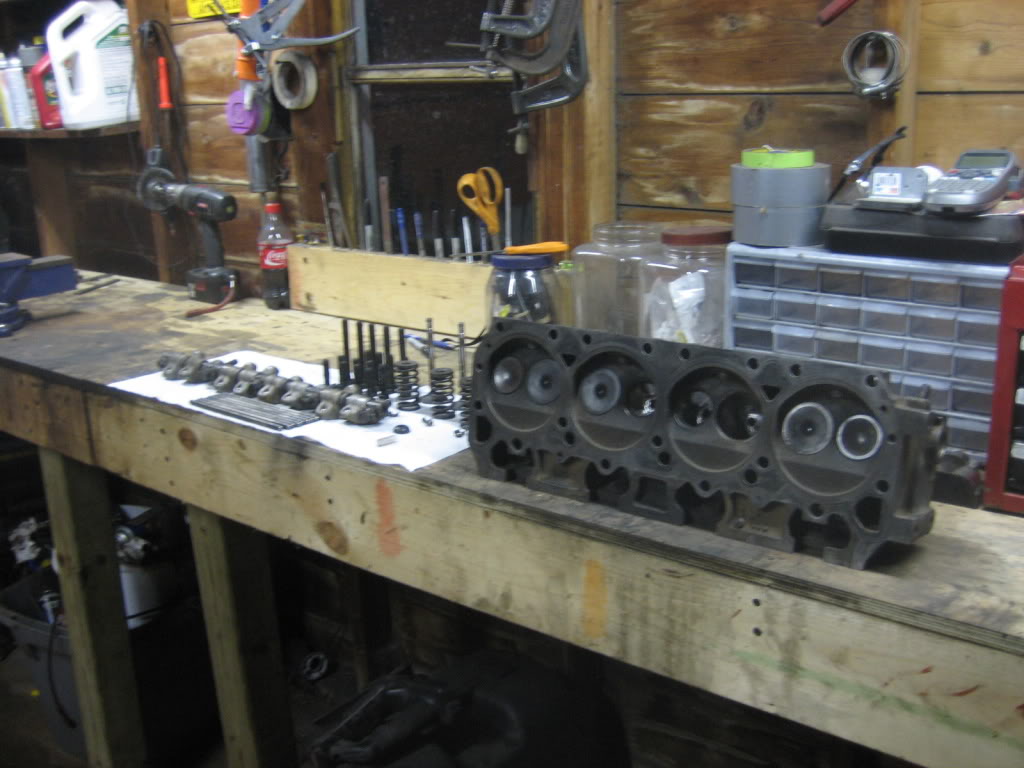
Pull the heads and intake, got the heads degreased, pulled the valvetrain out and put in new seals, and ported the ports. Nothing too extreme, just a nice bowl blend and tapered the guide boss. These heads had some of the biggest machining cuts I've ever seen on a guide boss. The heads we make at work are die cast aluminum, and as a result have big bosses, but jeepers, these things were HUGE! There was a pretty nasty undercut at the bowl as well, should be good for a few ponies when I get her up and running. Rest of the engine looked good, lifters and cam looked great, as did the cam drive. Pistons were extremely clean, and the bores measured .030 over, indicating a rebuild at some point. They are not perfect, there is a very small ridge at the top of them, indicating some wear, but it is livable, at least for a few years. No scuffing on any of the bores, so that was good. I did find two concers however, that made me glad I decided to pull the heads:
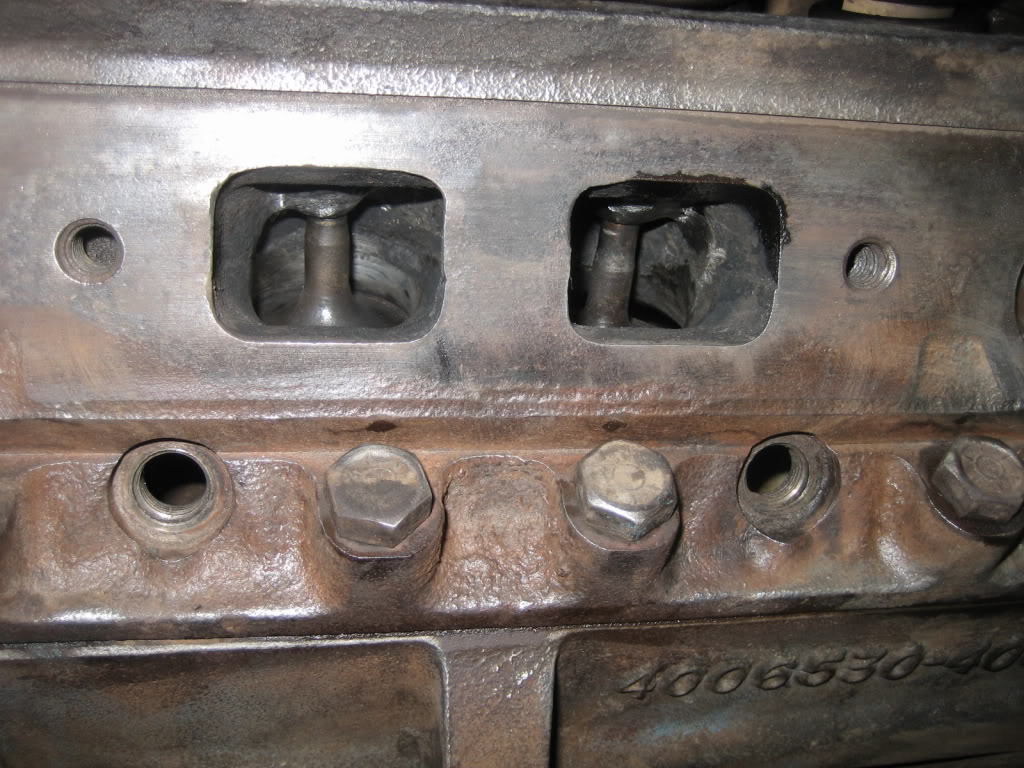
These UGLY valve stem tips... the two center exhaust valves from the passenger's side head. These will have to be replaced. Luckily, they didnt screw up the rockers. I have no idea what would cause this, I've never seen anything like it... All I cna figure is improper break in after the last rebuild. they had a nice polish to them, indicating tehy have been like that for some time now.
And, whoever did the rebuild has got to have the record for cheapest engine rebuild, as they bought no new gaskets... they reused EVERYTHING, even the factory head gaskets, and, both were weeping into the rear cylinders. luckily, I caught it in time before it caused any serious pitting or other damage. Below are some pictures of the port job, and the general condition of the engine.
After a gentle wire brushing of the chambers:
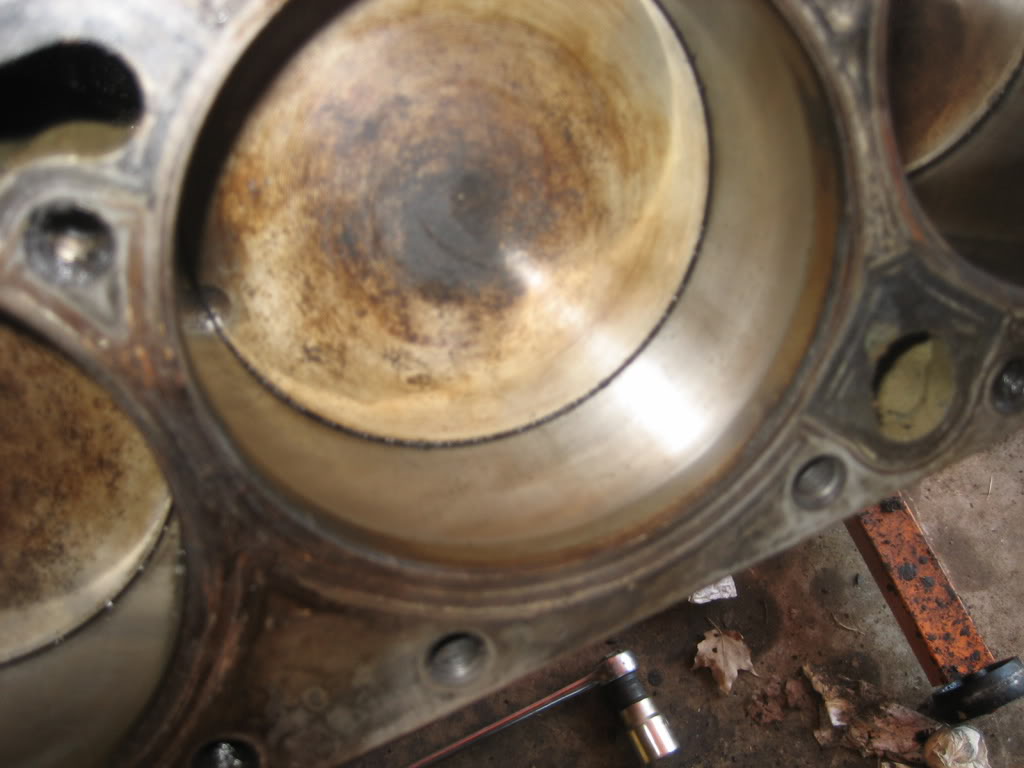
Those are some CLEAN pistons!
Cam looks good:
weird stain on the bore... no noticable surface finish difference:
Intake, to start:
intake bowl blend start

Exhaust, to start:
exhaust bowl blend start:
Tapering the guide boss start
Nice morning sun, Made it easy to see what I was doing!

All done:
Reassembled
A little copperseal on the gaskets:
Clamped and ready to go:

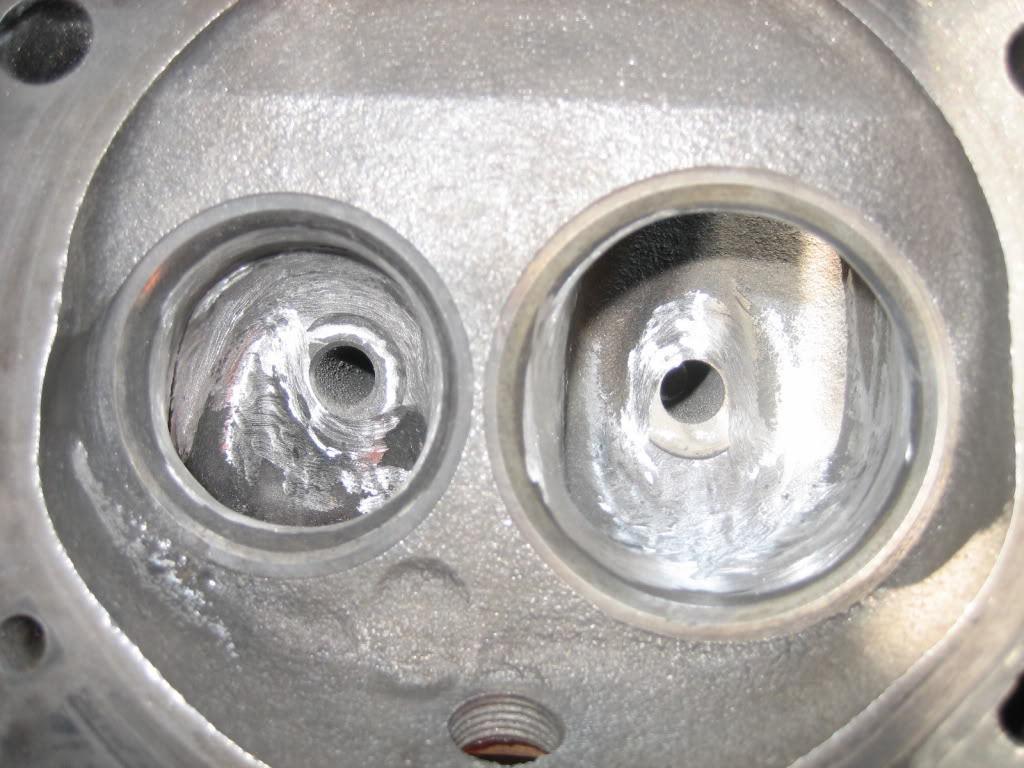
Before port, exhaust side:

After port, same head:
Cleaned up... the second head is waiting for a few new valves:
Pull the heads and intake, got the heads degreased, pulled the valvetrain out and put in new seals, and ported the ports. Nothing too extreme, just a nice bowl blend and tapered the guide boss. These heads had some of the biggest machining cuts I've ever seen on a guide boss. The heads we make at work are die cast aluminum, and as a result have big bosses, but jeepers, these things were HUGE! There was a pretty nasty undercut at the bowl as well, should be good for a few ponies when I get her up and running. Rest of the engine looked good, lifters and cam looked great, as did the cam drive. Pistons were extremely clean, and the bores measured .030 over, indicating a rebuild at some point. They are not perfect, there is a very small ridge at the top of them, indicating some wear, but it is livable, at least for a few years. No scuffing on any of the bores, so that was good. I did find two concers however, that made me glad I decided to pull the heads:
These UGLY valve stem tips... the two center exhaust valves from the passenger's side head. These will have to be replaced. Luckily, they didnt screw up the rockers. I have no idea what would cause this, I've never seen anything like it... All I cna figure is improper break in after the last rebuild. they had a nice polish to them, indicating tehy have been like that for some time now.
And, whoever did the rebuild has got to have the record for cheapest engine rebuild, as they bought no new gaskets... they reused EVERYTHING, even the factory head gaskets, and, both were weeping into the rear cylinders. luckily, I caught it in time before it caused any serious pitting or other damage. Below are some pictures of the port job, and the general condition of the engine.
After a gentle wire brushing of the chambers:
Those are some CLEAN pistons!
Cam looks good:
weird stain on the bore... no noticable surface finish difference:
Intake, to start:
intake bowl blend start
Exhaust, to start:
exhaust bowl blend start:
Tapering the guide boss start
Nice morning sun, Made it easy to see what I was doing!
All done:
Reassembled
A little copperseal on the gaskets:
Clamped and ready to go:
Before port, exhaust side:
After port, same head:
Cleaned up... the second head is waiting for a few new valves:


