Power Wagon Rebuild (Update: 11/5/08)


 08-07-2010, 09:44 PM
#212
1.0 BAR
Thread Starter

Join Date: Feb 2003
Location: Wisconsin
Posts: 461
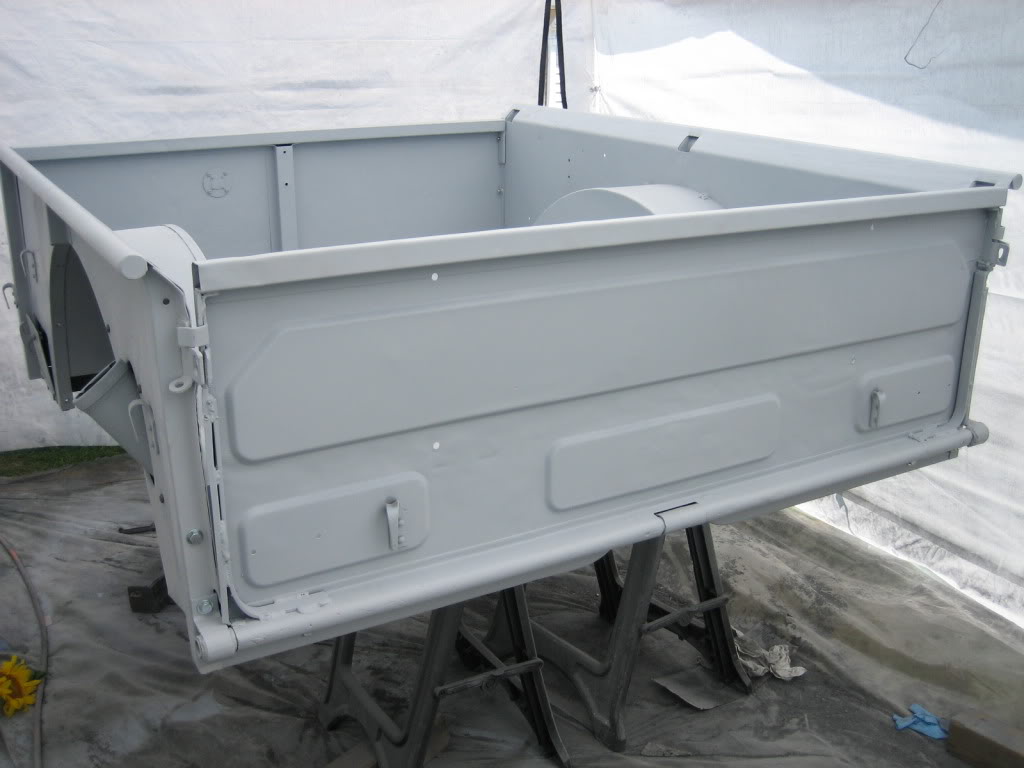
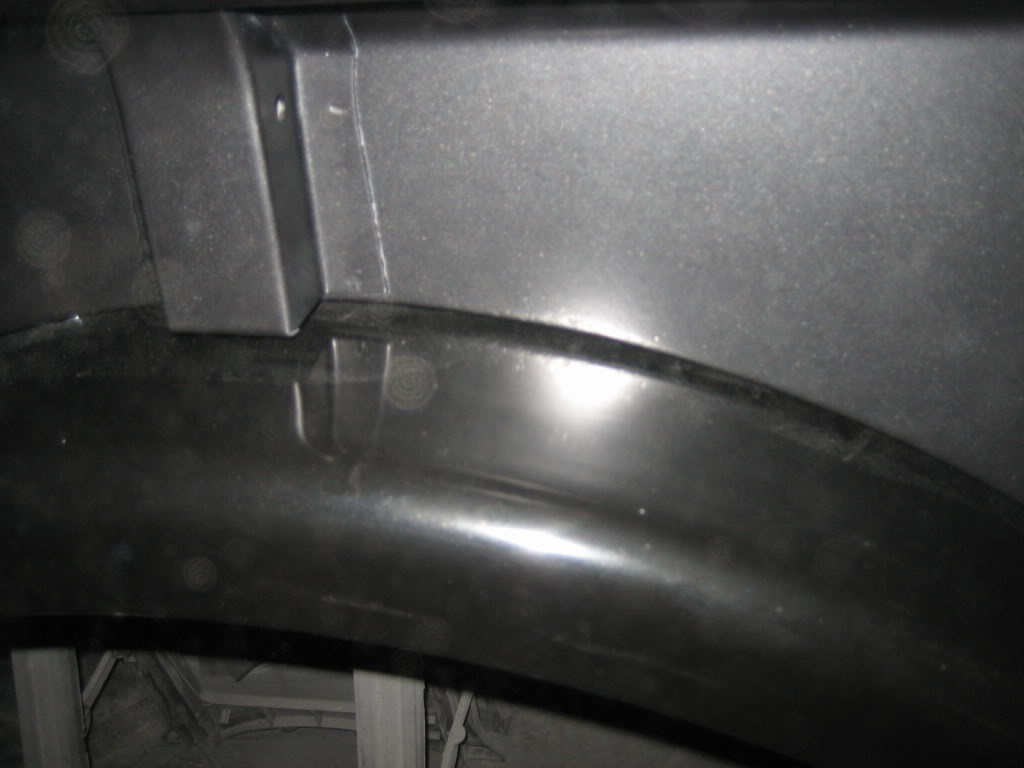
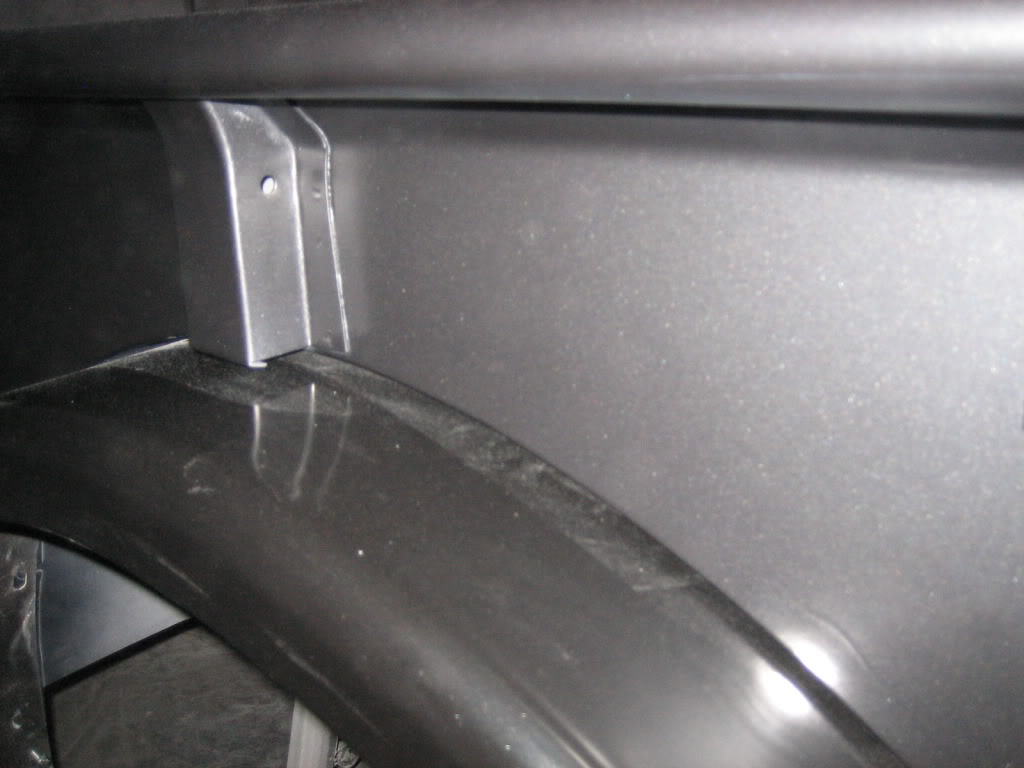
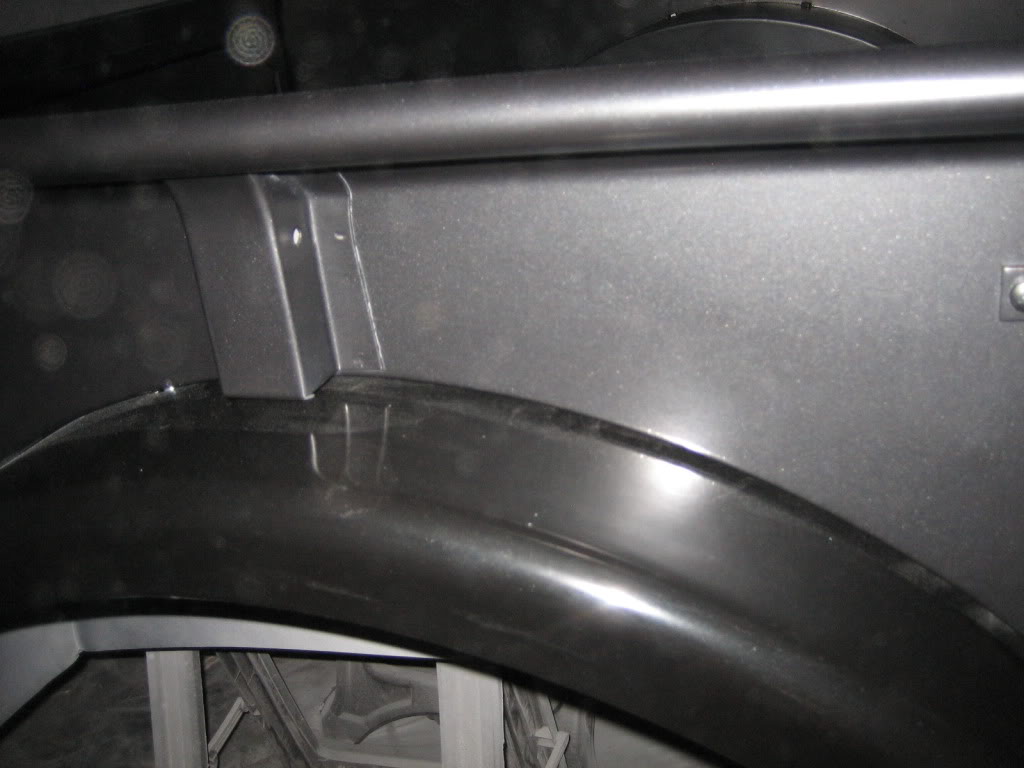
For the first time in almost 3 years, the bed is in one piece. It is straight, rust free, and beautiful. I would have taken pictures, but it is already dark here. Will take some tomorrow. Have a bit of paint prep to do, then it gets base/clear. Will finally get to see what my color combo looks like!
Got my loan for the remainder of the parts. Will order em up tomorrow, so they ship out first thing Monday morning! Woo Hoo!!
Got my loan for the remainder of the parts. Will order em up tomorrow, so they ship out first thing Monday morning! Woo Hoo!!
08-08-2010, 11:12 PM
#213
1.0 BAR
Thread Starter
Join Date: Feb 2003
Location: Wisconsin
Posts: 461
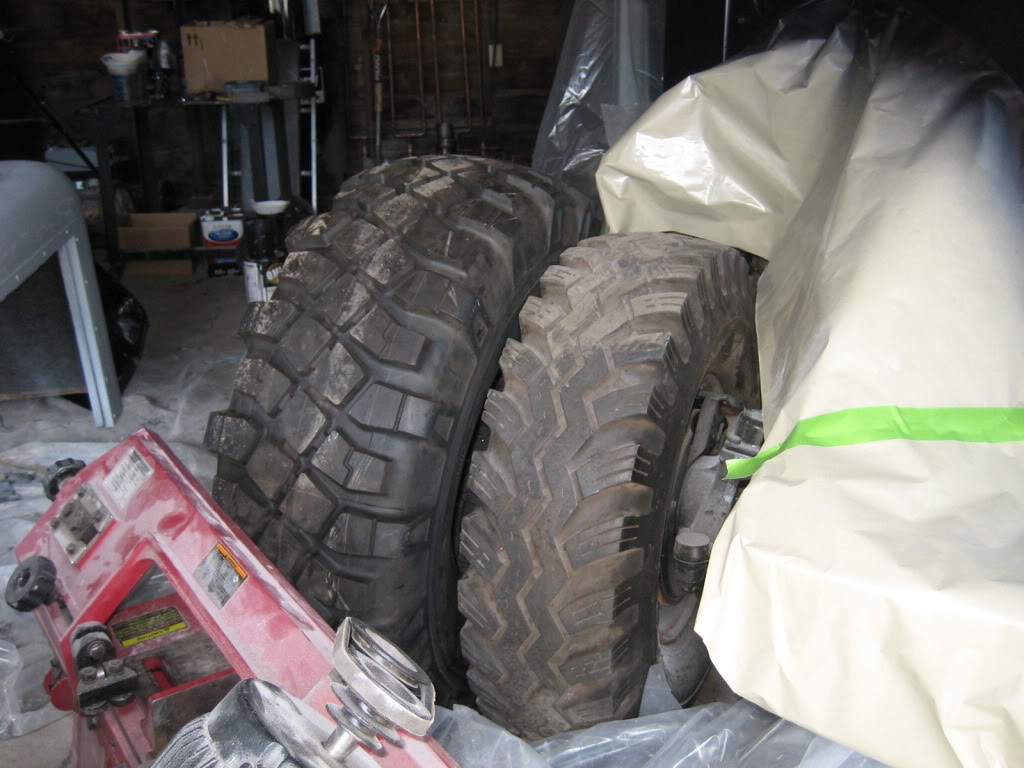
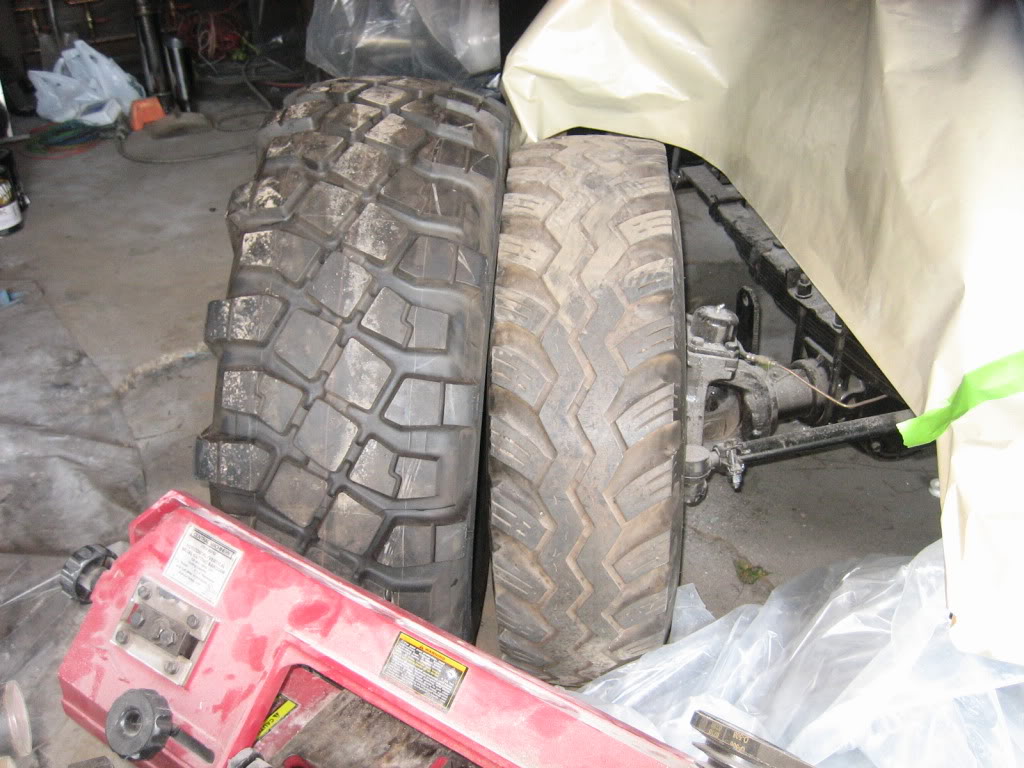
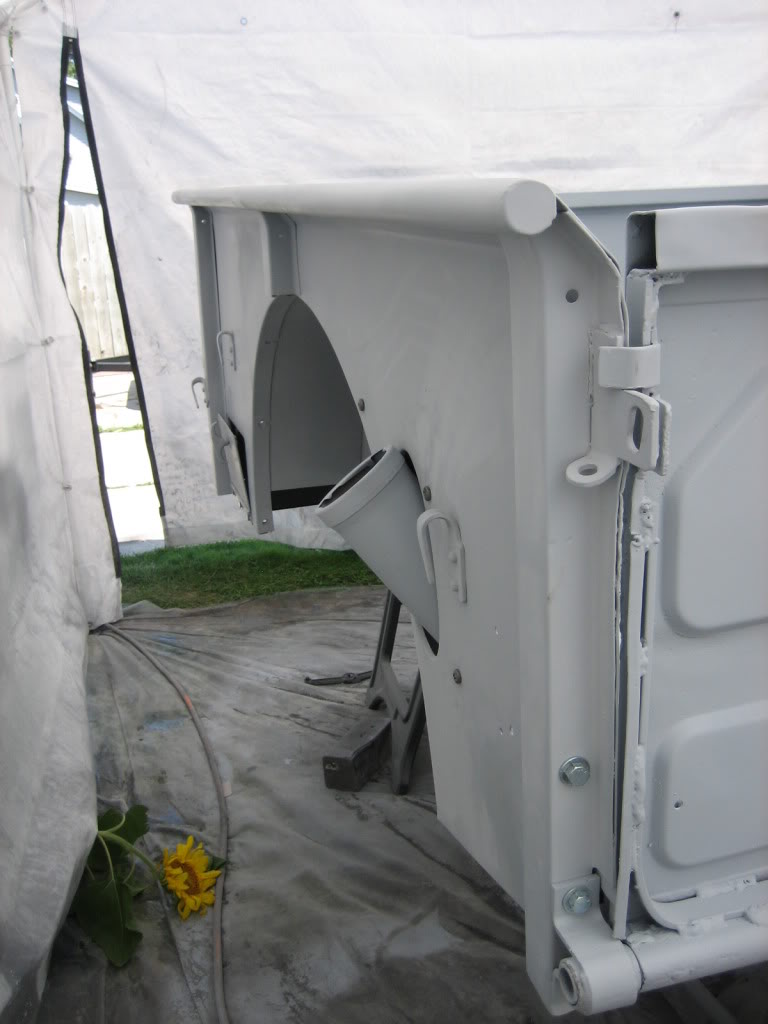
pics of the bed.
Got the cab sanded out tonight, will get some high build primer on it tomrrow, then a final sand out. the bed still needs a bit of work. the tailgate and front panels are both rust free, but dented up pretty badly. They looked like a pretzle when I got them, twisted, bent and mangled, but I managed to get both relatively flat other than the spot near the bottom f the tailgate, and the left of center in the front panel. The metal is stretched, so, that's about as good as they're going to get without a shrinking hammer and dolly, which I don't have. I'll get the final spot fill and sandout on the bed tomorrow, and both can go into base/clear!
Just have to fill and sand the doors, the rest is primed, filled, sanded, and ready for base/clear!
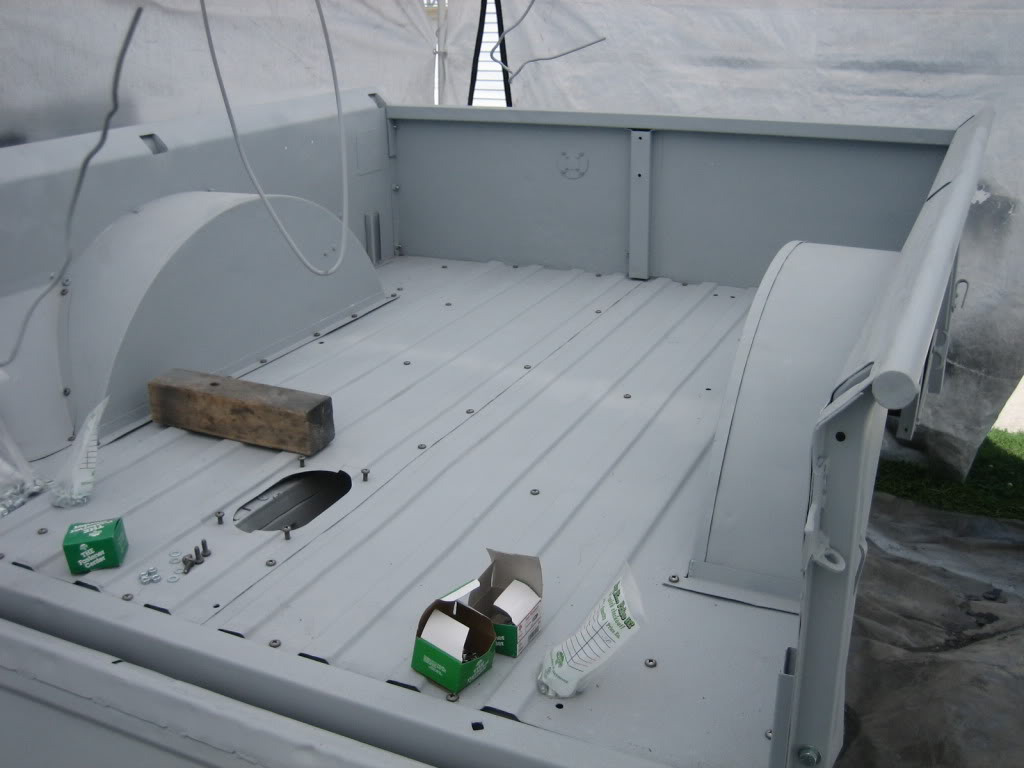
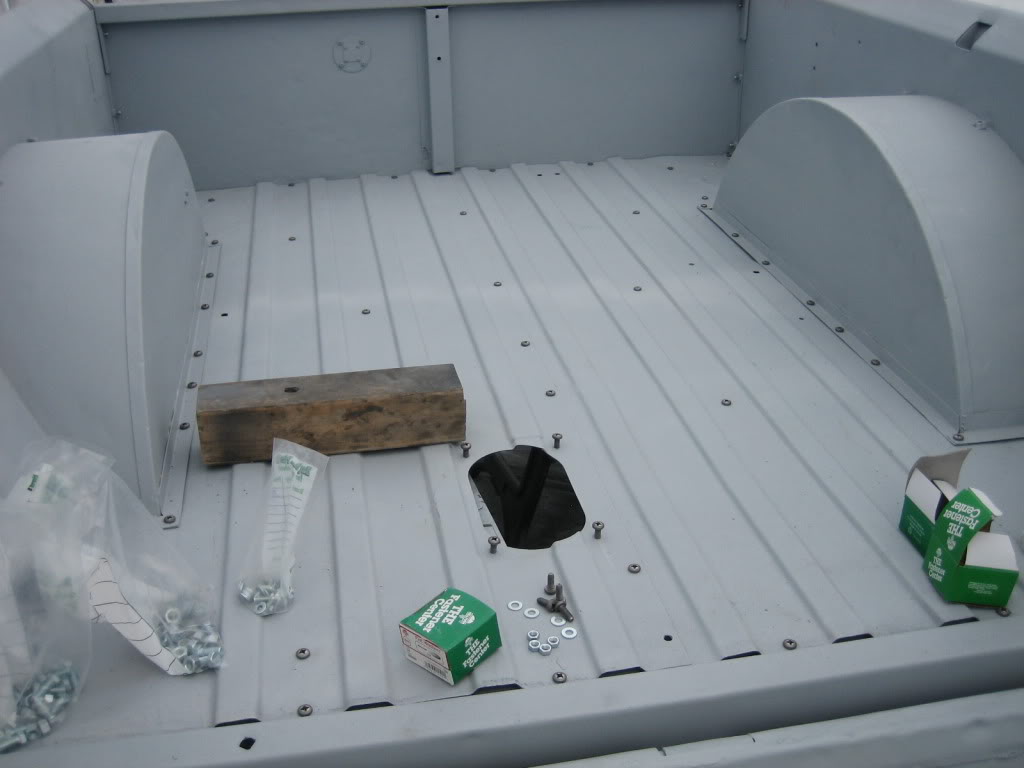
08-14-2010, 11:28 PM
#214
1.0 BAR
Thread Starter
Join Date: Feb 2003
Location: Wisconsin
Posts: 461
Been wrenching/feeding the mosquitoes all day... :roll:
Got the ECU mounted, second fuel pump in, regulators mounted, oil pump adapter system in, fuel tank buttoned up, passengers side exhaust done, and started planning the wiring! Whew!!
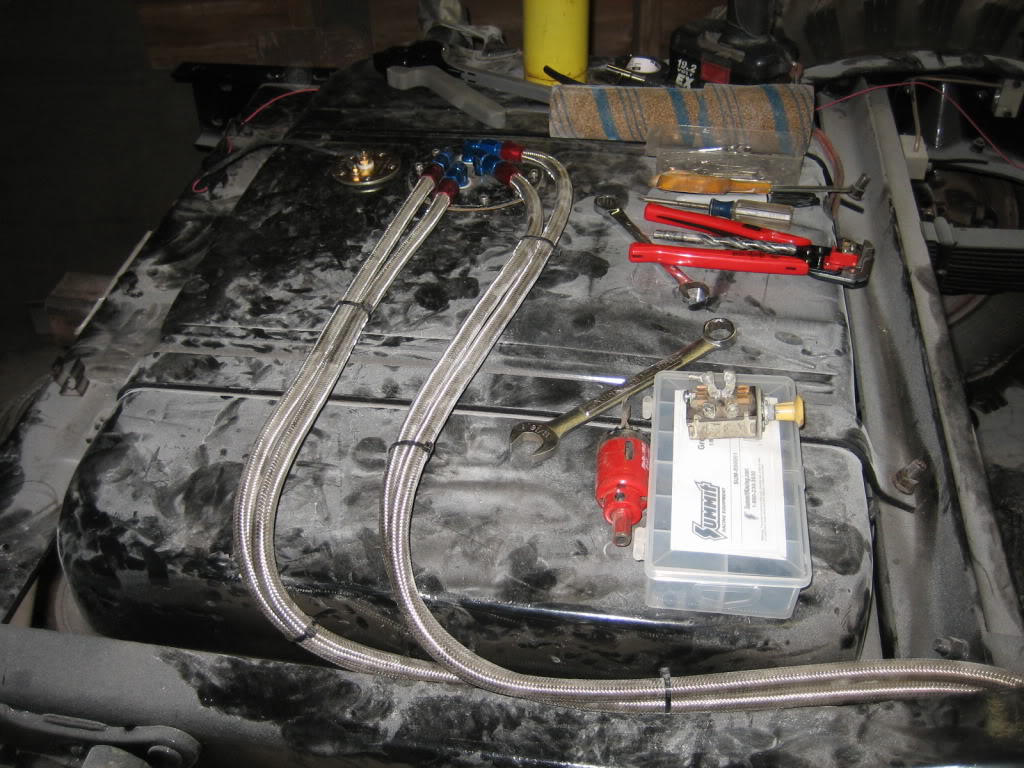
Tank done. need to wrap the lines in coolant hose or other rubber to keep the braid from chaffing through the tank:

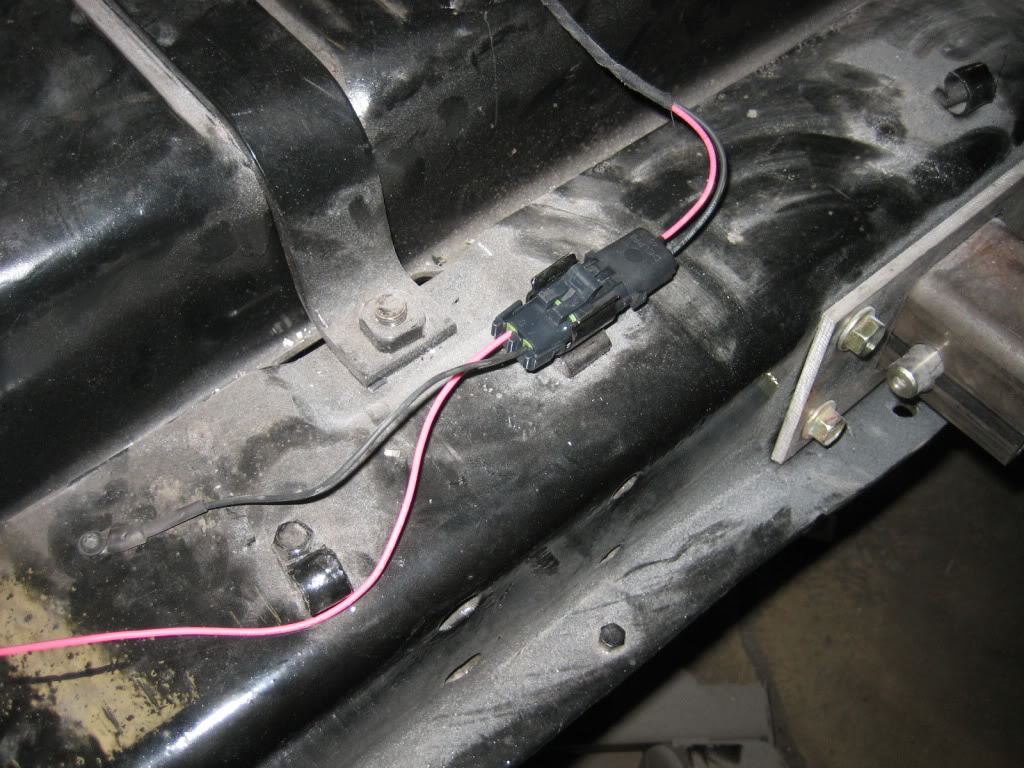
Wired up the sender. it is a VDO 0-90 ohm unit. was adjustable, so very easy to install, and matched the M's tank bolt pattern. Going to do the entire truck in Delphi weatherpack connectors:
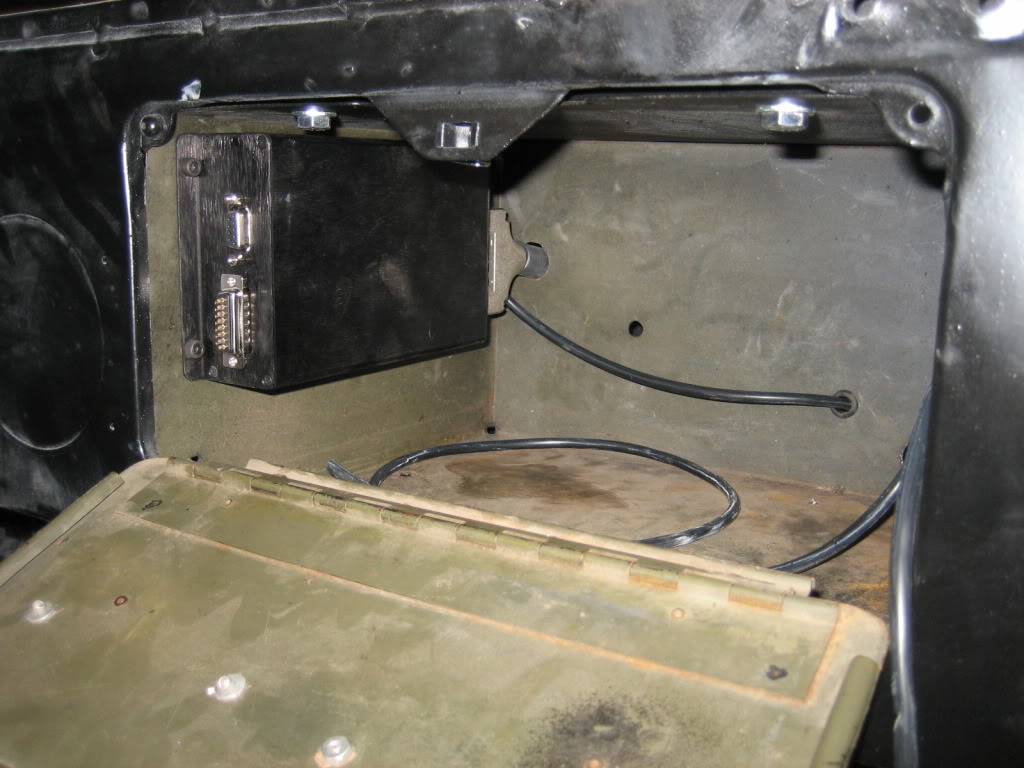
Got the Megasquirt EFI mounted in the glovebox. It actually should be called an EMS, not EFI, as it does so much more than fuel. I'm going to do EFI, distributorless coil-near-plug ignition, boost control, radiator fan control, idle speed control, and fuel pump switching with it.
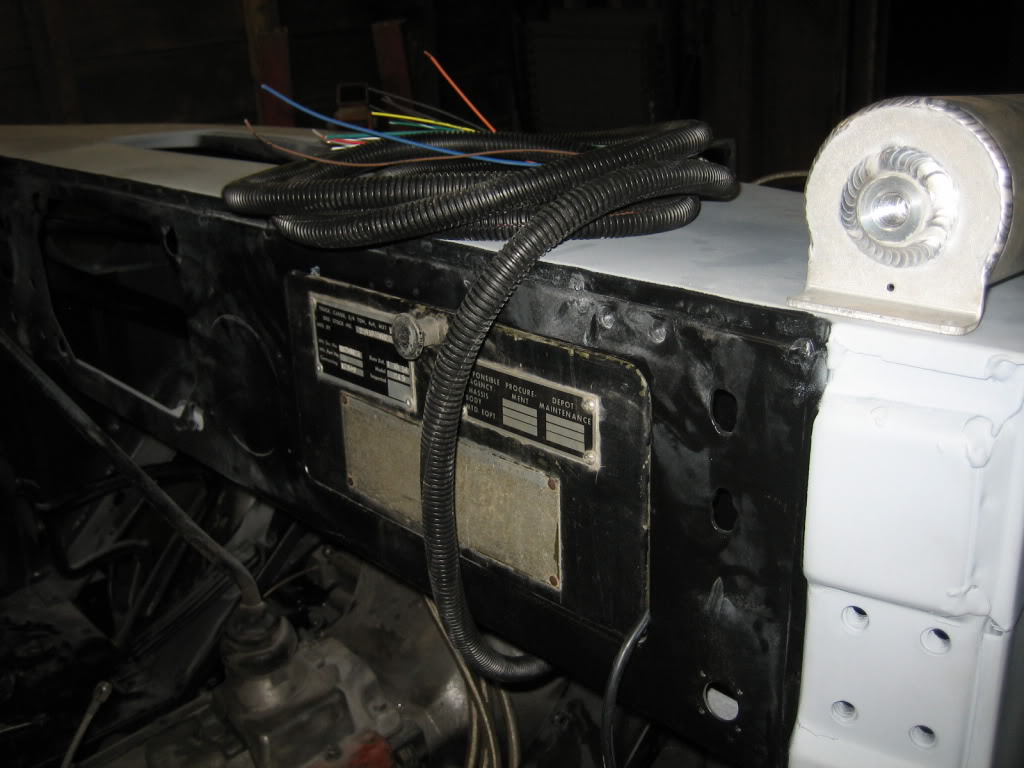
Harness for the EFI. it looks worse than it is...
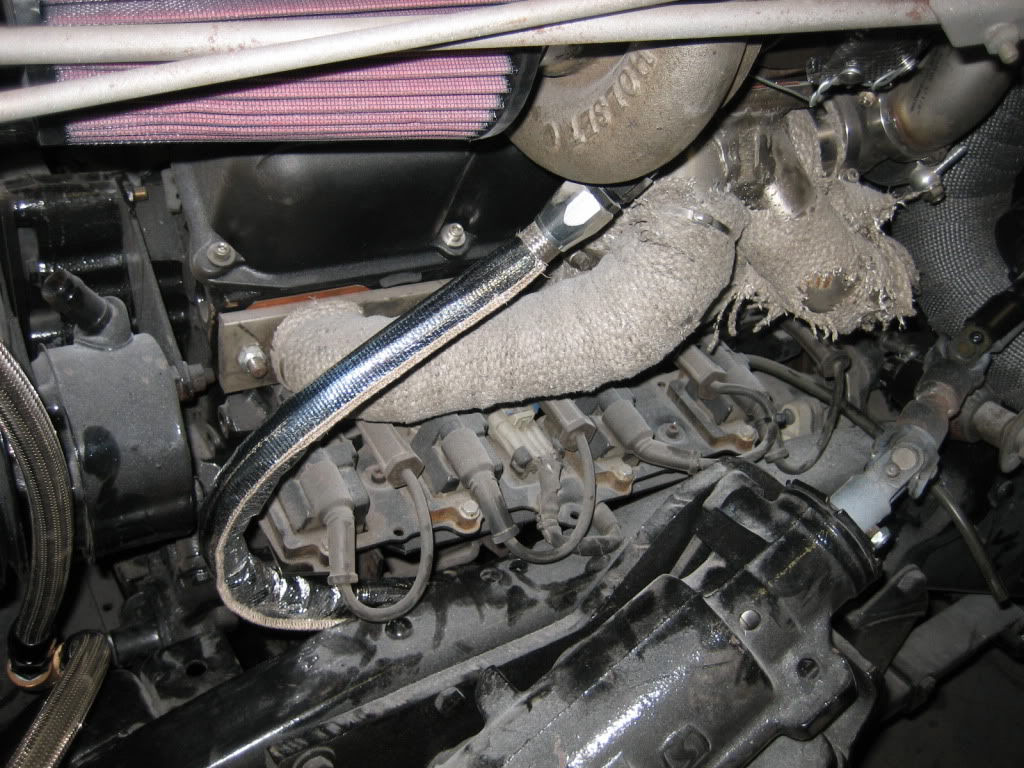
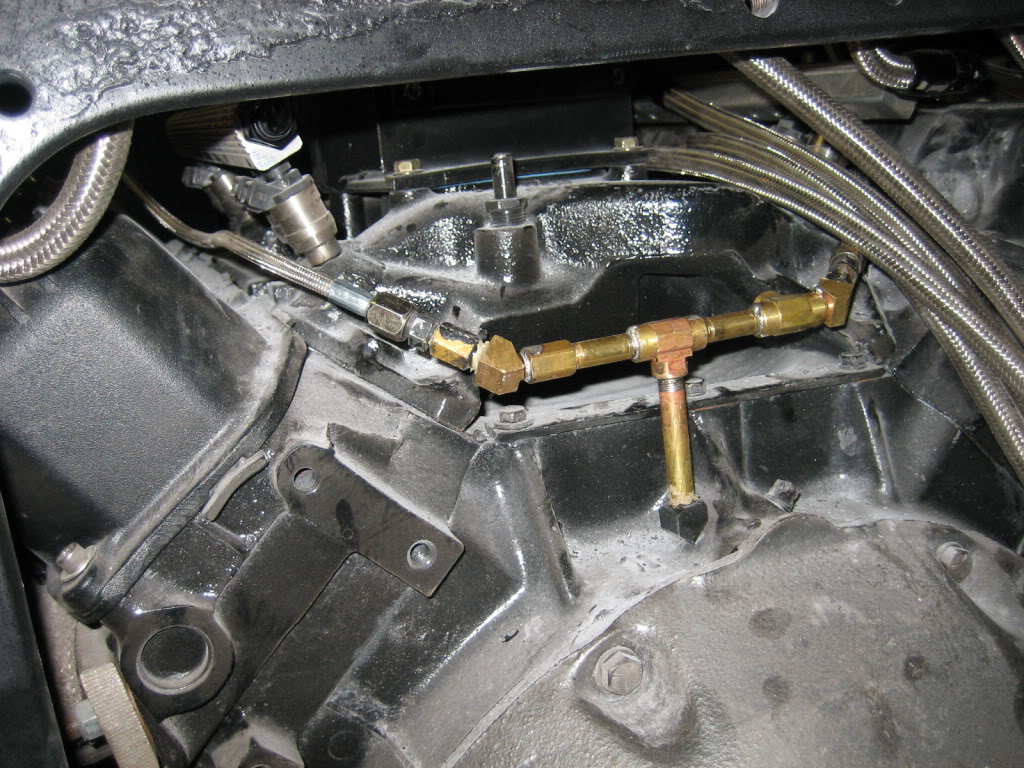
One of my concerns through all this has been thermal control. I took care of that on the cooling side with the bigger radiator, but, making sure there won't be an engine fire has been on the back of my mind, so, to that effect, I spent alot of time, money and effort on controling the temps. I added wrap to the downpipes, in addition to the headers, put turbine blankets around the turbine housings, and added thermal sleeving to the drain lines. Hopefully this will be enough to control the temps. I am also resarching water based hydraulic fluid for the power steering system. I think I have found something that will work, but need to confirm. It is used primaily in die casting shops and other places where a blown line would cause a catastrophic fire. You can also see in the pics the regulators, fuel filters, and the PCV catch tank. crankcase pressure control is critical on a turbocharged engine:
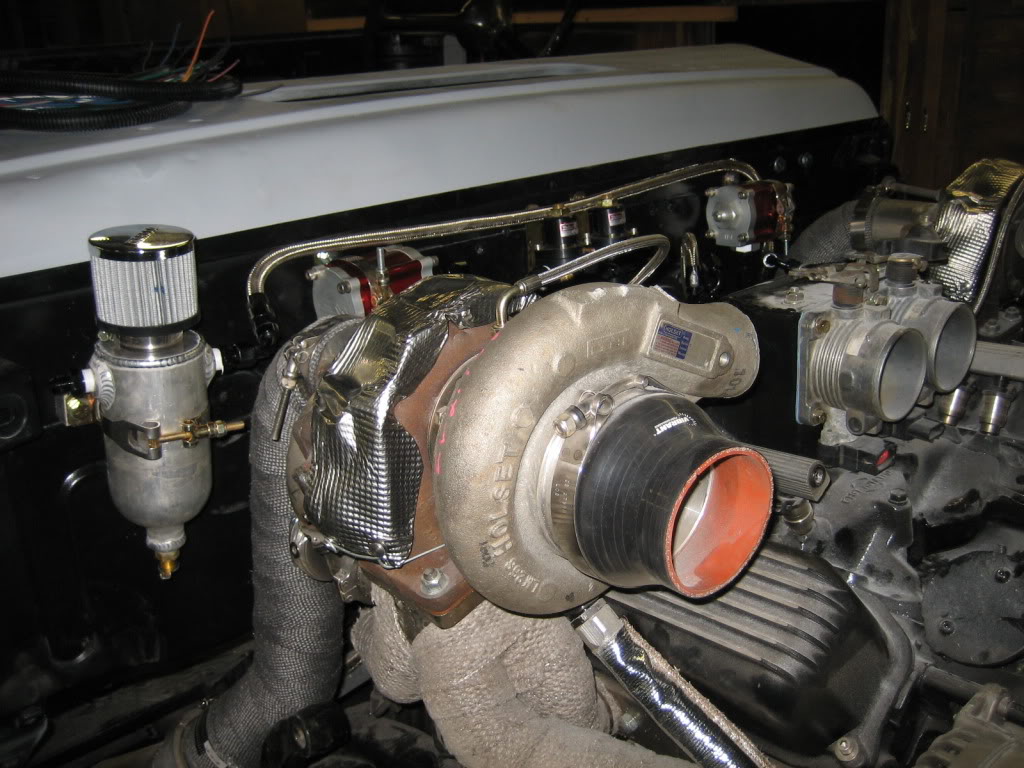

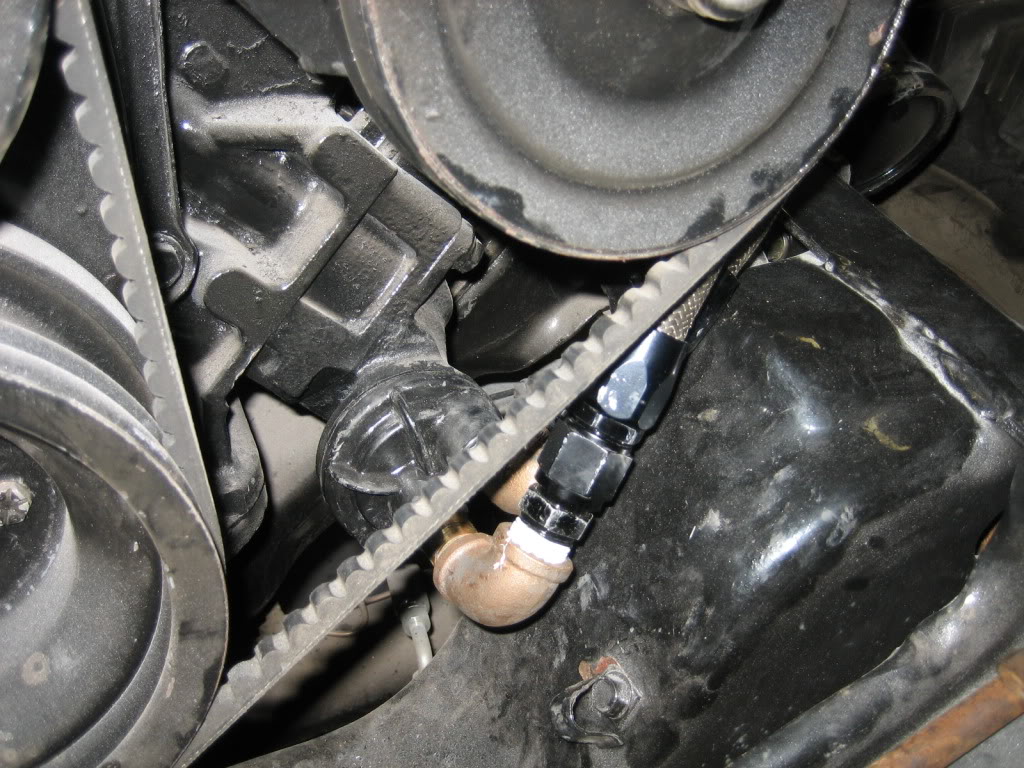
oil feed system is done:
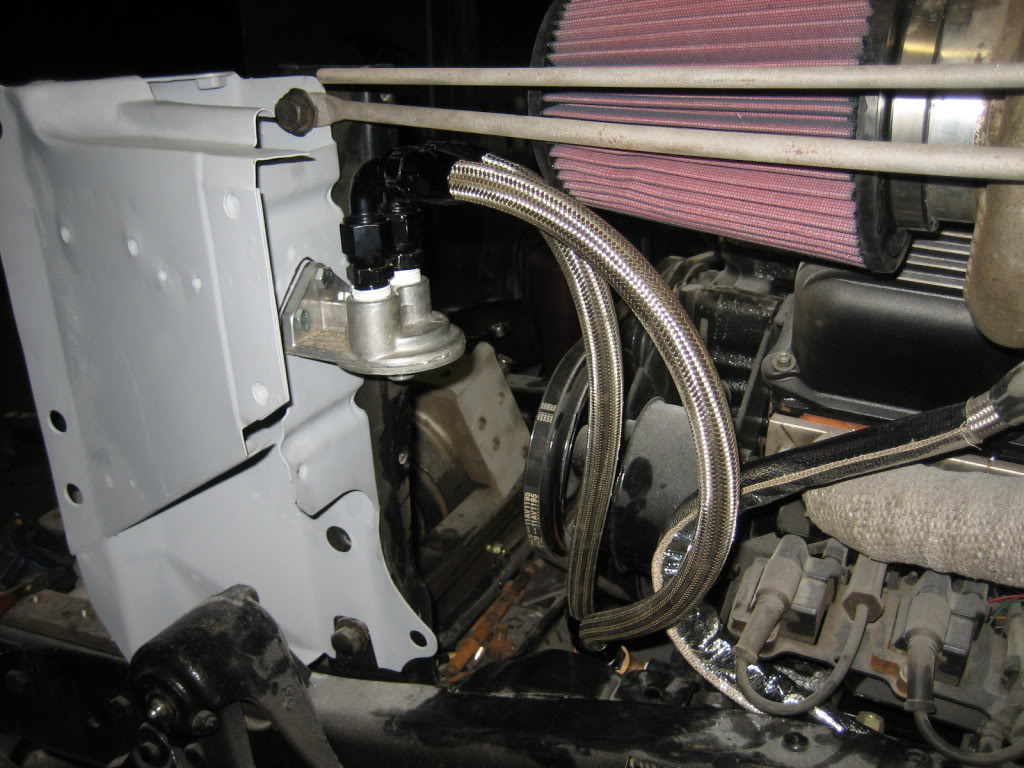
Remote mount filter system is done as well:
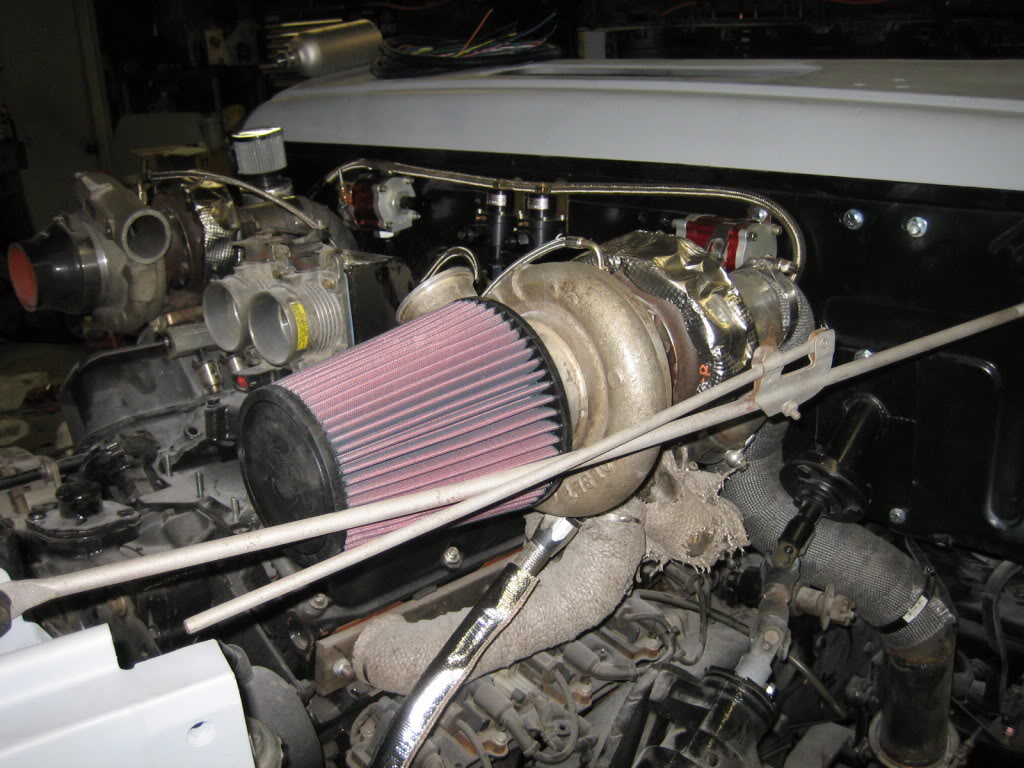
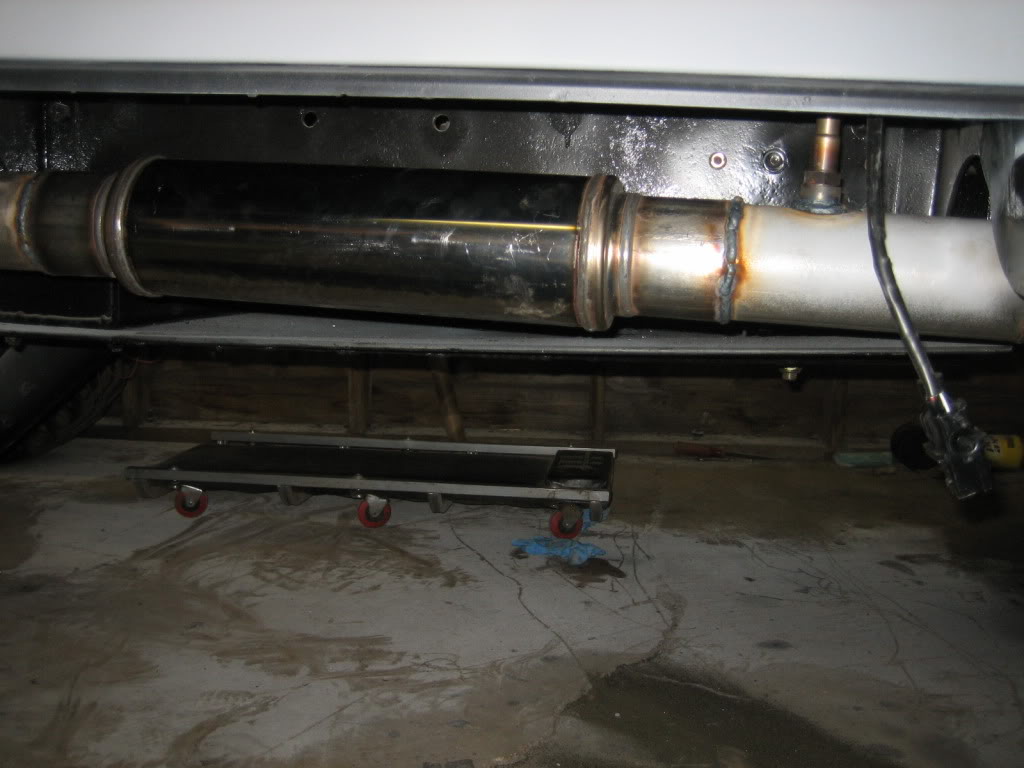
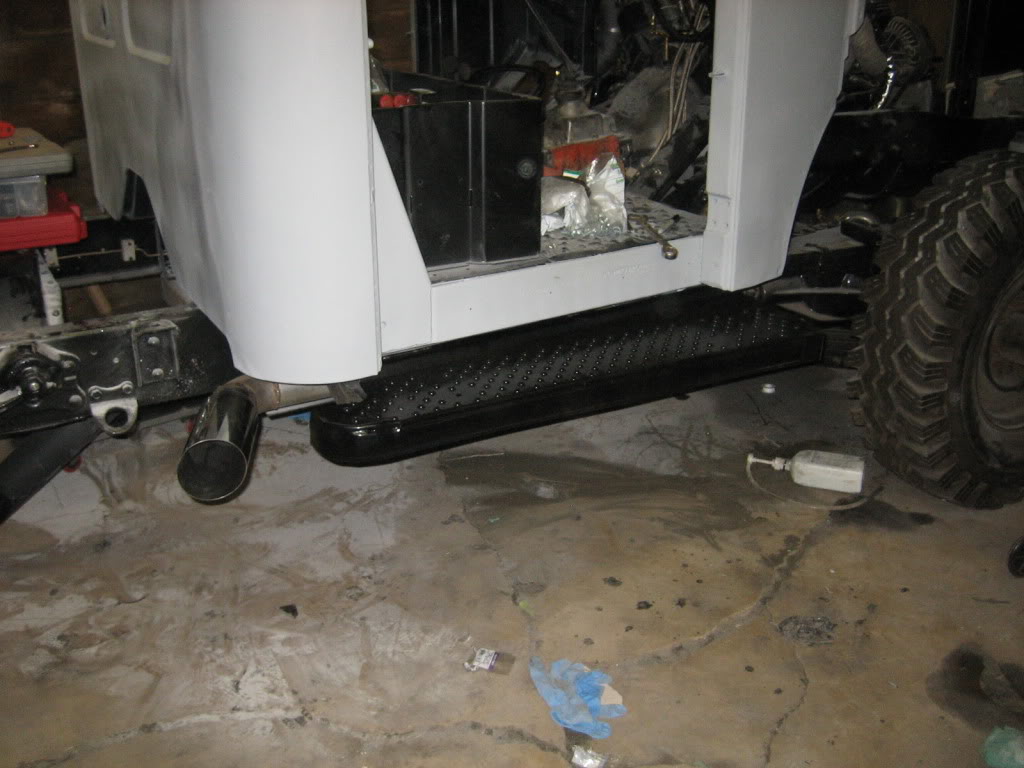
and, since Wisconsin requires mufflers, I added em... if you can call them that. they are very loosely interpreted as mufflers :wink: You can also see teh O2 sensor. I am going to run dual wideband O2 sensors to keep track of what is going on, so if I loose a fuel pump or injector, I don't burn her down. The Megasquirt also has the ability to datalog and self-tune with a 0-5V output form a wideband, which, these happen to do...
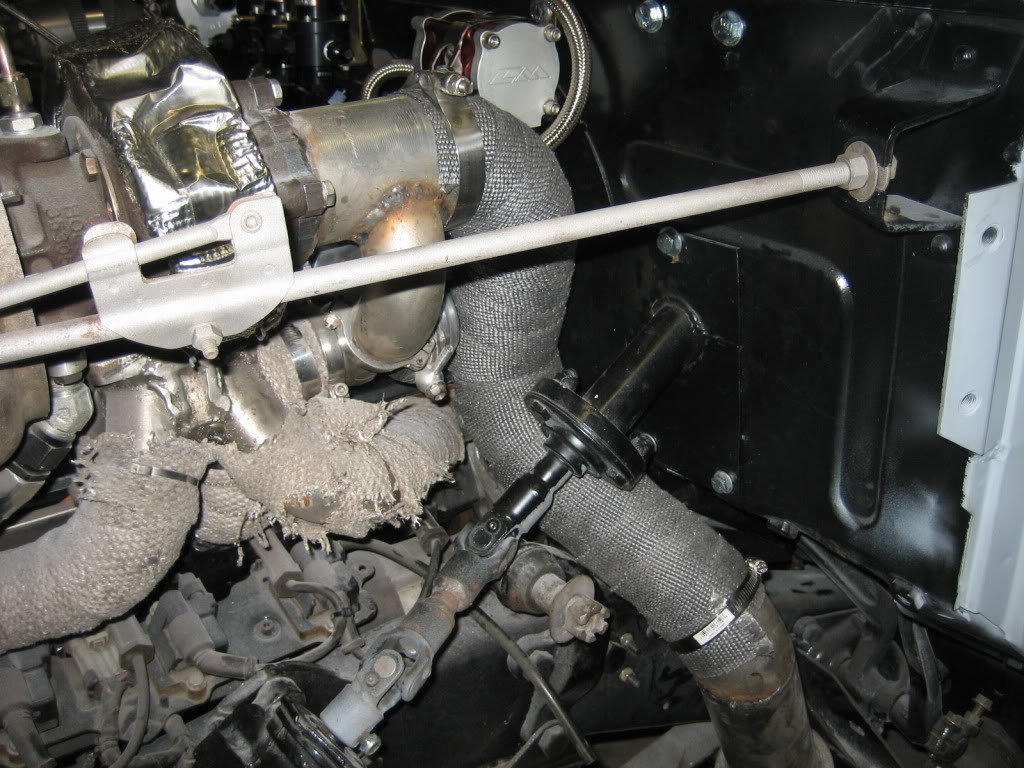
added a 4" SS tip to the end, leaned out so that the slash cut follows the body line:
Got the ECU mounted, second fuel pump in, regulators mounted, oil pump adapter system in, fuel tank buttoned up, passengers side exhaust done, and started planning the wiring! Whew!!
Tank done. need to wrap the lines in coolant hose or other rubber to keep the braid from chaffing through the tank:
Wired up the sender. it is a VDO 0-90 ohm unit. was adjustable, so very easy to install, and matched the M's tank bolt pattern. Going to do the entire truck in Delphi weatherpack connectors:
Got the Megasquirt EFI mounted in the glovebox. It actually should be called an EMS, not EFI, as it does so much more than fuel. I'm going to do EFI, distributorless coil-near-plug ignition, boost control, radiator fan control, idle speed control, and fuel pump switching with it.
Harness for the EFI. it looks worse than it is...
One of my concerns through all this has been thermal control. I took care of that on the cooling side with the bigger radiator, but, making sure there won't be an engine fire has been on the back of my mind, so, to that effect, I spent alot of time, money and effort on controling the temps. I added wrap to the downpipes, in addition to the headers, put turbine blankets around the turbine housings, and added thermal sleeving to the drain lines. Hopefully this will be enough to control the temps. I am also resarching water based hydraulic fluid for the power steering system. I think I have found something that will work, but need to confirm. It is used primaily in die casting shops and other places where a blown line would cause a catastrophic fire. You can also see in the pics the regulators, fuel filters, and the PCV catch tank. crankcase pressure control is critical on a turbocharged engine:
oil feed system is done:
Remote mount filter system is done as well:
and, since Wisconsin requires mufflers, I added em... if you can call them that. they are very loosely interpreted as mufflers :wink: You can also see teh O2 sensor. I am going to run dual wideband O2 sensors to keep track of what is going on, so if I loose a fuel pump or injector, I don't burn her down. The Megasquirt also has the ability to datalog and self-tune with a 0-5V output form a wideband, which, these happen to do...
added a 4" SS tip to the end, leaned out so that the slash cut follows the body line:
08-15-2010, 07:20 AM
#215
0.0 BAR

Join Date: Jun 2010
Posts: 48
Pure awesomeness...
Have you thought about using hose clamps on your lines, instead of wrapping in rubber hose?
McMaster-Carr
Have you thought about using hose clamps on your lines, instead of wrapping in rubber hose?
McMaster-Carr
08-17-2010, 01:55 AM
#218
1.0 BAR
Thread Starter
Join Date: Feb 2003
Location: Wisconsin
Posts: 461
Qood idea, but, WAY to far along for that. Tank is plastic coated on the inside.
Shoulda thought of that earlier! D'oH!
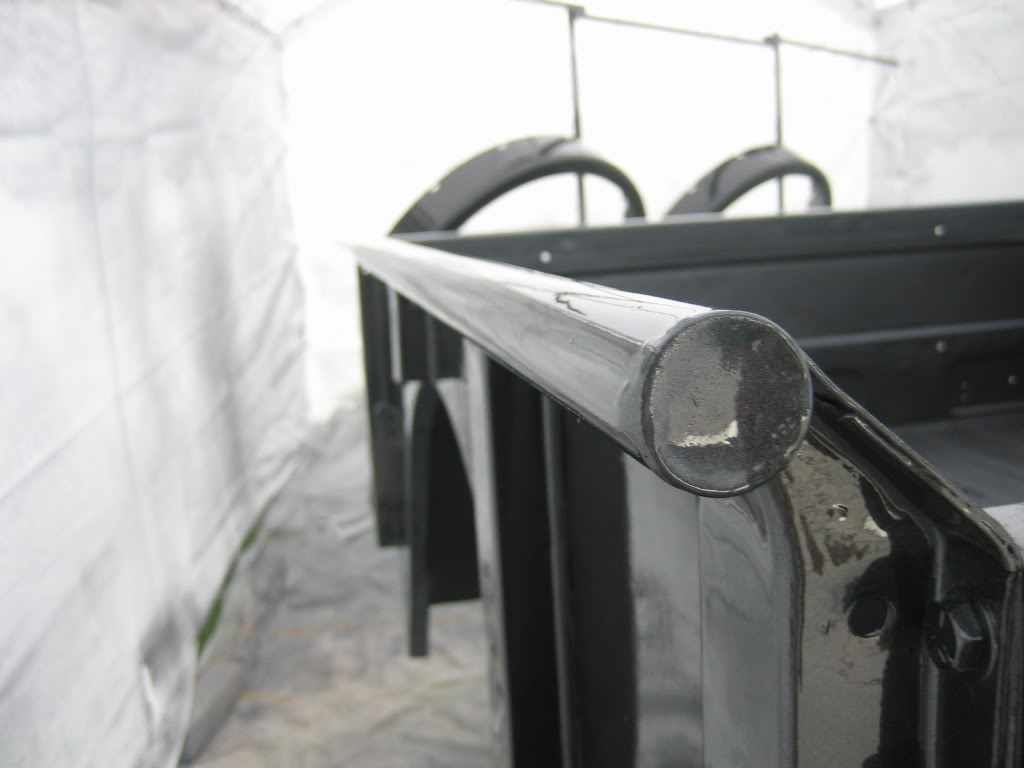
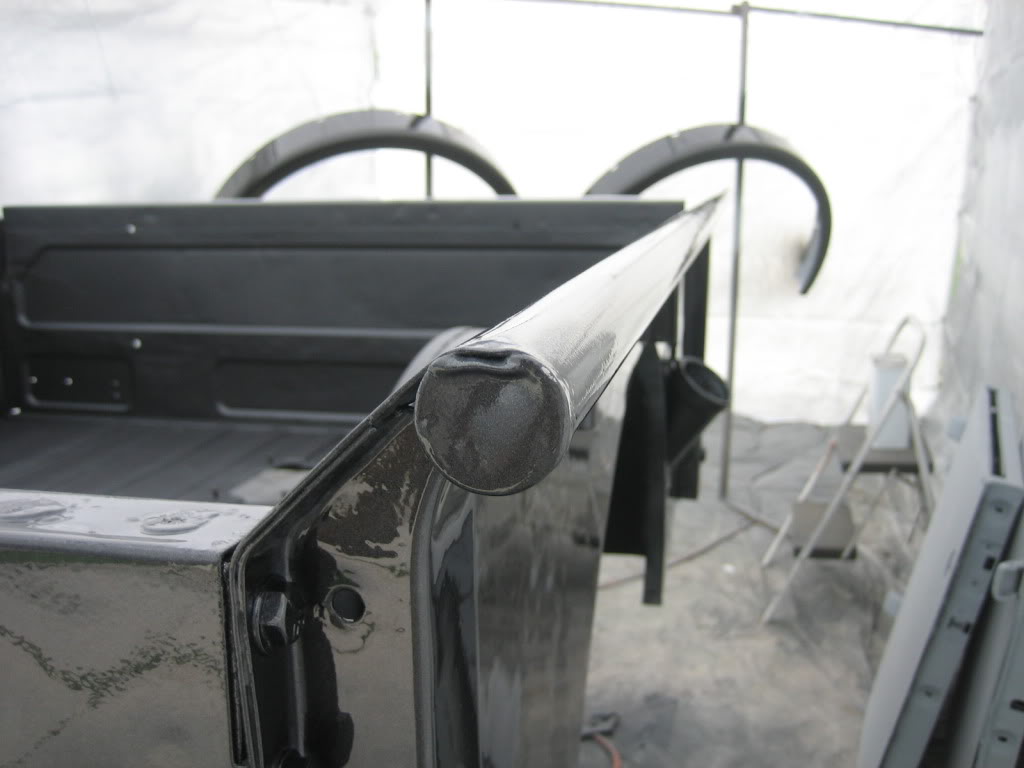
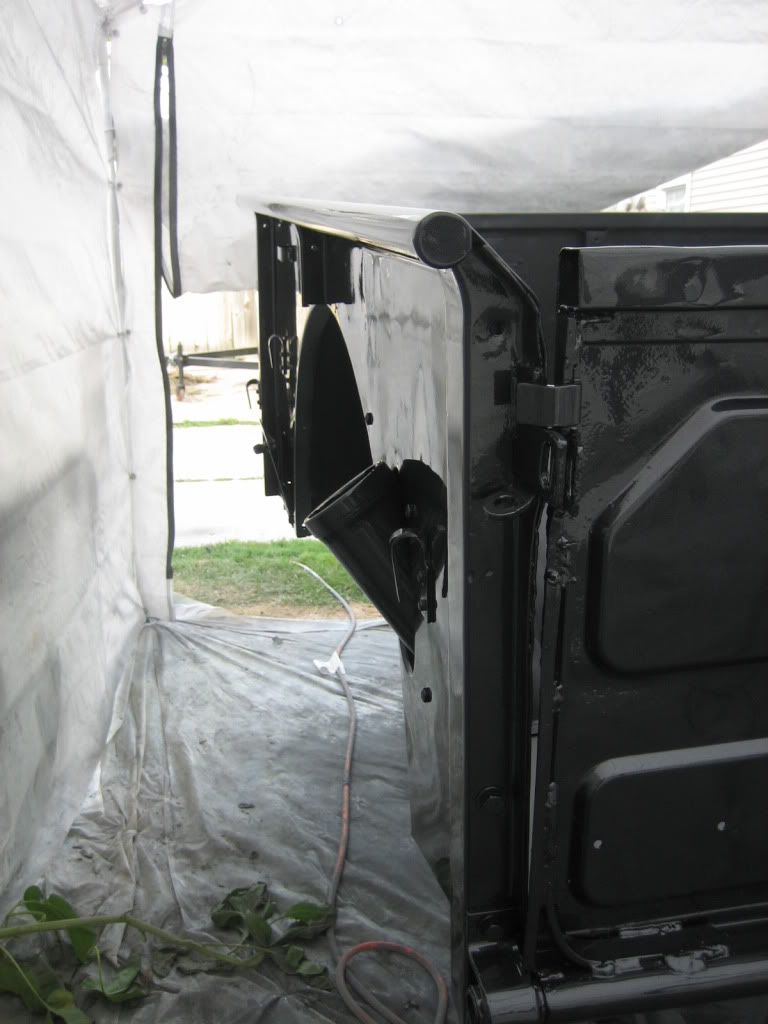
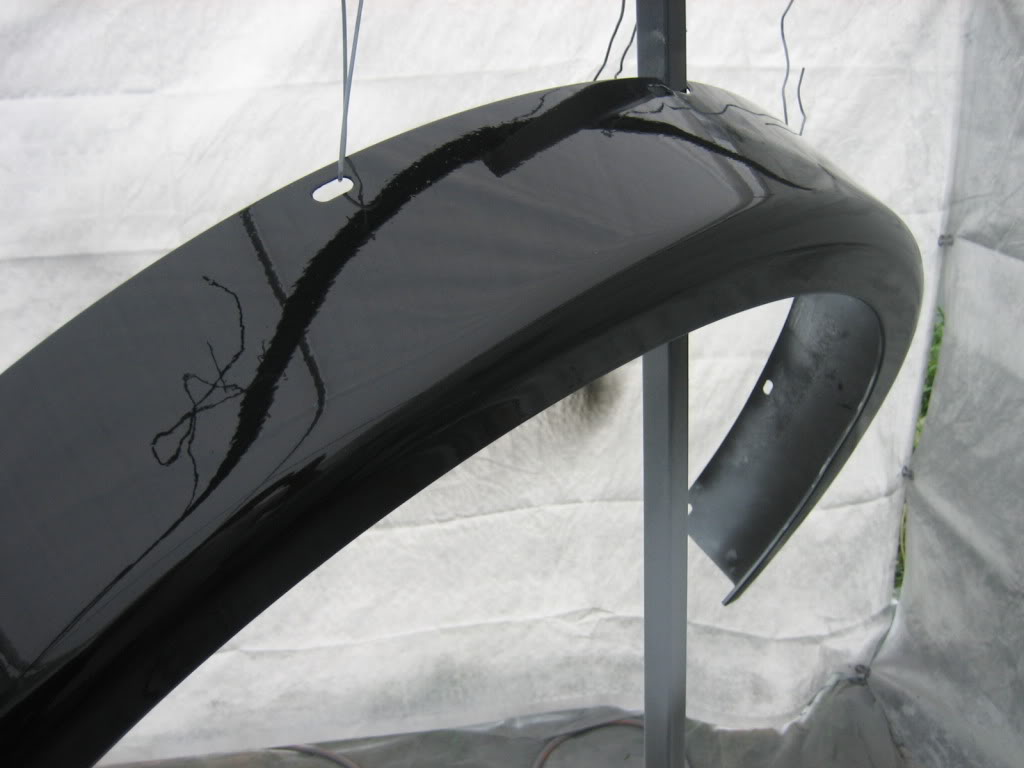
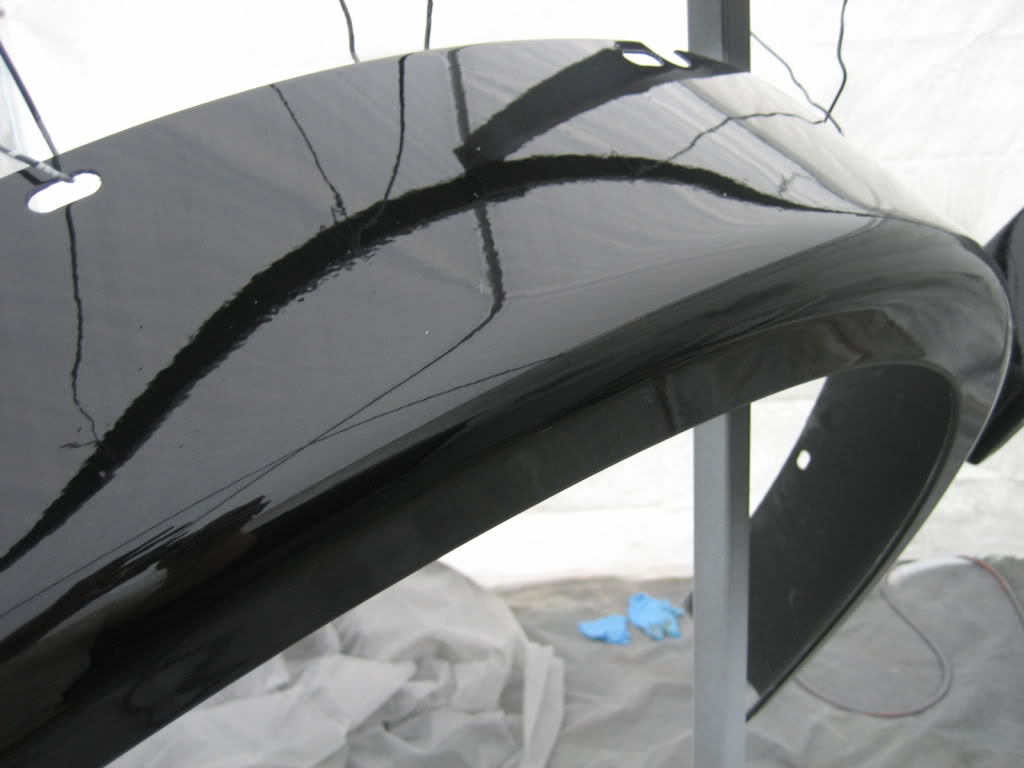
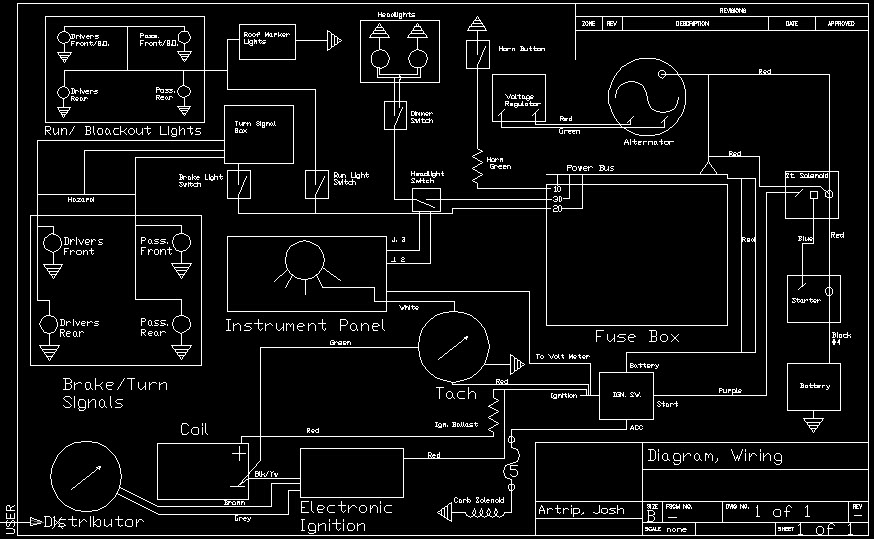
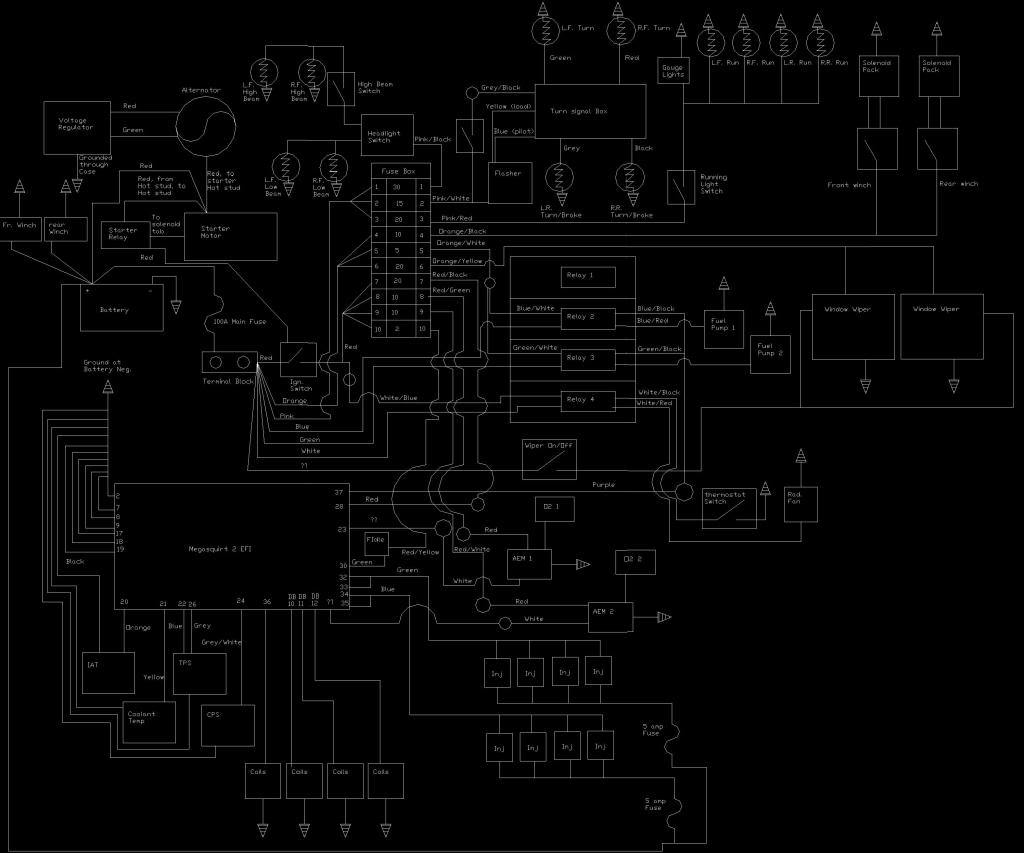
Good productive night tonight. got the bed in basecoat, wil clear it tomorrow. Also got the wiring diagram converted from paper, to electronic. It got significantly more complicated with the EFI system...
From this:
To this:
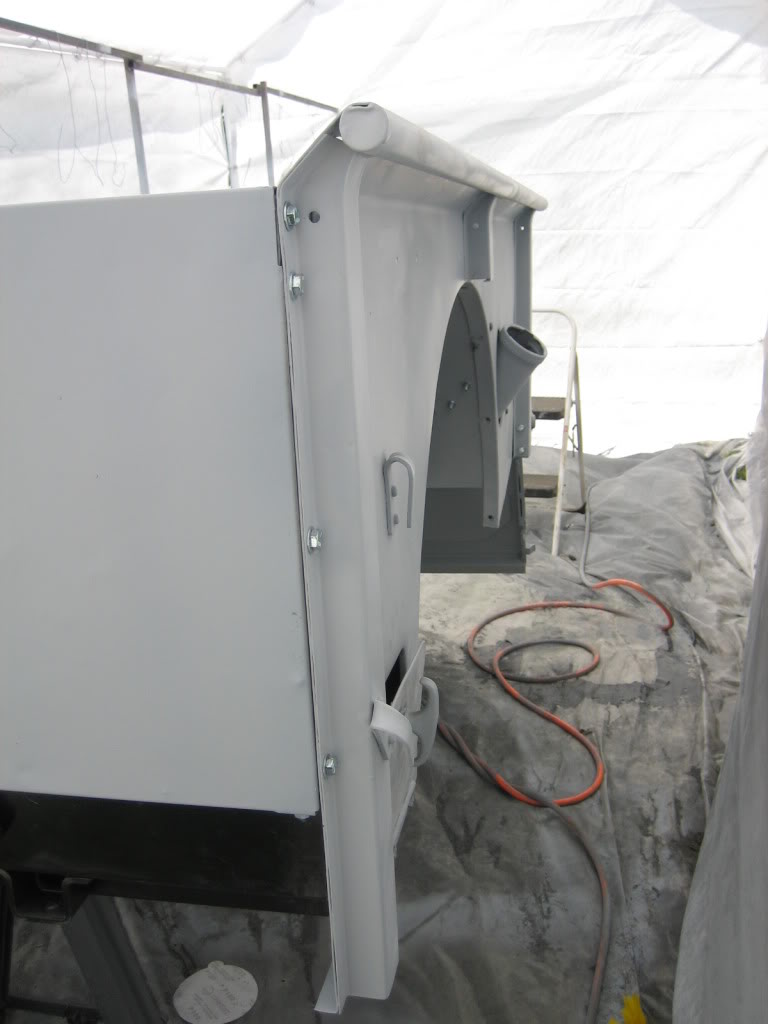
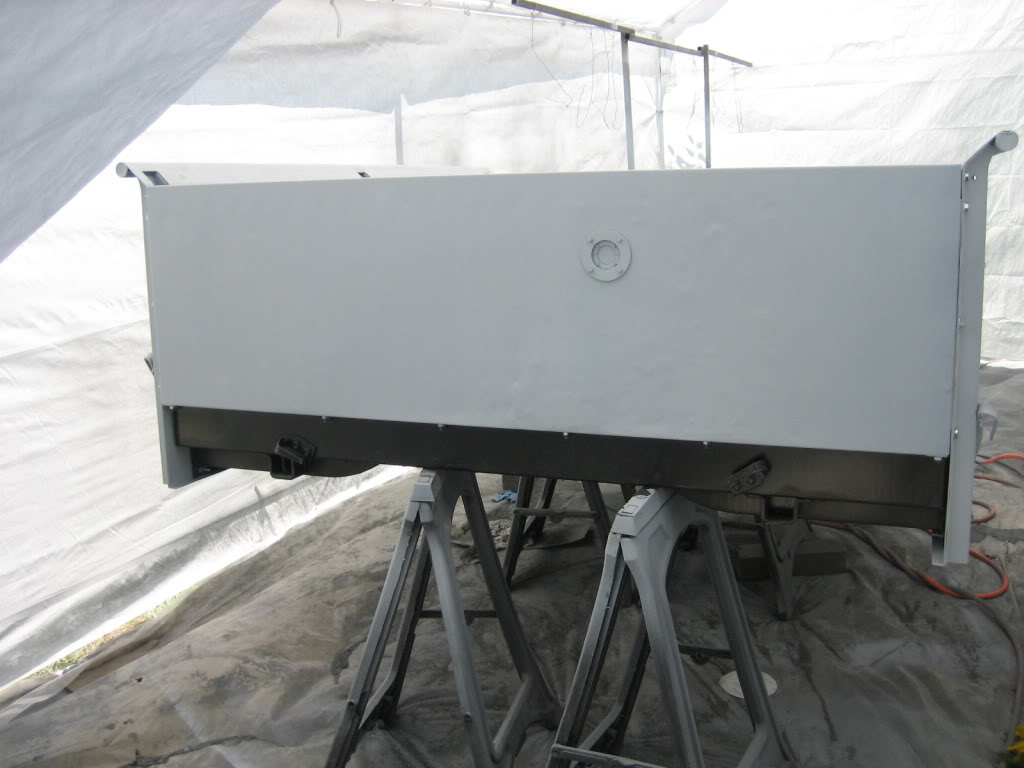
and, a sneak peak at the color combo... sorry for the crummy pictures, late, and still some overspray hanging in the air, but, you get the idea on the color combo:

Shoulda thought of that earlier! D'oH!
Good productive night tonight. got the bed in basecoat, wil clear it tomorrow. Also got the wiring diagram converted from paper, to electronic. It got significantly more complicated with the EFI system...
From this:
To this:
and, a sneak peak at the color combo... sorry for the crummy pictures, late, and still some overspray hanging in the air, but, you get the idea on the color combo: