1996 neon M62 supercharger project- New vids 1/6/07

 12-23-2006, 10:00 PM
#72
1.5 BAR
Thread Starter

Join Date: Sep 2003
Posts: 823
Day 2 continues-
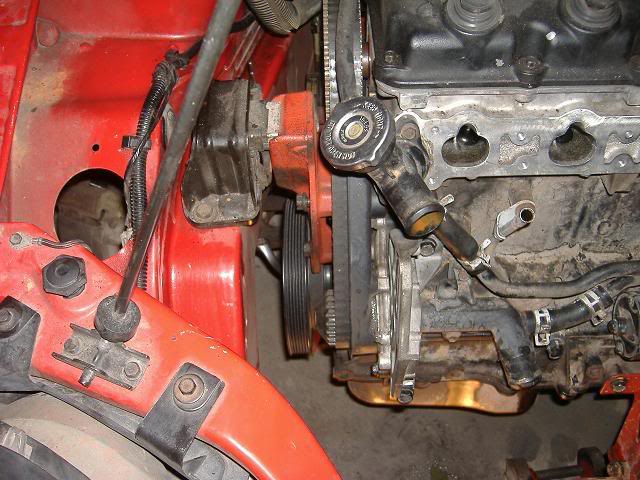
Got the new crank pulley on today:
I believe the count is at 12 for how many times I've taken this off
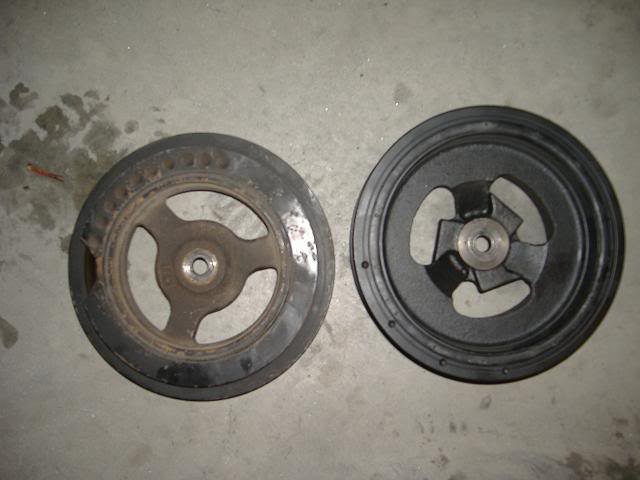
Yeah the stock one has had its day:
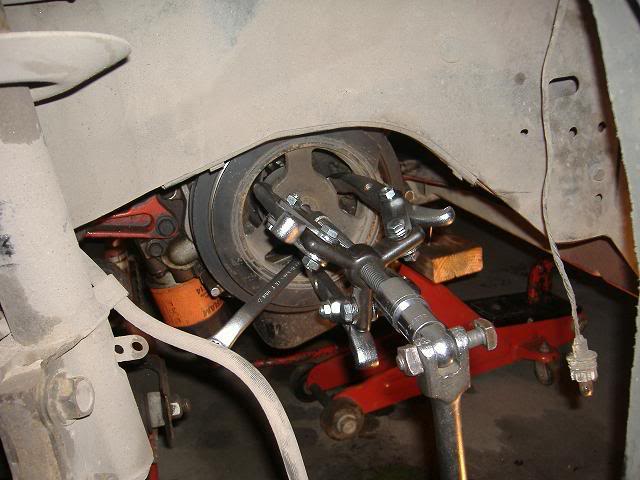
I got the new power steering pulley on the pump. clearanced it, and checked for fitment. obviously the return line for the pump is going to interfere with the cold side piping, so I unbolted my spare one, cut the tab off, and rewelded it in a better location:
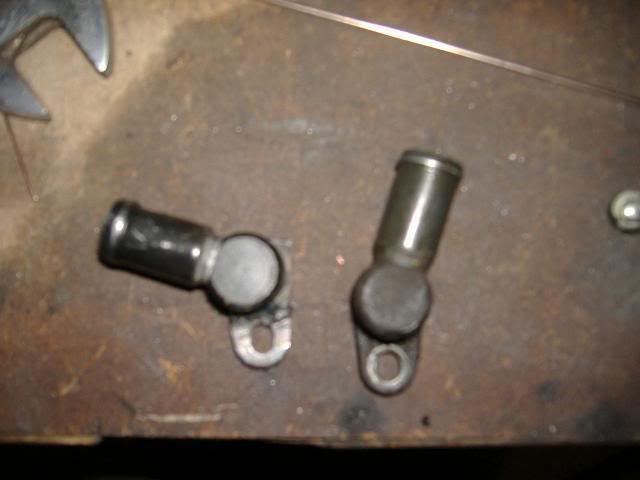
Now it clears no problem, the line itself is pretty close to the pulley, but it should be ok.
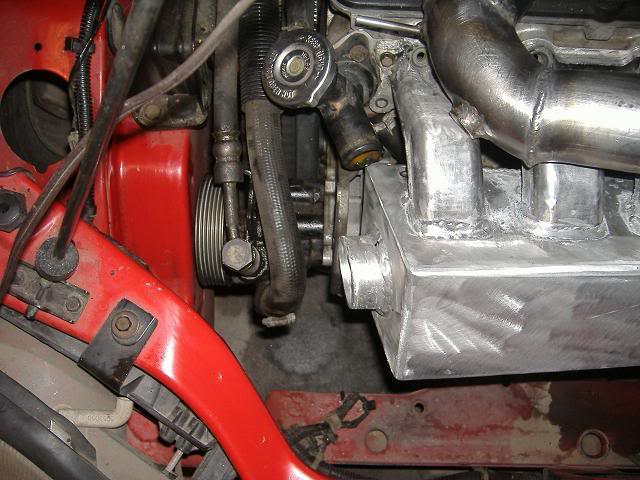
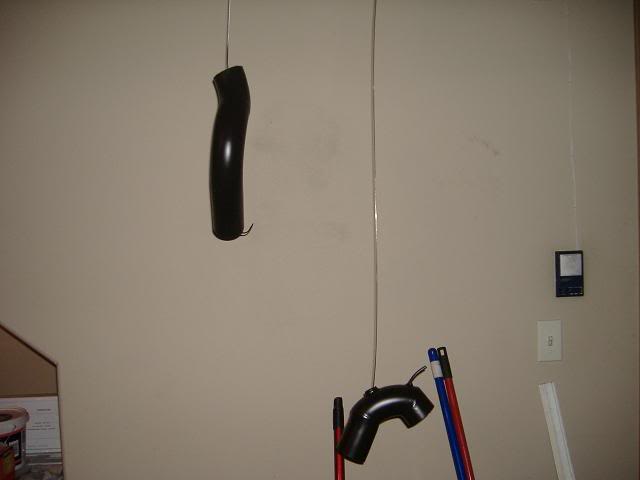
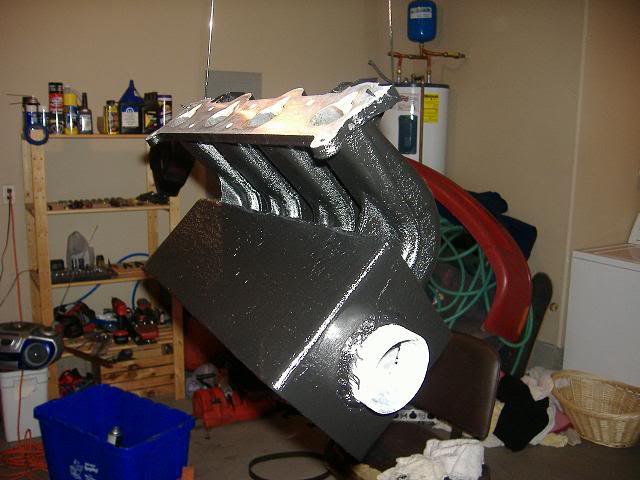
got the cold side piping ground down and painted:
I also finished prepping the intake manifold and am getting it painted:
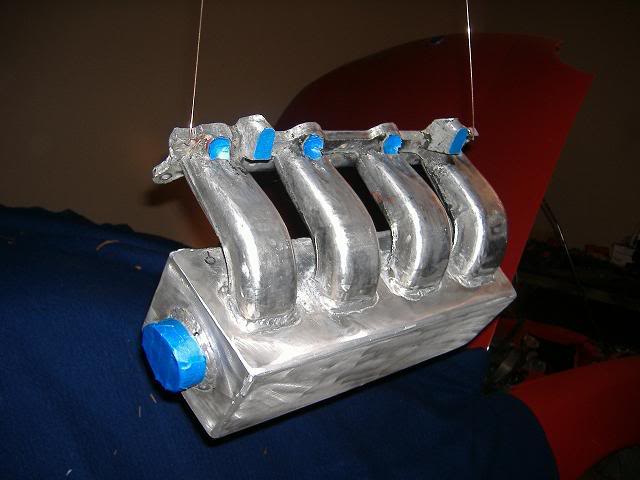
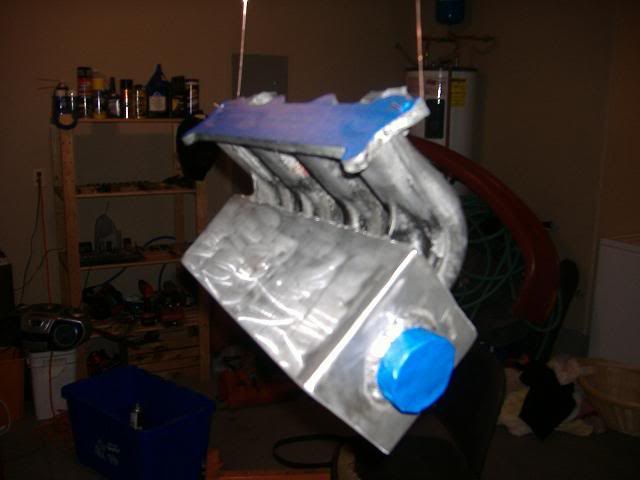
painted it with that wrinkle paint that Dom used, give it a couple hours and it should start to wrinkle up properly:

Stay tuned.....
Got the new crank pulley on today:
I believe the count is at 12 for how many times I've taken this off
Yeah the stock one has had its day:
I got the new power steering pulley on the pump. clearanced it, and checked for fitment. obviously the return line for the pump is going to interfere with the cold side piping, so I unbolted my spare one, cut the tab off, and rewelded it in a better location:
Now it clears no problem, the line itself is pretty close to the pulley, but it should be ok.
got the cold side piping ground down and painted:
I also finished prepping the intake manifold and am getting it painted:
painted it with that wrinkle paint that Dom used, give it a couple hours and it should start to wrinkle up properly:
Stay tuned.....
 12-25-2006, 02:23 AM
#74
1.5 BAR
Thread Starter
Join Date: Sep 2003
Posts: 823
The saga continues...
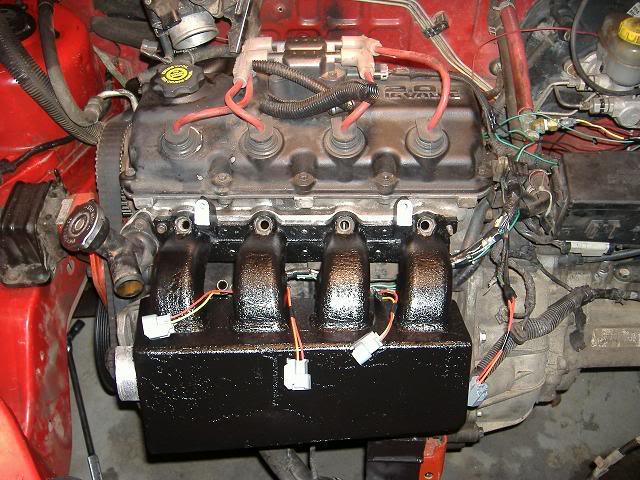
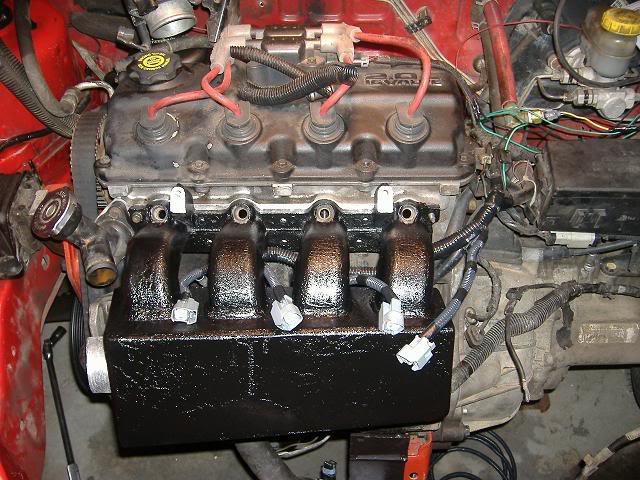
The wrinkle coating turned out O.K. - it's really hard to get even coverage with this stuff, and you can see in the front that it ran a bit. But being wrinkle coating it kind of covers it up.

Does anyone else hate wiring as much as I do? I could lie and say the reason I don't like it is because I have the least experience with it, but I just plain don't like it. Big props to people who work with this crap all day.
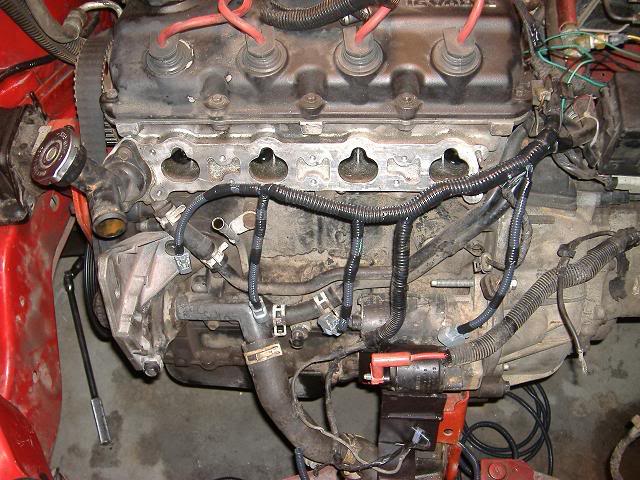
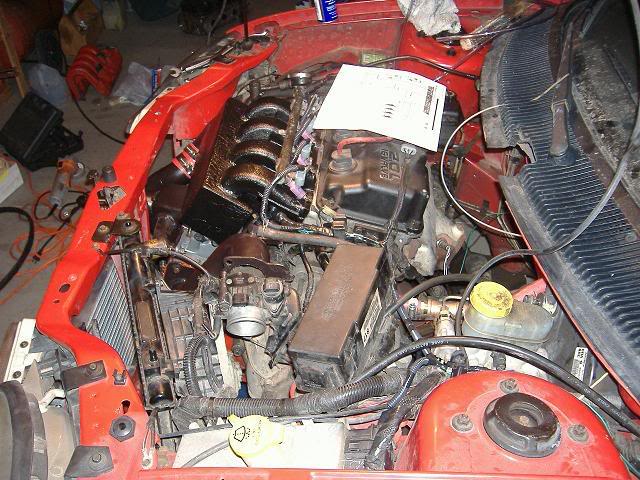
Installing the megasquirt, thumbs down to whoever wired this thing first, with nothing but green, black and red wiring. had to open up the connector so I could properly label all the wires.
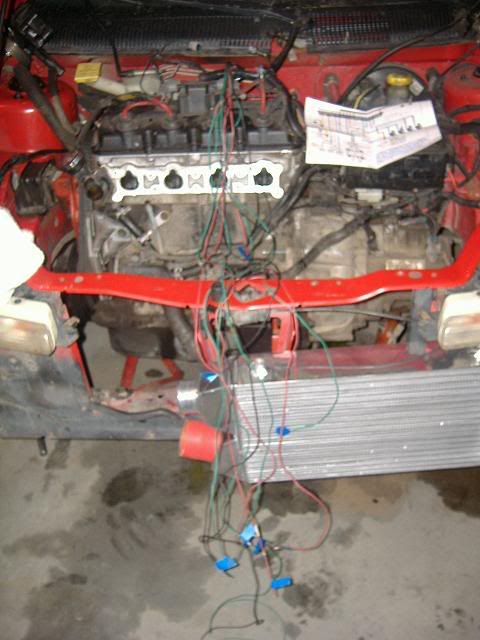
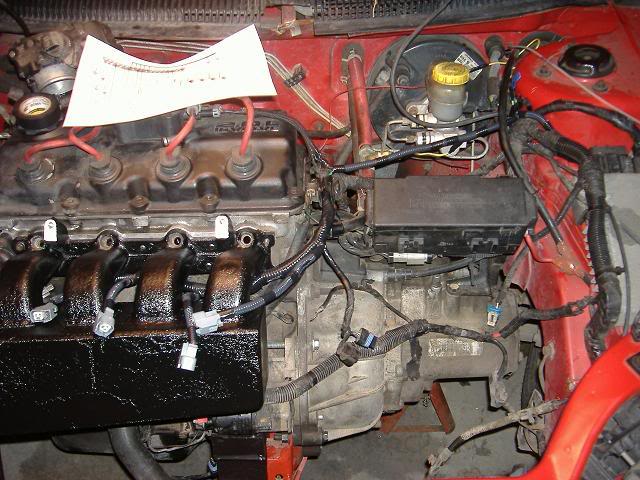
I installed most of the wiring, few things to finish up tomorrow, but it shouldn't be too bad. Added the srt injector plugs, I'm also going to have the wiring come up from below the manifold, hopefully it will seem a little cleaner this way.
after I got the routing correct, I tried to clean it up a little bit, looks pretty good to me.
I also installed the boost gauge today, I'm sure you all know what that looks like though.
Tomorrow I'm hoping to install a lot of the hard parts, also the wideband and fuel pump.
Have a good Monday everyone!!!!
The wrinkle coating turned out O.K. - it's really hard to get even coverage with this stuff, and you can see in the front that it ran a bit. But being wrinkle coating it kind of covers it up.
Does anyone else hate wiring as much as I do? I could lie and say the reason I don't like it is because I have the least experience with it, but I just plain don't like it. Big props to people who work with this crap all day.
Installing the megasquirt, thumbs down to whoever wired this thing first, with nothing but green, black and red wiring. had to open up the connector so I could properly label all the wires.
I installed most of the wiring, few things to finish up tomorrow, but it shouldn't be too bad. Added the srt injector plugs, I'm also going to have the wiring come up from below the manifold, hopefully it will seem a little cleaner this way.
after I got the routing correct, I tried to clean it up a little bit, looks pretty good to me.
I also installed the boost gauge today, I'm sure you all know what that looks like though.
Tomorrow I'm hoping to install a lot of the hard parts, also the wideband and fuel pump.
Have a good Monday everyone!!!!

 12-26-2006, 09:05 PM
#77
1.5 BAR
Thread Starter
Join Date: Sep 2003
Posts: 823
Originally Posted by stillnoturbo
why such small piping and throttle body with a FI setup? Either way nice fabrication you did.
On the throttle body, I'm using a larger version than stock, but I would like to go bigger, there are a couple other neon guys right now adapting a 75mm northstar cadillac throttle body. looks to be a good alternative when they get it worked out.
New updates today..
didn't quite get to start it up like I wanted to. Working hard but tomorrow at around 2:00 my wife and I are going on a trip to the coast for a few days, so if I don't get to start it tomorrow, it won't happen for about a week

Updates!!!!
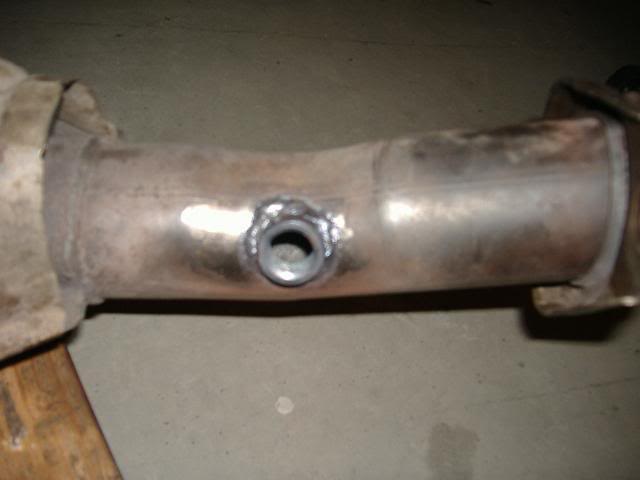
Got my wideband O2 sensor plug in place, need to wire the sensor now.
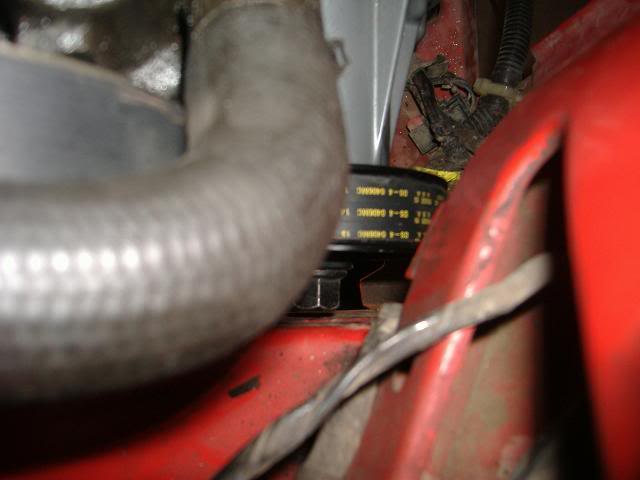
Got the supercharger installed.
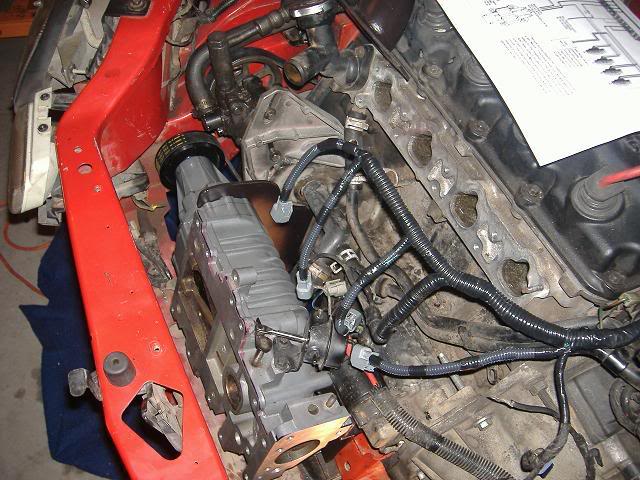
Not much room between the pulley and the framerail, but it's all mounted and the belt is on. I also got the new belt size for the alt. I was really happy to find one that fit with the new smaller pulley. I'm kind of worried about undercharging it, but we'll see.
Installed the discharge plate and manifold:
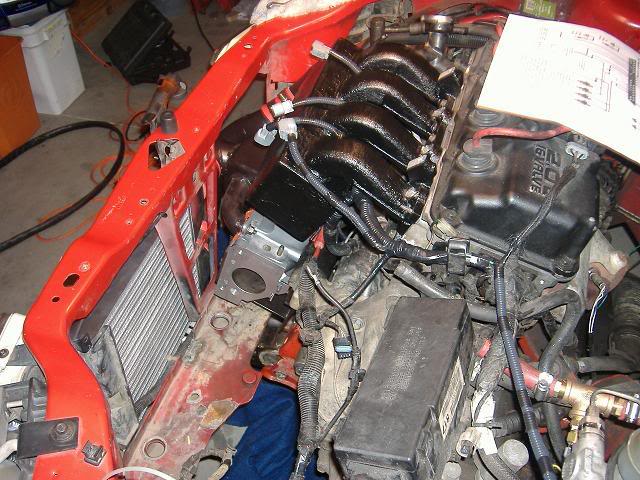
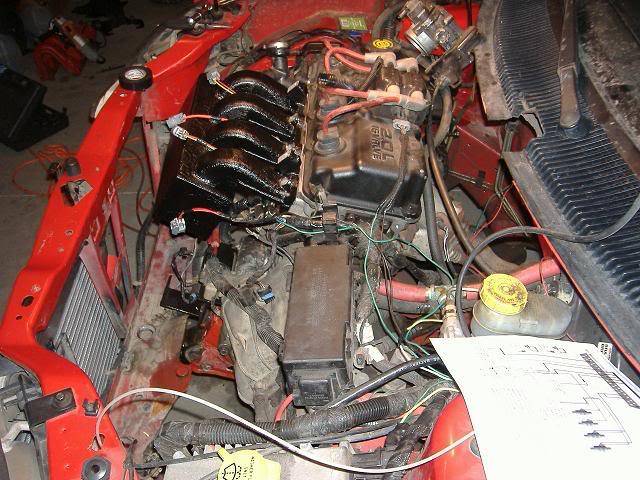
Installed the intercooler and piping, was quite a pain, also installed the injectors and rail. put a lot of stuff back together.
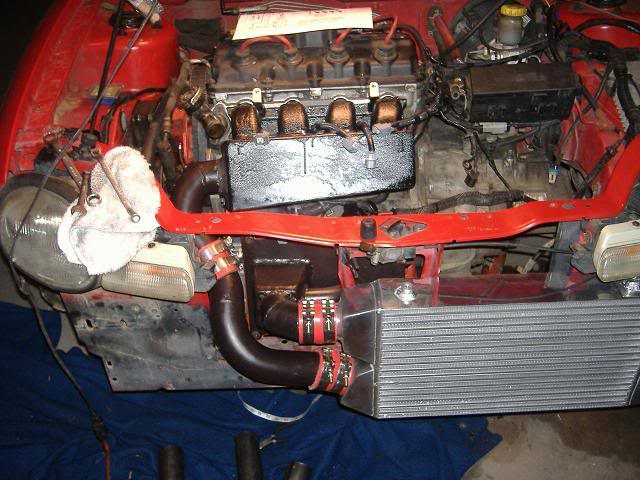
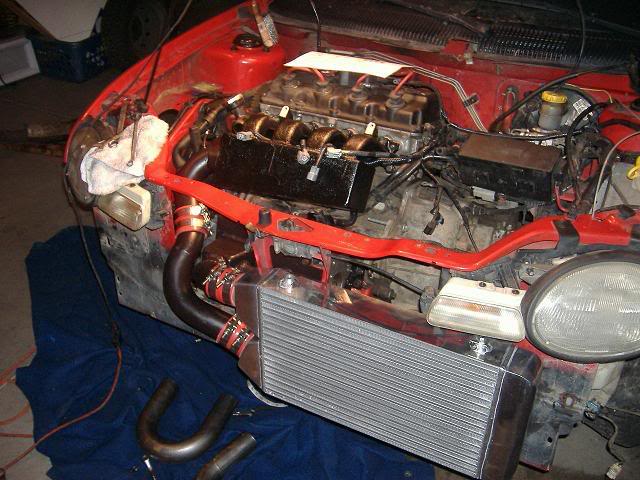
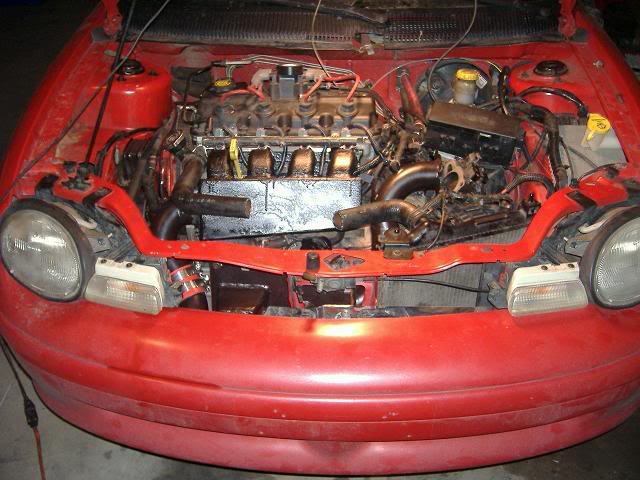
installed the throttle body piping and radiator assembly. Where did all the room in my engine bay go


I like this shot.

Put the bumper back on, still sleeper style. This shot shows the runs in the manifold paint badly
That's where I'm at right now, few things left to do, hopefully I'll finish before 2 tomorrow. Keep your fingers crossed
 12-26-2006, 10:02 PM
#79
3.0 BAR

Join Date: Oct 2005
Posts: 3,450
i love how with the bumper off it looks like the most clustfucked engine bay absoloutely filled with ---- to the ****, then you shut the hood, put on the bumper, and bam, pos neon coming down the way.
major props again buddy!
major props again buddy!


