
1991 Galant VR4 - Streetcore Status


Thread Starter
0.0 BAR
Joined: Sep 2010
Posts: 6

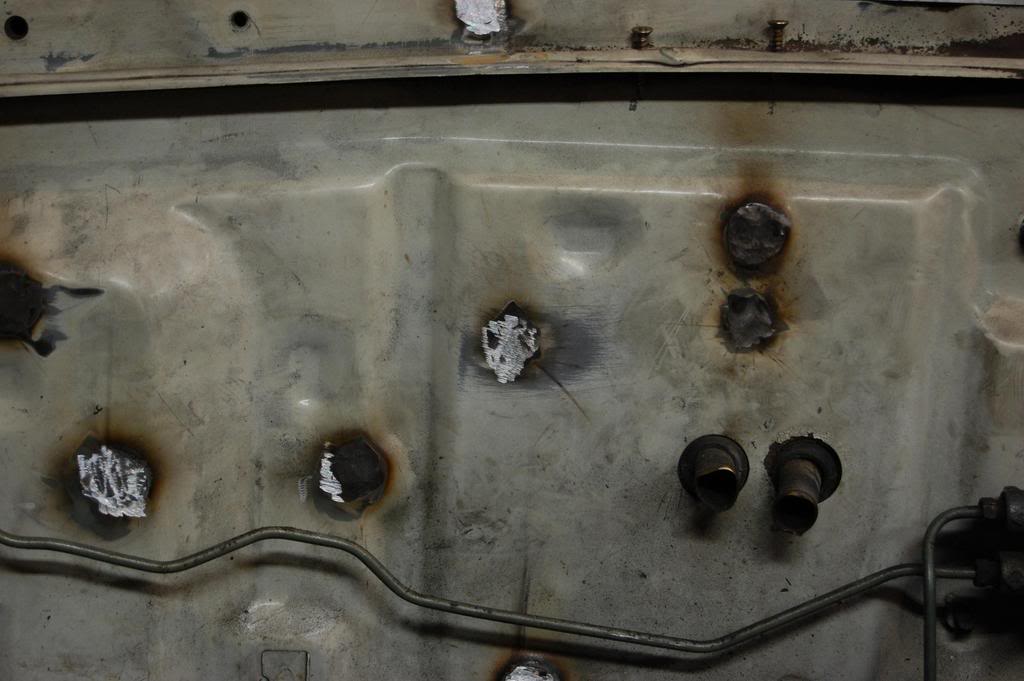
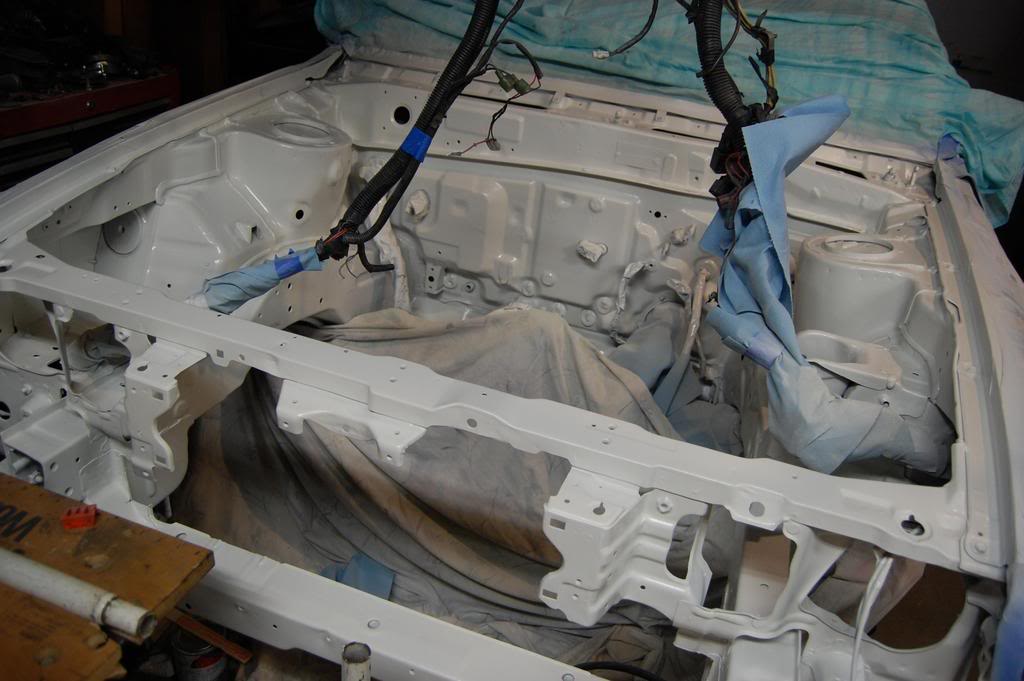
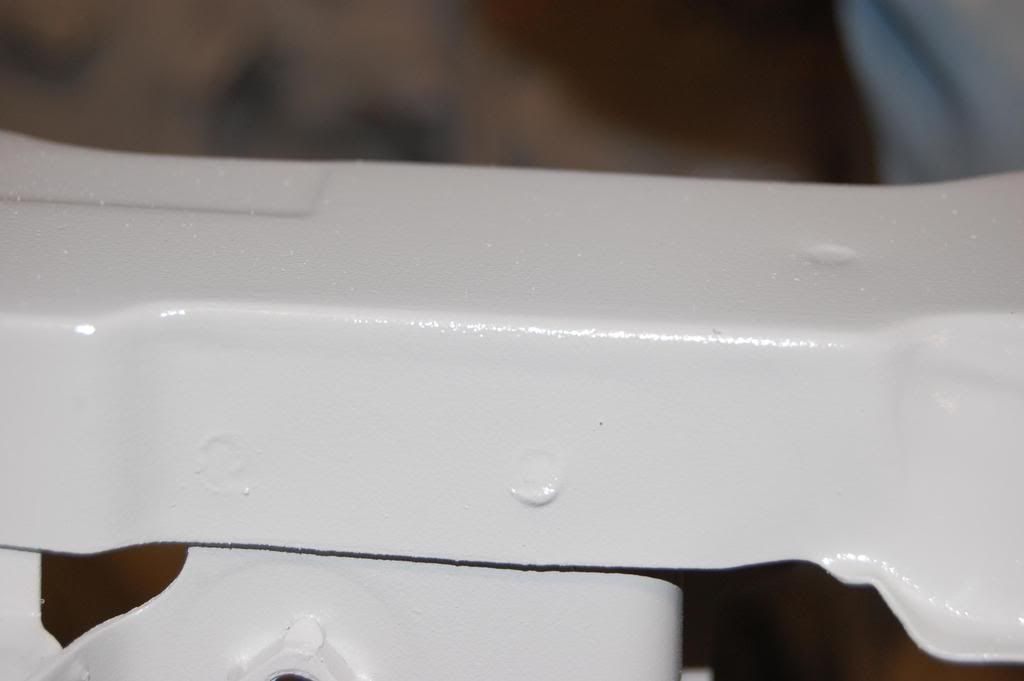
Also started filling some holes in, pretty difficult work
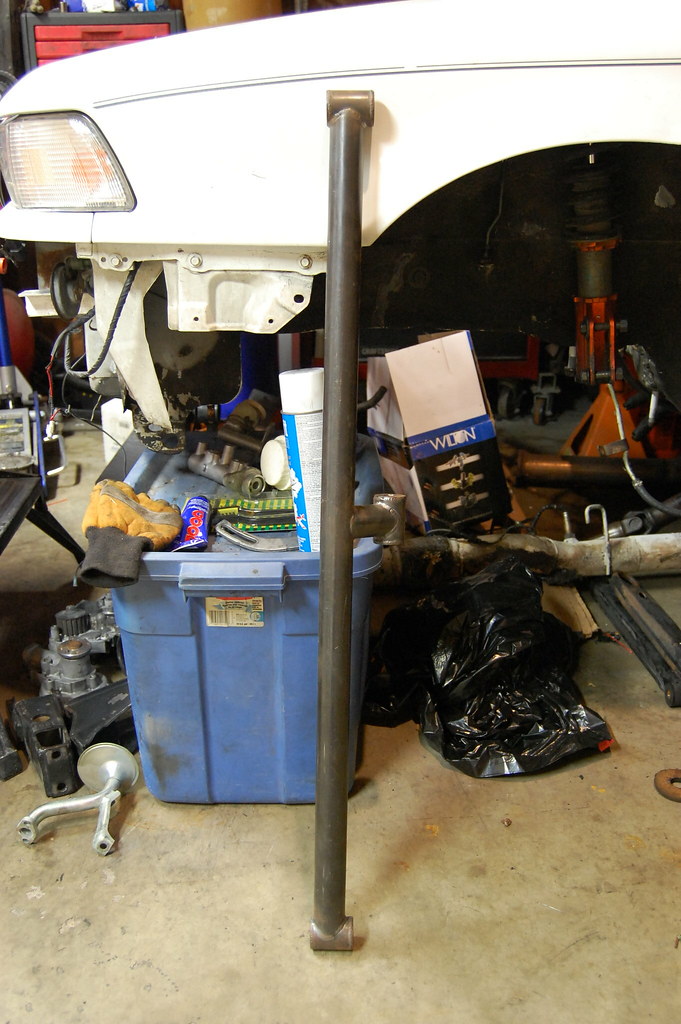
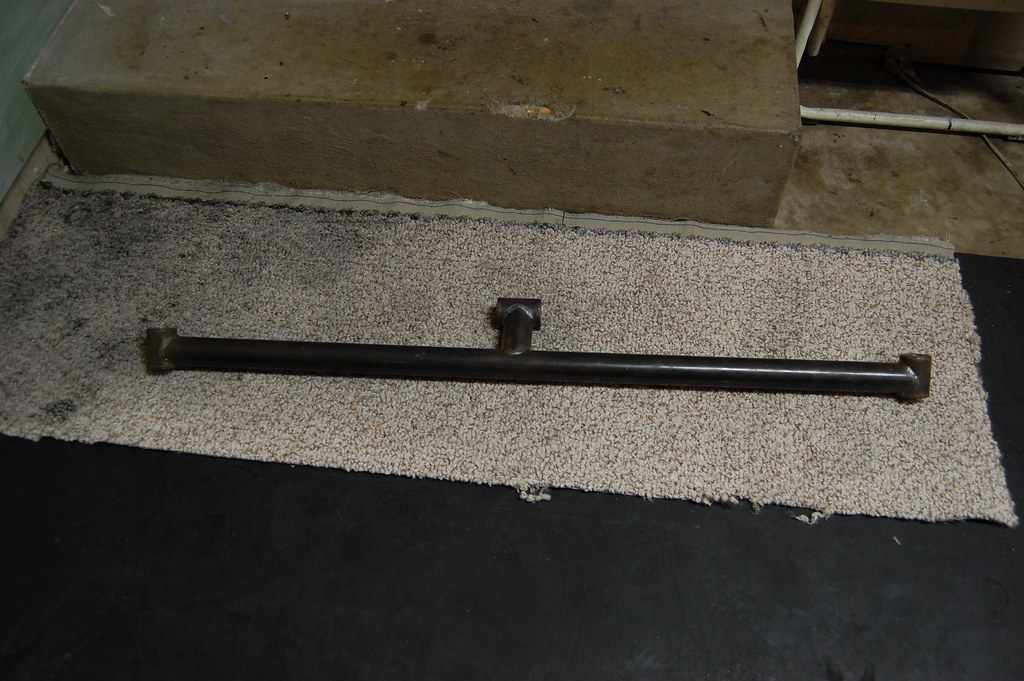
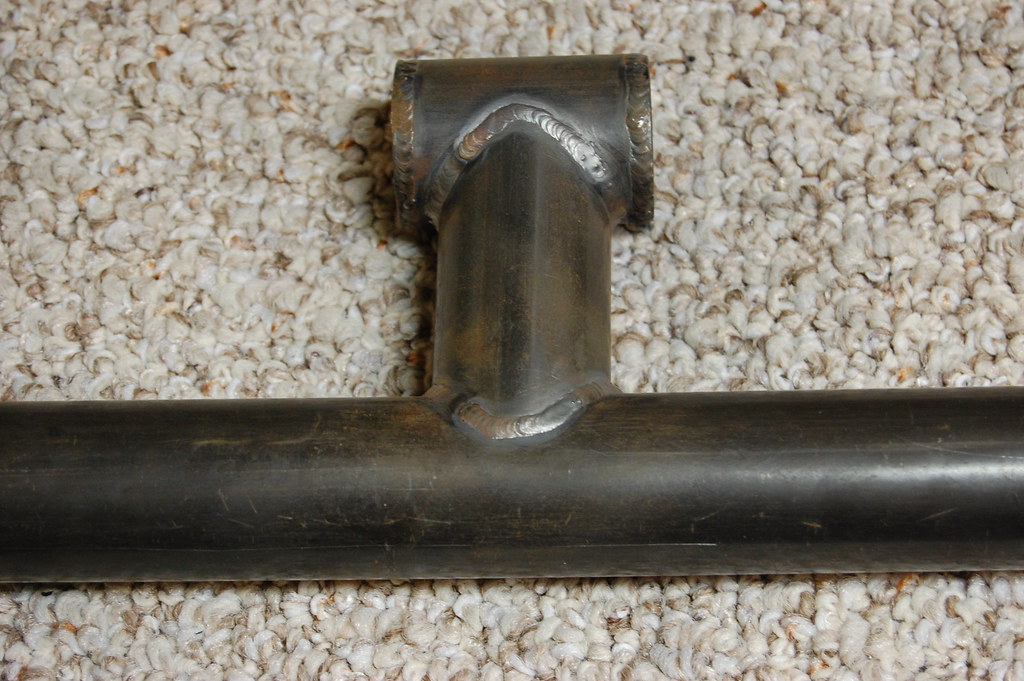
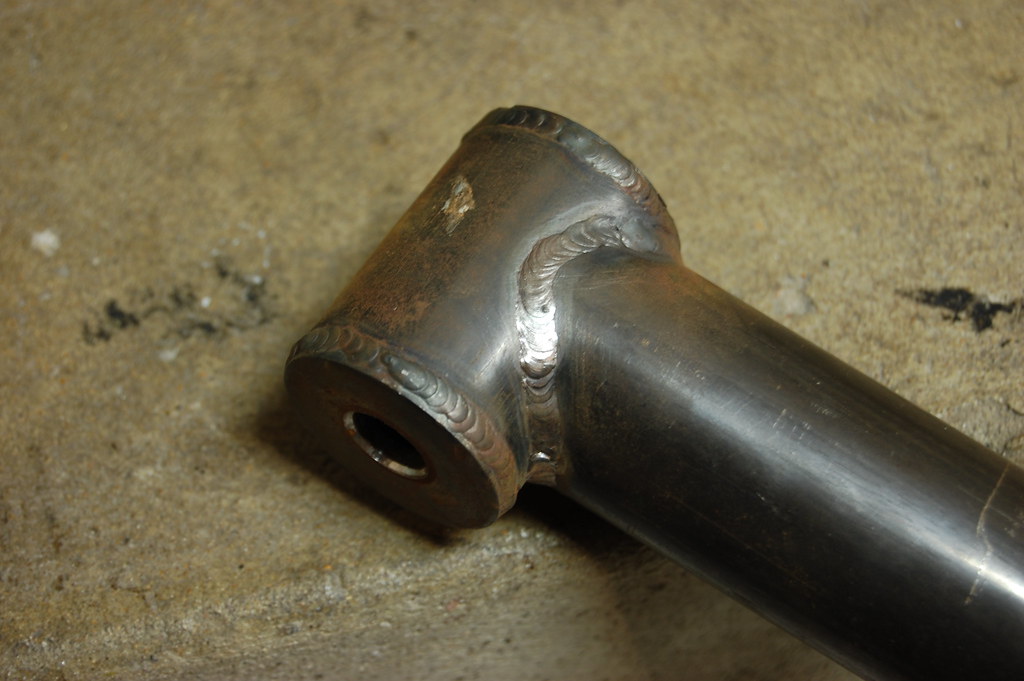
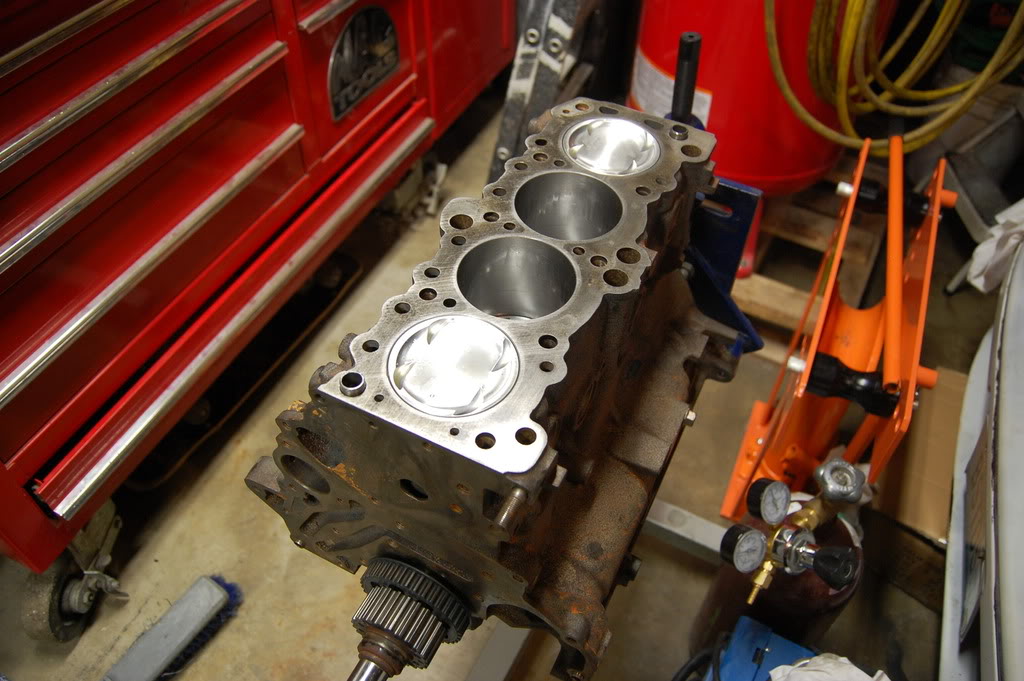
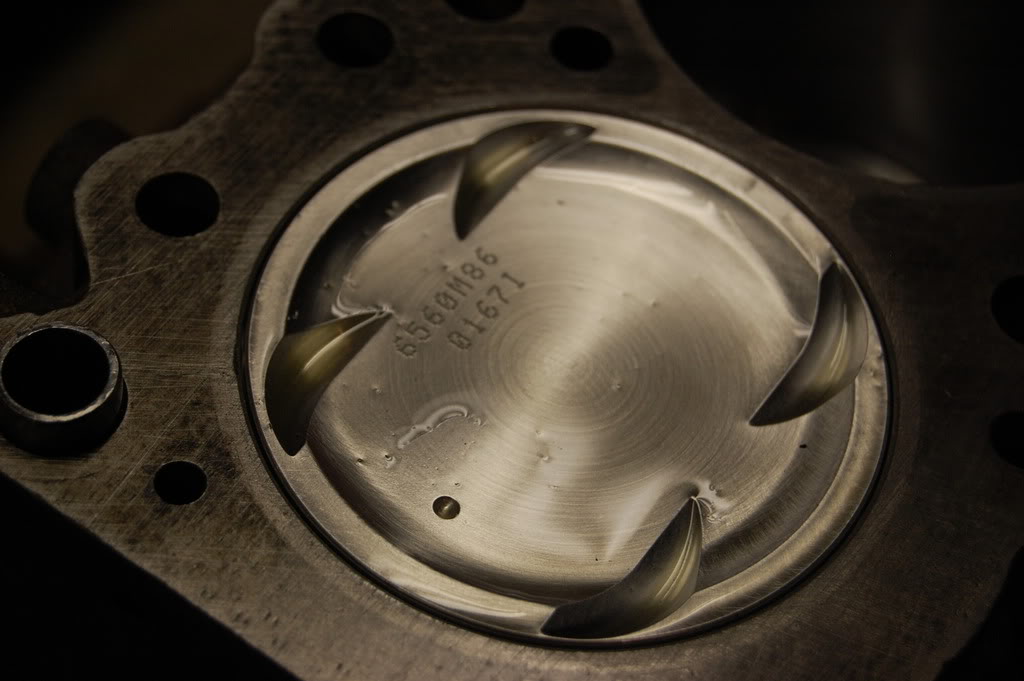
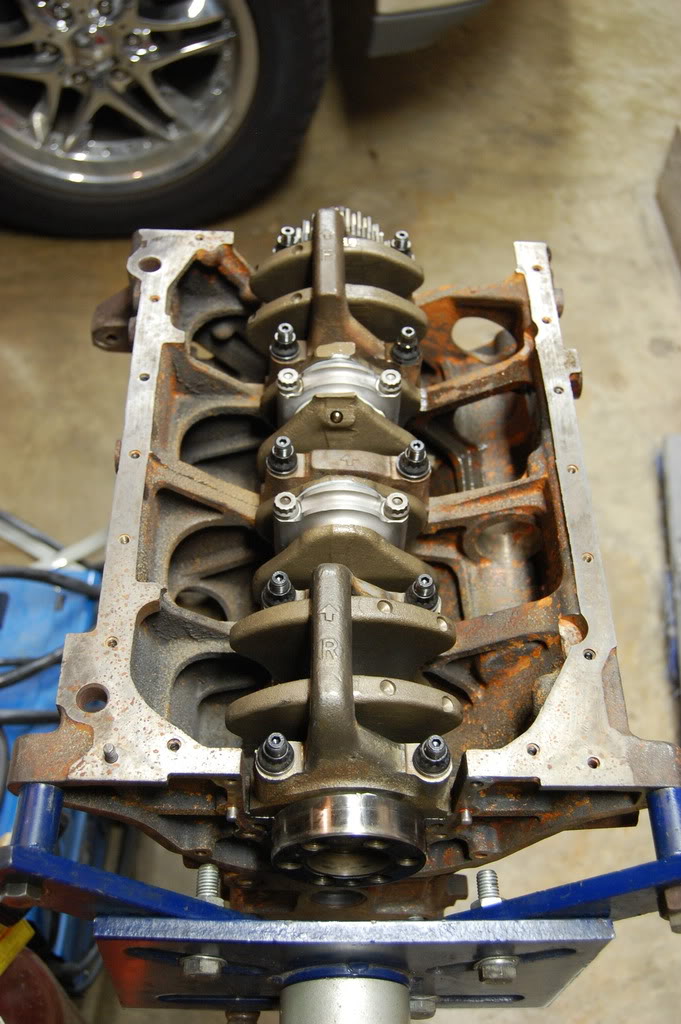
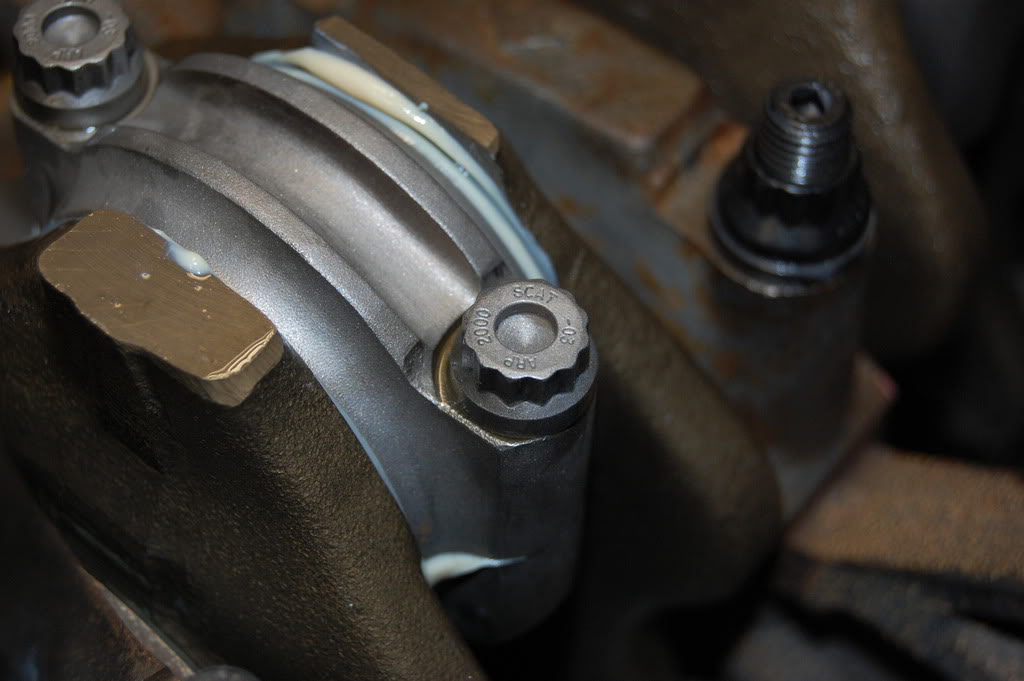
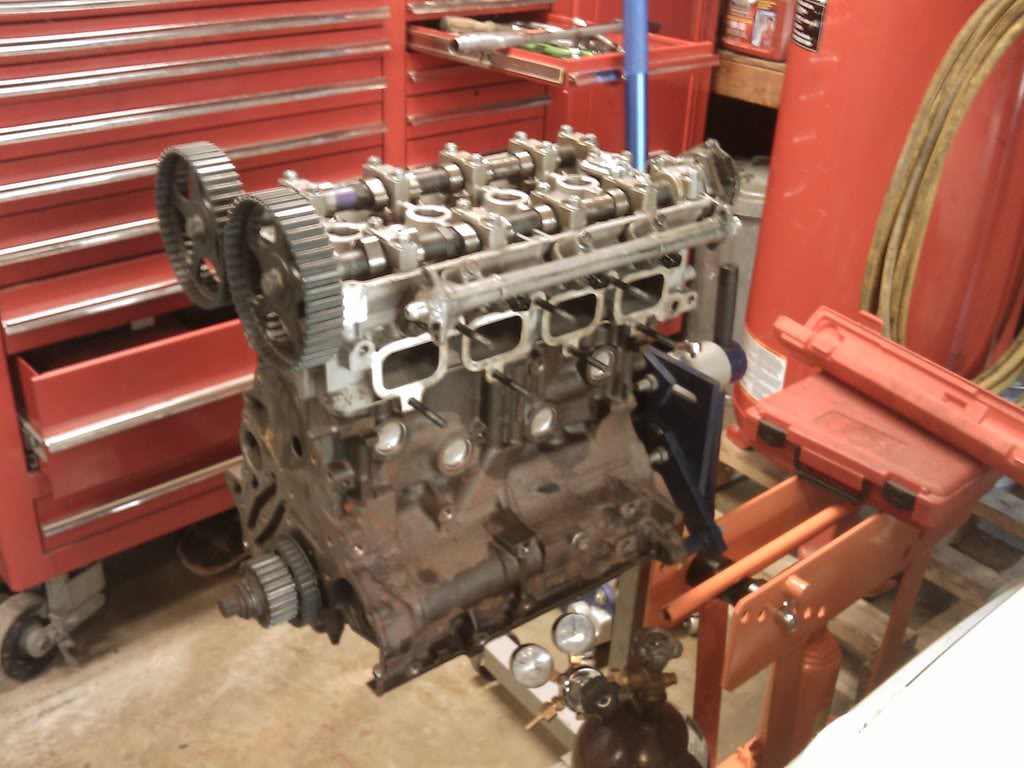
Also mounted up the spare block to check clearances and see how well the crossbar fit

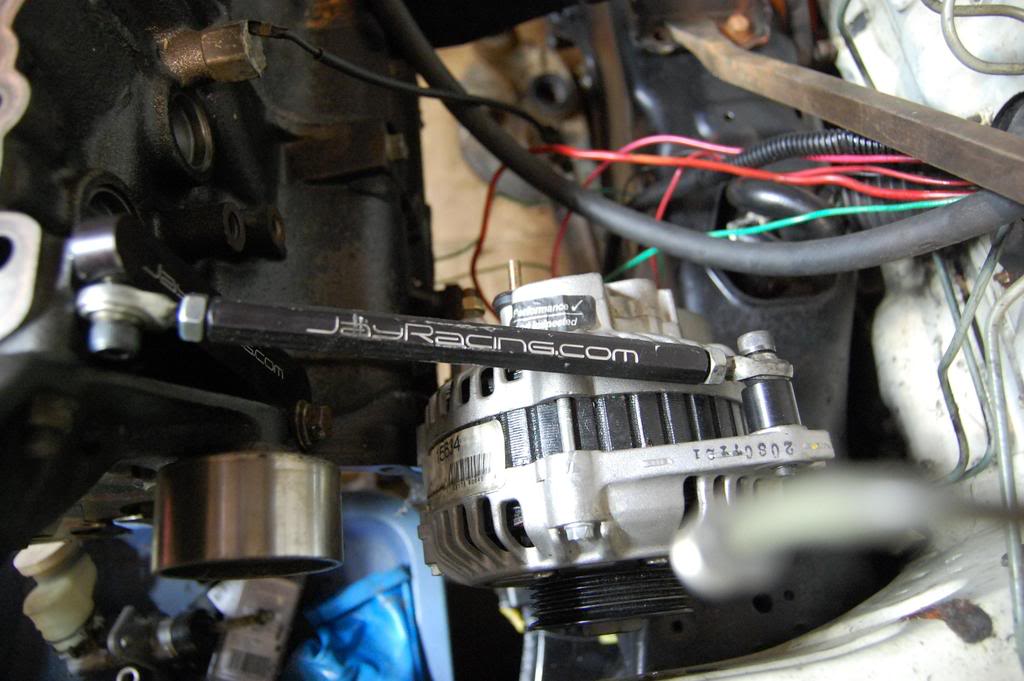
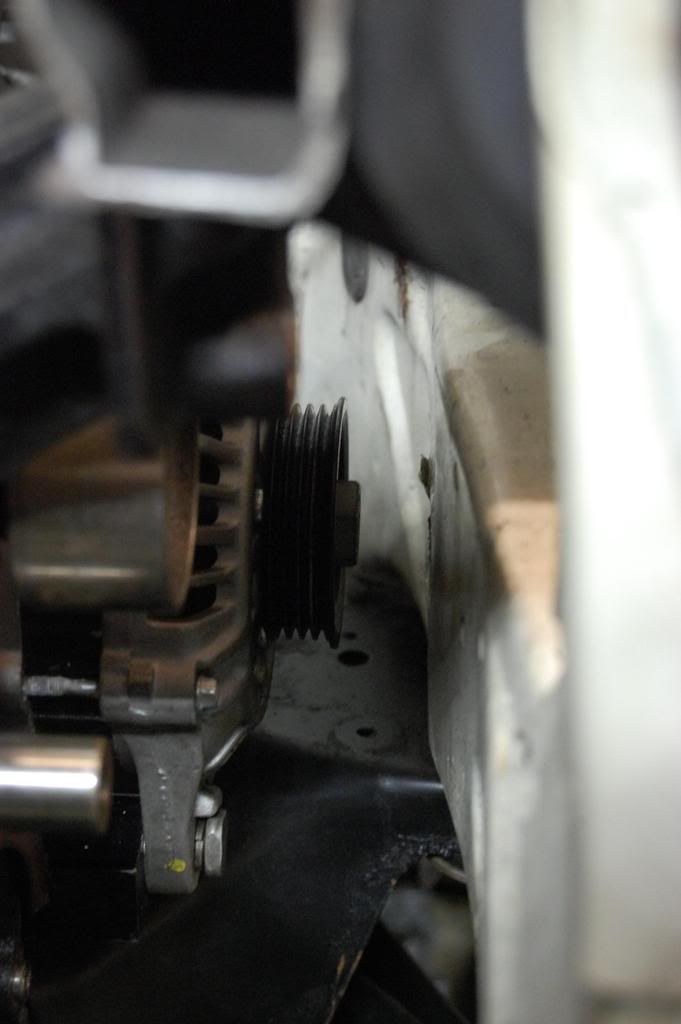
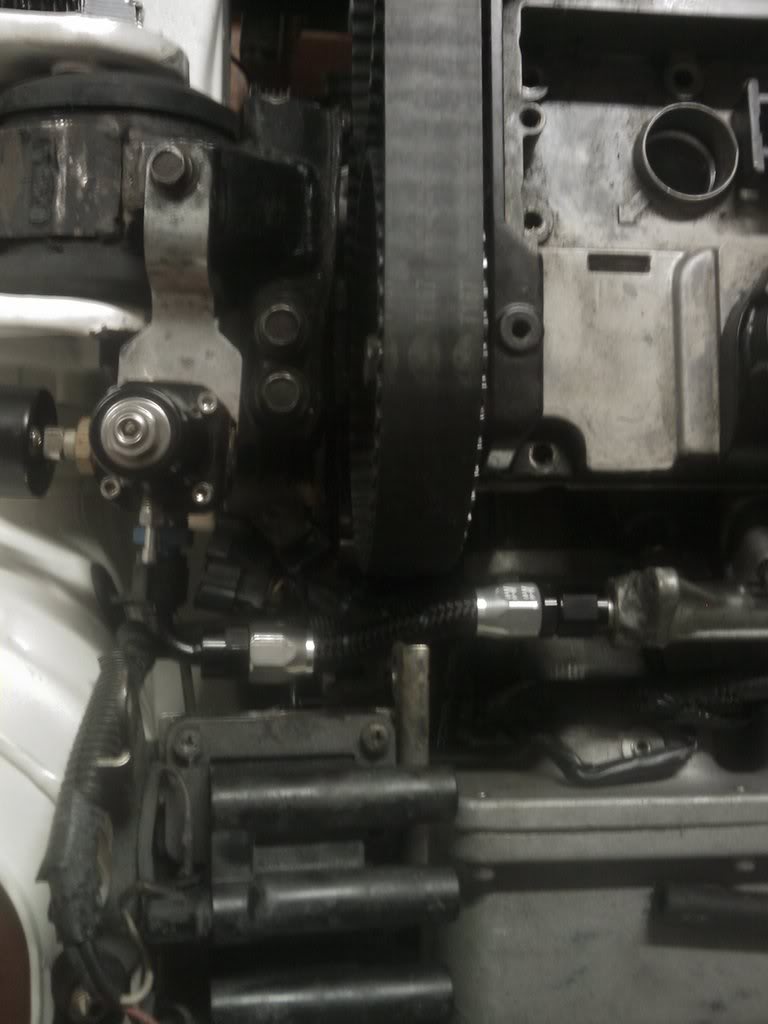
Jayracing alternator relocation, fits like a glove
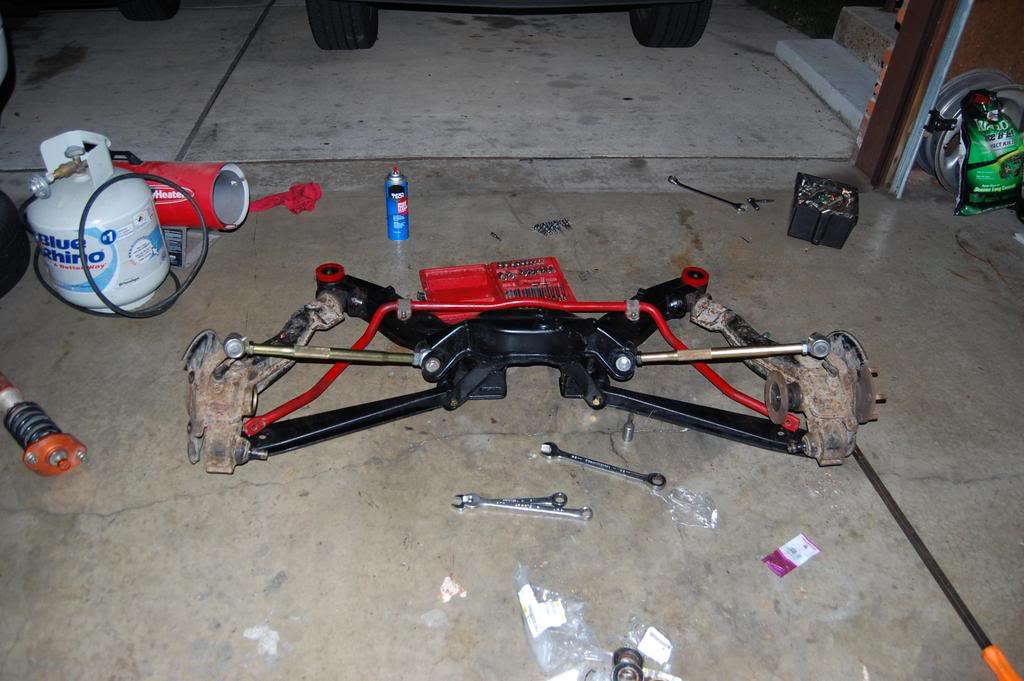
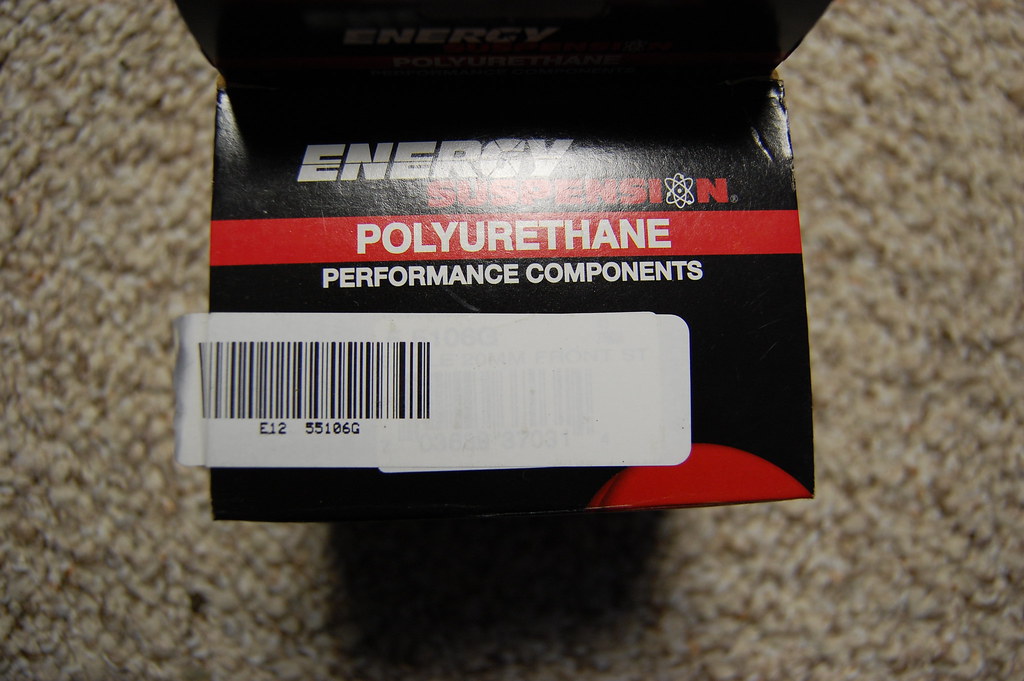
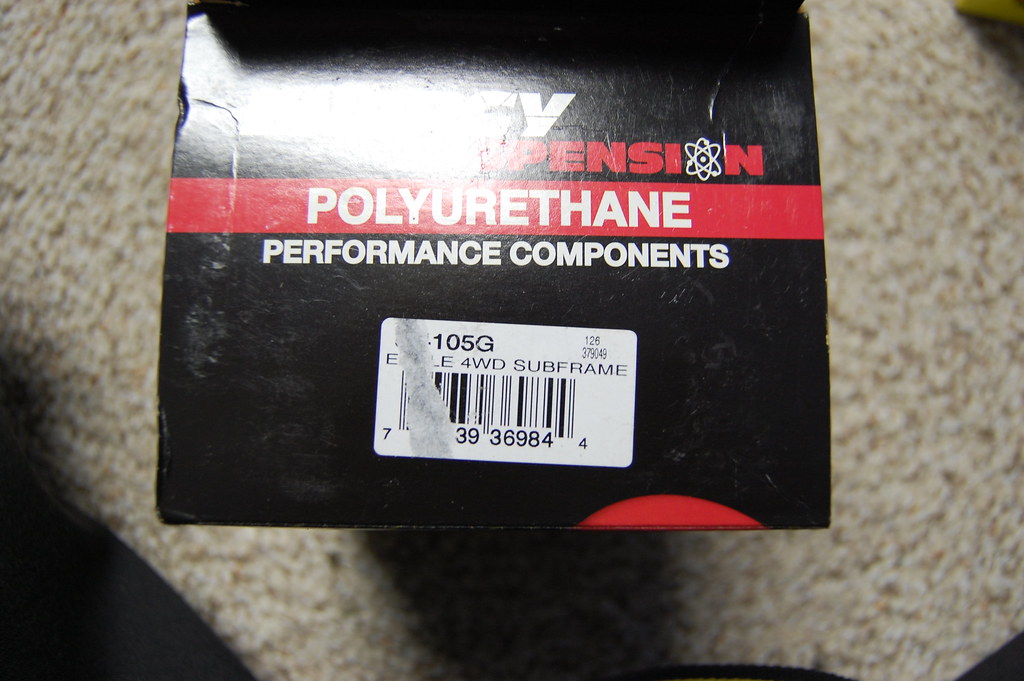
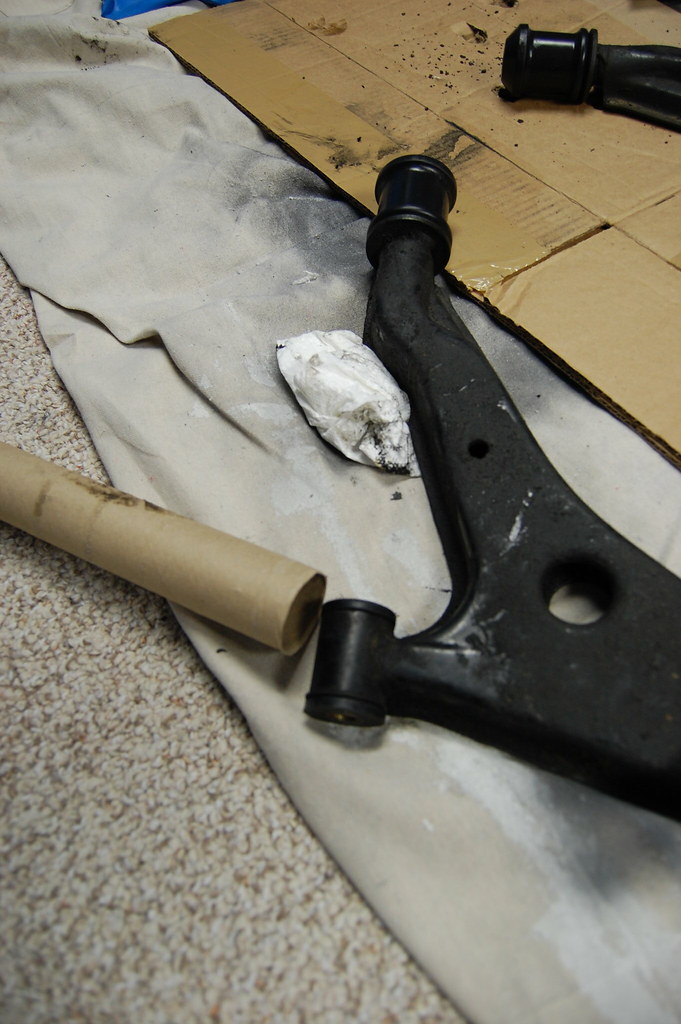
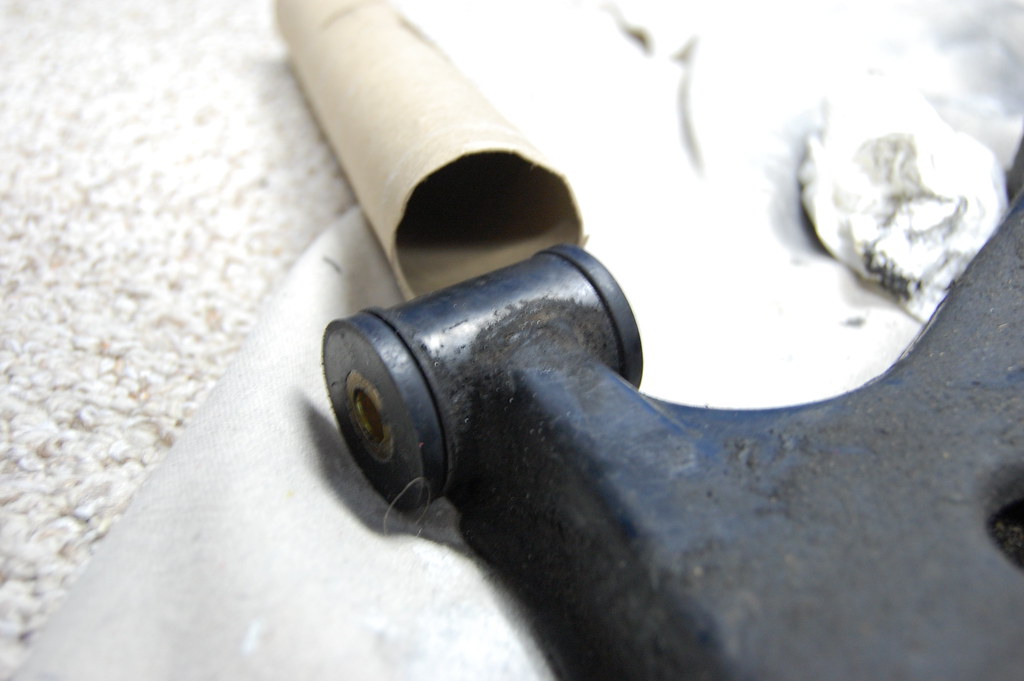
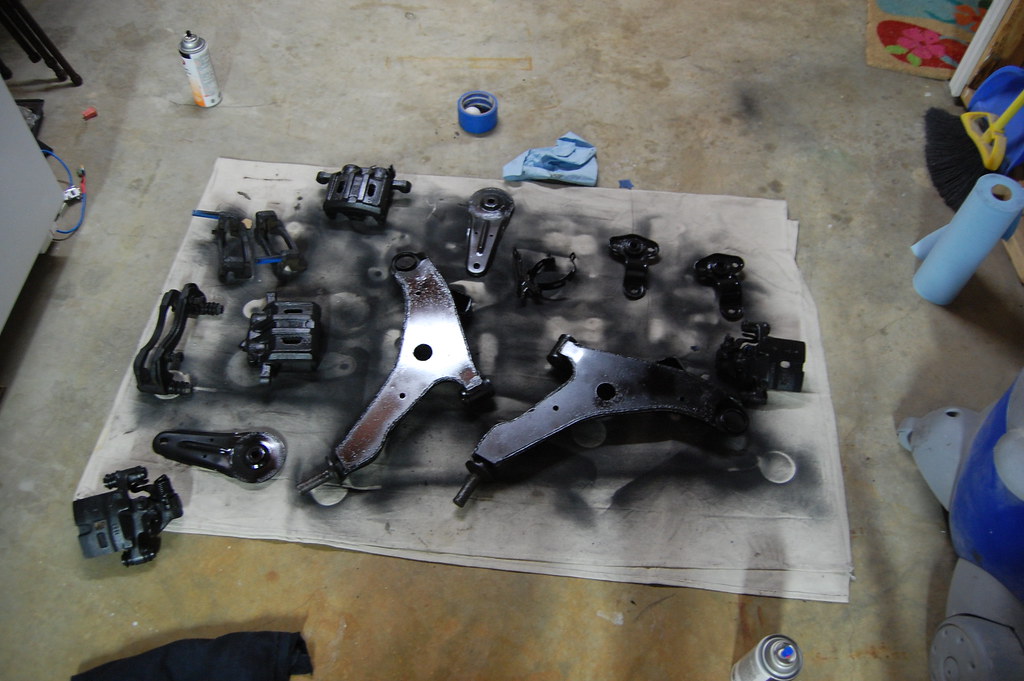
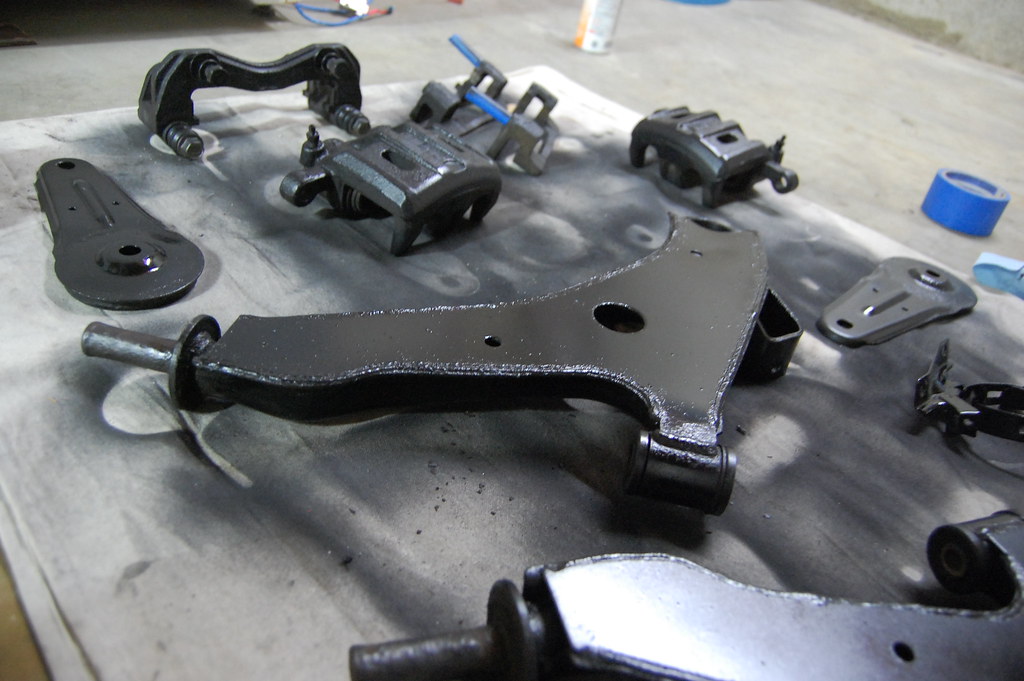
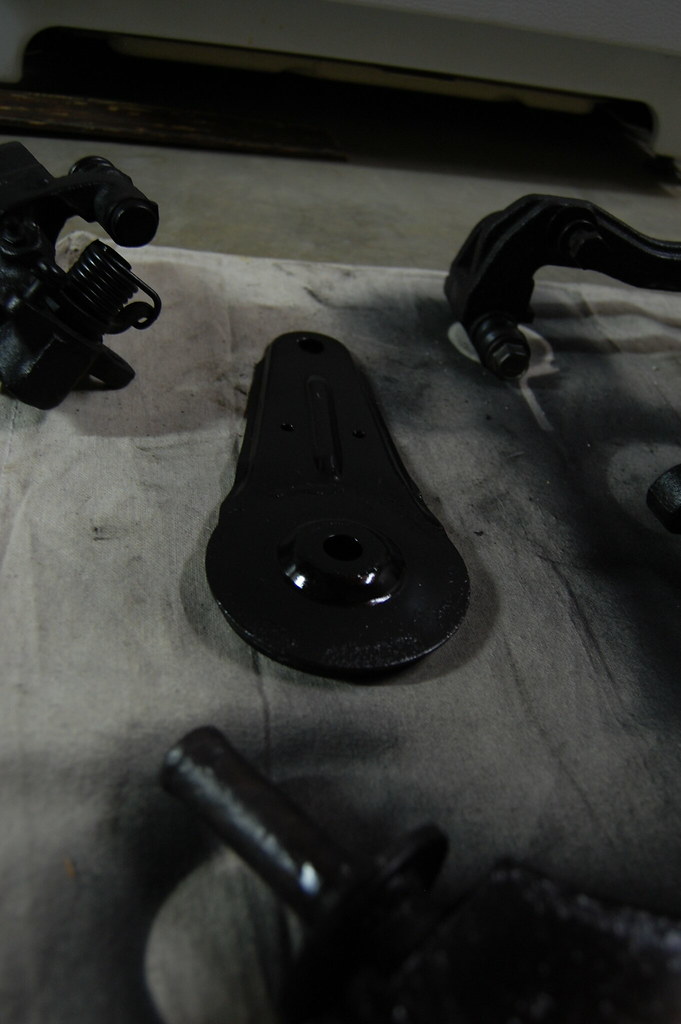
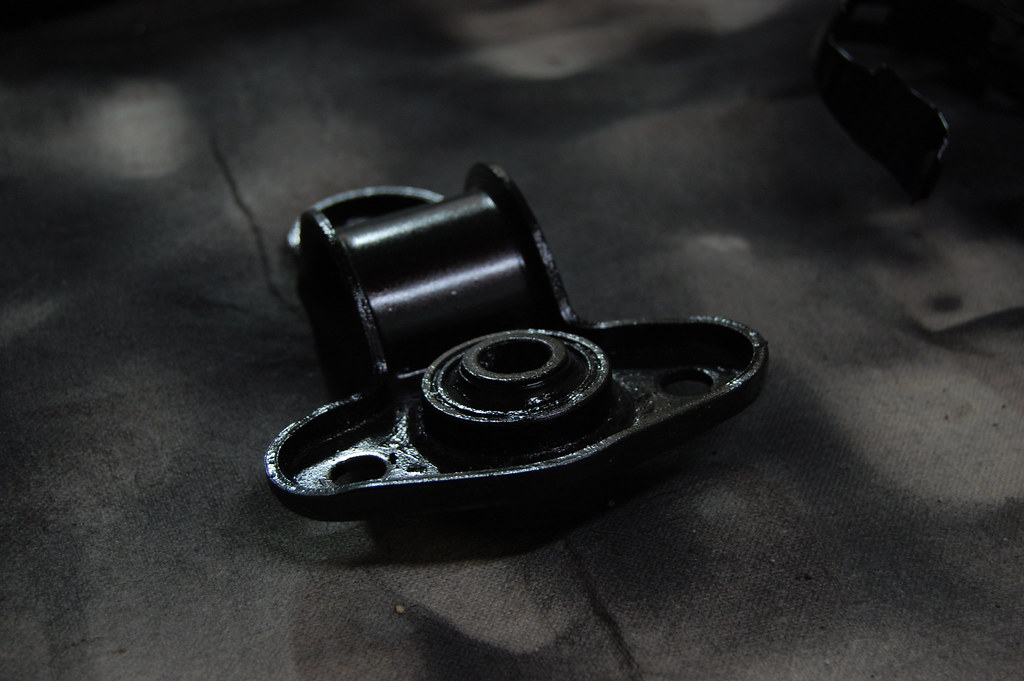
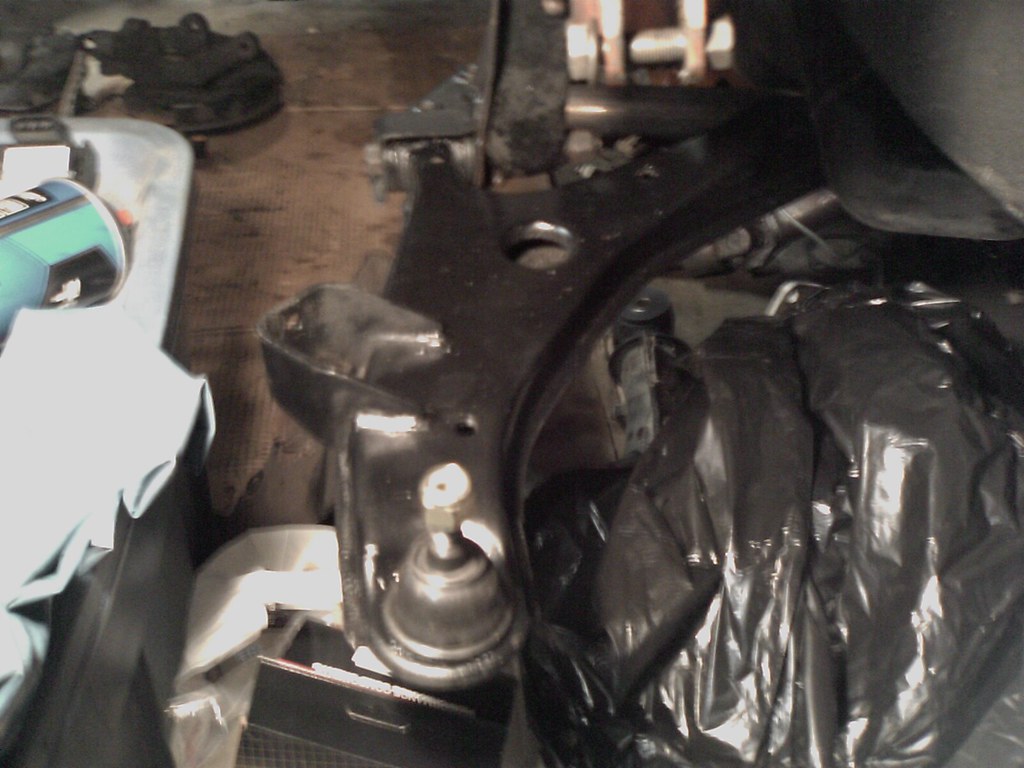
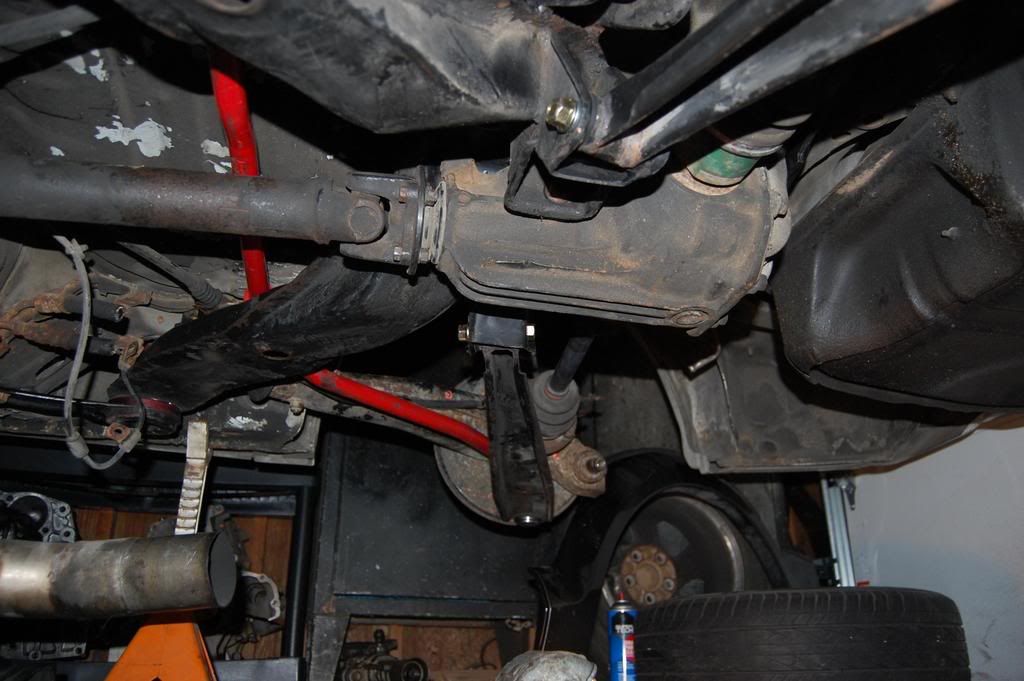
Custom upper control arms, fully adjustable and should give me the perfect amount of camber I need to lay rubber.
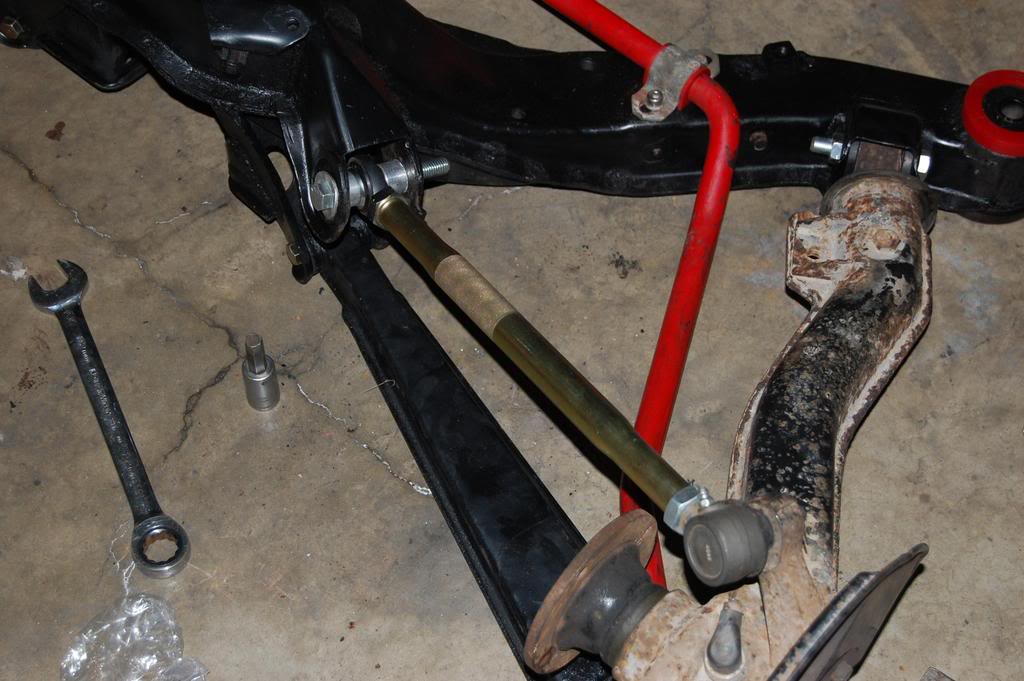
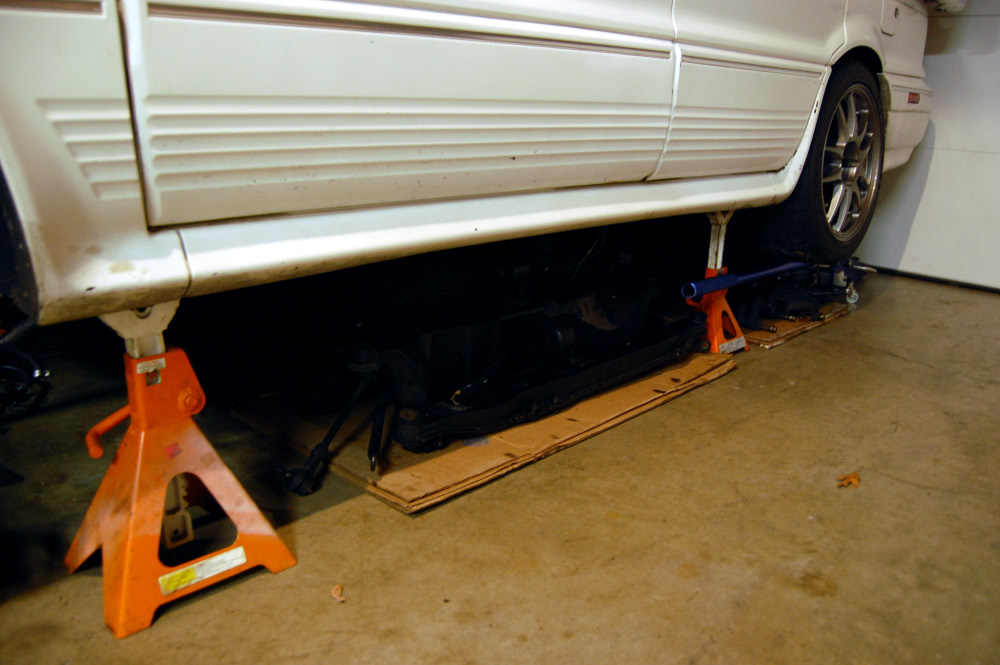
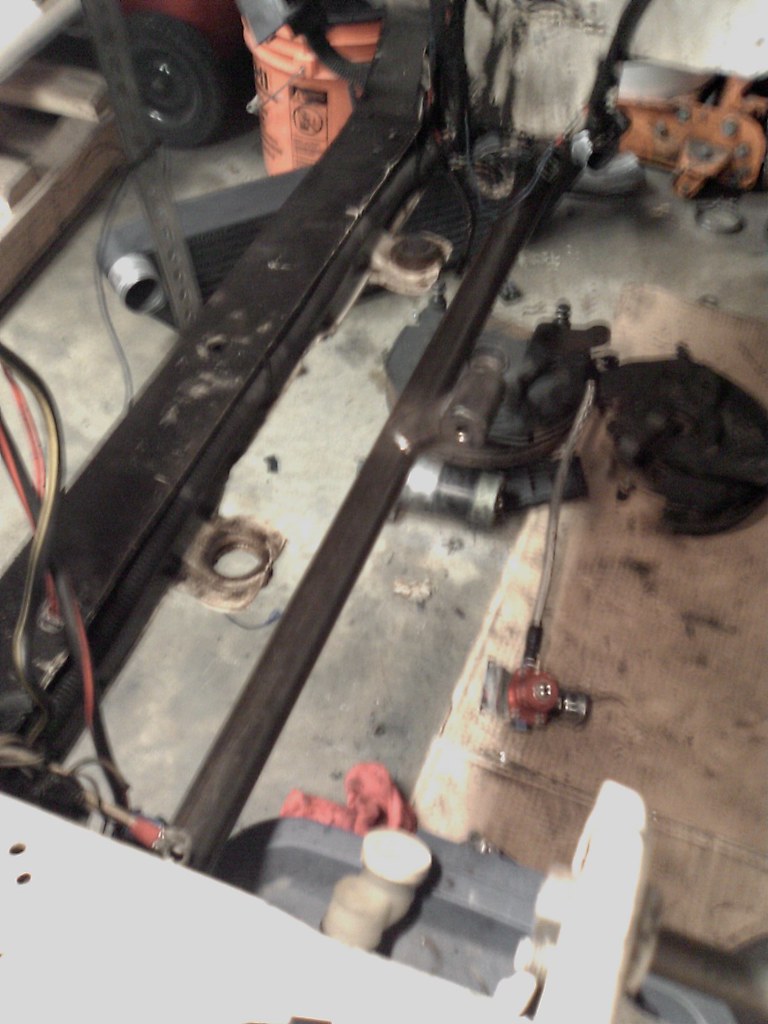
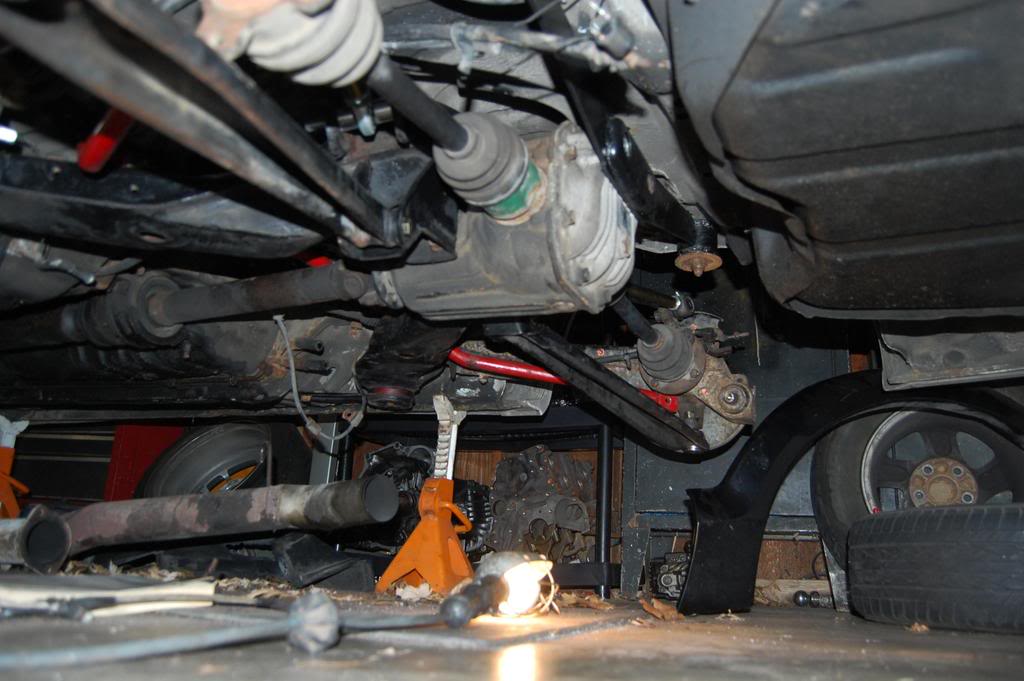
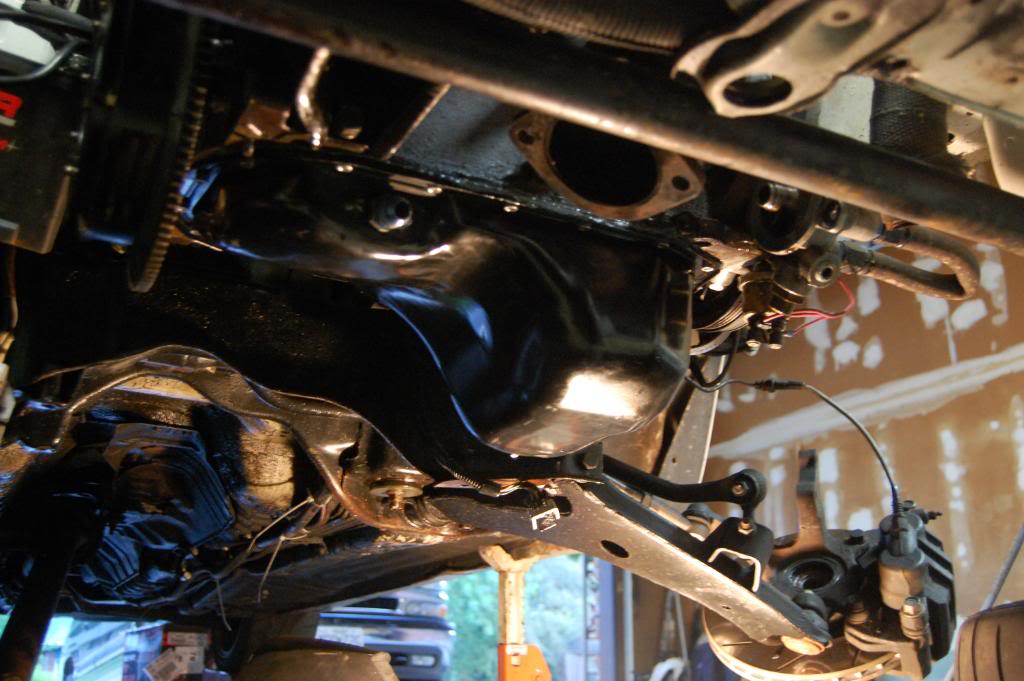
Rear end about 95% completed and 100% buttoned up with my custom solid mustache brace setup.

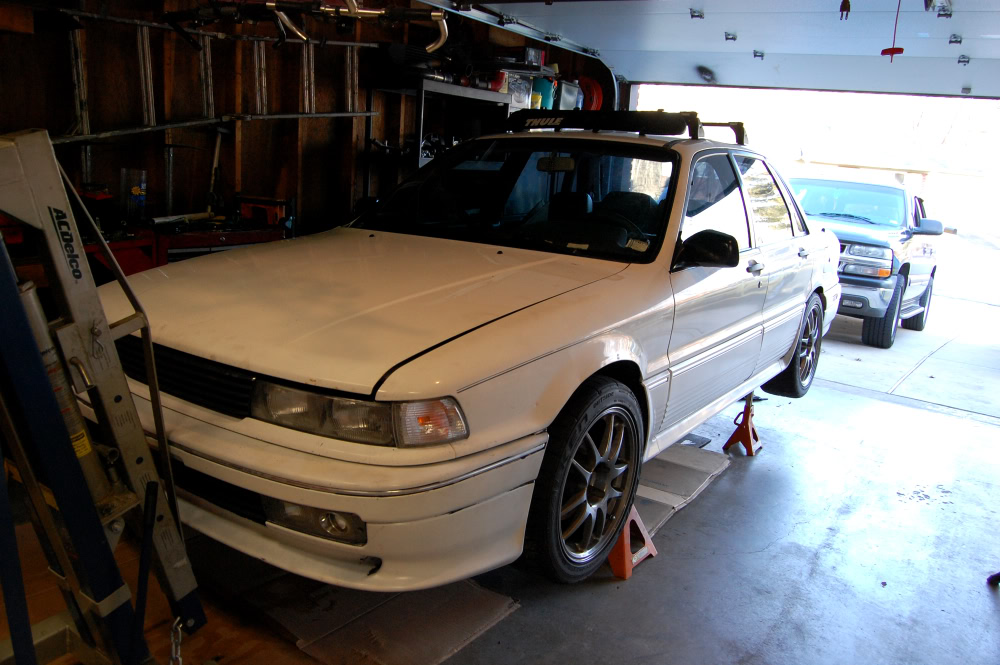
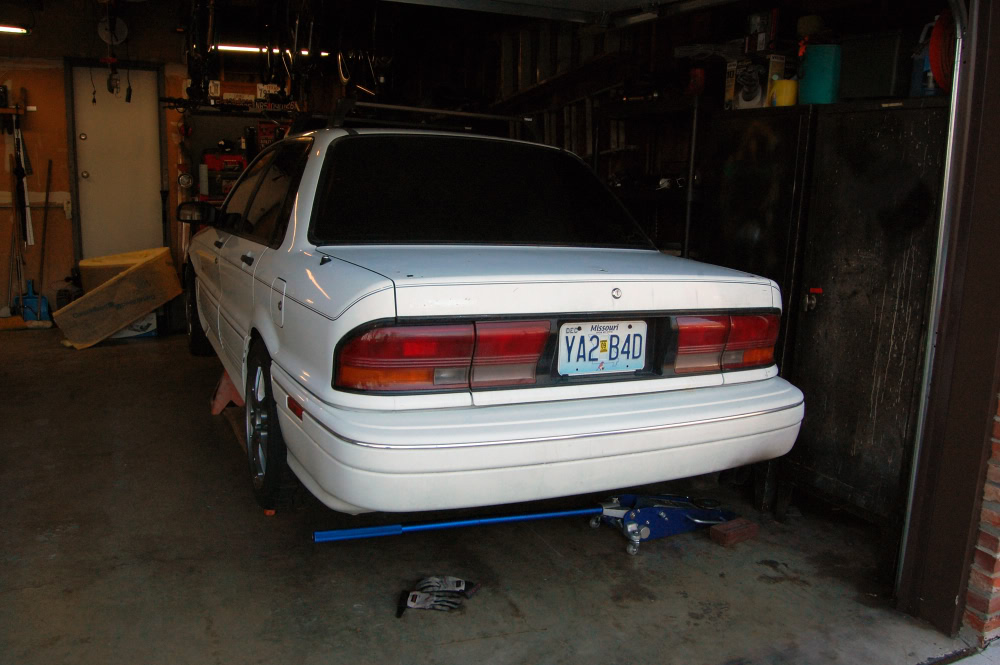
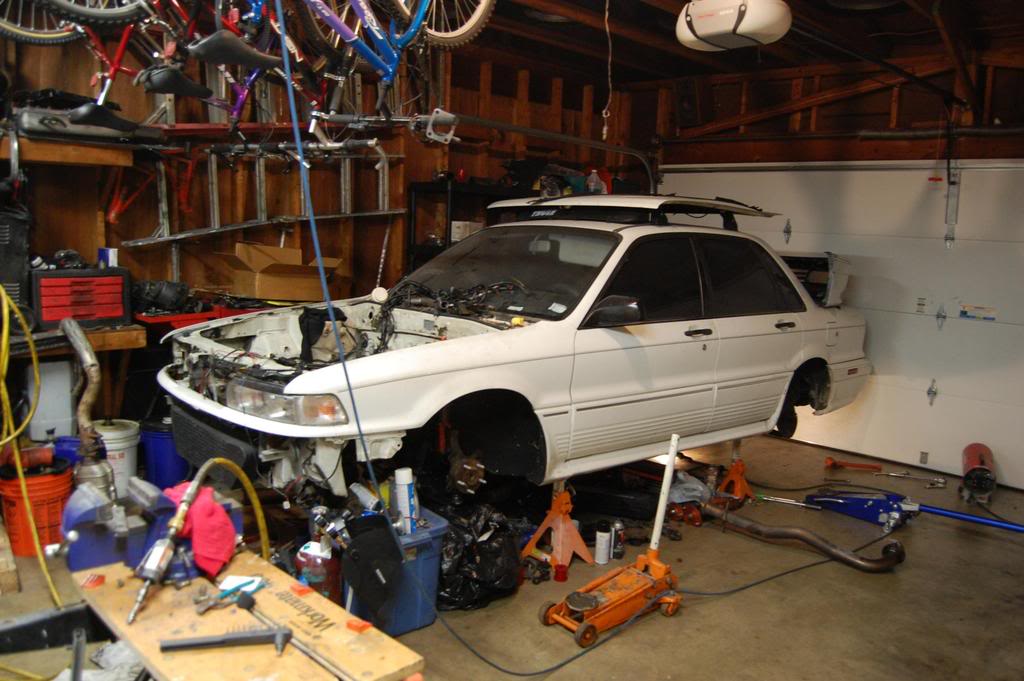
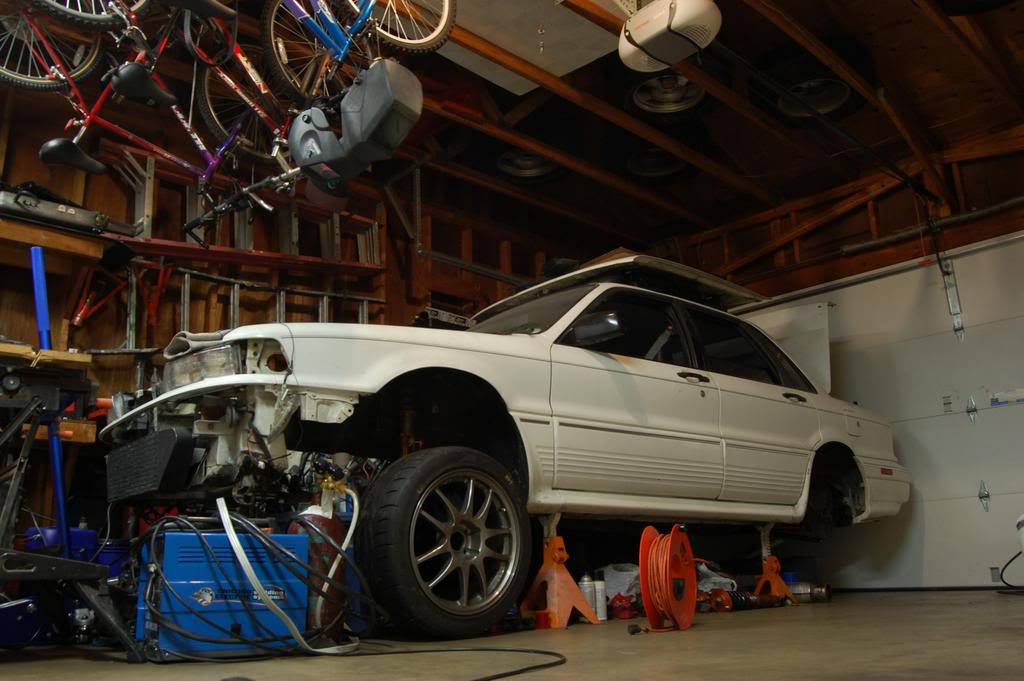
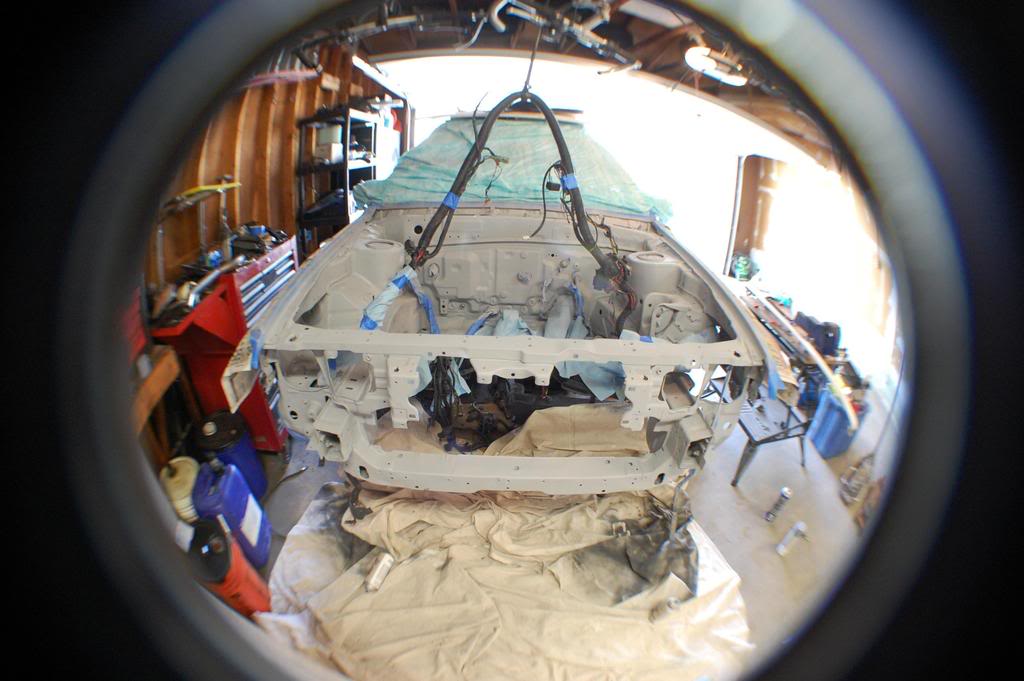
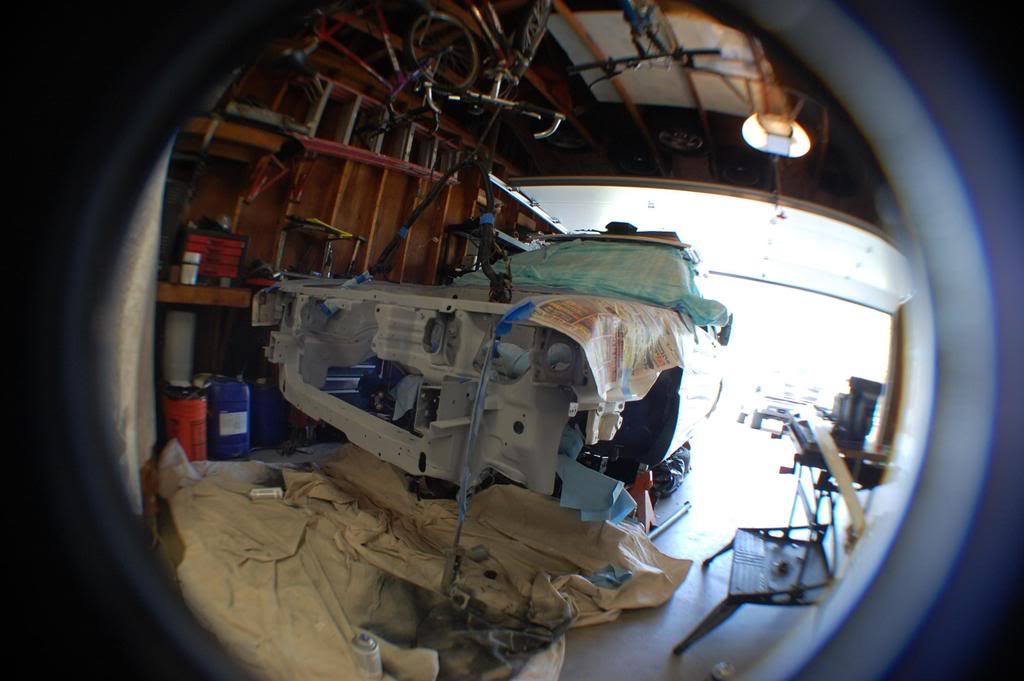
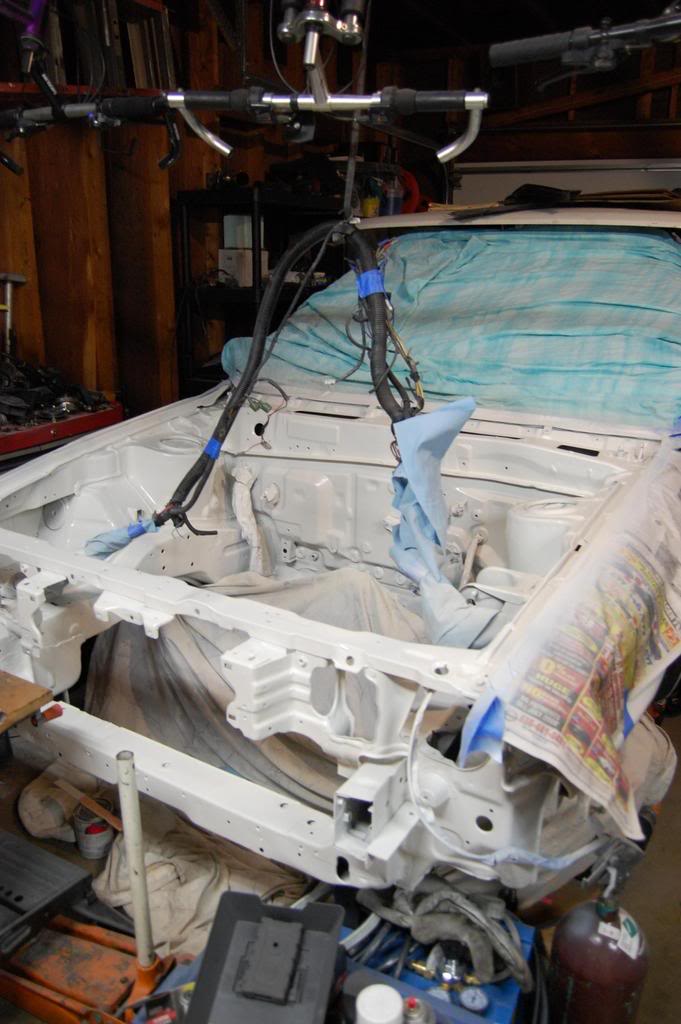
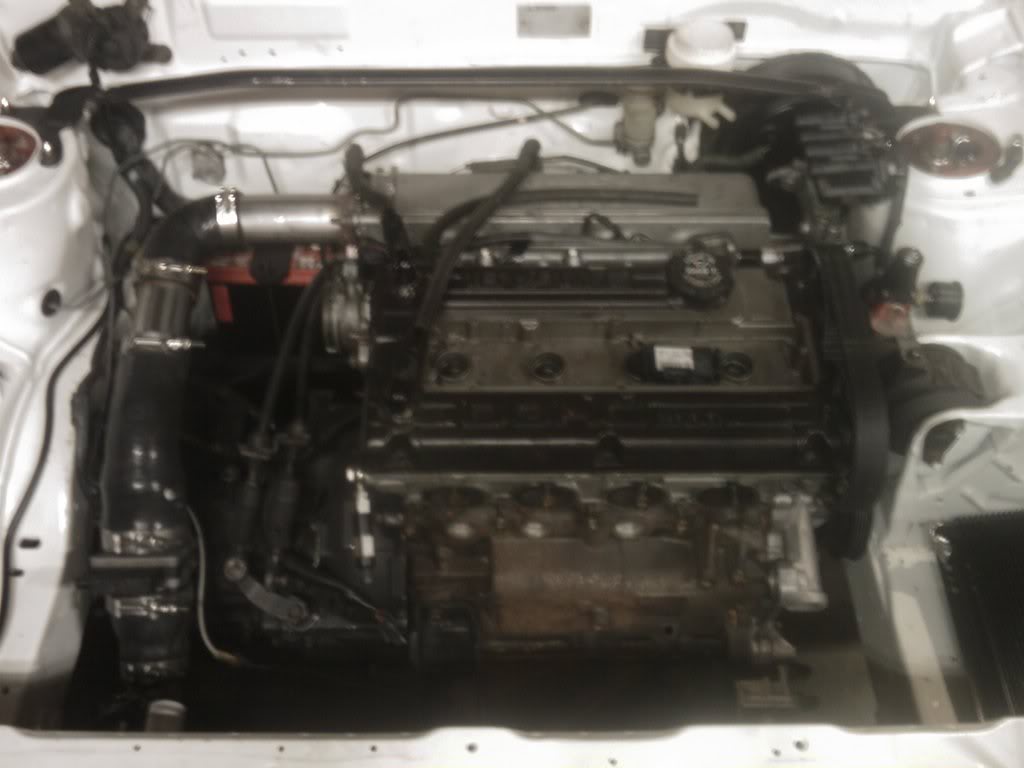
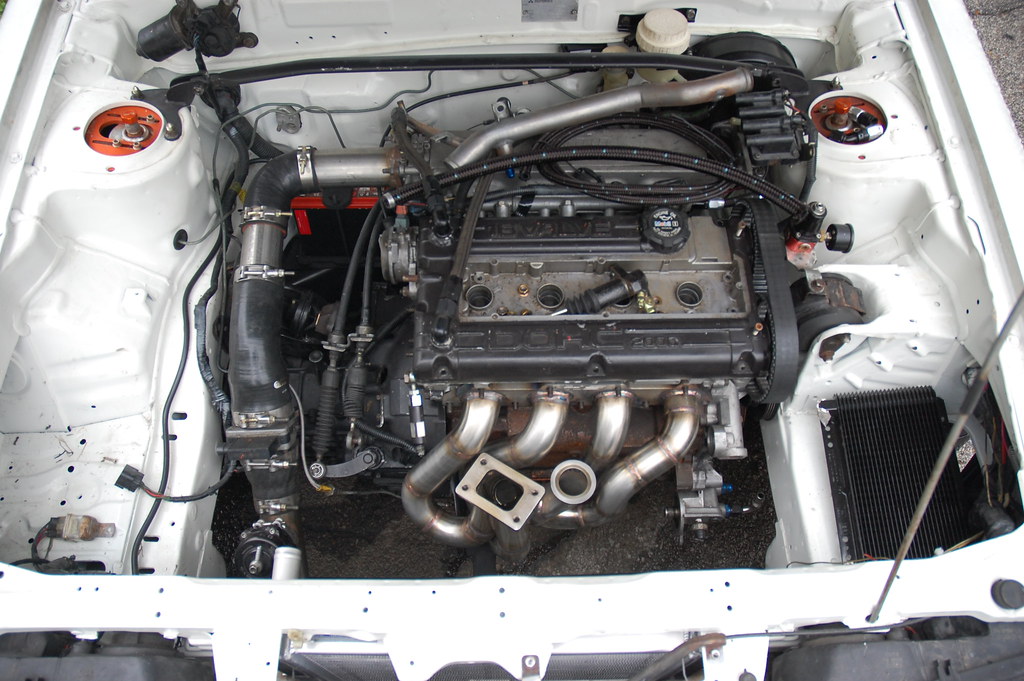
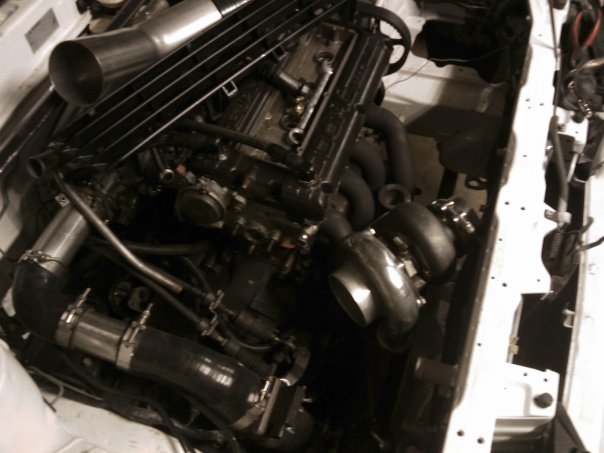
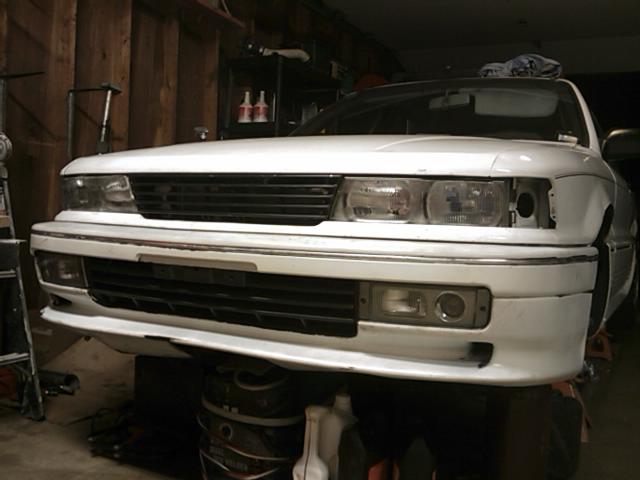
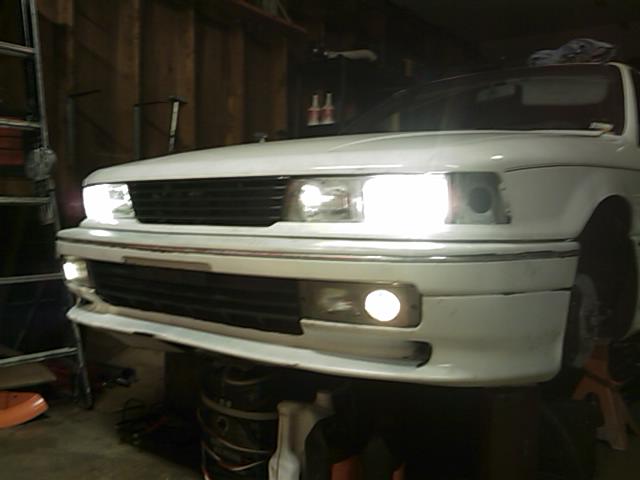
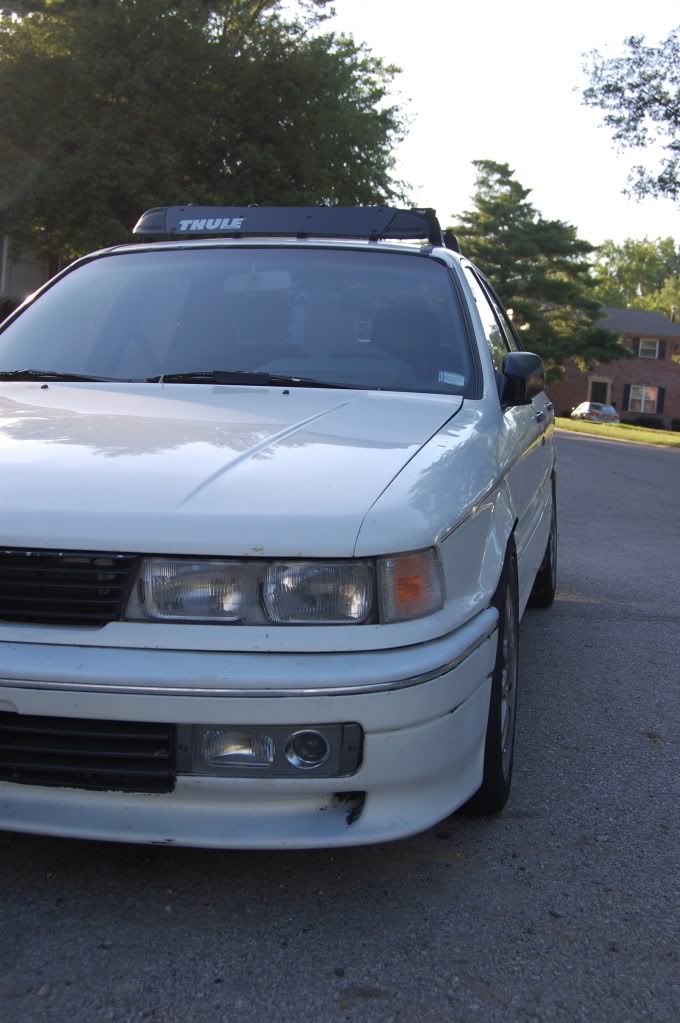
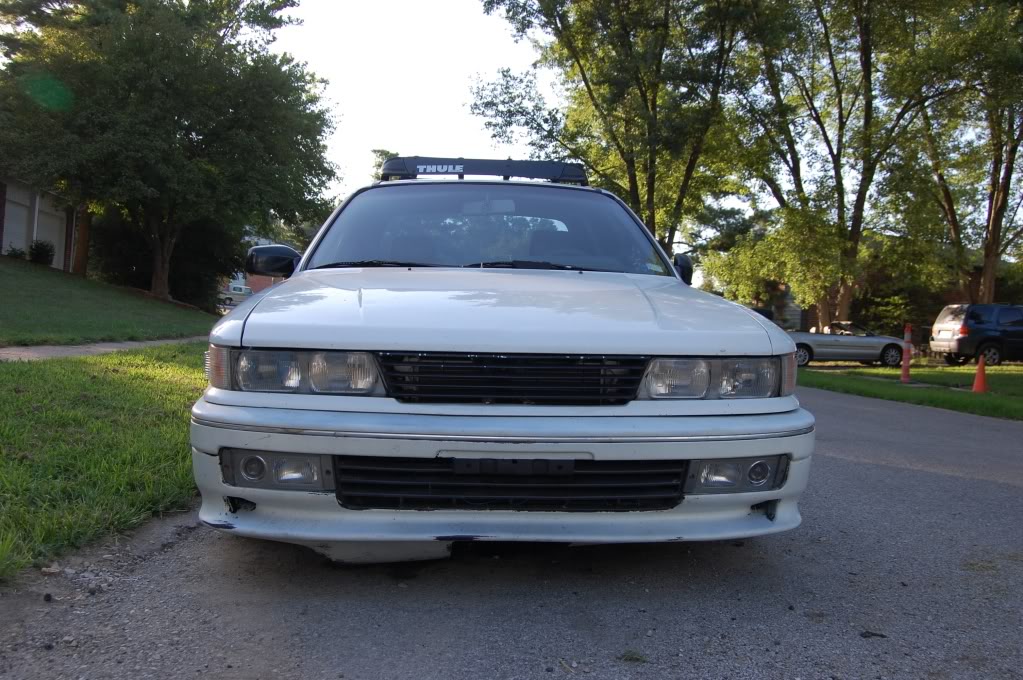
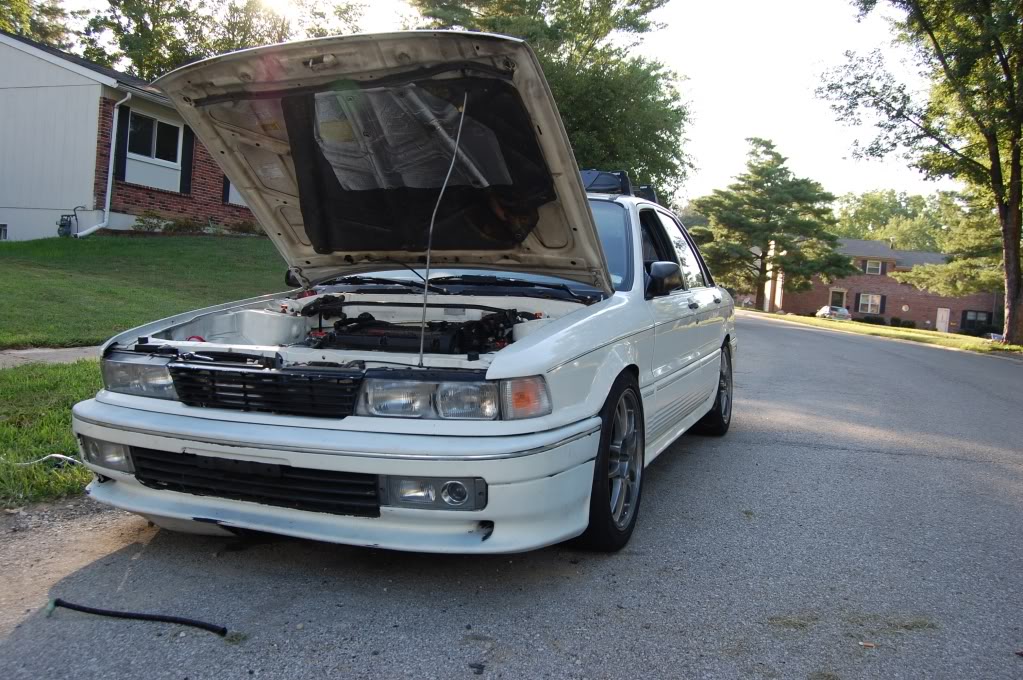
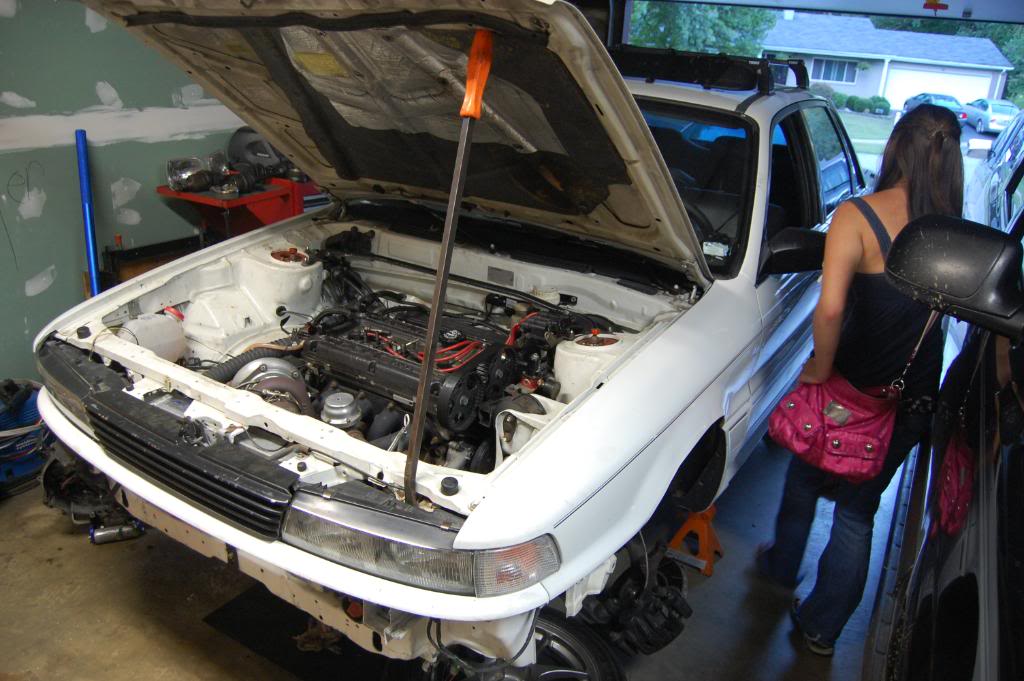
So far, how she sits.
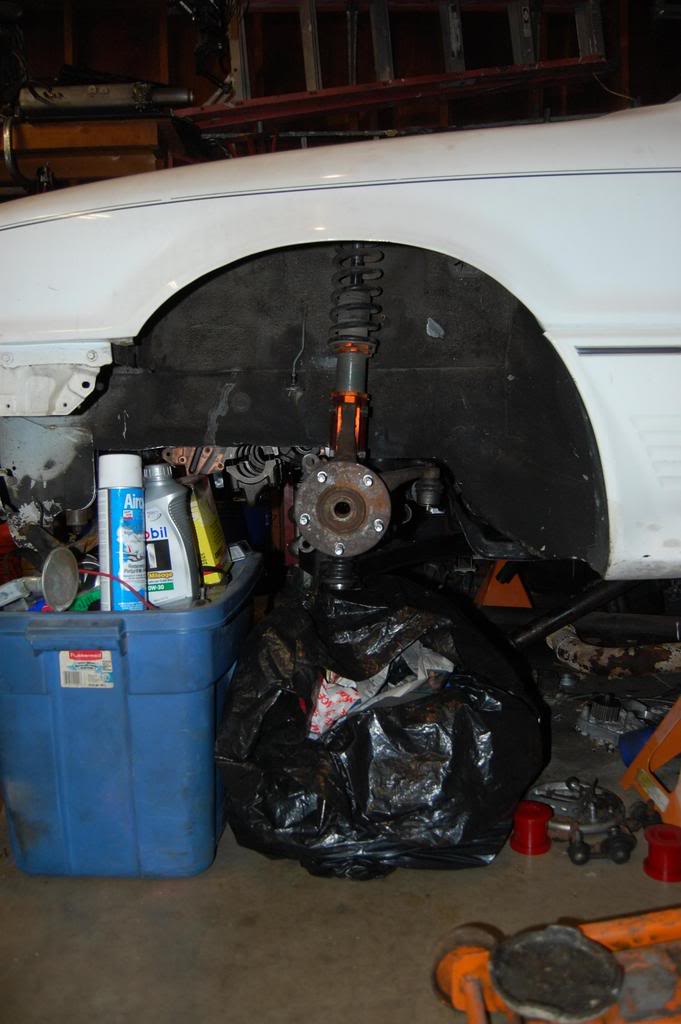
Front spindles are done as well...
The 255 was pulled out and replaced with a MKIV supra unit I have, should do the trick for now.
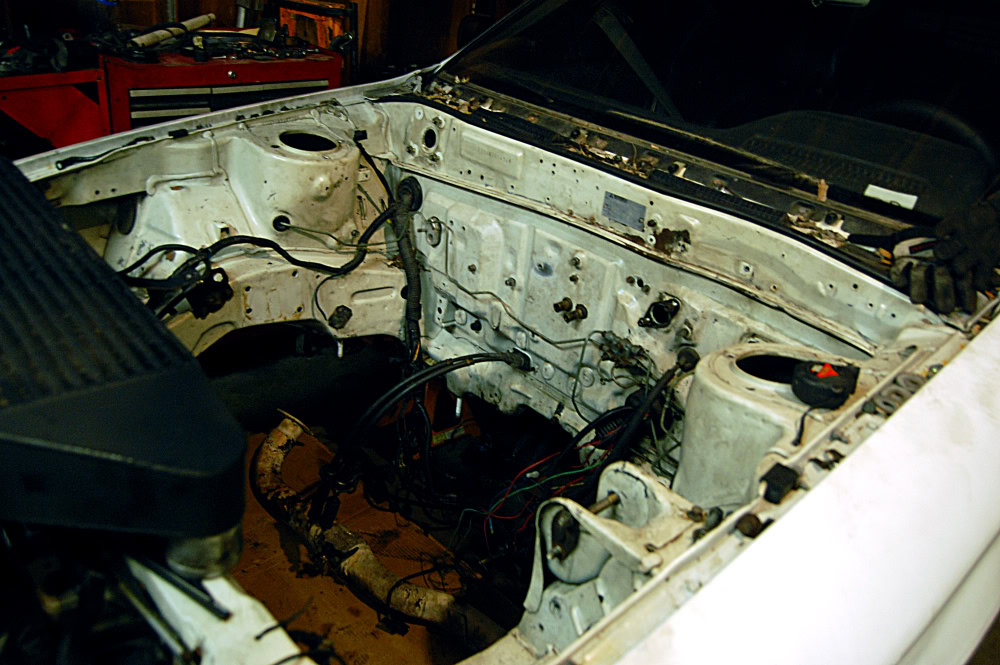
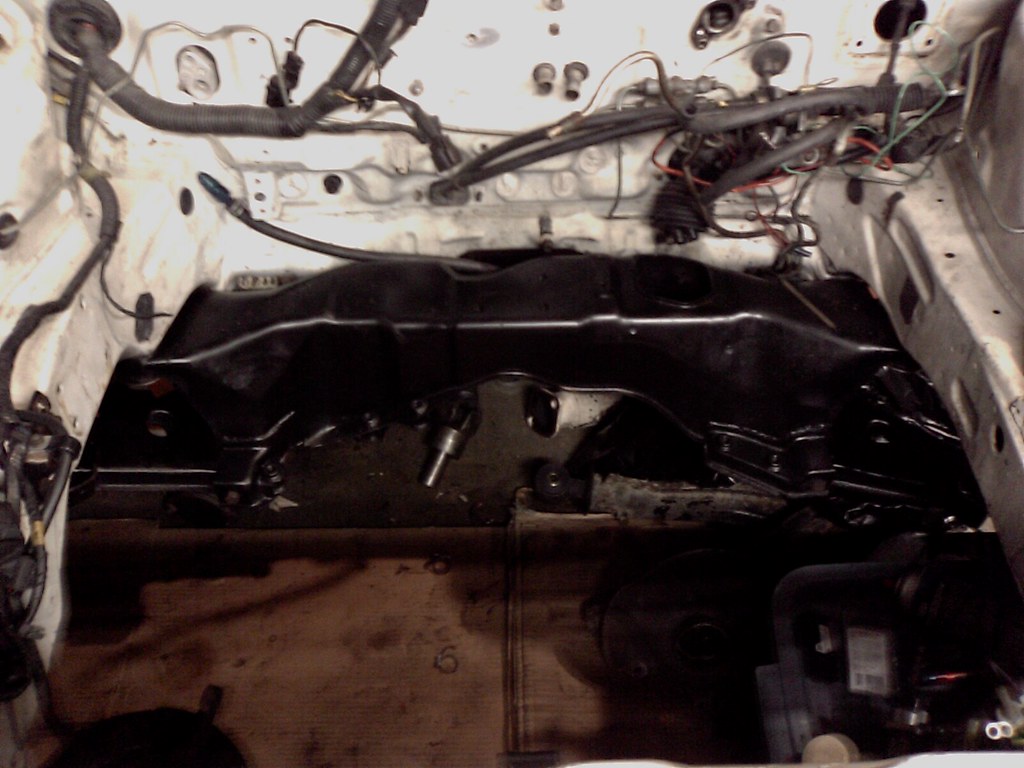
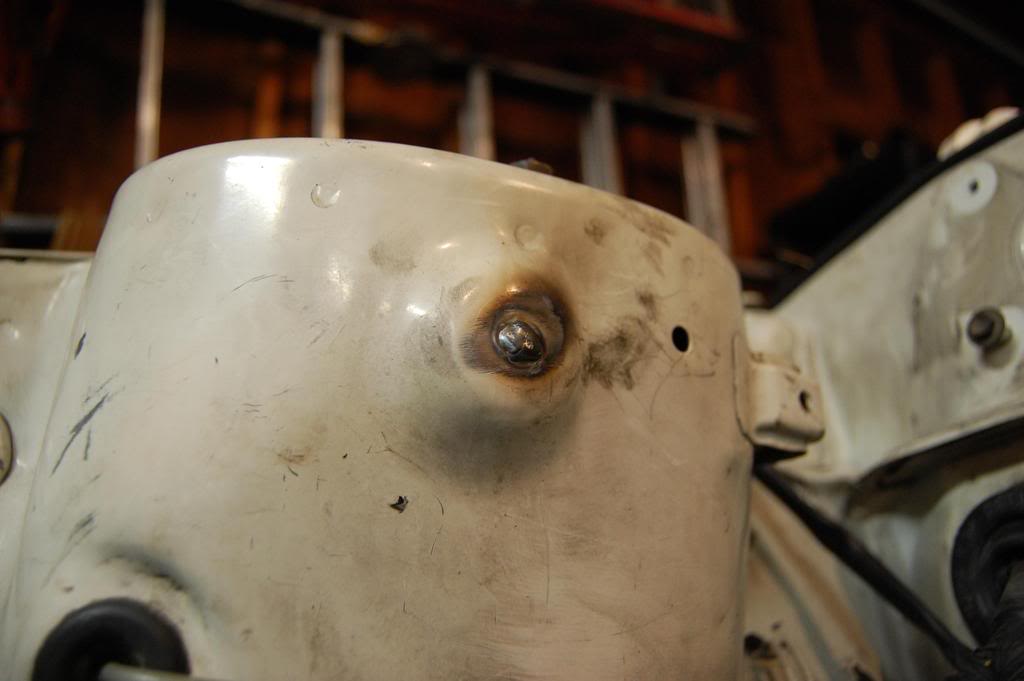
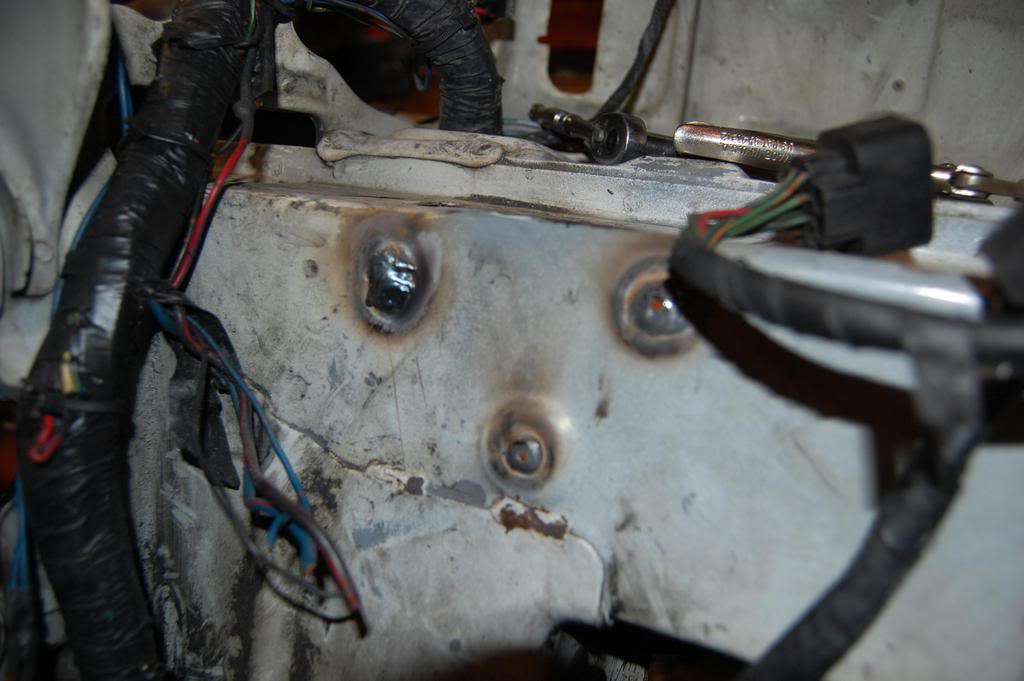
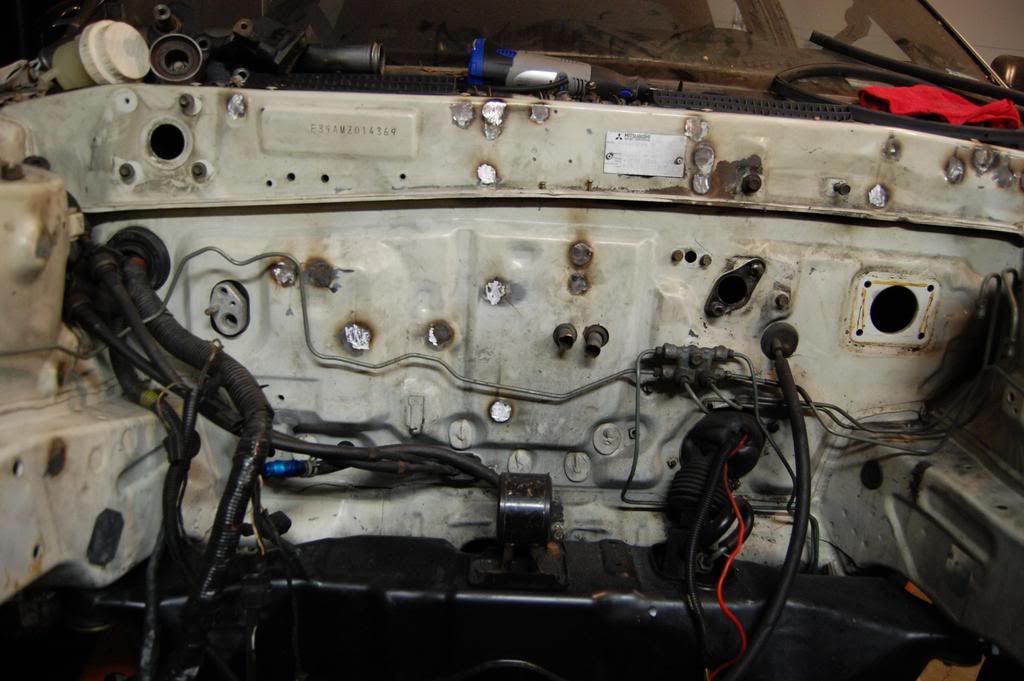
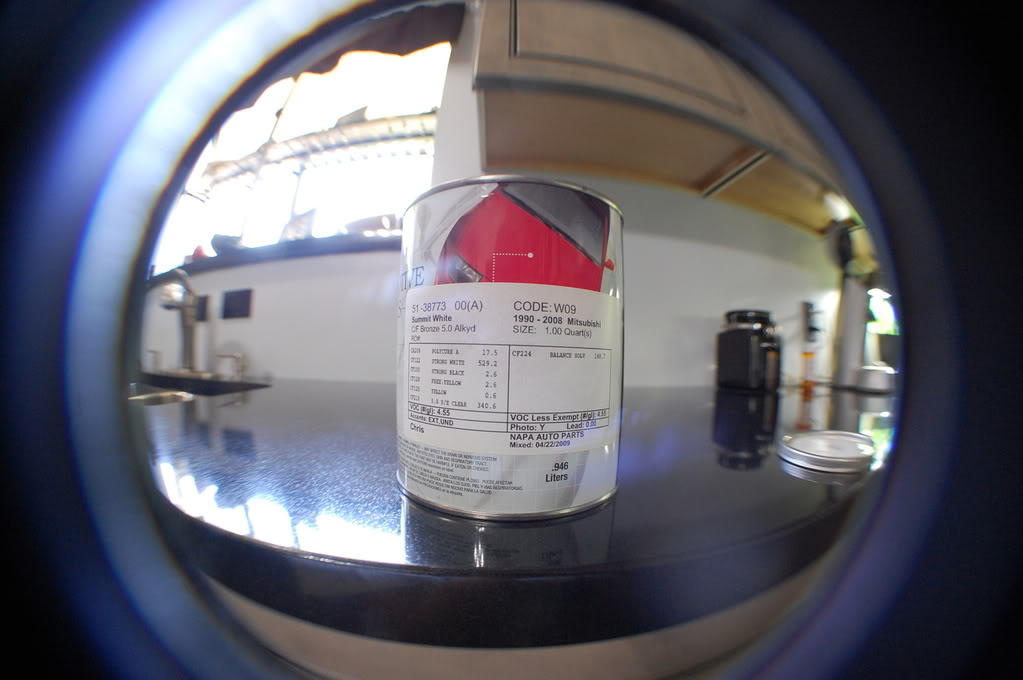
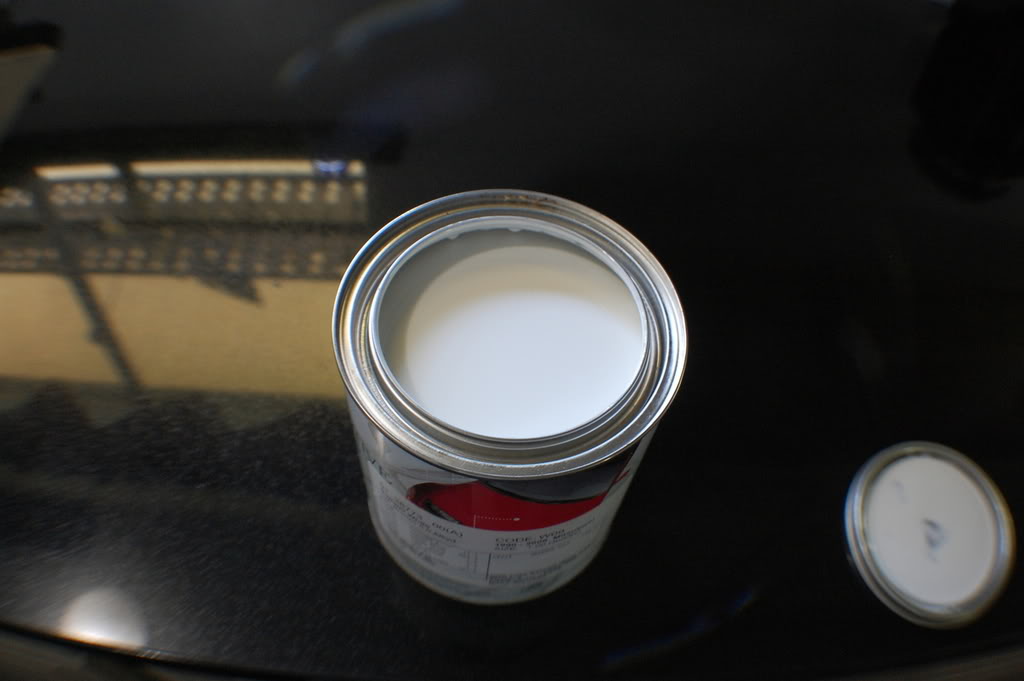
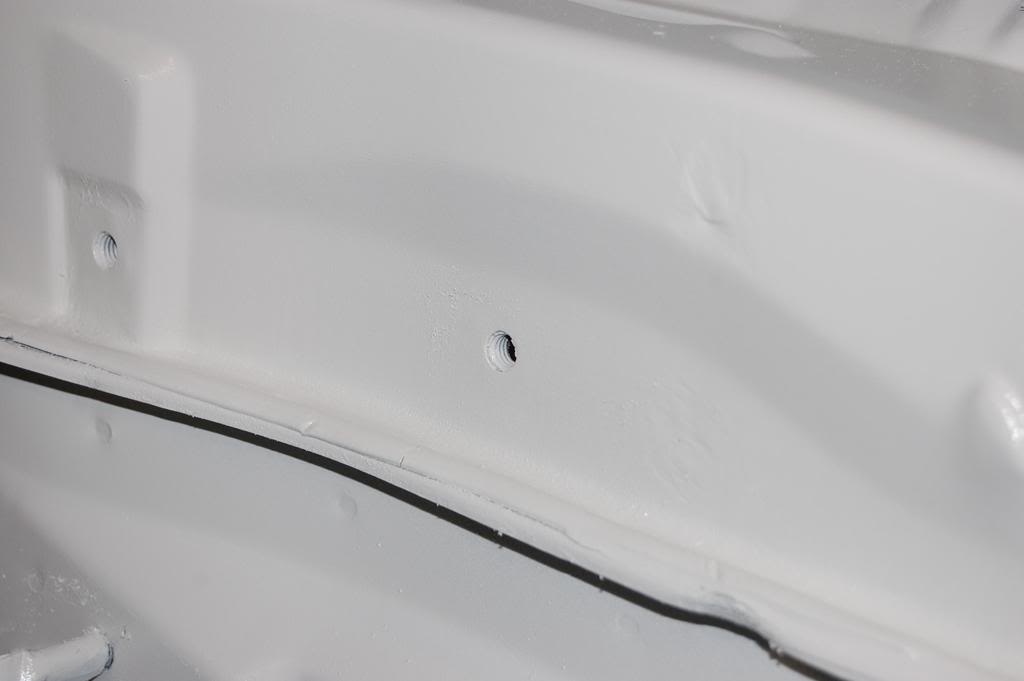
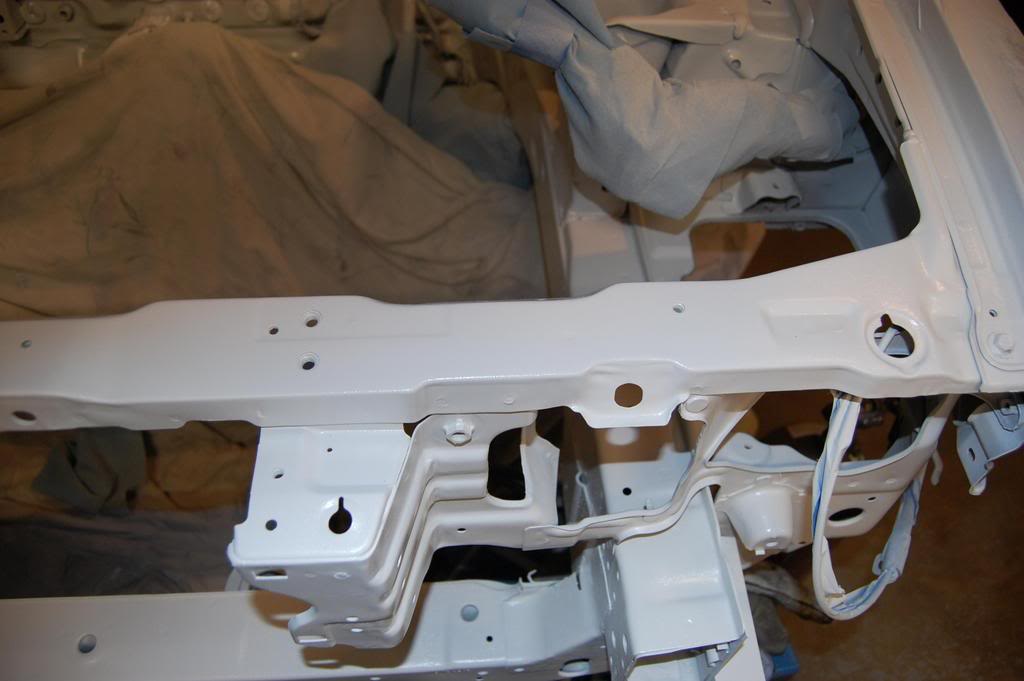
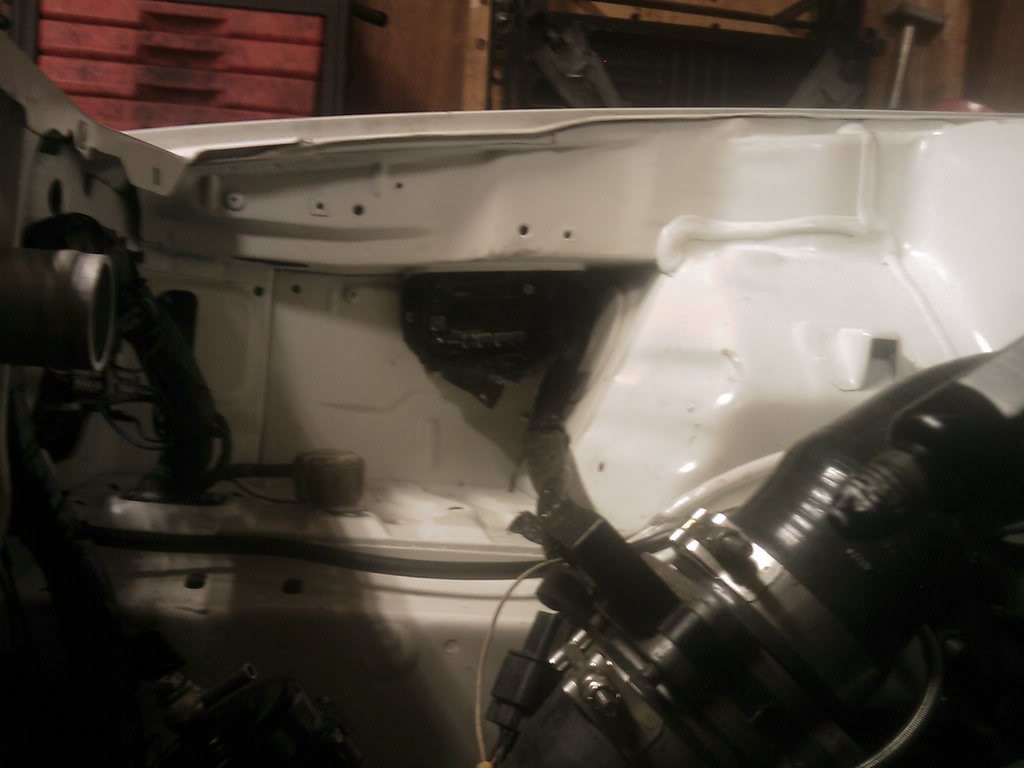
Firewall holes/frame holes have been filled/ground down, paint when the car is rolleable out to the driveway
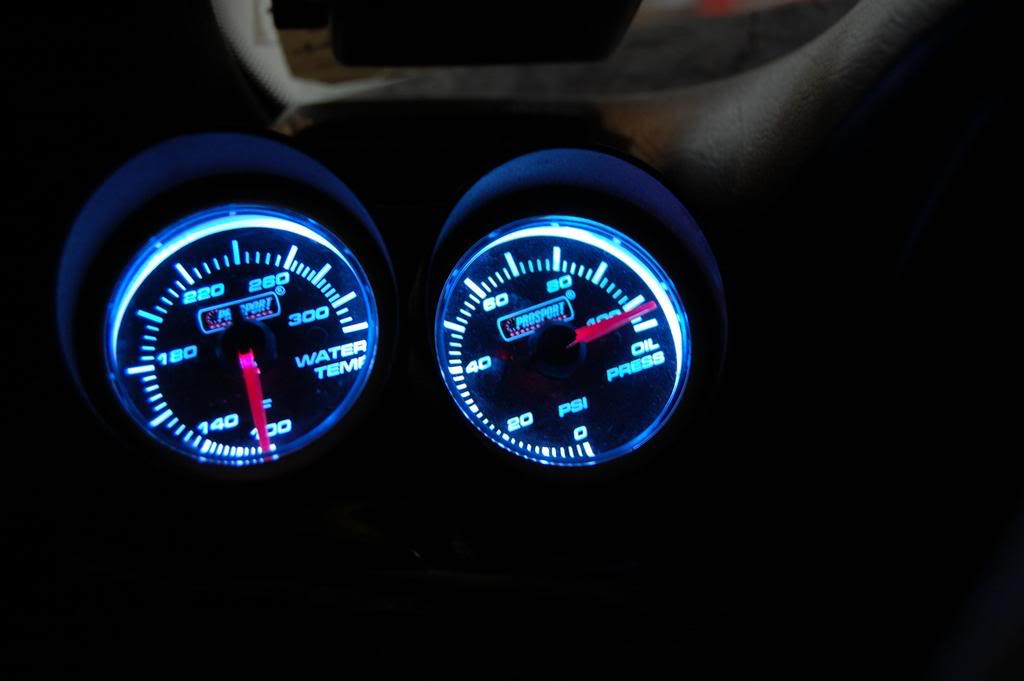
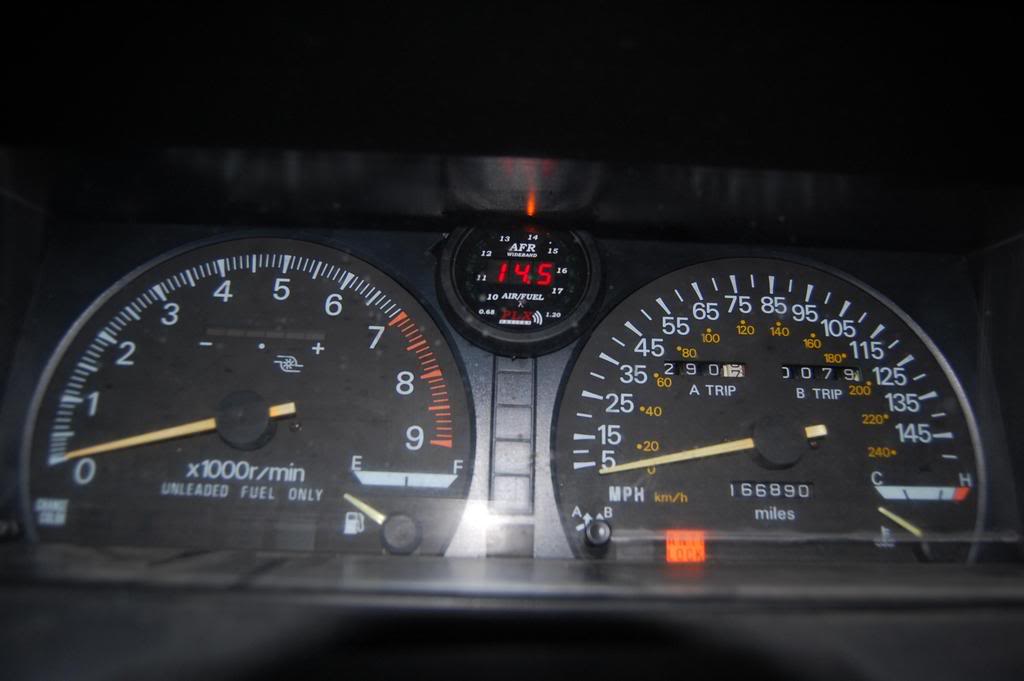
Gauge and radio wiring fixed up and made pretty, some things were redone and lengthened, pretty much a couple minutes extra worth of work
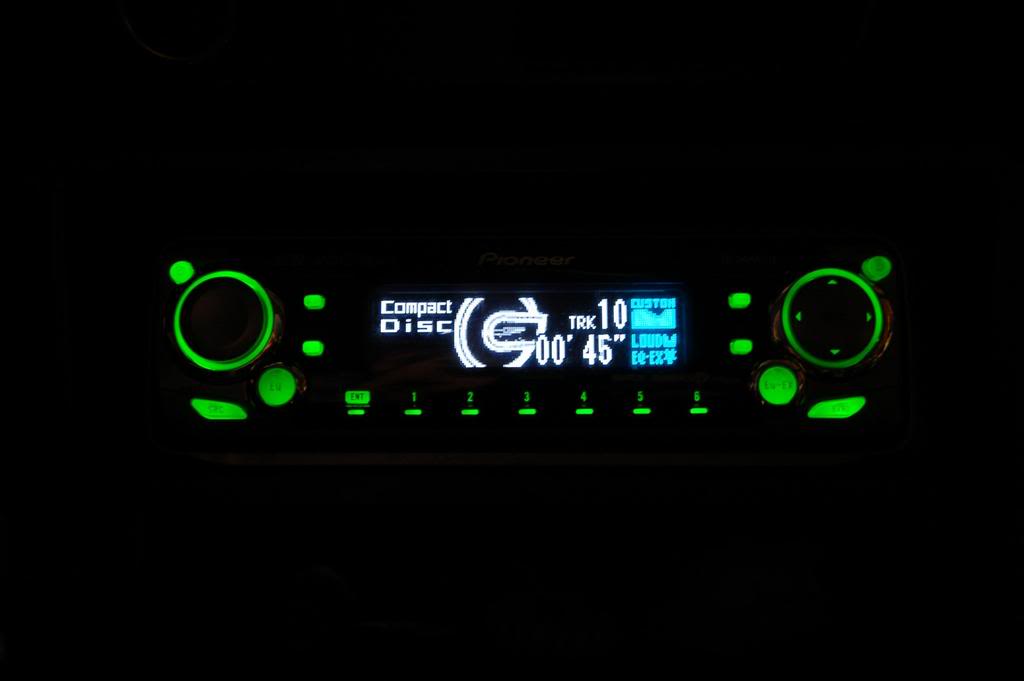
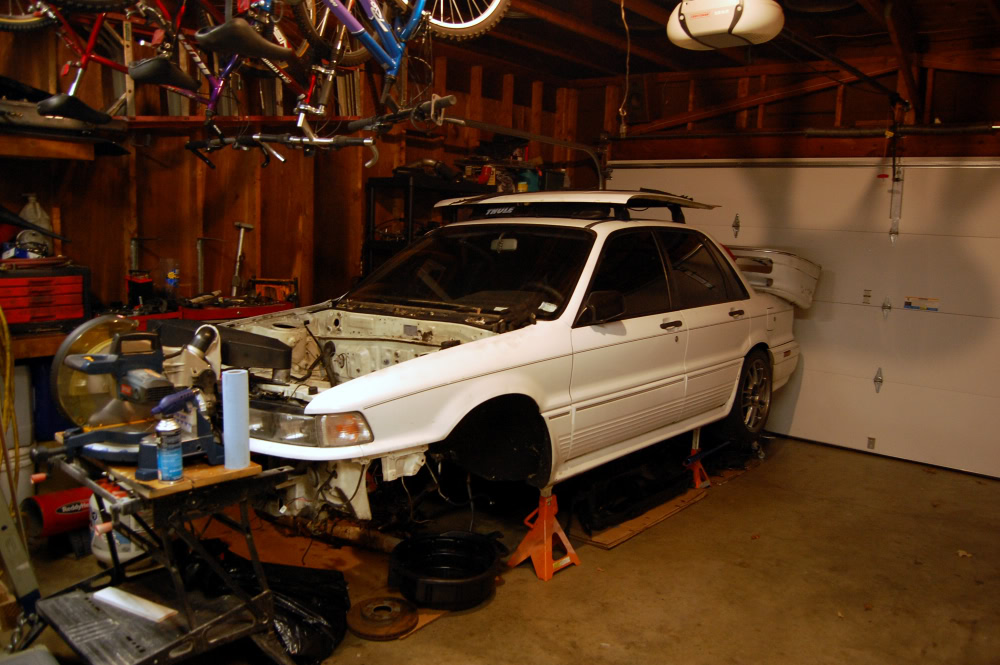
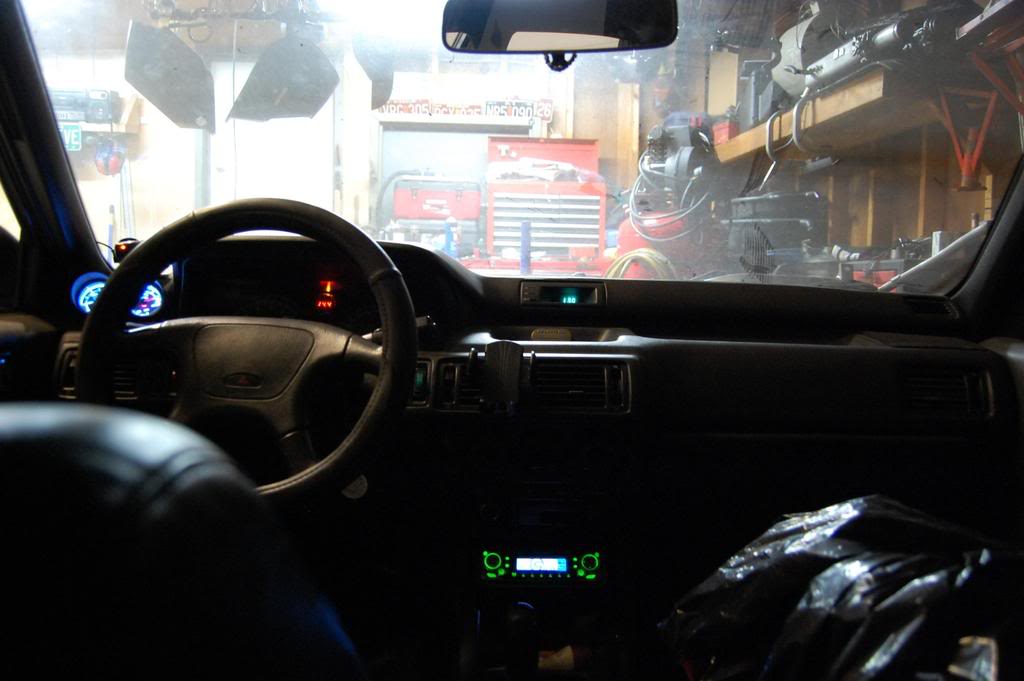
Full interior and how she sits currently
Last edited by Bustedsm; Sep 23, 2010 at 01:29 PM.
Thread Starter
0.0 BAR
Joined: Sep 2010
Posts: 6
So fresh, so clean


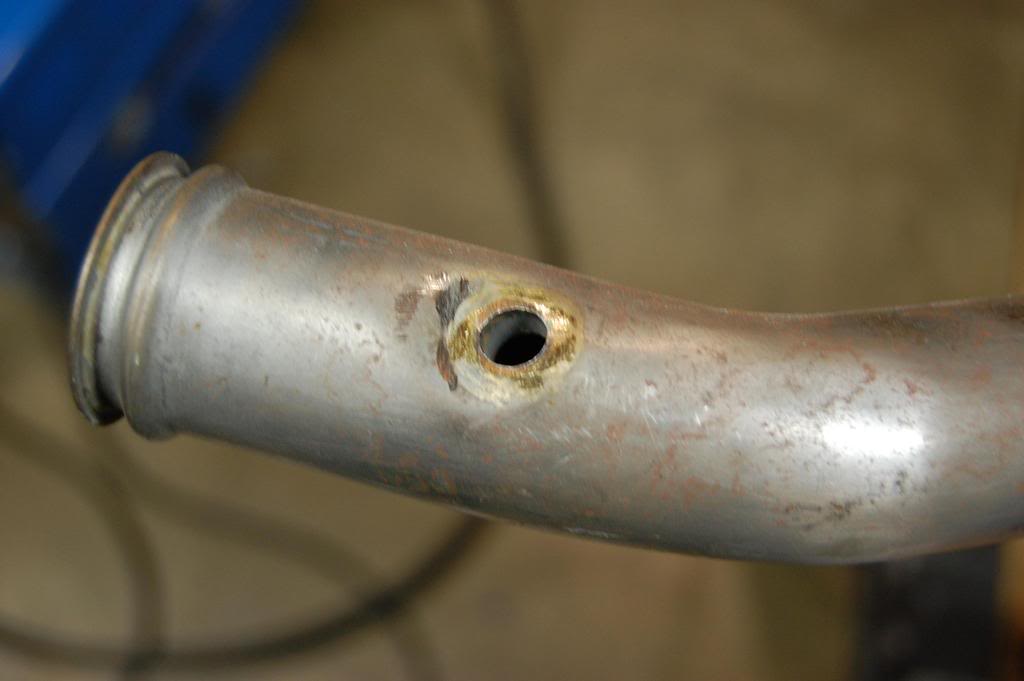
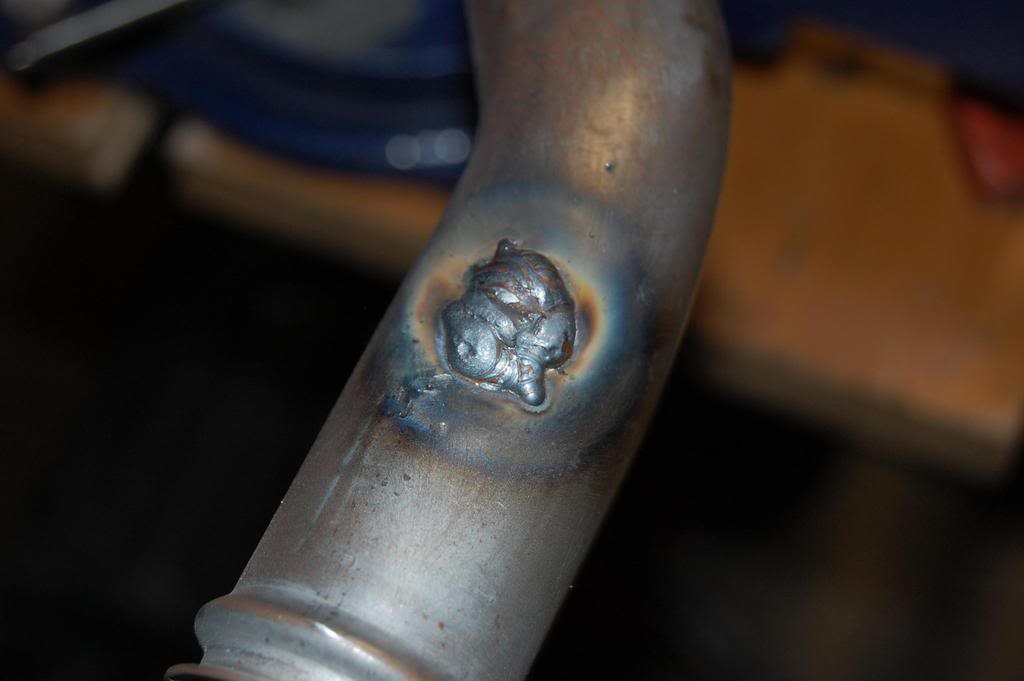
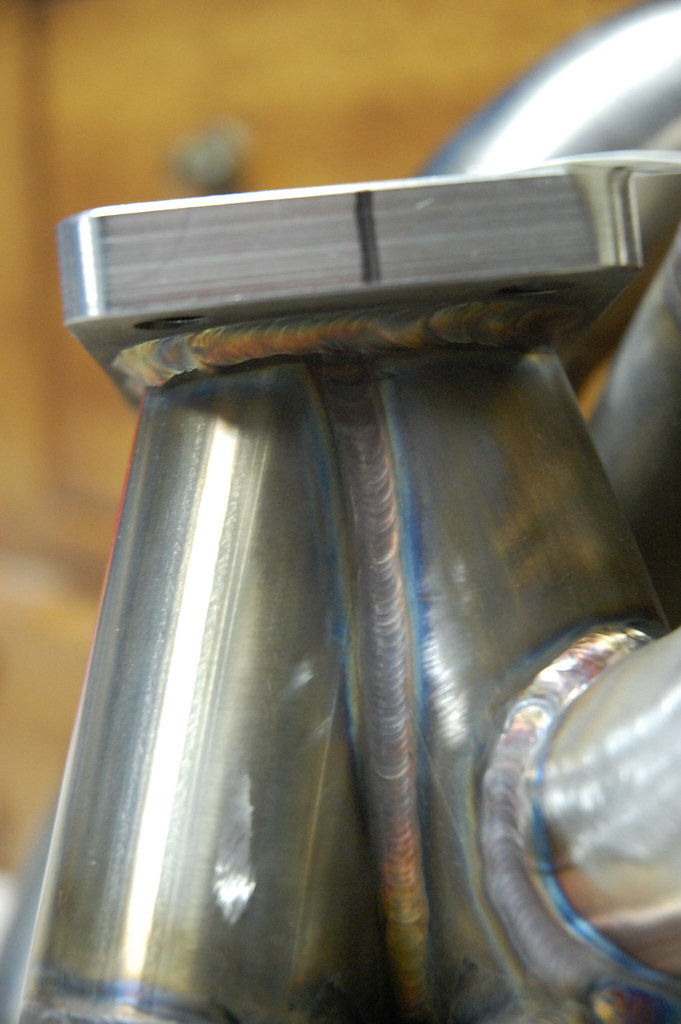
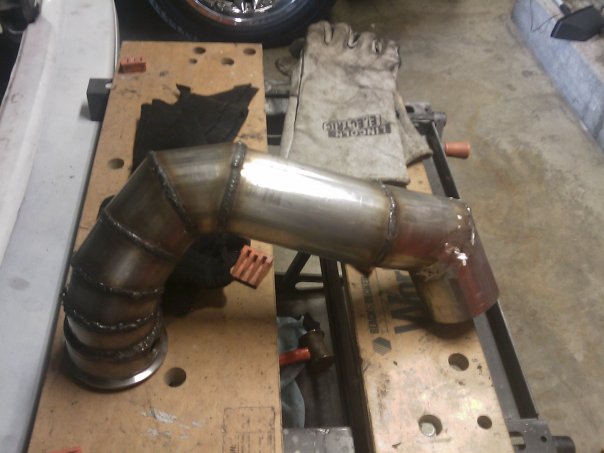
This
Went into here
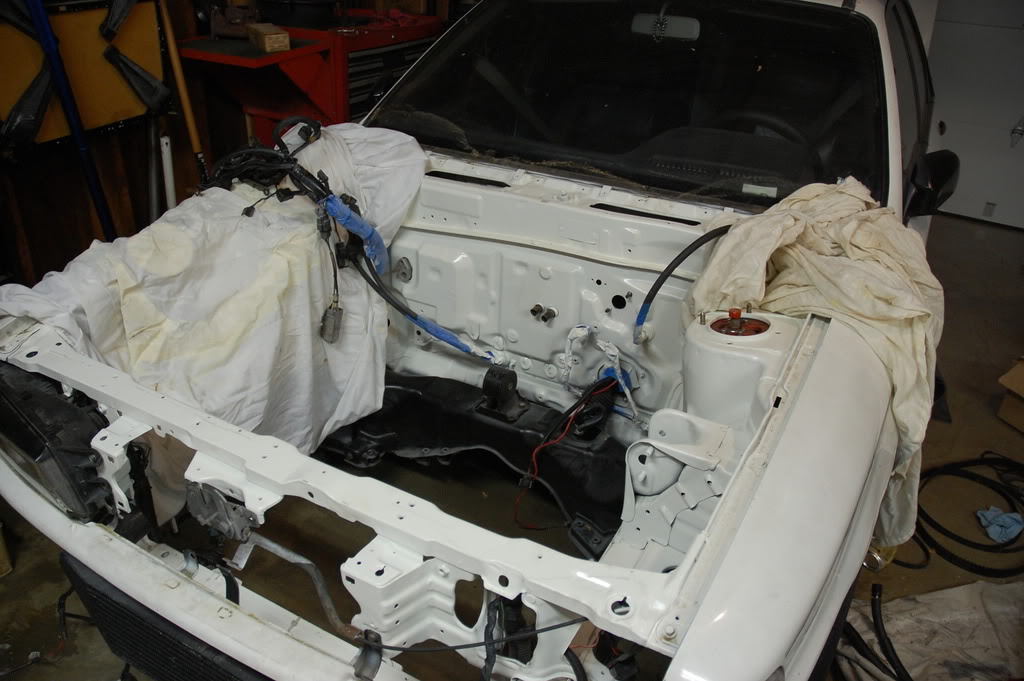
And produced this junk
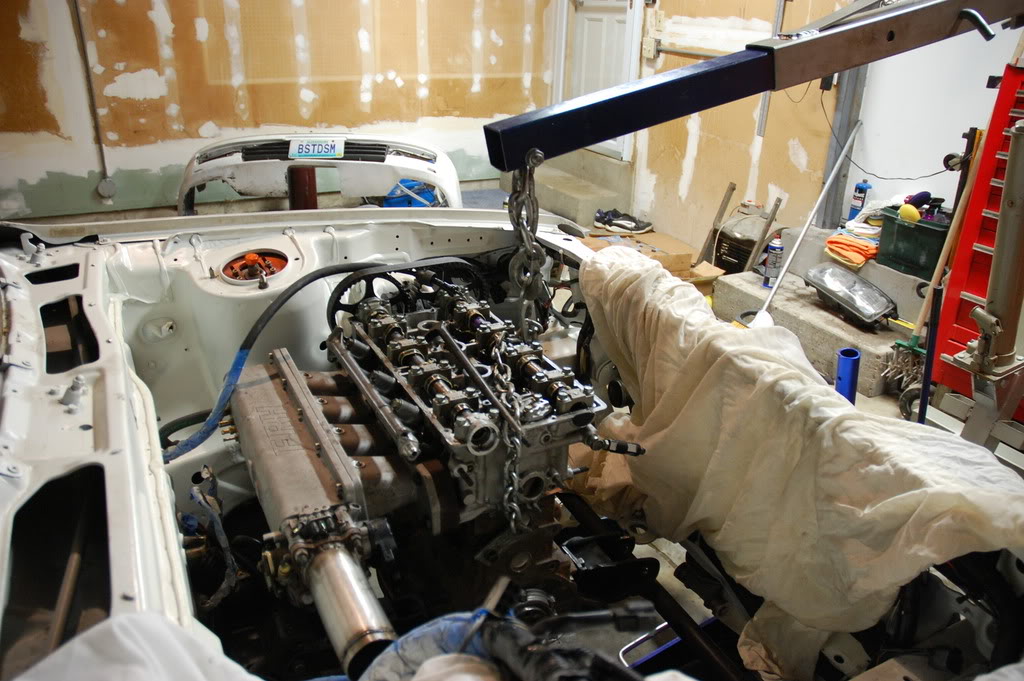
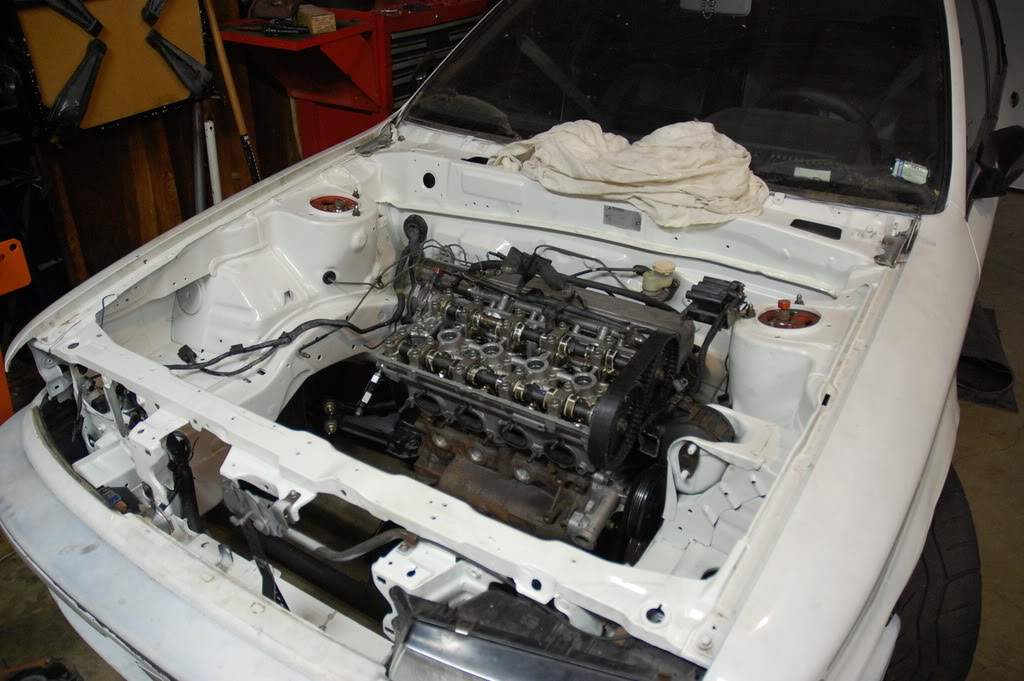
Blah
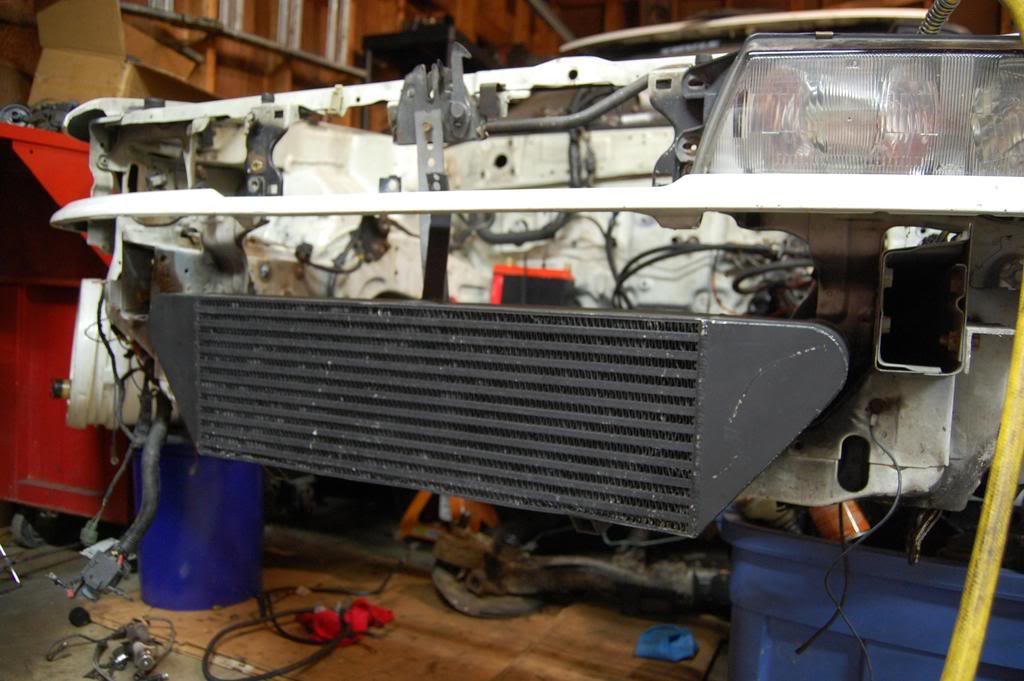
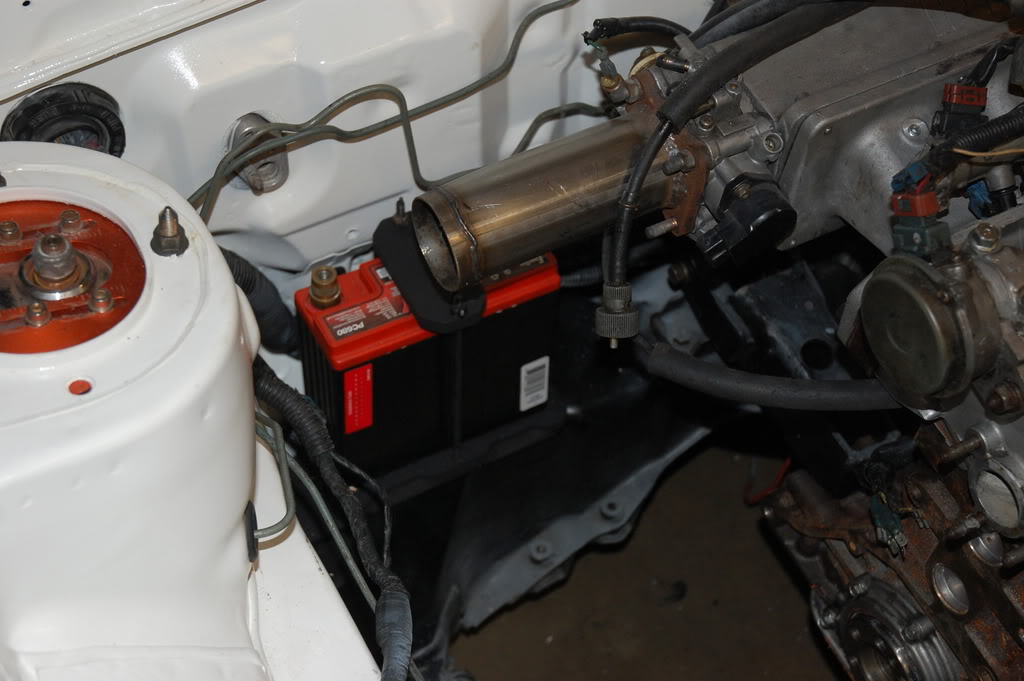
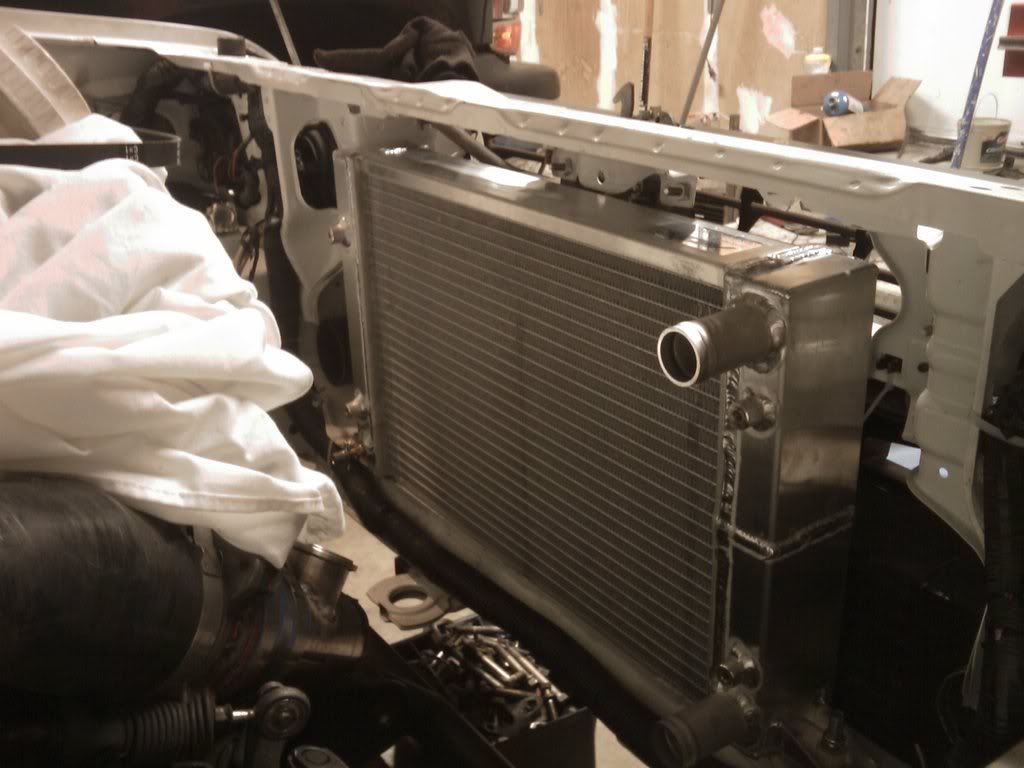
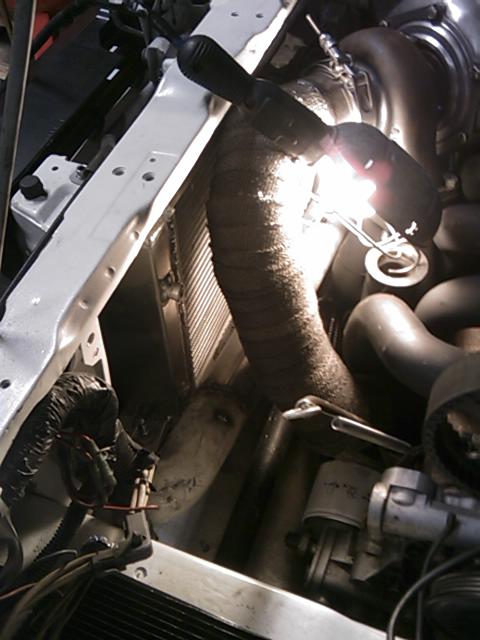
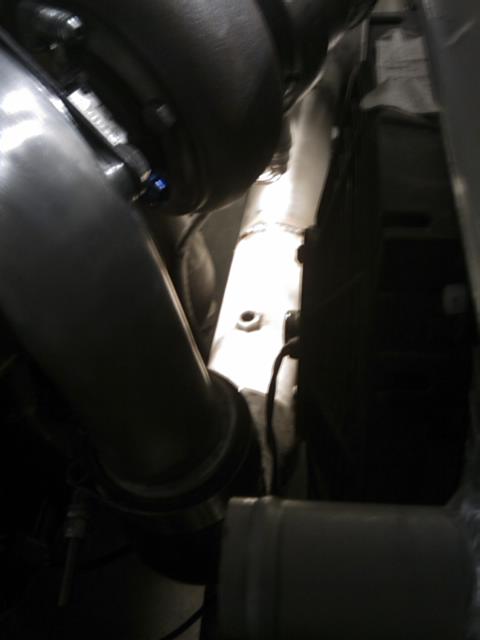
I can has radiaton?
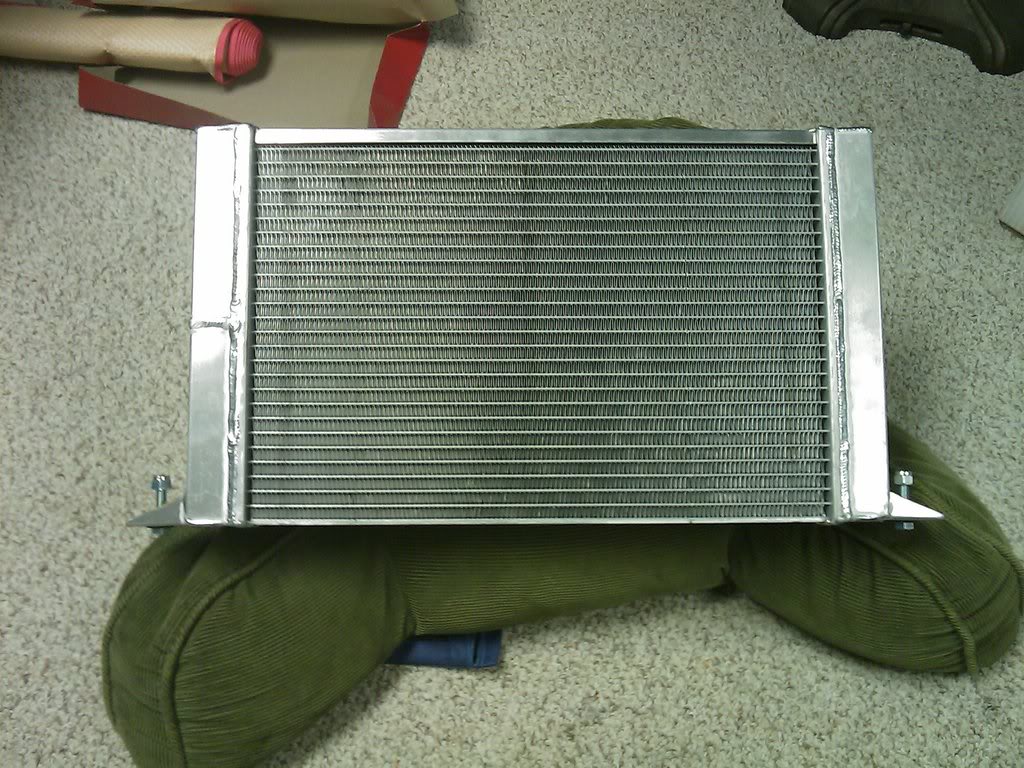
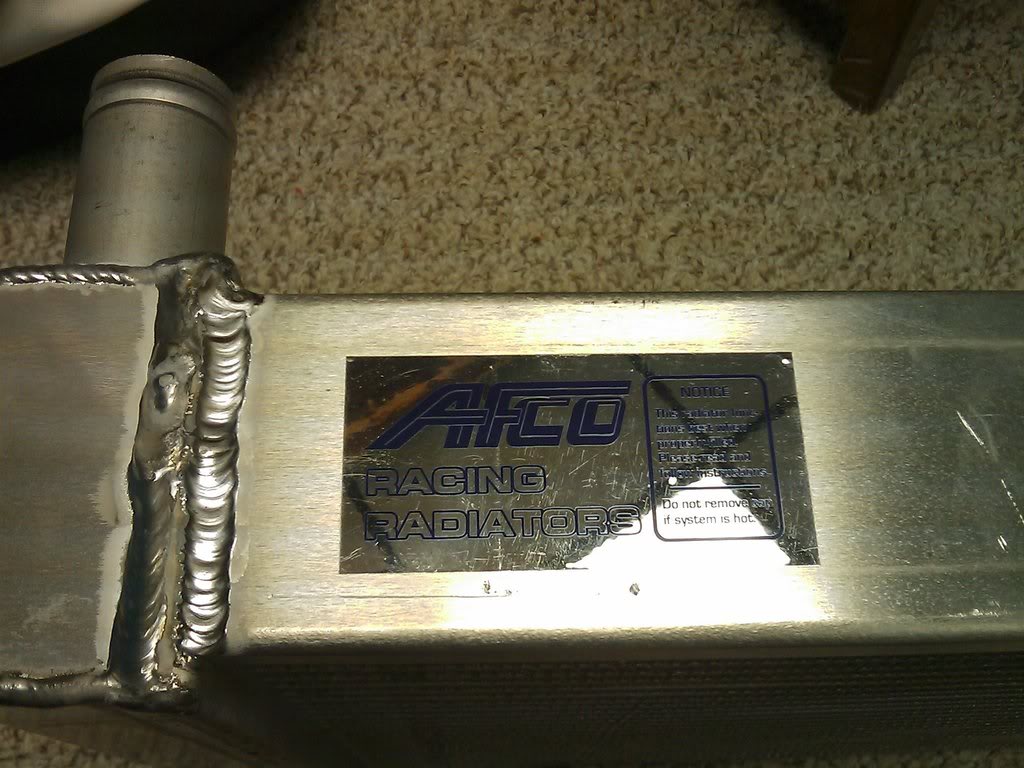
Afco - Win
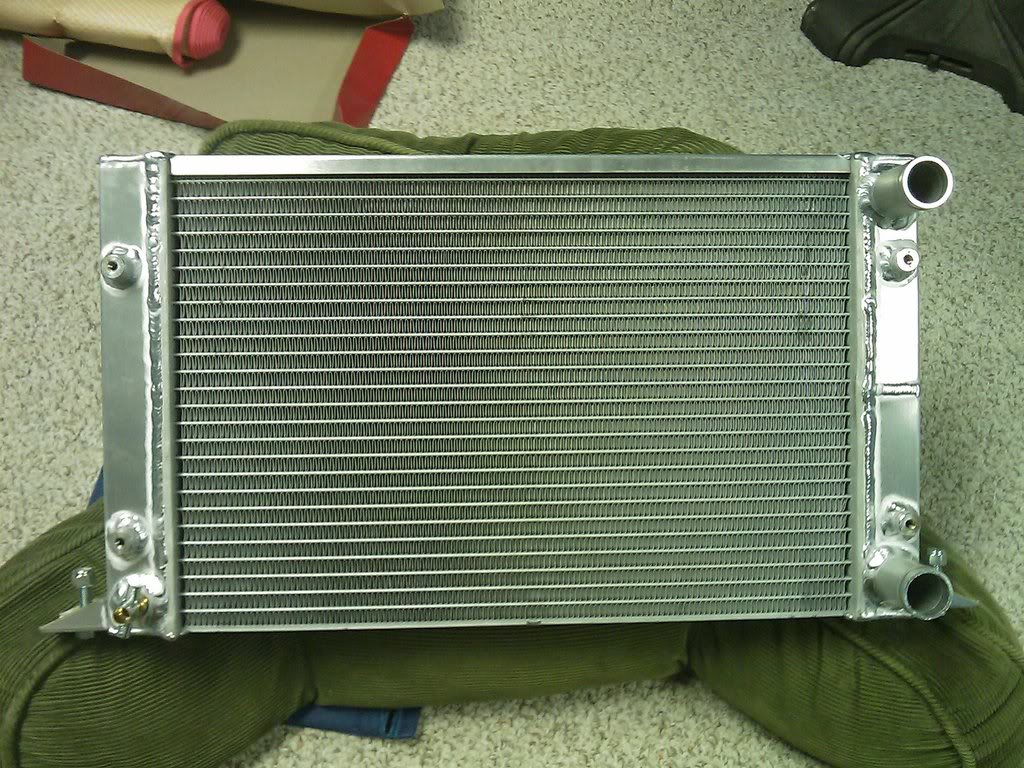
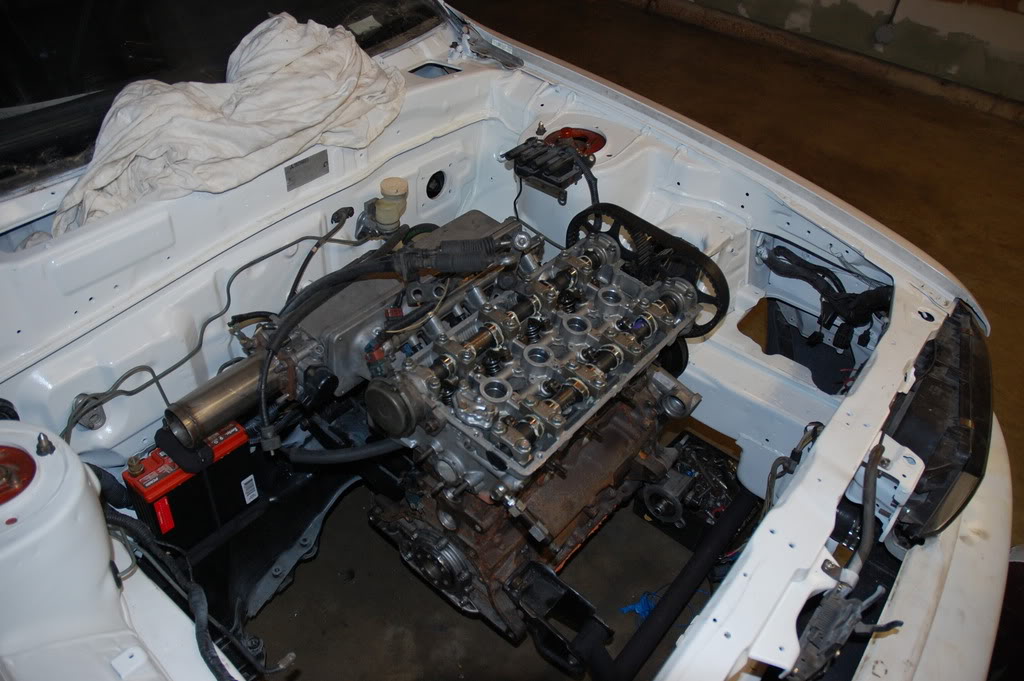
Completely 100% mounted and ready to kick ***.
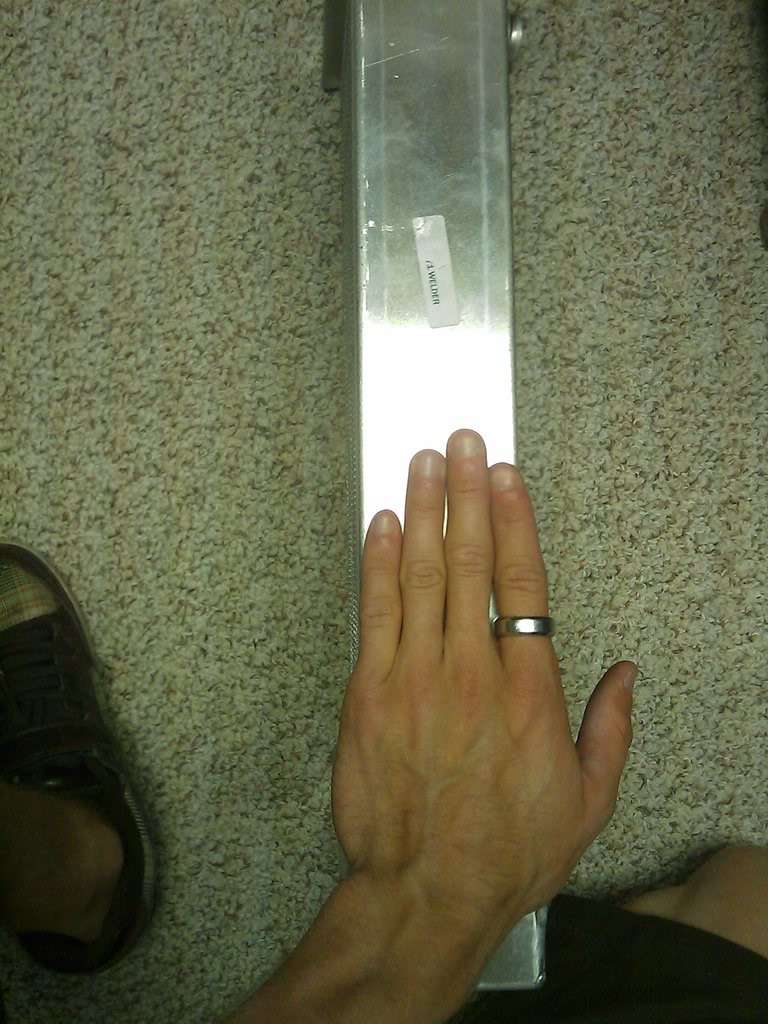
Got room?
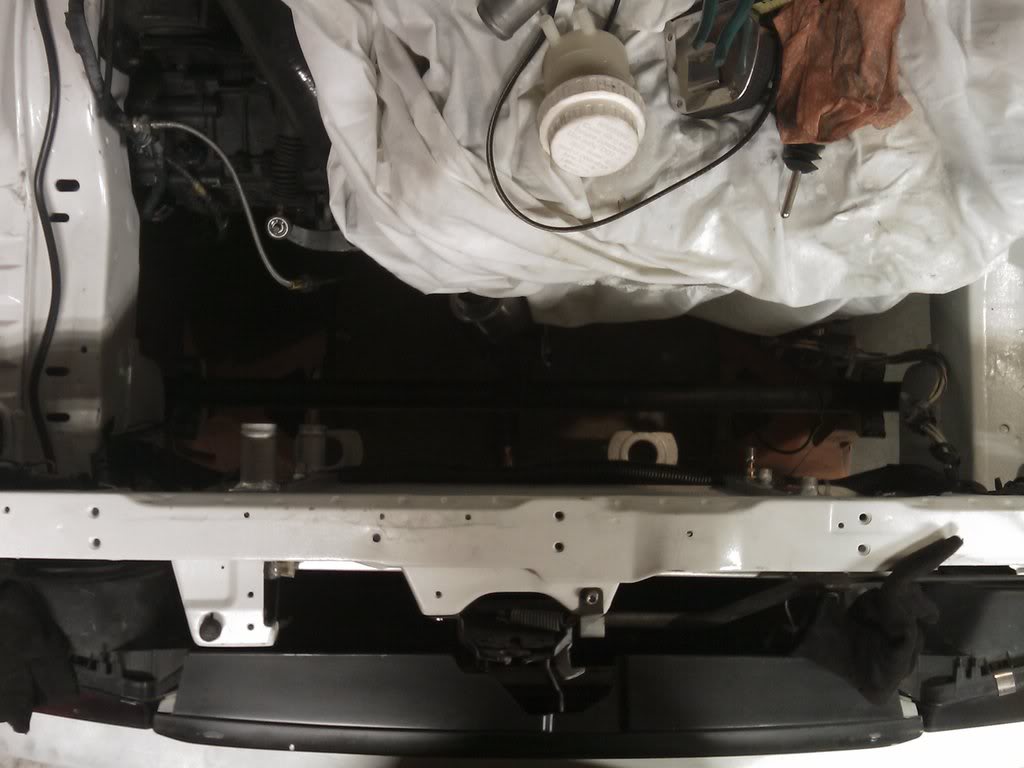
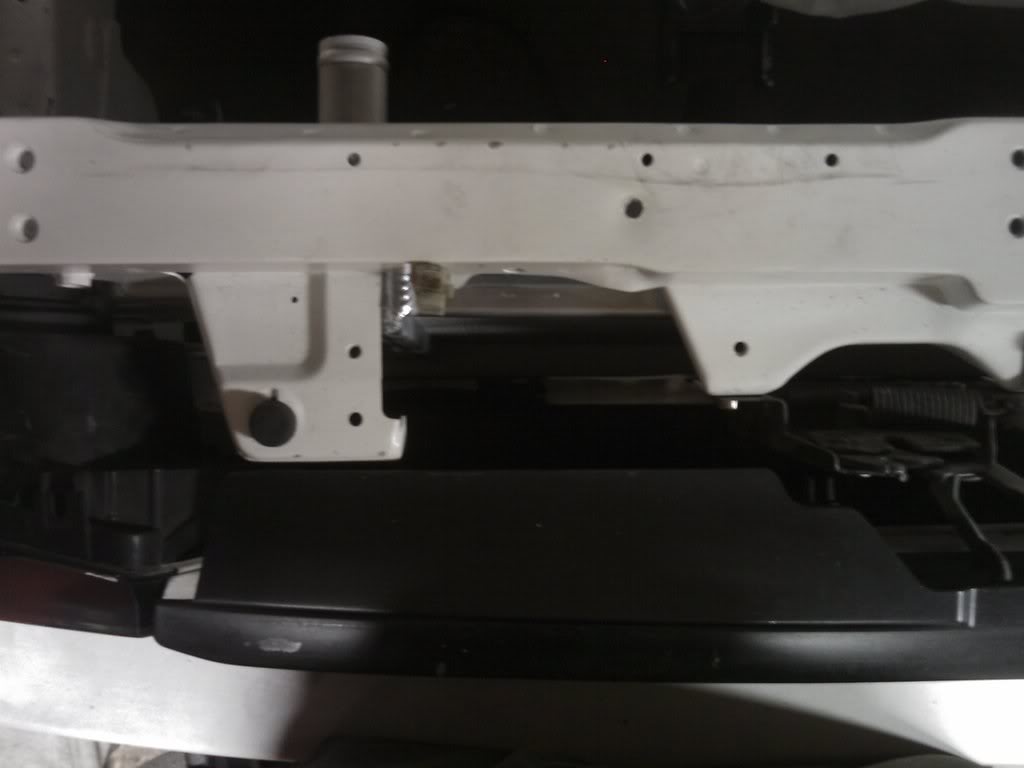
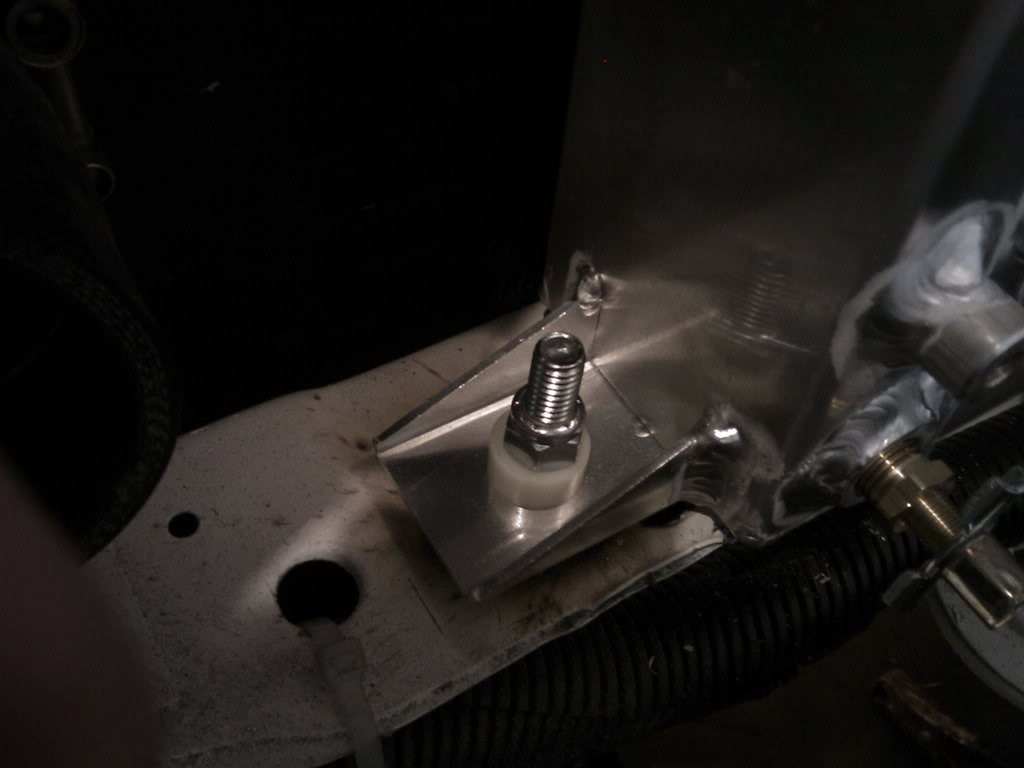
Mounting solution
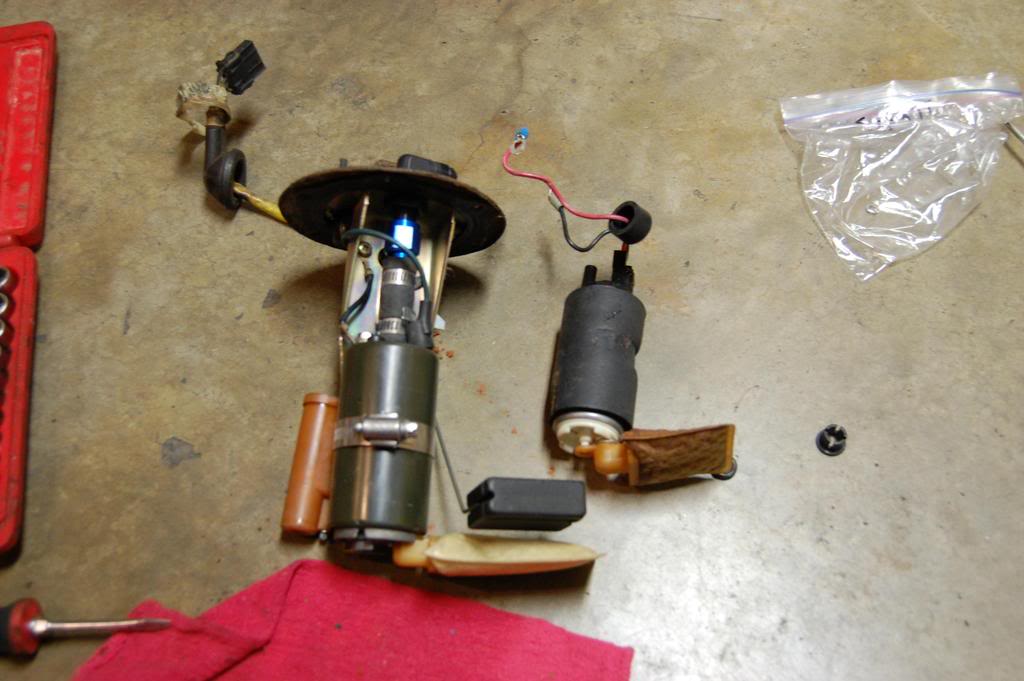
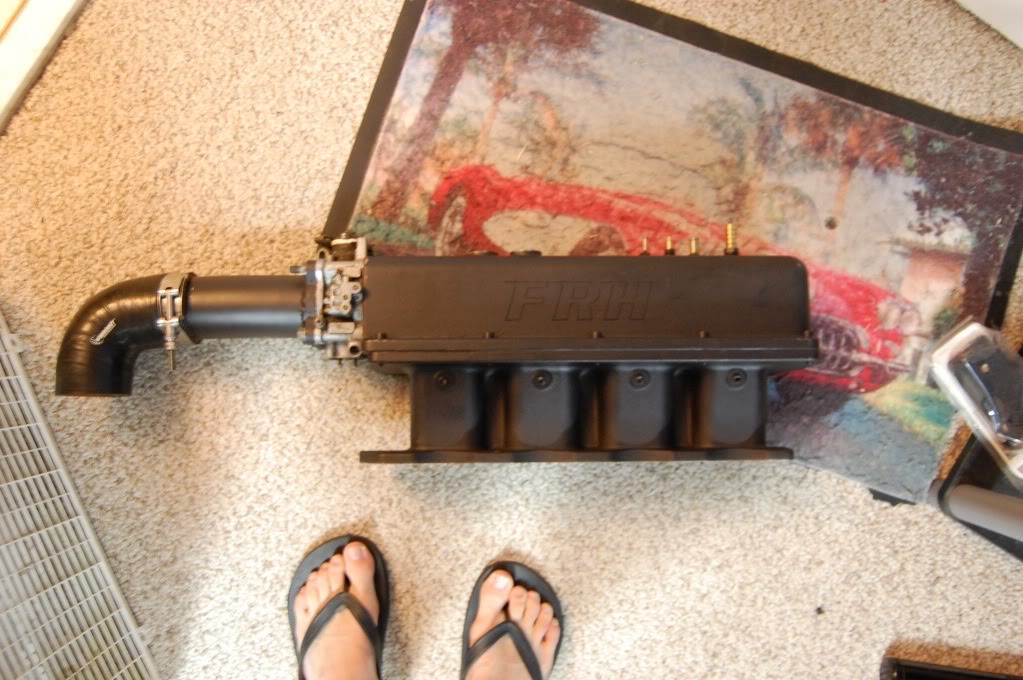
STM Tank-Rail kit is a perfect fit and looks great.
Fuel filter location:
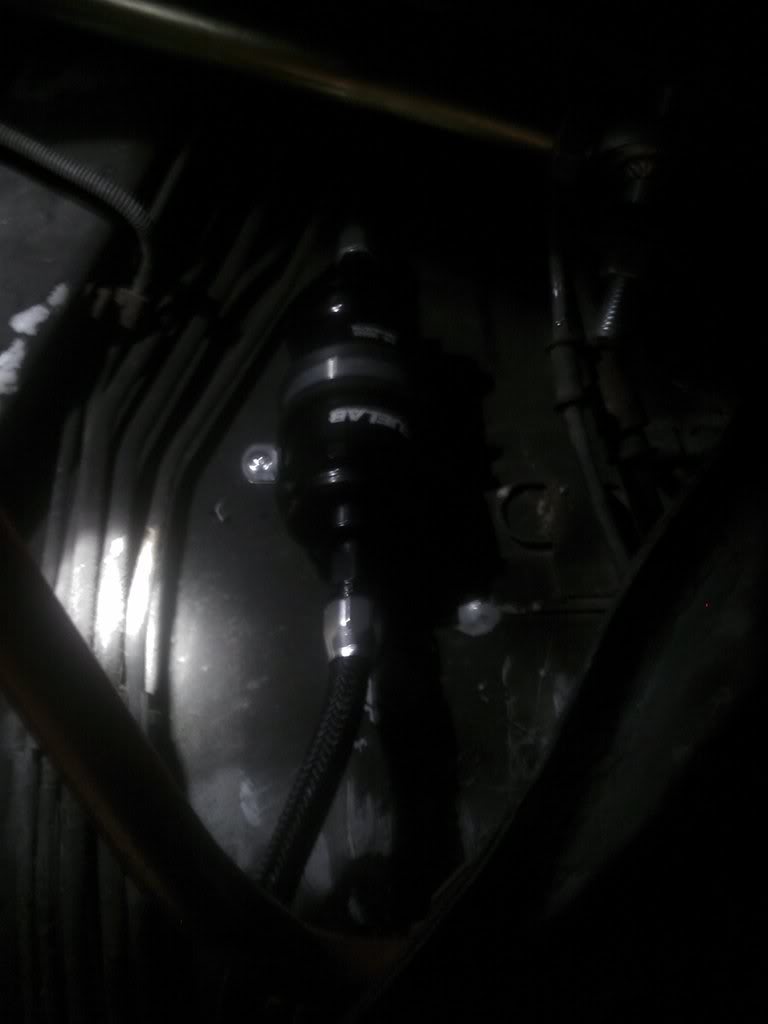
Rail to regulator is short and sweet, don't worry, I will have it covered:

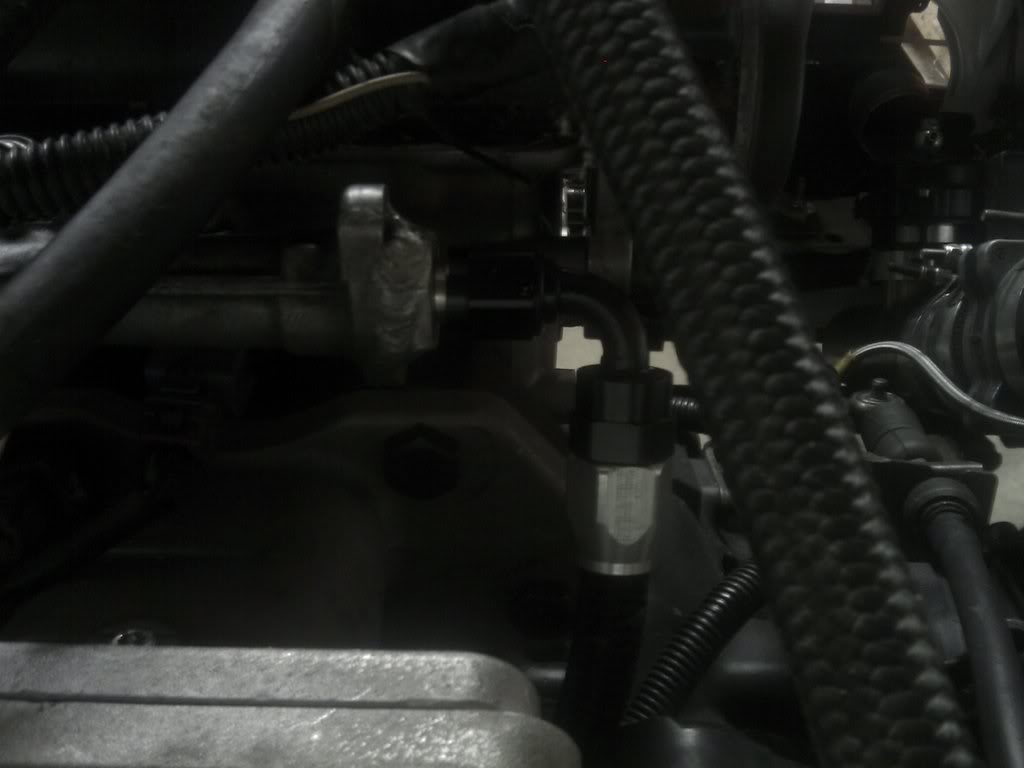
Tank to rail fitting setup:
Tial and MAF-T mounted and setup:
How it sits:
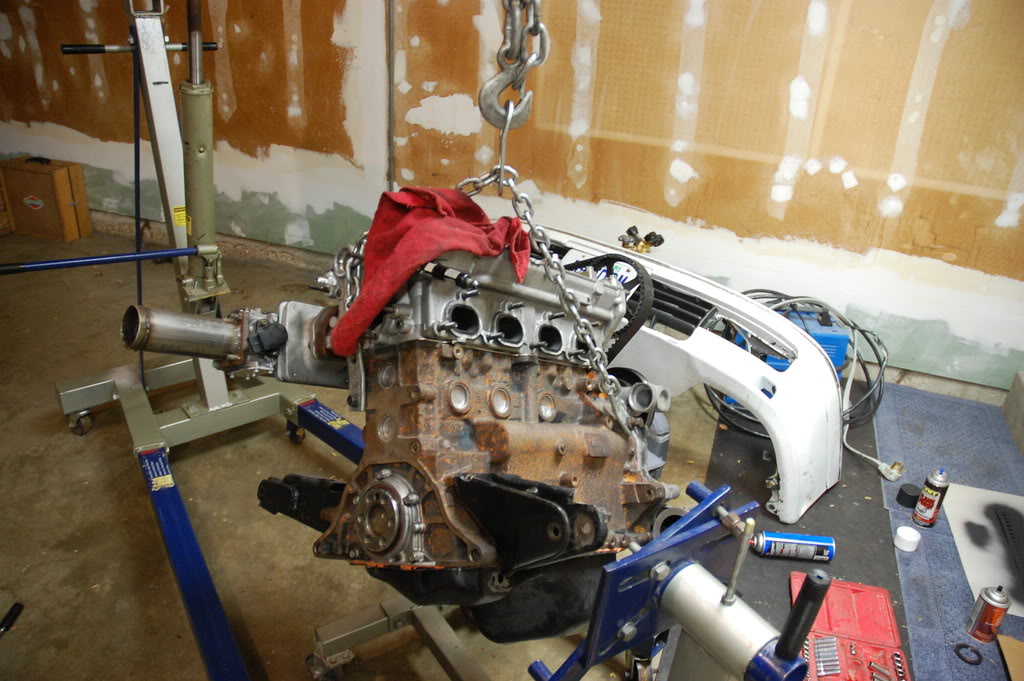
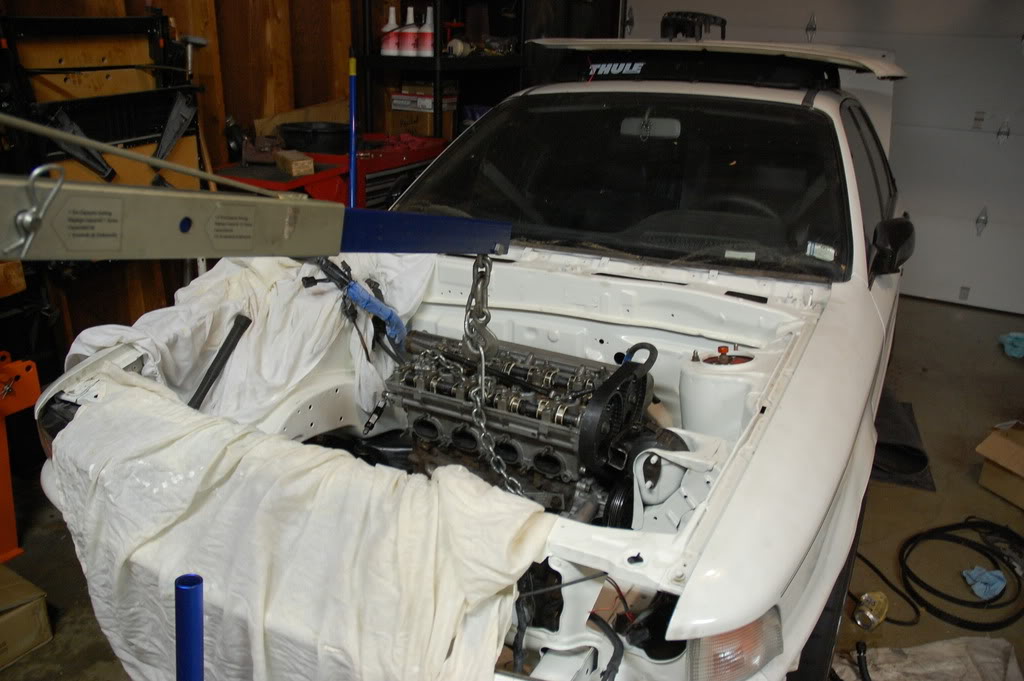
This
Went into here
And produced this junk
Blah
I can has radiaton?
Afco - Win
Completely 100% mounted and ready to kick ***.
Got room?
Mounting solution
STM Tank-Rail kit is a perfect fit and looks great.
Fuel filter location:
Rail to regulator is short and sweet, don't worry, I will have it covered:
Tank to rail fitting setup:
Tial and MAF-T mounted and setup:
How it sits:
Last edited by Bustedsm; Sep 23, 2010 at 01:34 PM.
Thread Starter
0.0 BAR
Joined: Sep 2010
Posts: 6

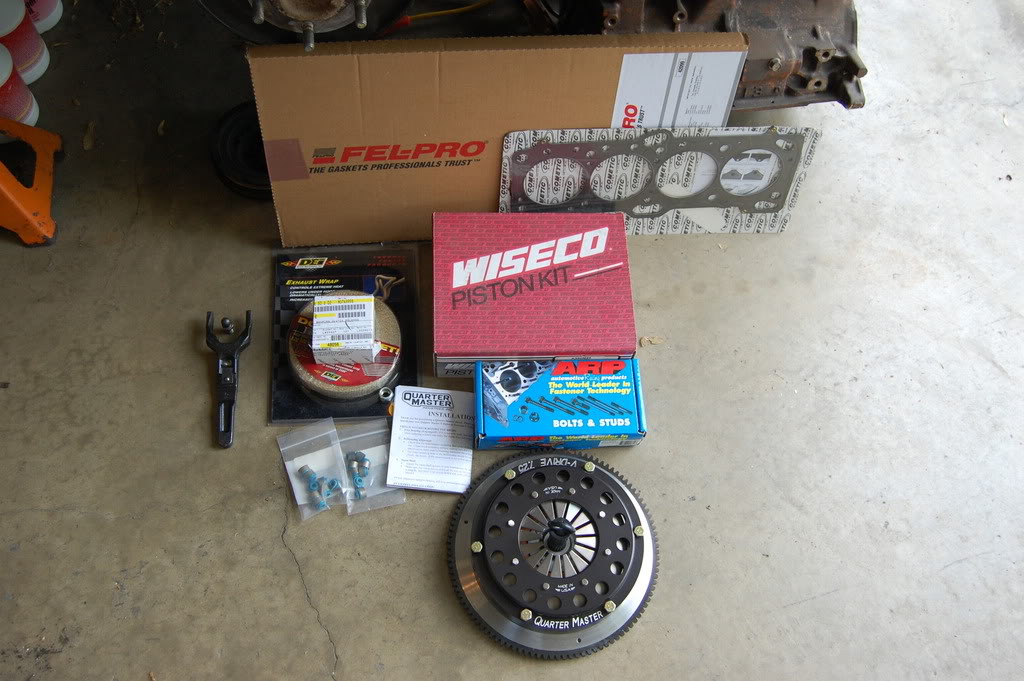
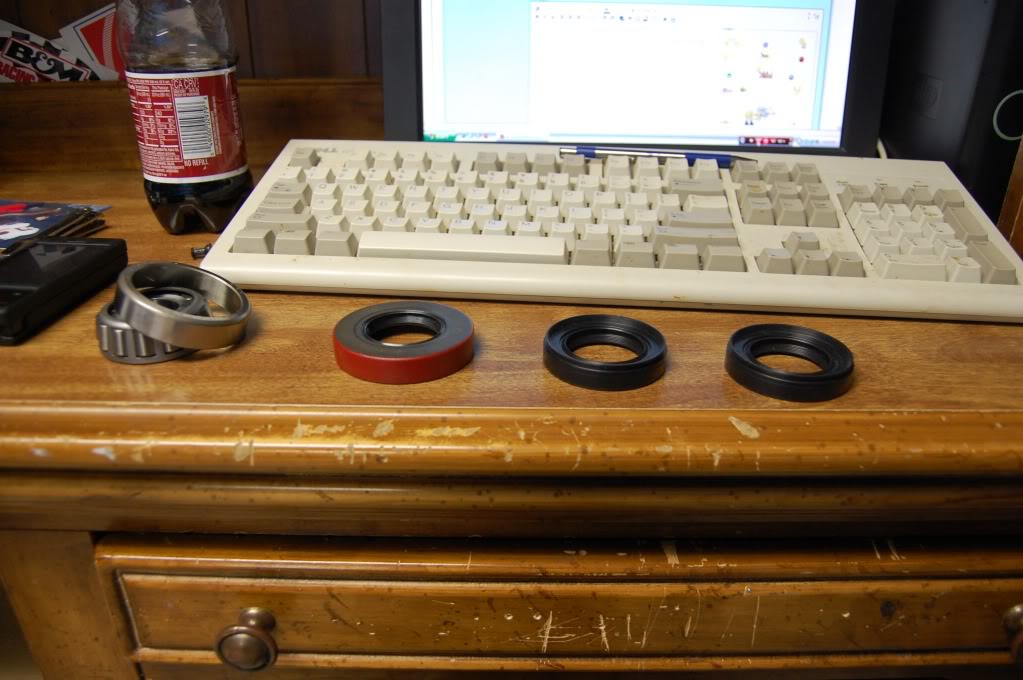
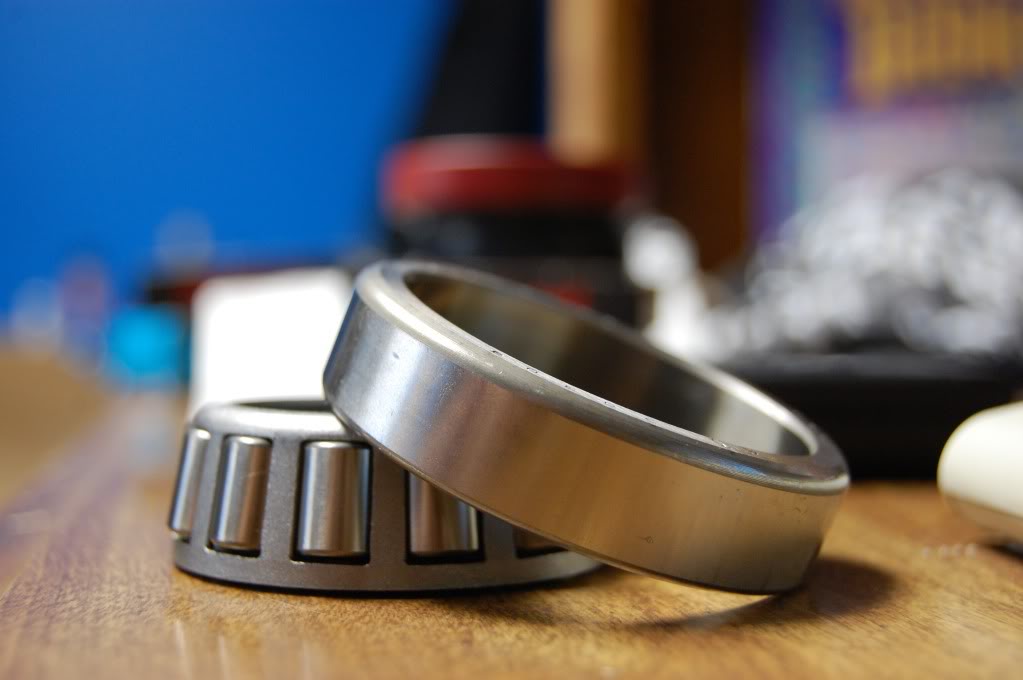
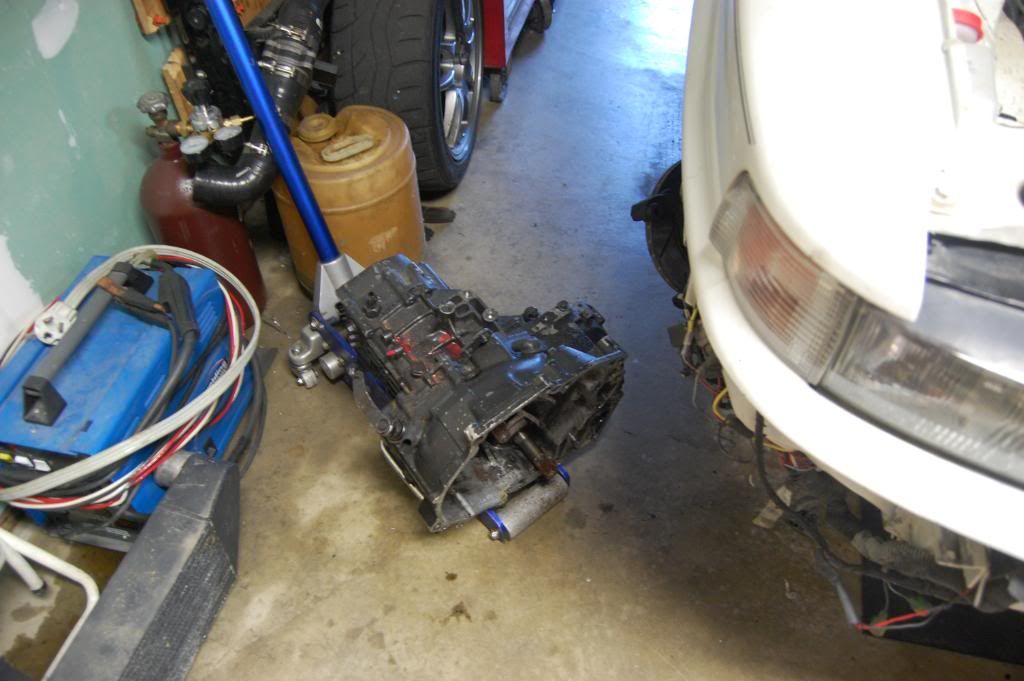
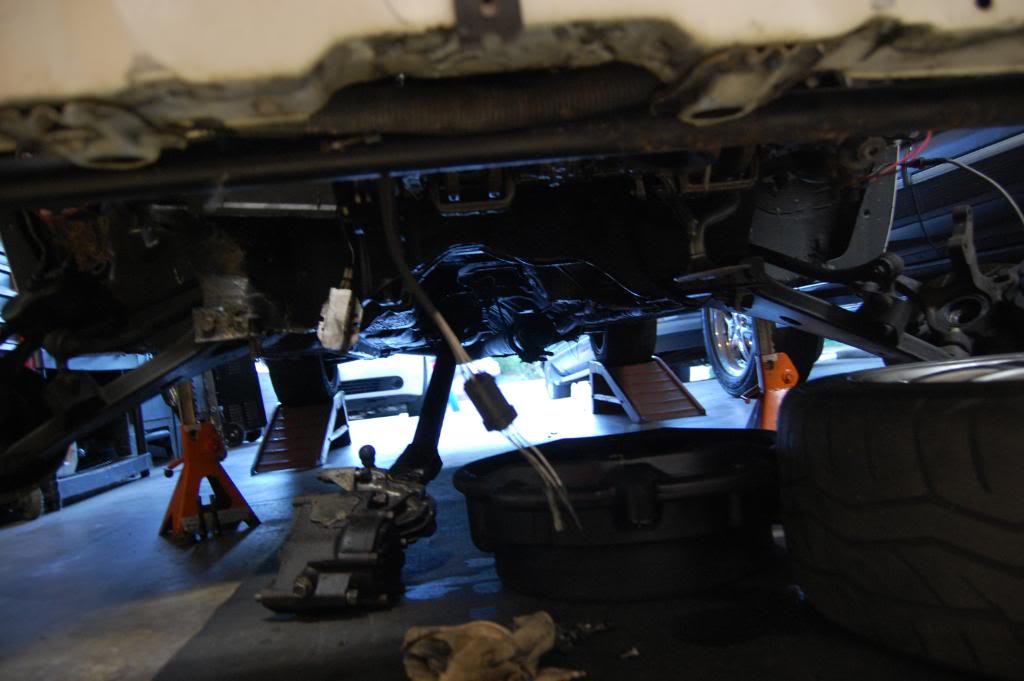
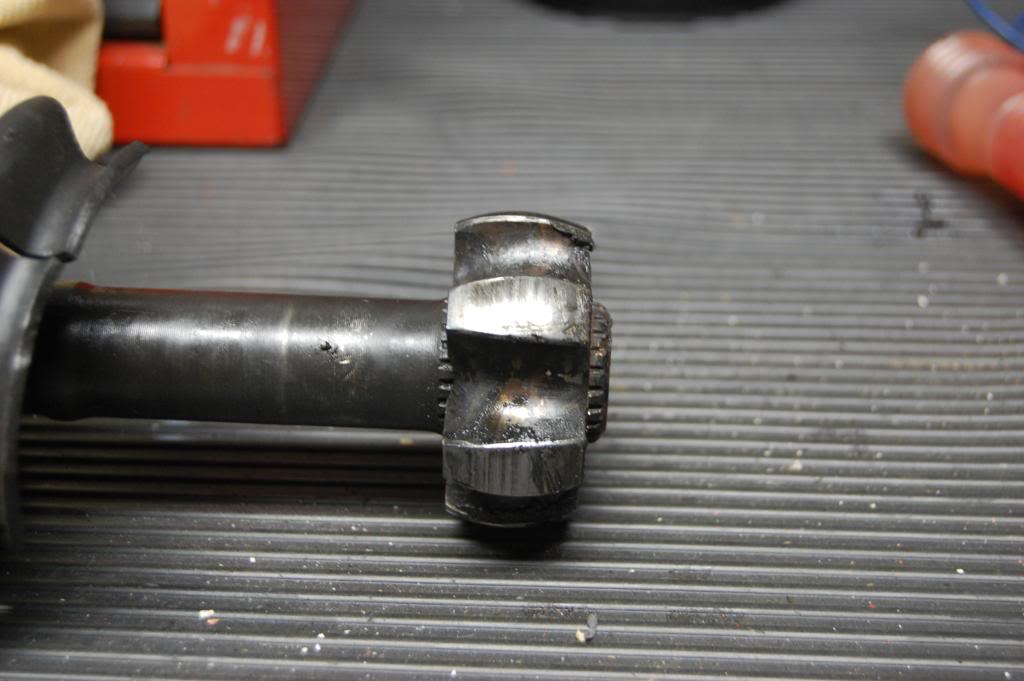
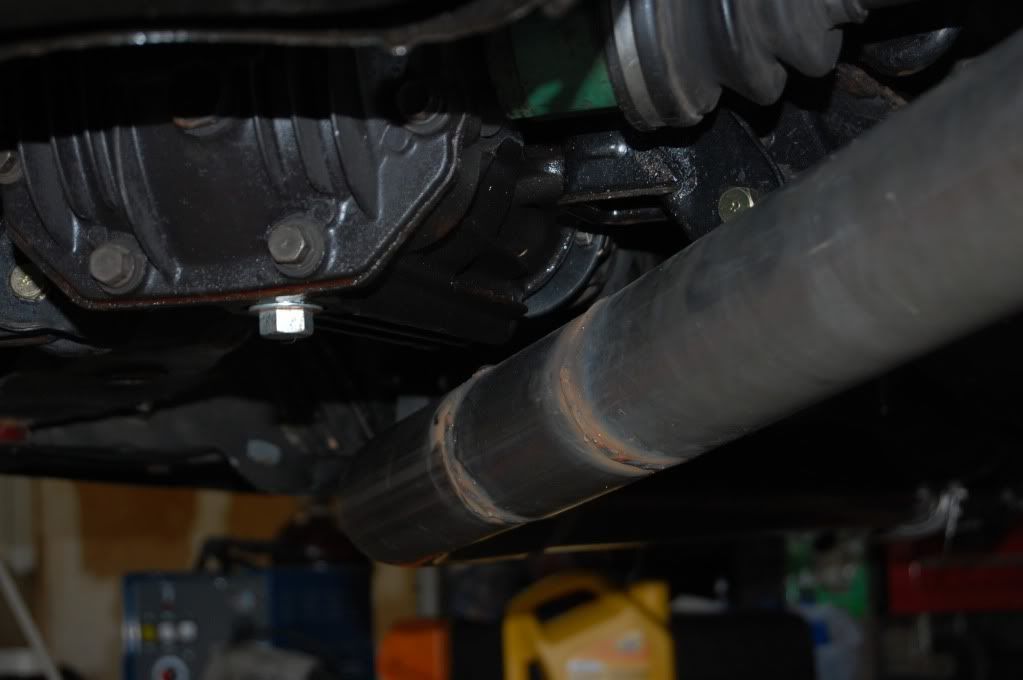
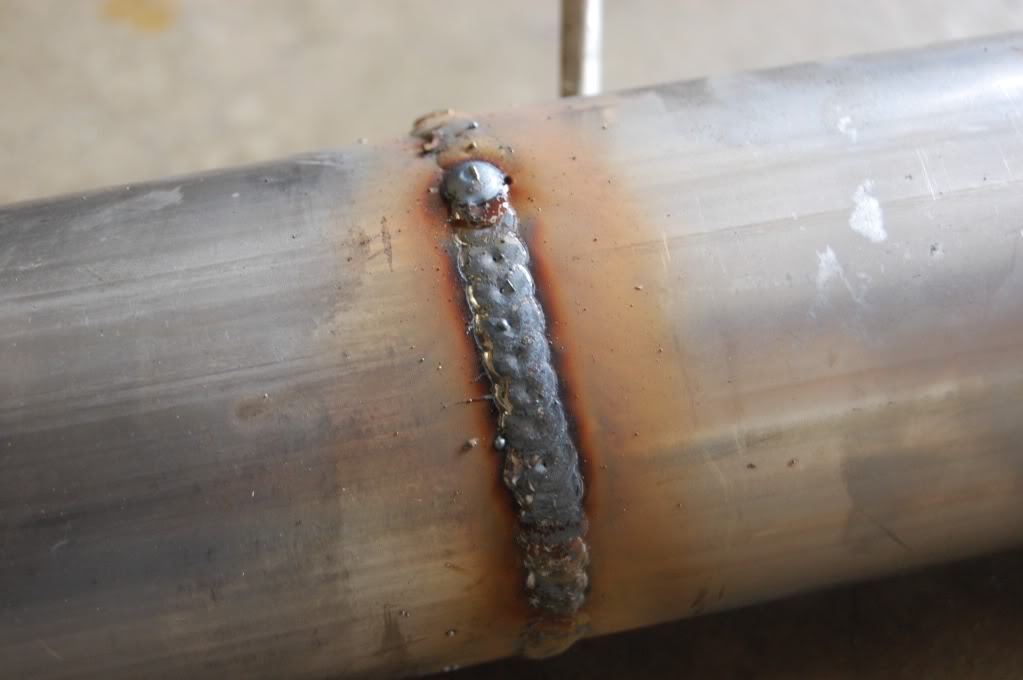
Quick update, rear end was causing some trouble and I expected the worst but ended up finding this bad boy to be the problem -
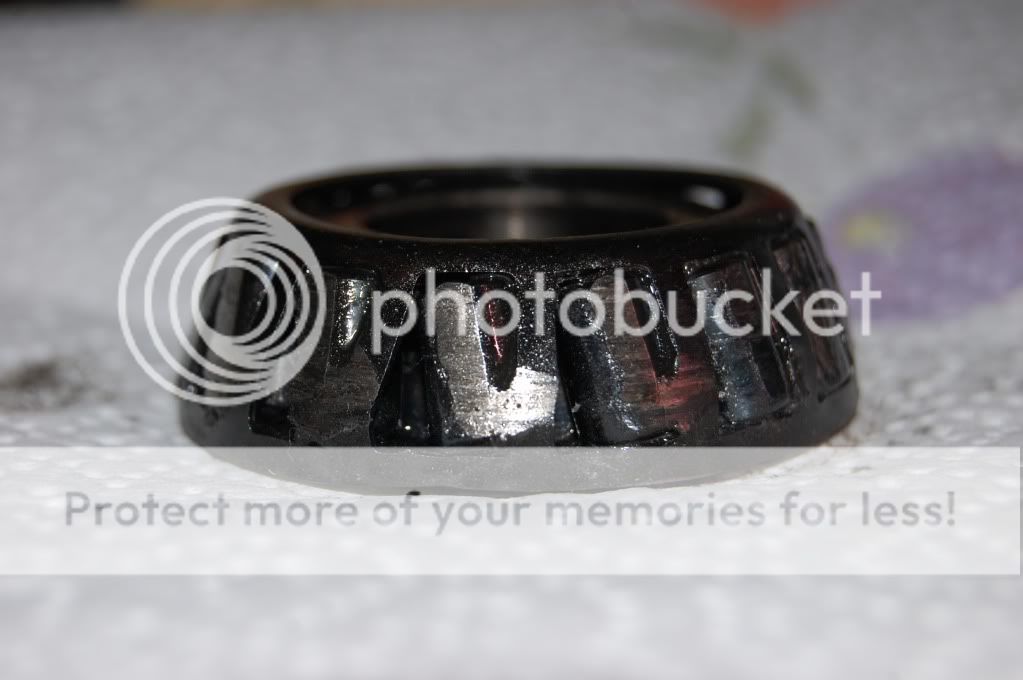
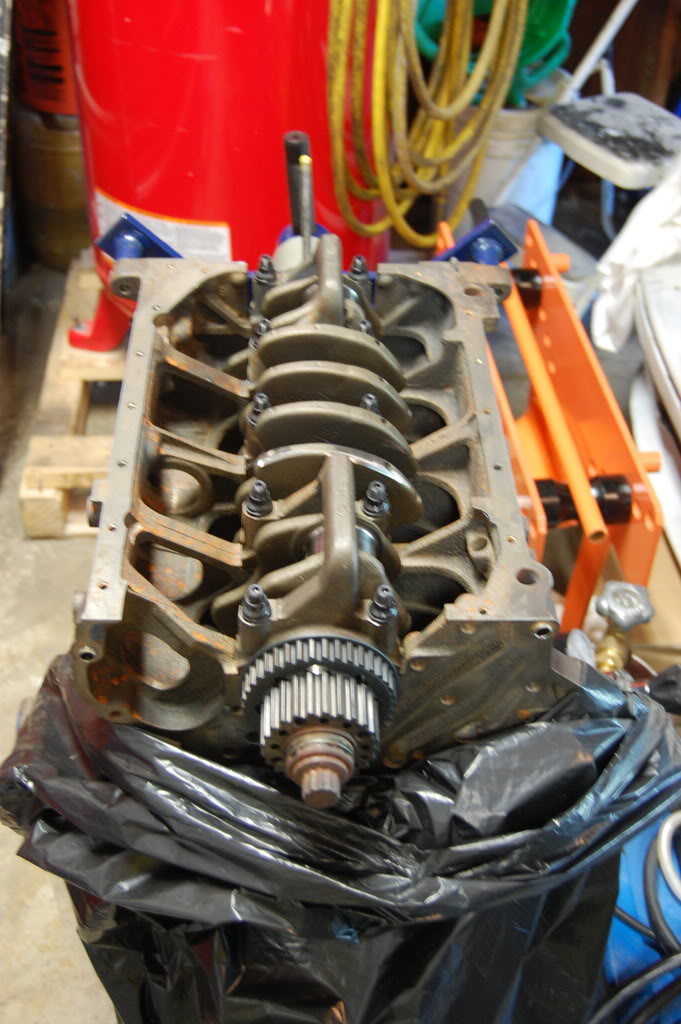
It's the outer bearing on the pinion shaft, apparently it had some side-side play that it didn't like.
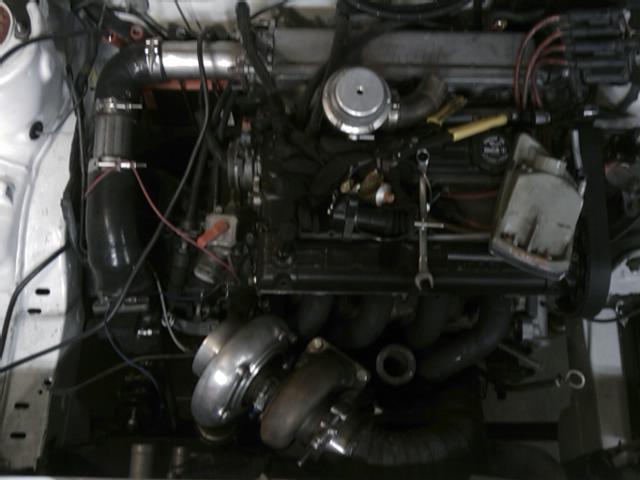
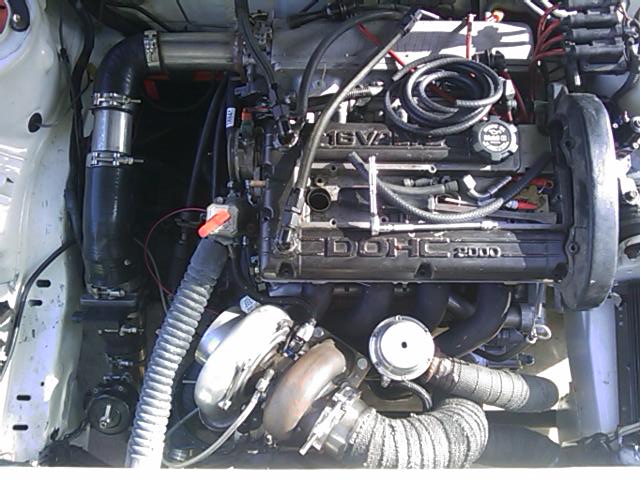
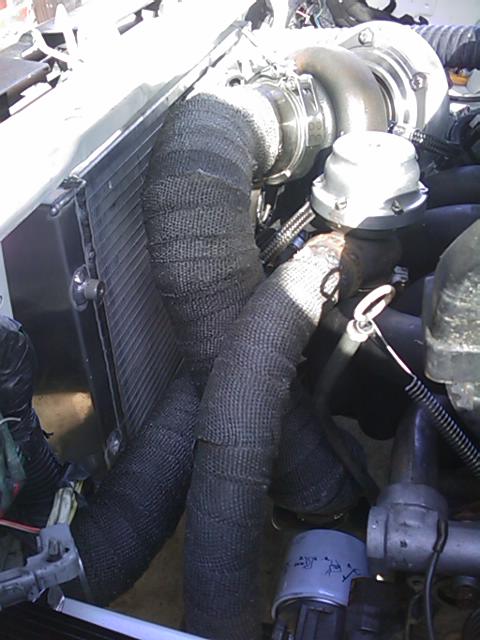
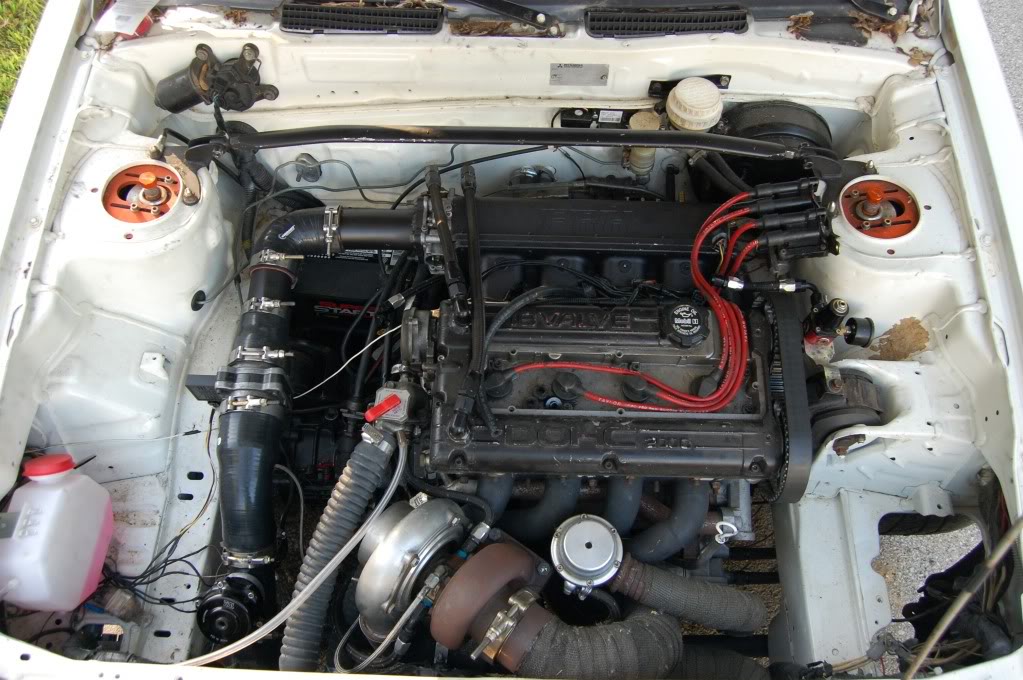
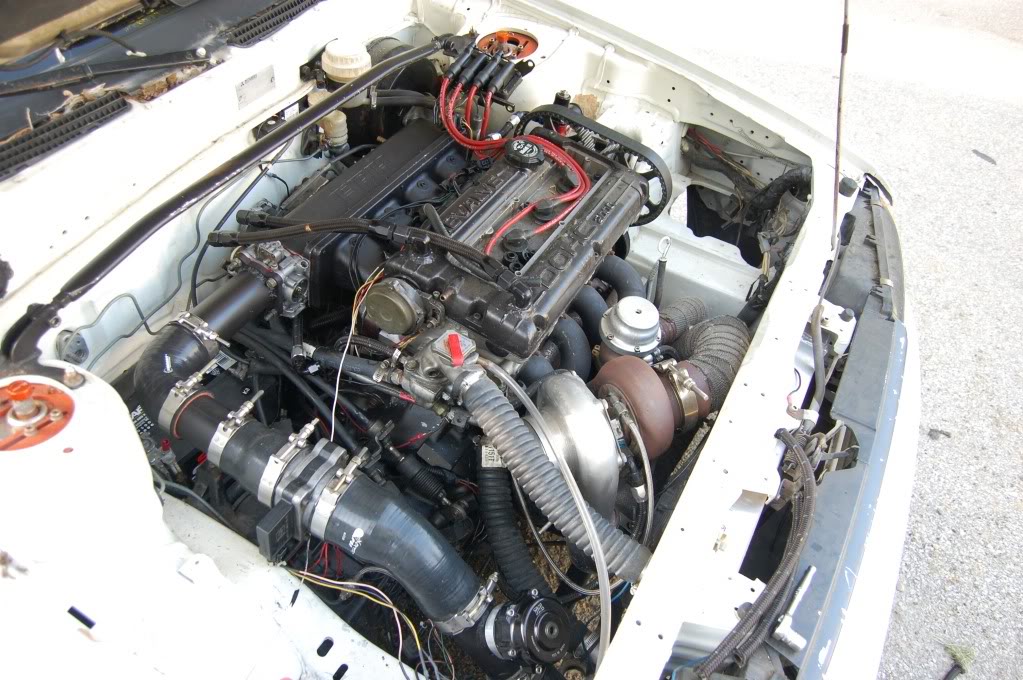
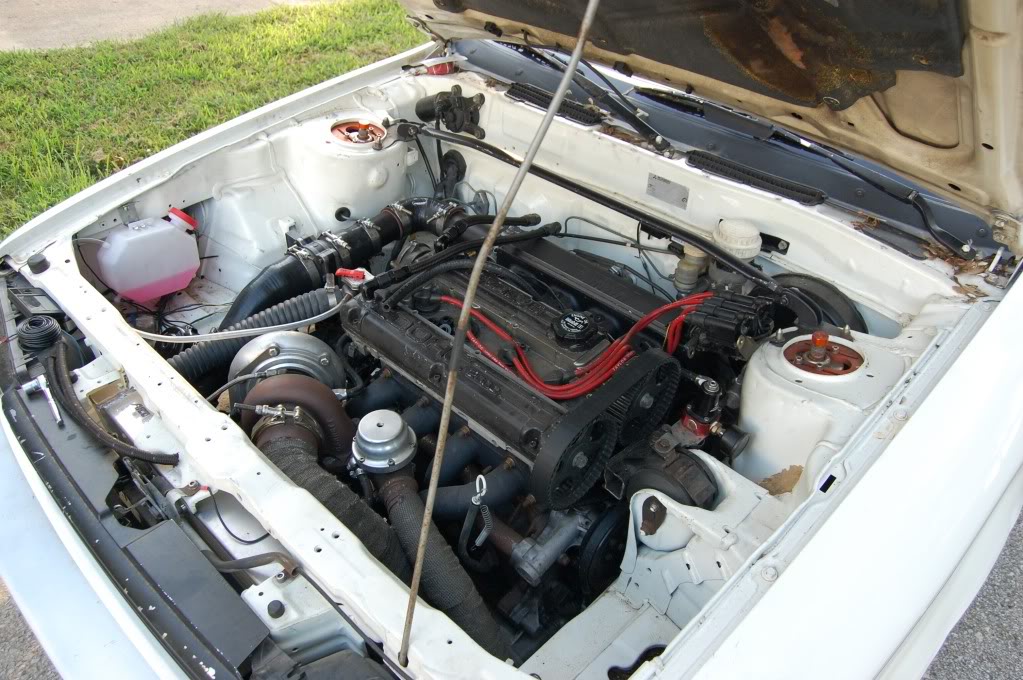
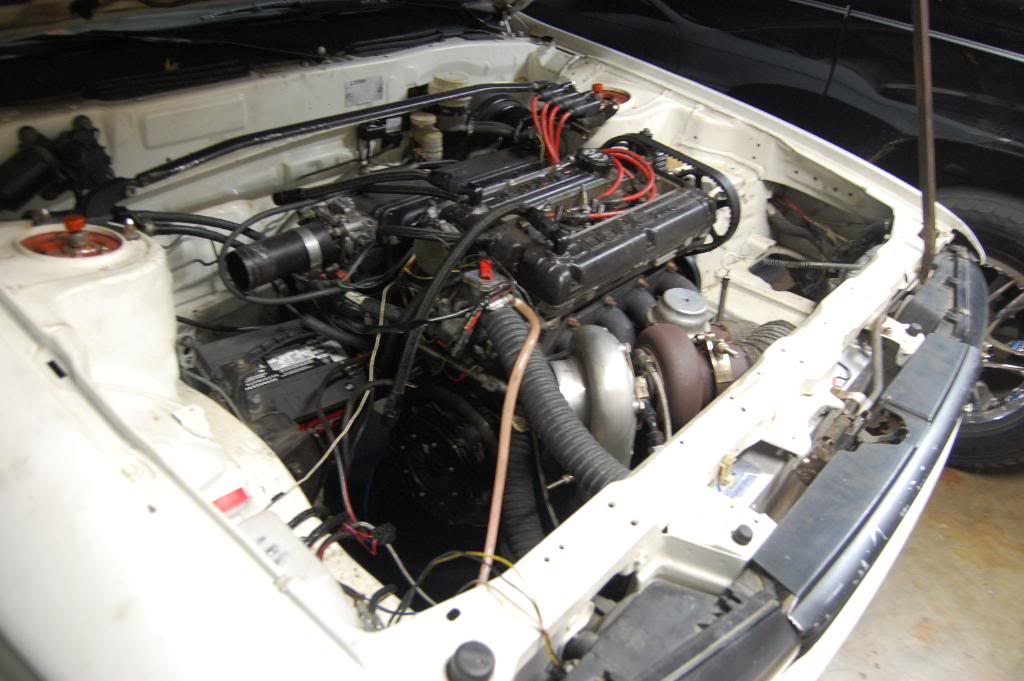
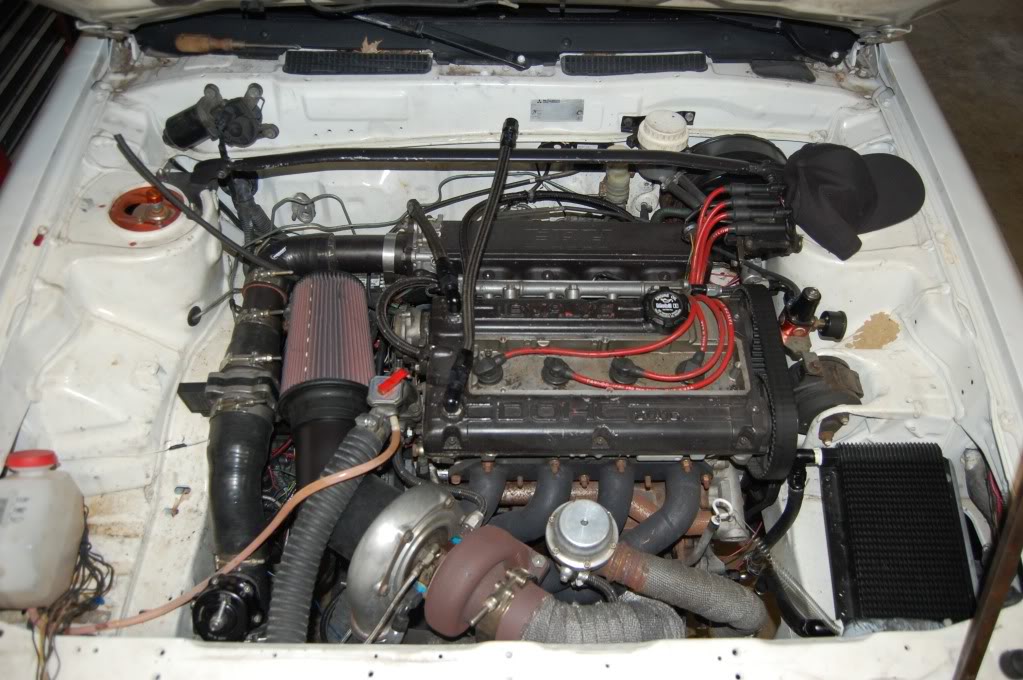
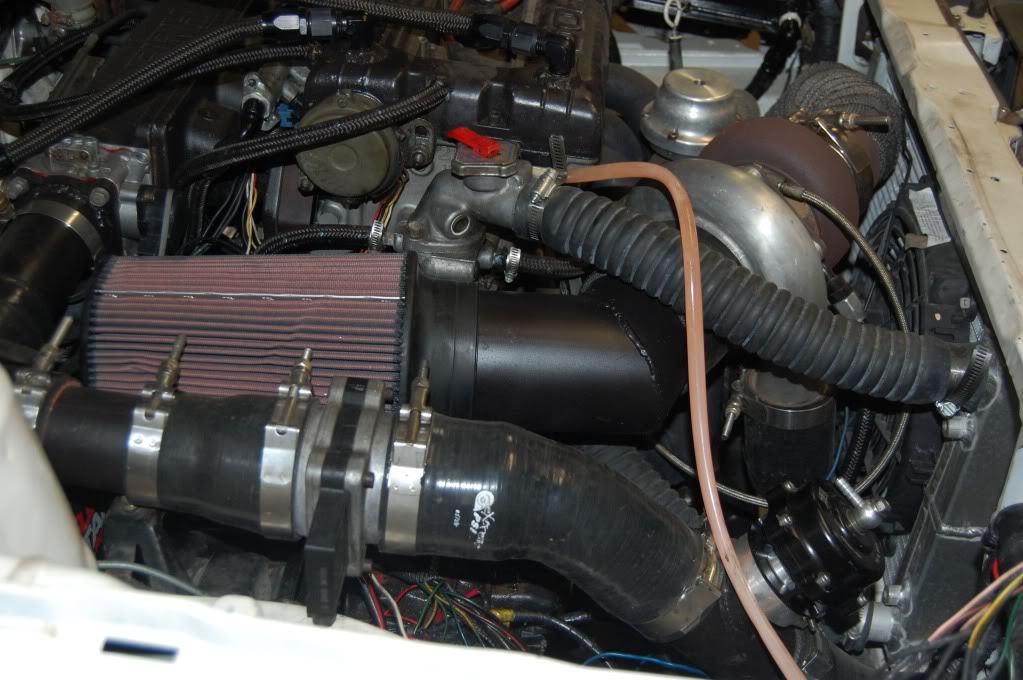
Decided while the rear end was out of commission I'd go ahead and paint/clean up a few things....Intake and intercooler piping are all the same color now, VHT 1500* flat black....looks pretty good personally but I'm biased.
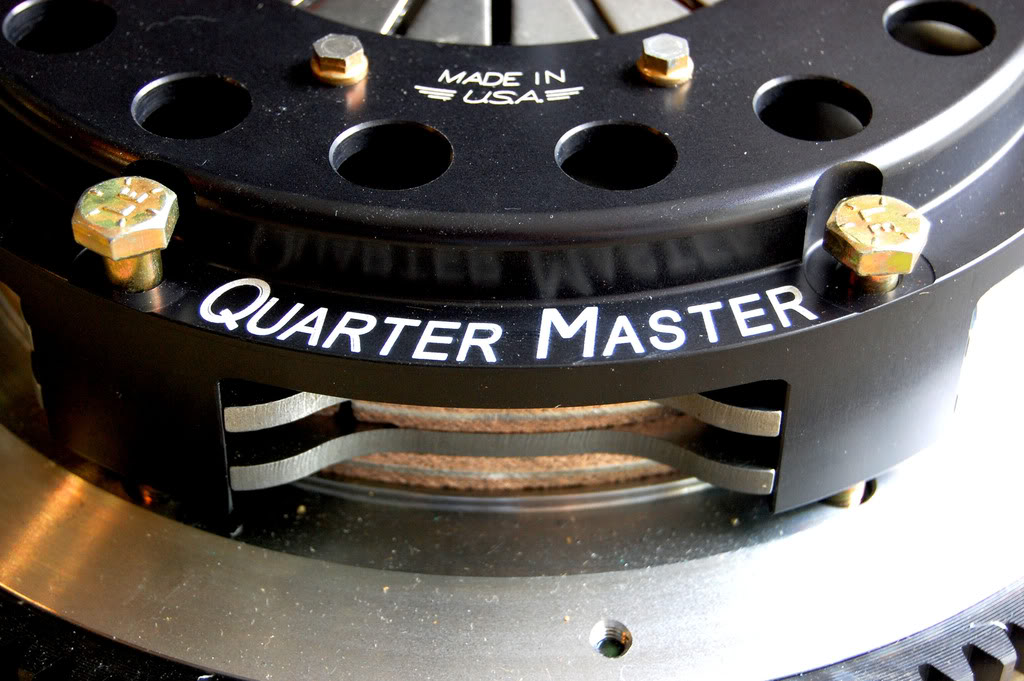
Just picked up some new parts, hello rear end!
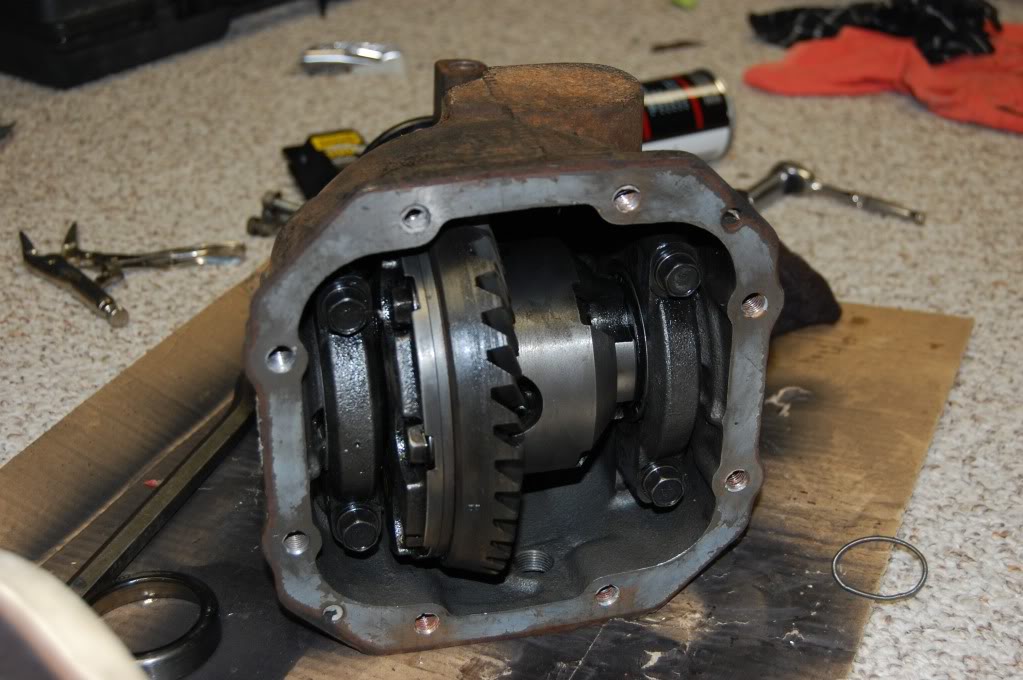
rear end is back together and how it currently sits!

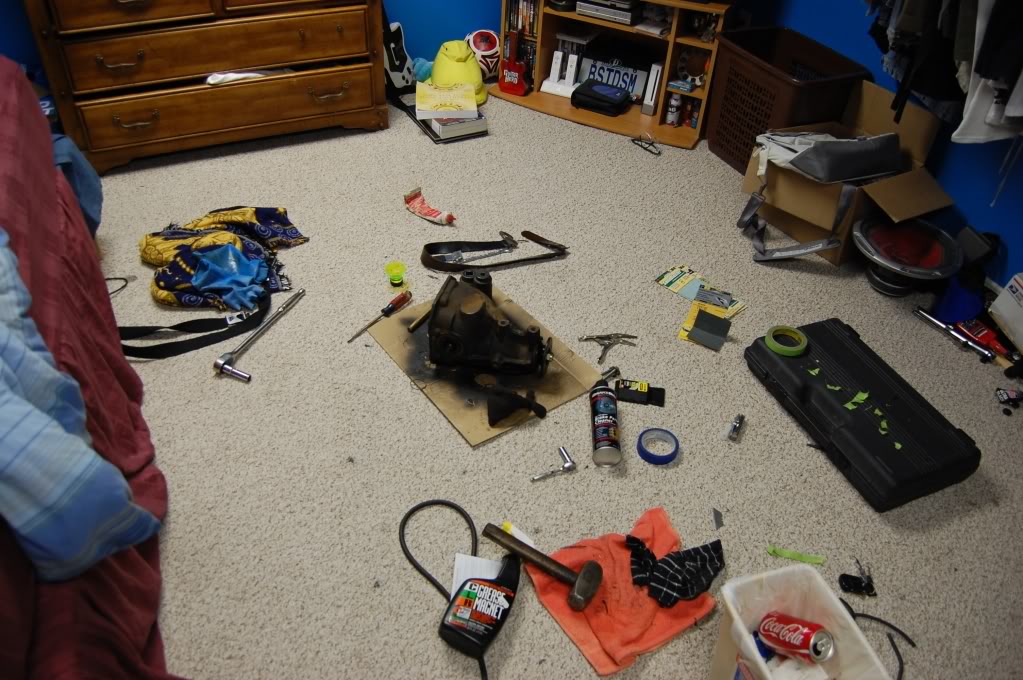
The workplace for this evening!
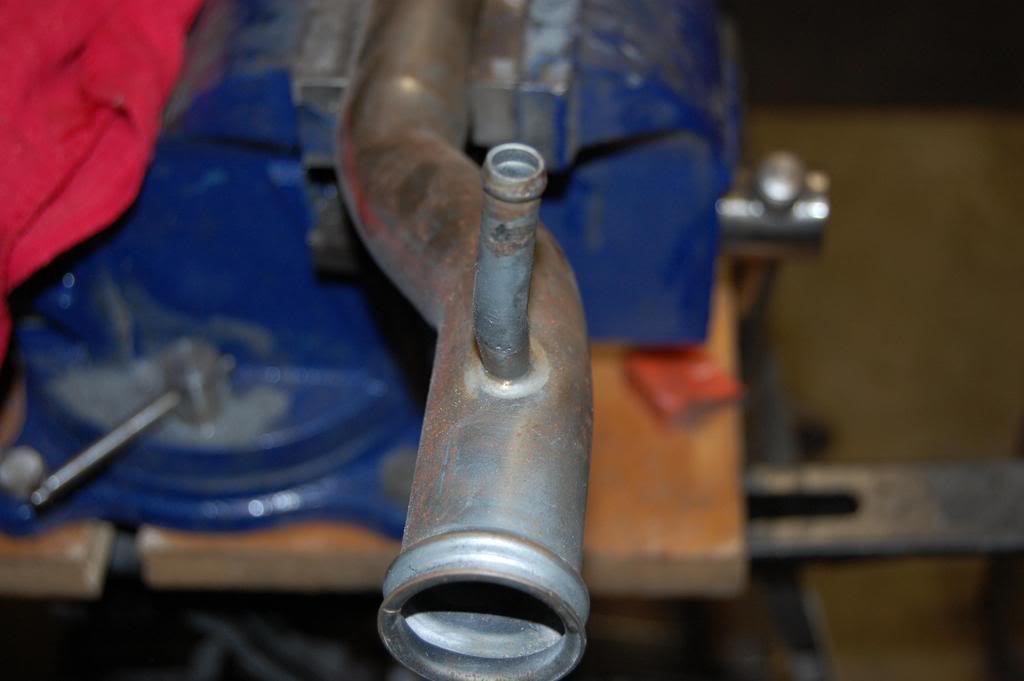
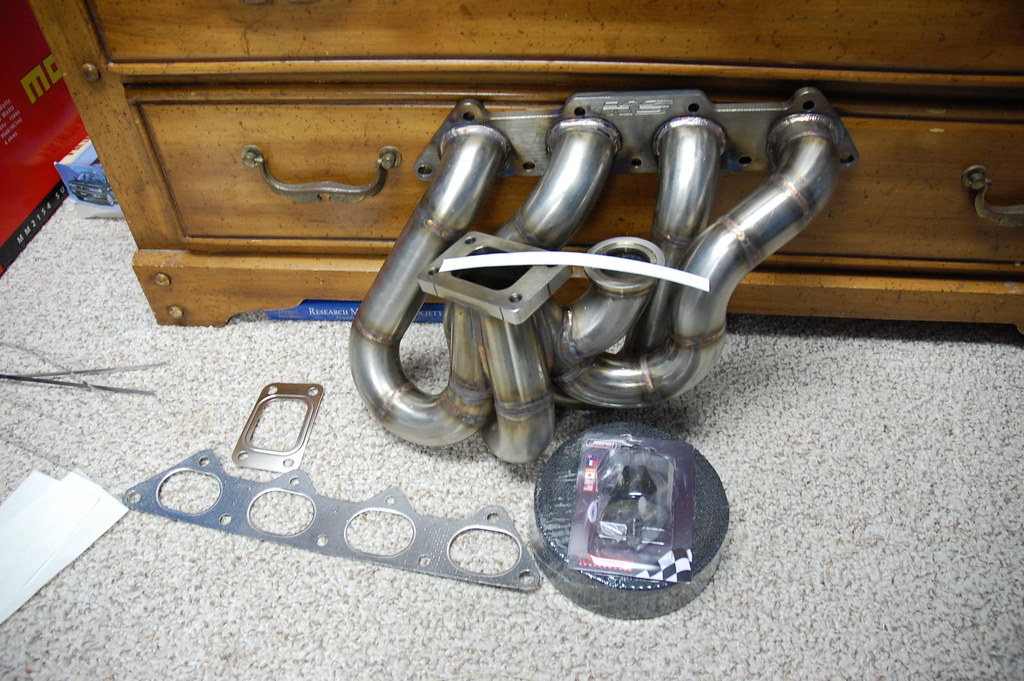
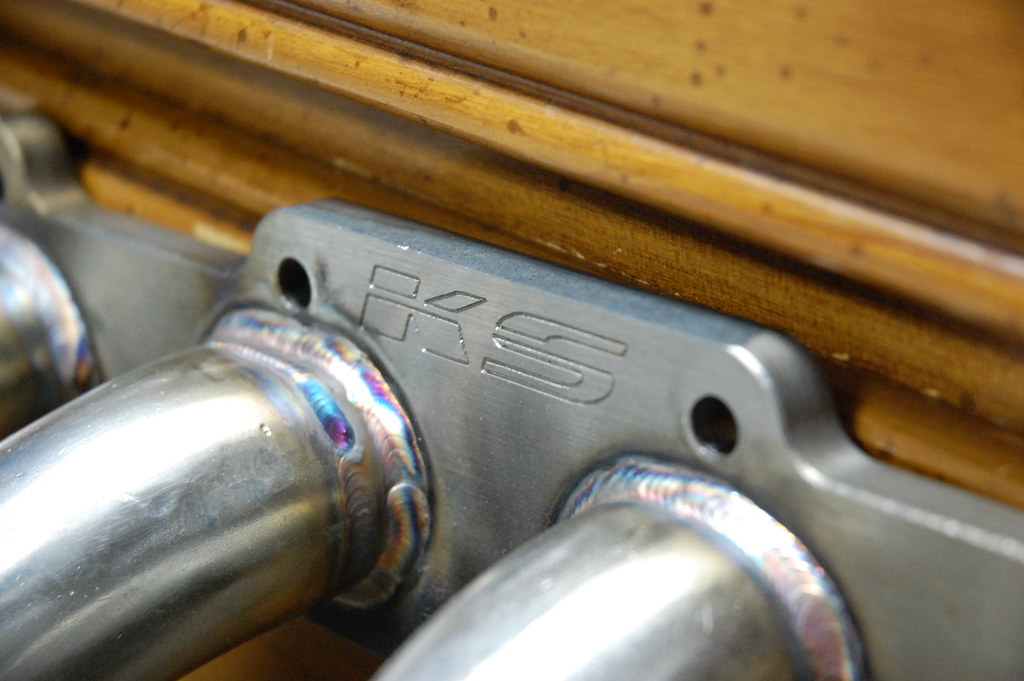
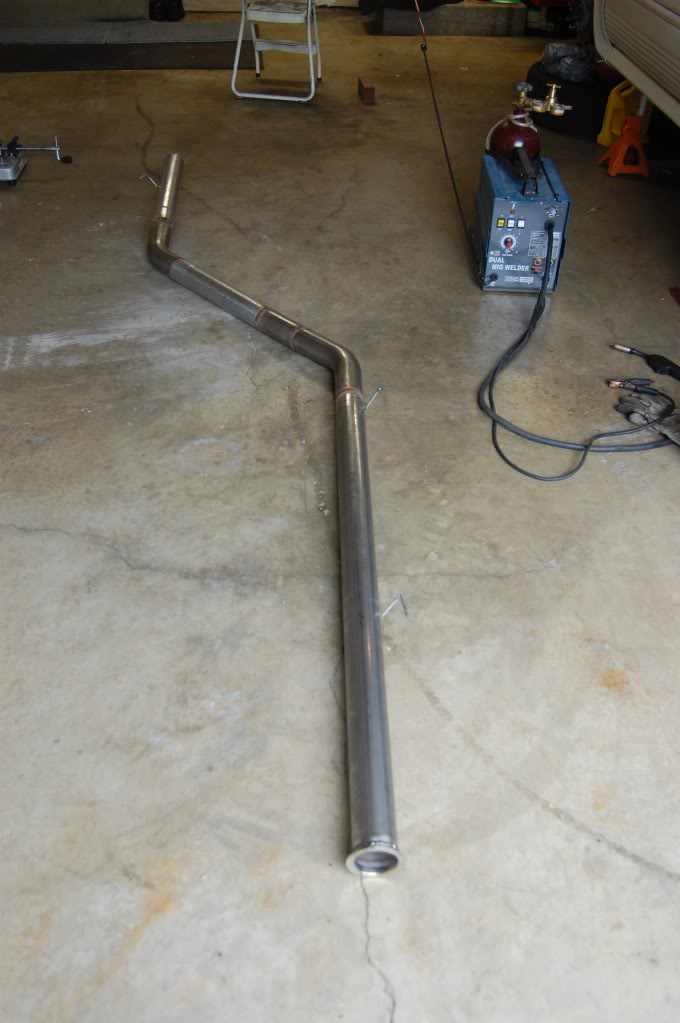
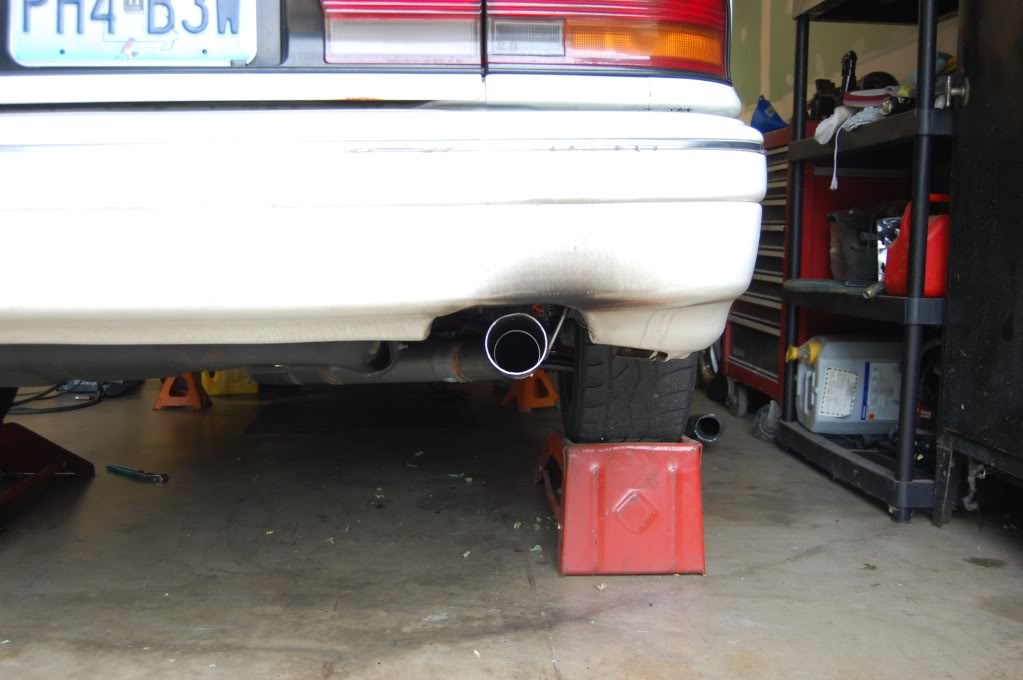
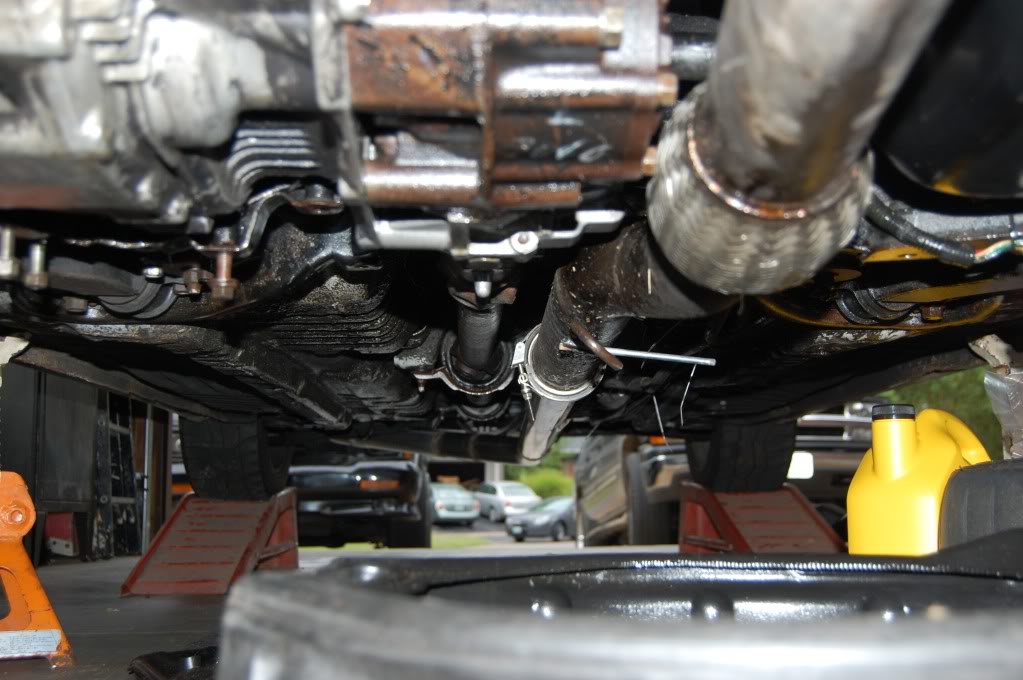
Some updates, as all of you know the Galant didn't make it back from the Shootout due to a faulty Jay's Racing alternator relocation bracket. Since the car was down I decided to do a few small much needed upgrades such as a new cat-back system, intake pipe, new axle, a replacement relocation bracket, along with some other misc. things.
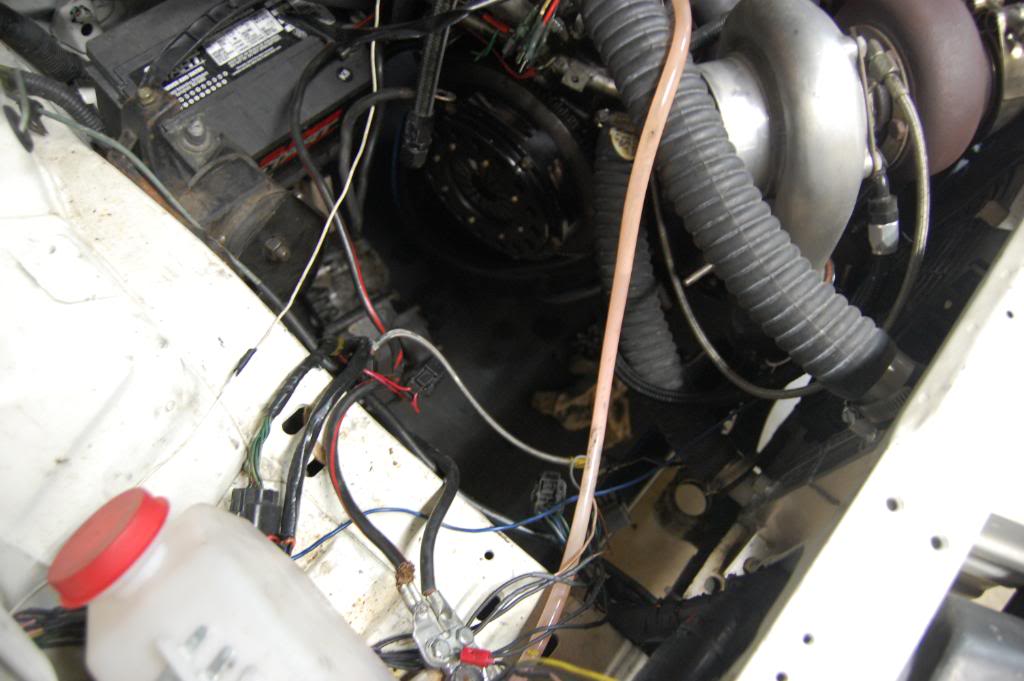
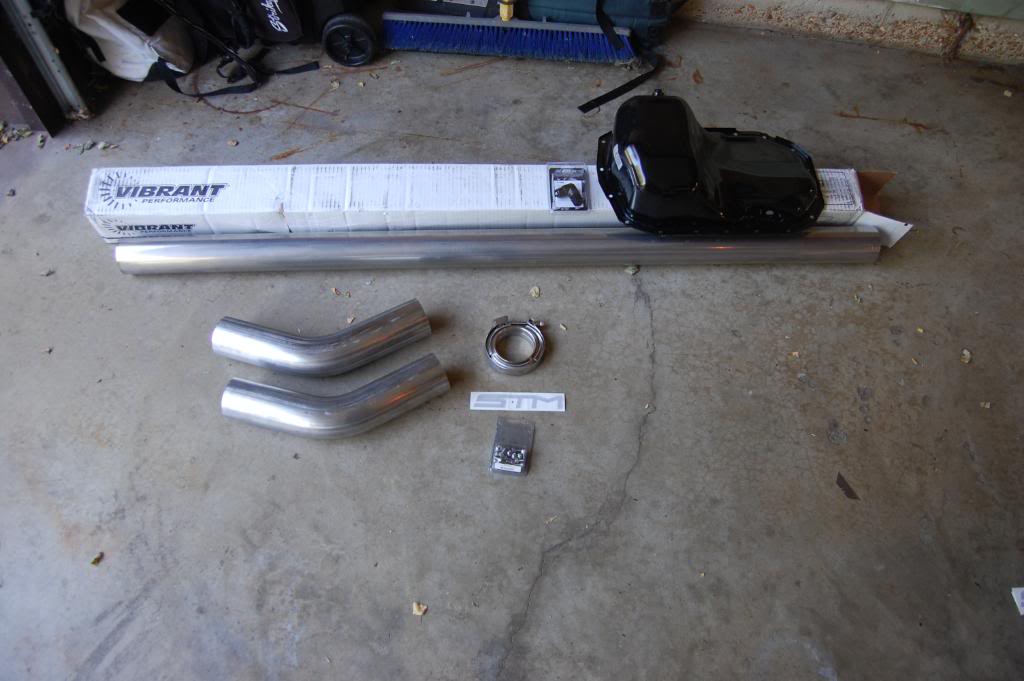
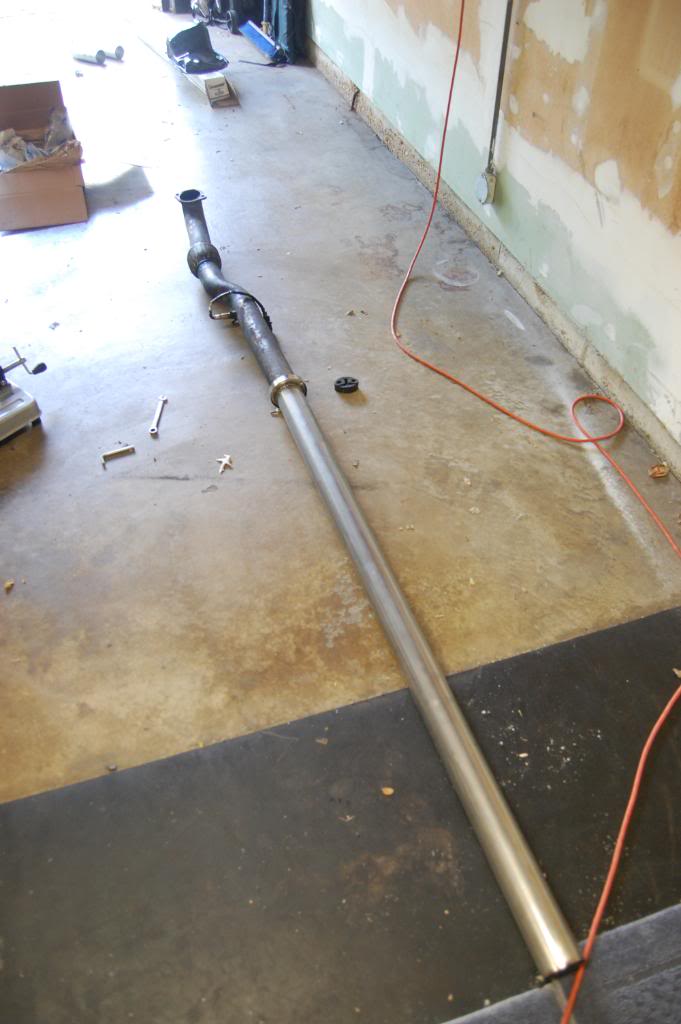
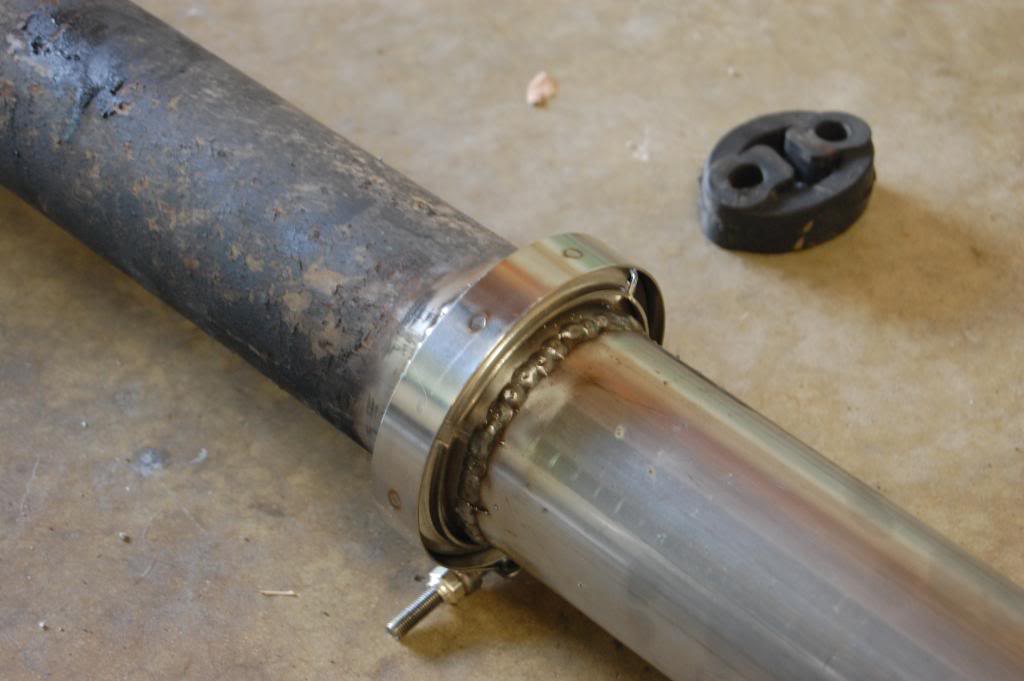
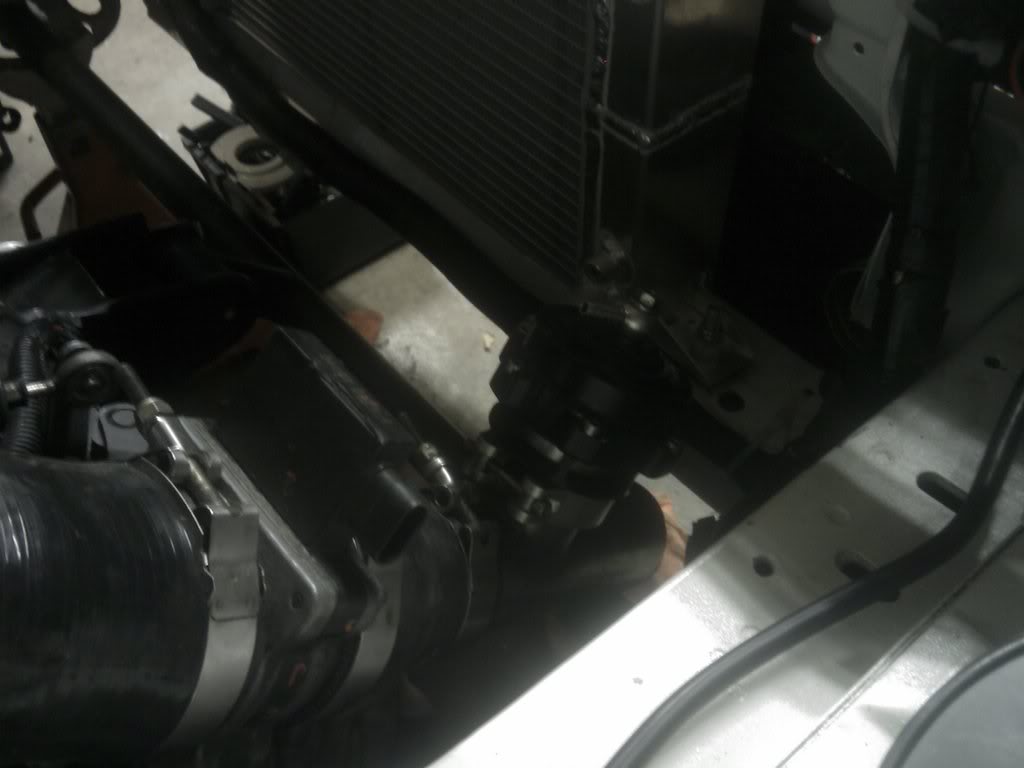
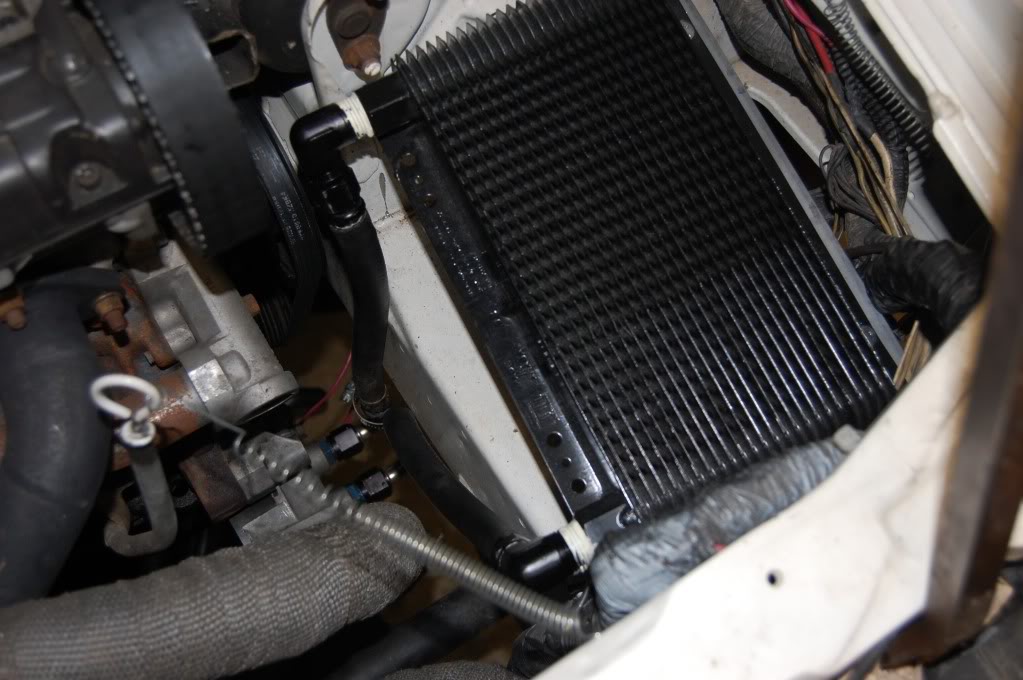
Exhaust finished up and I was also able to install the oil cooler. Don't worry about the placement, but I'll be creating a duct from the wheel well to carry fresh air to that position.
Thread Starter
0.0 BAR
Joined: Sep 2010
Posts: 6


1.0 BAR
Joined: Mar 2005
Posts: 260
I am jealous! Almost all the white vr4's i've seen have been built properly! Anyway nice car
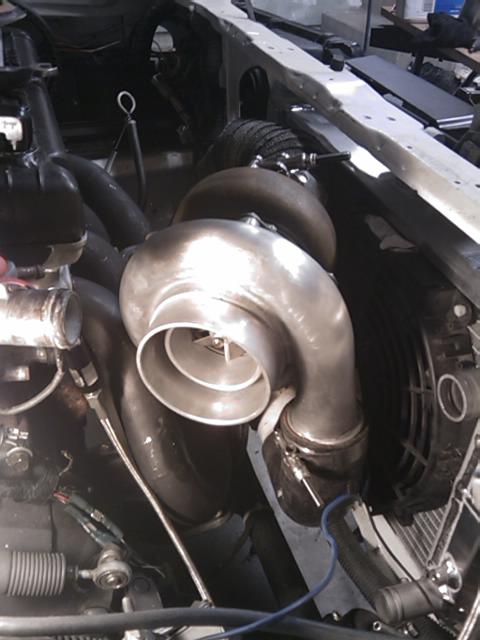
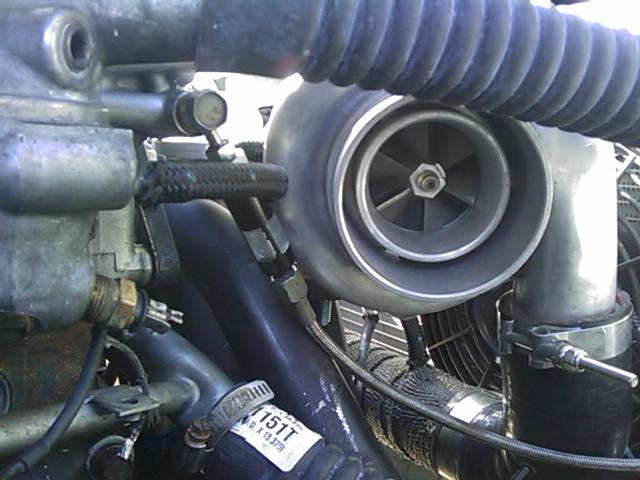
I wish you were closer so i could pay you to rebuild and do up my transmission! btw which turbo is that? my 16g needs a major upgrade soon 18, 20 or 25g maybe
I wish you were closer so i could pay you to rebuild and do up my transmission! btw which turbo is that? my 16g needs a major upgrade soon 18, 20 or 25g maybe
Thread Starter
0.0 BAR
Joined: Sep 2010
Posts: 6
Sorry this has been such an out-dated thread, but I just recently sold the car to a guy in Decatur. He traded his 2002 Gixxer 600 for my car. It was an FP3065 with an aftermarket T3 hotside.
As for cost, it cost a pretty penny but it was well worth it in the long run.
As for cost, it cost a pretty penny but it was well worth it in the long run.


