Not FI but thought you might like my bike buildup...NEW RIDING VID
 11-24-2008, 01:25 AM
#241
1.5 BAR
Thread Starter

Join Date: Sep 2003
Posts: 823
Originally Posted by The Nutty Professor
Finally jumped back hoping for a completion but nnnooooo  What you got this month for the masses brother?
What you got this month for the masses brother?Here's some of it here:
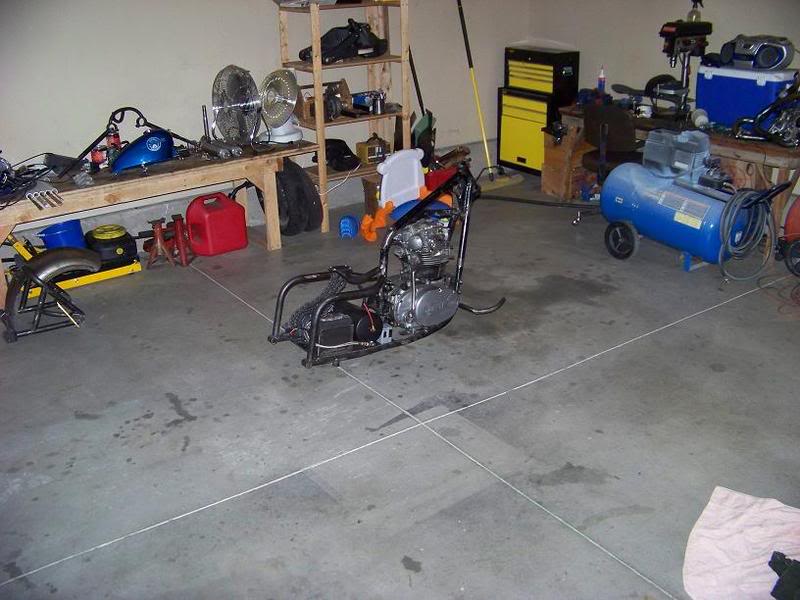
Some more here:

and here and here:
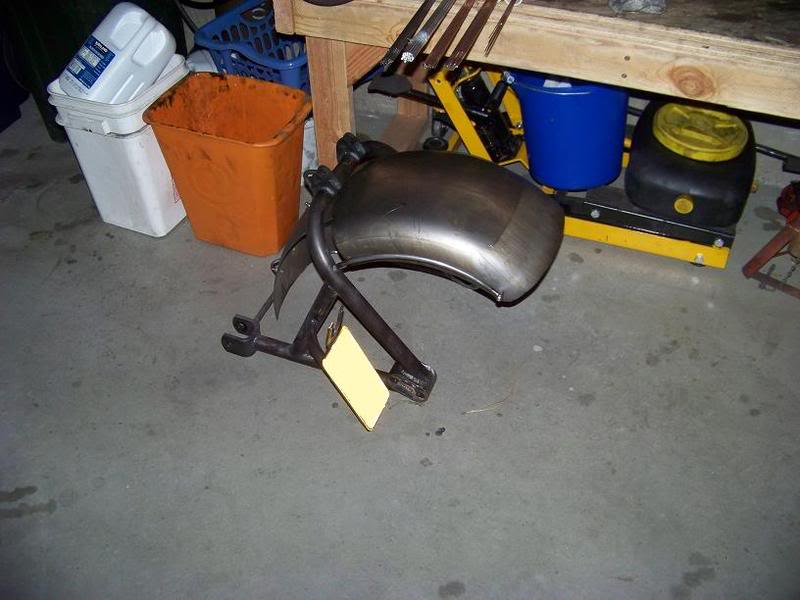
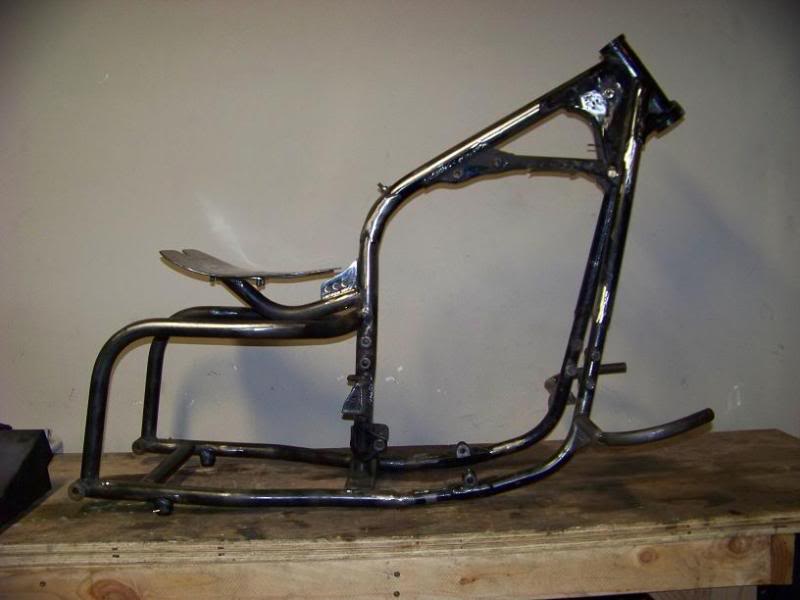
It's in the middle of being broken down for paint. I need to do some final fab and a couple extra brackets for the air system, then clean up all the metal for painting.
Paint scheme has changed again as well, probably going to be black and silver now.
Thanks for all the interest, I'll keep the thread updated as I get further into painting it. This will be my first time painting so we'll see what happens

 11-24-2008, 03:21 AM
#242
1.0 BAR

Join Date: Oct 2007
Location: Barron, WI
Posts: 239
Not Bad. When you get it all back together could you take a couple photos of your jackshaft assembly? Not interested in stealing your idea, just curious of how it works. Kinda reminds me of a '77 Suzuki GS400 I built about 8 years ago. Looking forward to more updates.
11-26-2008, 12:07 AM
#243
1.5 BAR
Thread Starter
Join Date: Sep 2003
Posts: 823
I'll try to see if I have a shot of the jackshaft assembly somewhere.
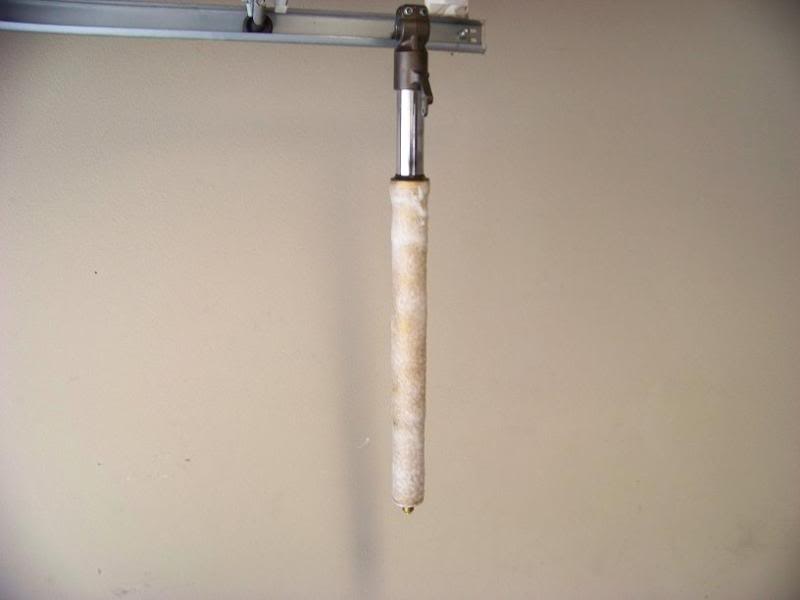
today I was working on taking the gold anodized coating off of the forks. They'll be painted black eventually but I wanted to strip them first.
I had heard that oven cleaner will remove anodizing, but this is only partially true. It thins it a lot and removes it pretty well, but it definitely leaves a residue that must be sanded off. Also, the stock forks have little tiny ridges from the CNC machining when they are made, and the anodizing hides in these little ridges, so they must all be sanded smooth to get all of it. Giant pain in the neck, but here's a couple photos of the work.
Oven cleaner, let sit for about a half hour:
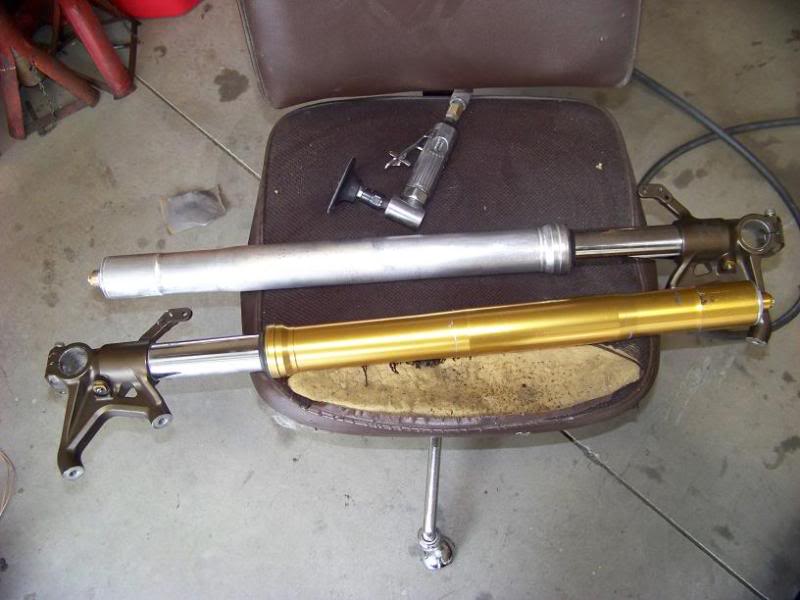
One fork mostly clean, viewed against an untouched one. Also here you can see my sander of choice:
Using the whiz wheel leaves a fairly rough finish, so I started sanding the forks starting with 220grit, then moving to 400 then 800grit. There's still some imperfections, but they'll be painted black eventually anyway:
One side mostly done:

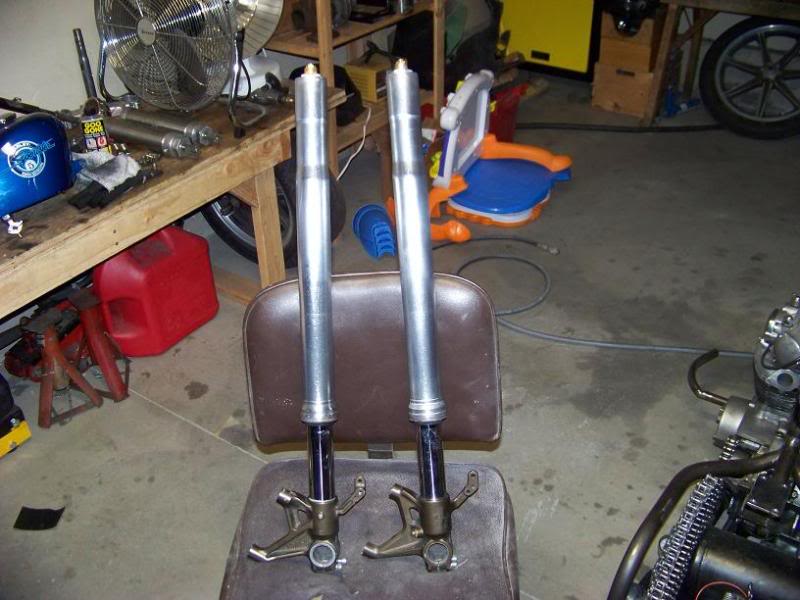
Both legs polished fairly well:
Take a look and let me know whatcha think.
thanks
Sky
today I was working on taking the gold anodized coating off of the forks. They'll be painted black eventually but I wanted to strip them first.
I had heard that oven cleaner will remove anodizing, but this is only partially true. It thins it a lot and removes it pretty well, but it definitely leaves a residue that must be sanded off. Also, the stock forks have little tiny ridges from the CNC machining when they are made, and the anodizing hides in these little ridges, so they must all be sanded smooth to get all of it. Giant pain in the neck, but here's a couple photos of the work.
Oven cleaner, let sit for about a half hour:
One fork mostly clean, viewed against an untouched one. Also here you can see my sander of choice:
Using the whiz wheel leaves a fairly rough finish, so I started sanding the forks starting with 220grit, then moving to 400 then 800grit. There's still some imperfections, but they'll be painted black eventually anyway:
One side mostly done:
Both legs polished fairly well:
Take a look and let me know whatcha think.
thanks
Sky
11-28-2008, 03:16 PM
#244
1.0 BAR

Join Date: Sep 2004
Posts: 350
Originally Posted by 96turboracer
Thanks for all the interest, I'll keep the thread updated as I get further into painting it. This will be my first time painting so we'll see what happens

 11-30-2008, 03:23 AM
#247
1.5 BAR
Thread Starter
Join Date: Sep 2003
Posts: 823
Negatory. I'm still flummoxed on it, but honestly, I kinda just threw the first wiring harness together to get it running and riding. So I'm thinking I may have made a mistake there. And also, the brushes were not right either. So when it all goes back together I'm going to really take my time, do it right, use new stuff, and replace the regulator one more time. Hopefully that'll do it.
12-05-2008, 11:51 PM
#248
1.5 BAR
Thread Starter
Join Date: Sep 2003
Posts: 823
More work today:
All this metal prep takes forever, because now I have to get the metal real nice for painting and just the way I want it because once it's painted it's done.
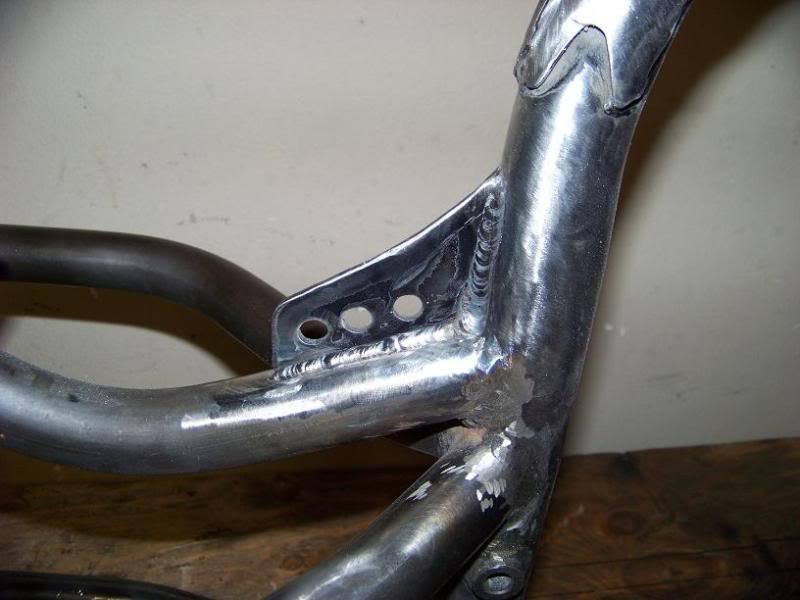
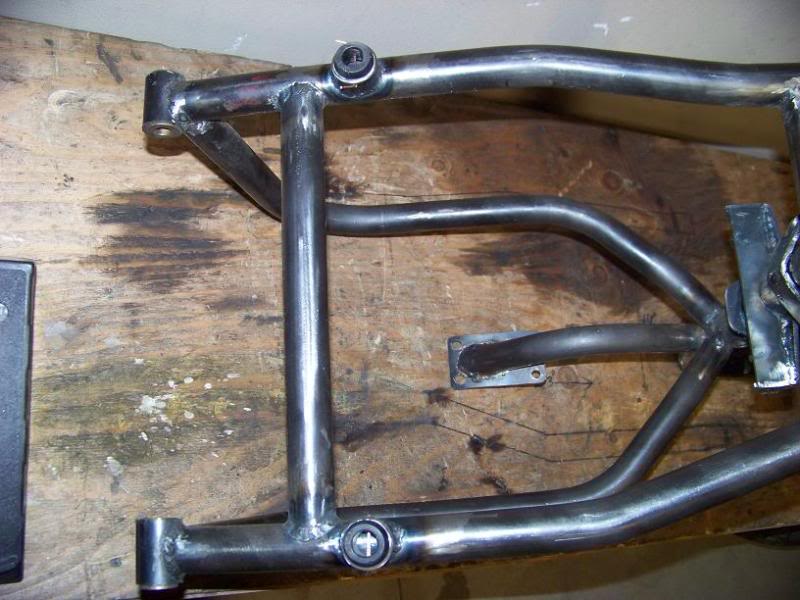
made a little gusset for the seat post area.
Had to cut the nose section of the seat pan down a bit to make it fit.
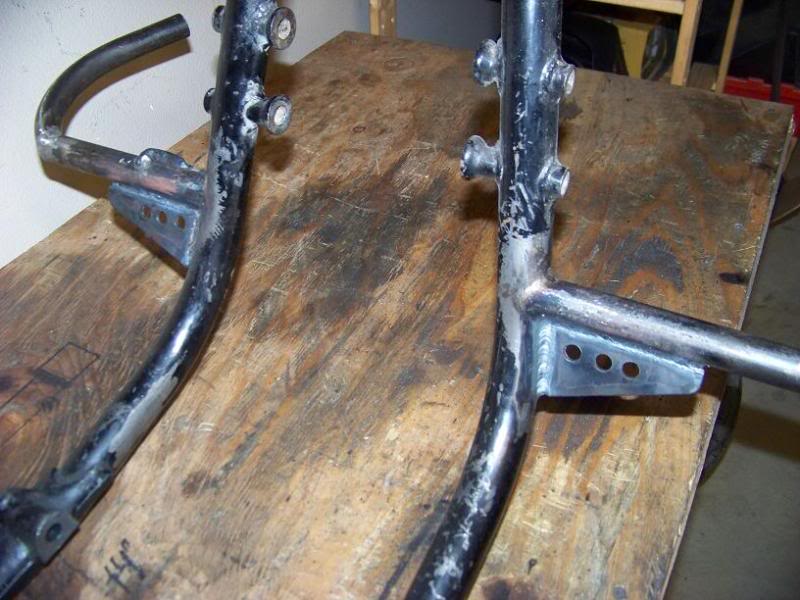
Made a couple of similar gussets for the pegs.
Made the battery hold down/air solenoid mounting plate.

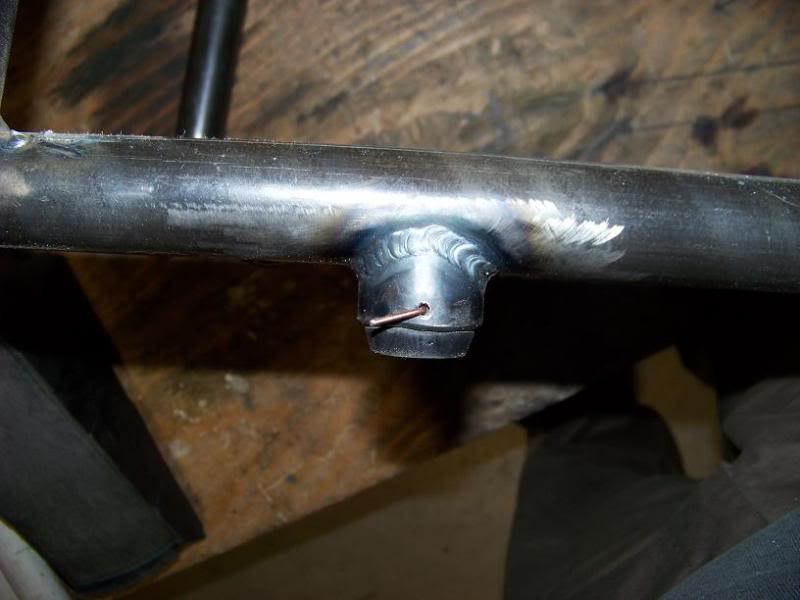
also, on the bottom of the frame, there are little posts that the bike rests on, they were just tacked on before, and weren't quite the right size, so I cut them to the proper length, and bought some polyeurethane shock mounting bushings, cut those in half, and shaved them down to fit into the tubing. Then I drilled a hole through the tubing, in the final version cotter pins will be used to hold these in place.
Thanks for looking everyone, more work to come soon.....
Sky
All this metal prep takes forever, because now I have to get the metal real nice for painting and just the way I want it because once it's painted it's done.
made a little gusset for the seat post area.
Had to cut the nose section of the seat pan down a bit to make it fit.
Made a couple of similar gussets for the pegs.
Made the battery hold down/air solenoid mounting plate.
also, on the bottom of the frame, there are little posts that the bike rests on, they were just tacked on before, and weren't quite the right size, so I cut them to the proper length, and bought some polyeurethane shock mounting bushings, cut those in half, and shaved them down to fit into the tubing. Then I drilled a hole through the tubing, in the final version cotter pins will be used to hold these in place.
Thanks for looking everyone, more work to come soon.....
Sky
 12-15-2008, 09:26 PM
#250
1.5 BAR
Thread Starter
Join Date: Sep 2003
Posts: 823
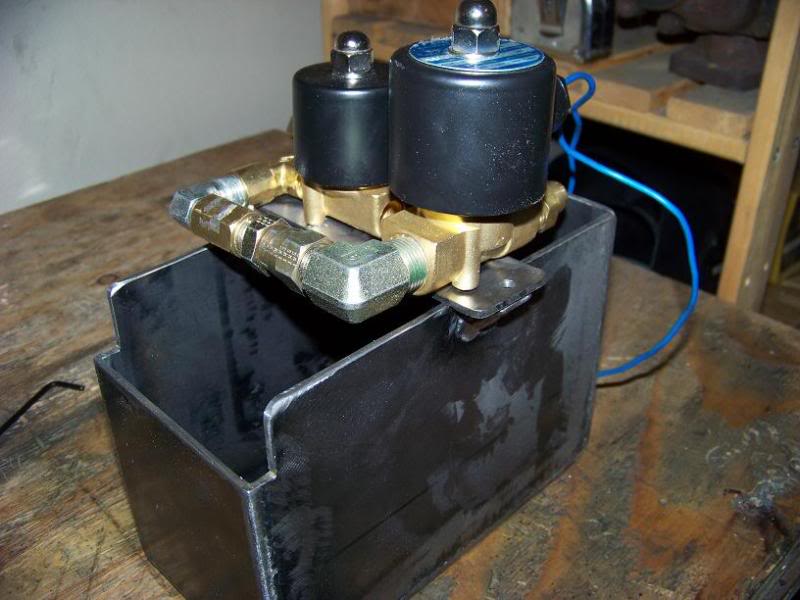
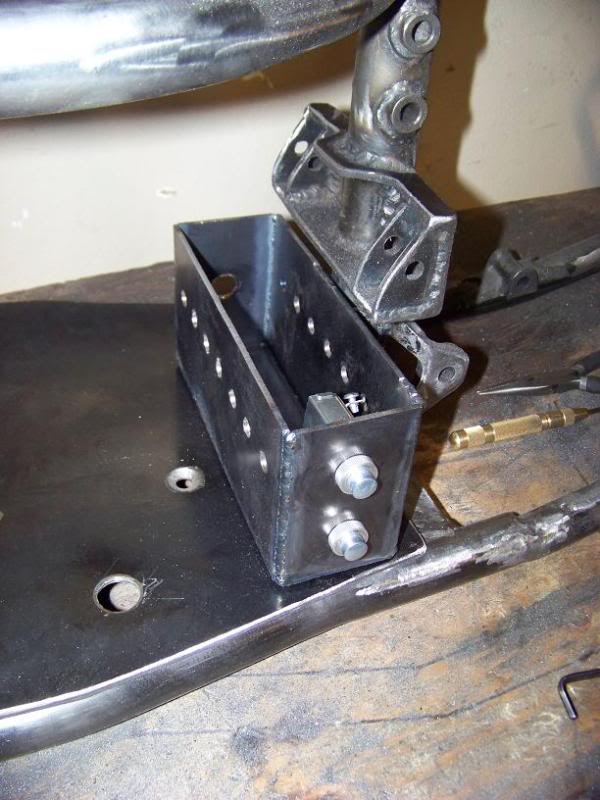
Finally got my electrical box built today, I just need to smooth it out and make the cover for it. Added a bunch of holes to the sides for airflow, single hole in the back for the wires, and two holes in the front for the Momentary switches for the air system.
This is a lot cleaner setup than I had before, Now it's real simple, the top button for up, and the bottom one for down.

Almost finished with the metal prep finally, just a little bit more to go and I can prime everything up.
Although it's the wrong time to paint right now, we had a high of 6 degrees today, and it's supposed to stay like this for a week or so.
Thanks for looking
Sky
This is a lot cleaner setup than I had before, Now it's real simple, the top button for up, and the bottom one for down.
Almost finished with the metal prep finally, just a little bit more to go and I can prime everything up.
Although it's the wrong time to paint right now, we had a high of 6 degrees today, and it's supposed to stay like this for a week or so.
Thanks for looking
Sky


