the Escort Turbo build! 56k, no!
 04-04-2006, 08:43 AM
#1
1.0 BAR
Thread Starter

Join Date: Feb 2003
Location: Wisconsin
Posts: 461
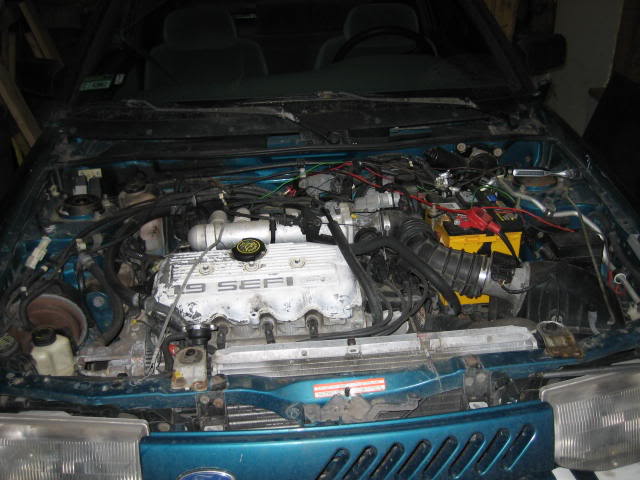
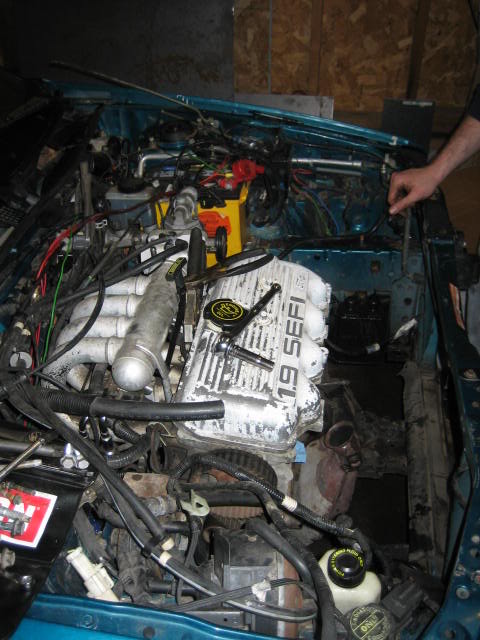
Spent about 40 hours since we started working on it. got to admit Im gettting tired of working on it, but Im not far at all now. the engine bay is pretty much back together except for 1/2 of the charge pipe, and the exhaust. Ive got exhaust, some wiring, some gauges, and random other odds and ends left. I'll let the pictures do the talking:
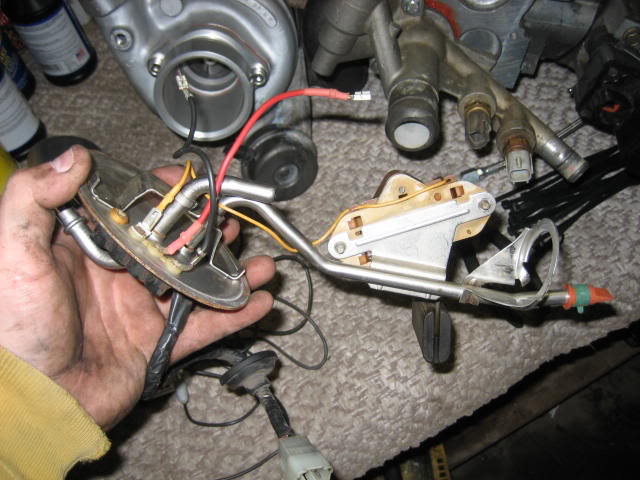
The fuel sender after being ripped from the tank. I had to buy a new locking ring for it since mine crumbled when I tried to turn it. I had to cut a lil bit off the tube that goes out of the tank to make room for the Walbro, but nothing too serious.
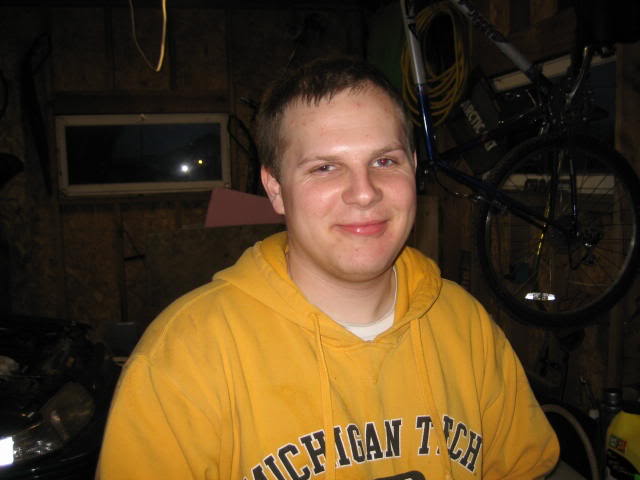
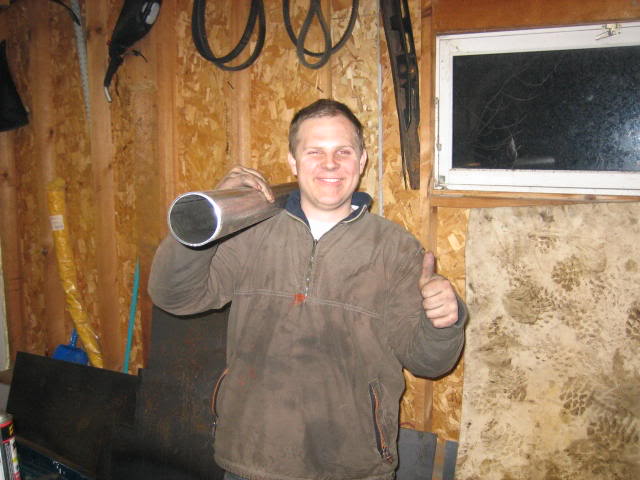
The build crew:
Keith
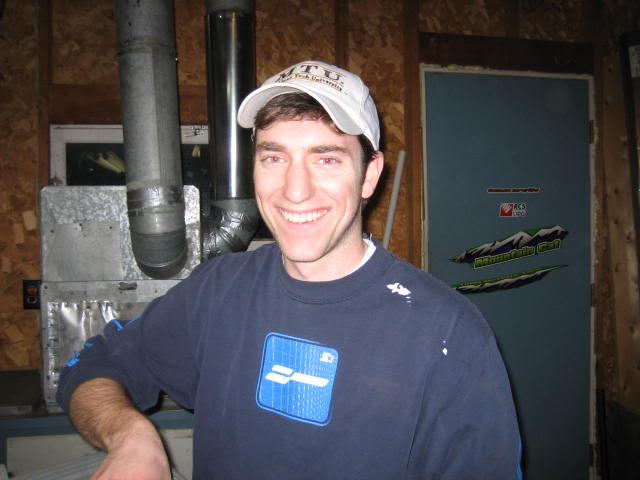
Ted
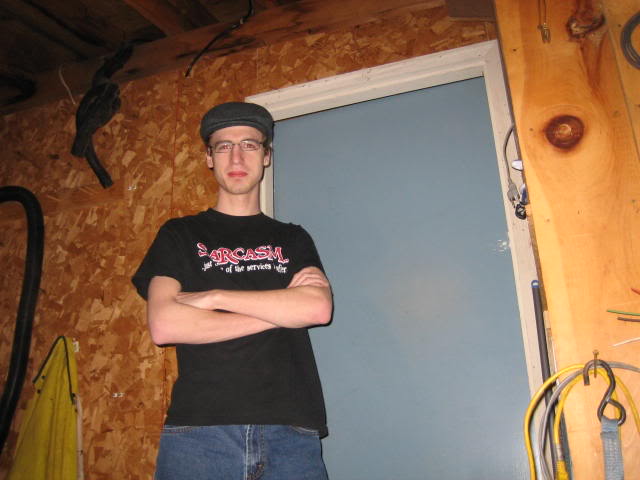
me!
Hoodless:
No front bodywork
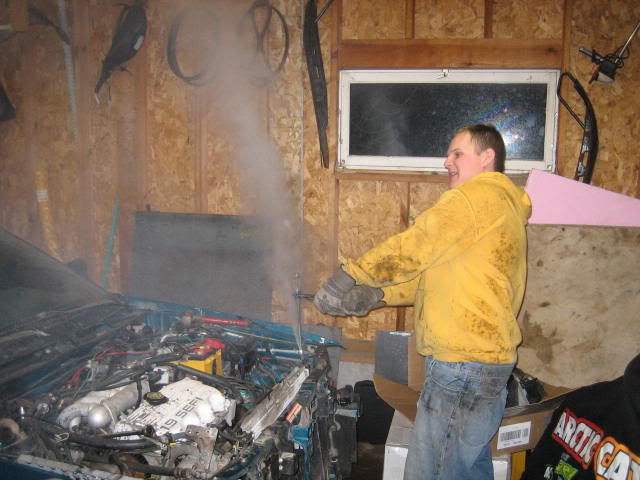
Decharging the A/C, since no one in town could do it.... :roll:
The first disaster.... Keith cut a PS hose instead of the AC lines....

EGR, making an Exit
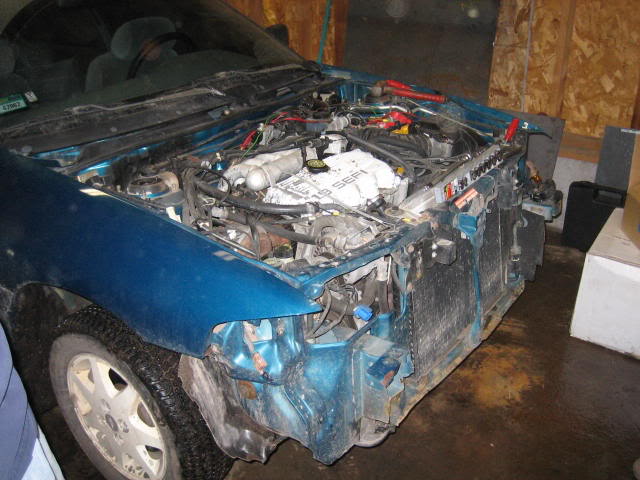
No manifold or radiator
Me unbolting the Accessory bracket
the PS pump puked all over Keith when he picked it up... kinda funny since he was the one who killed it.
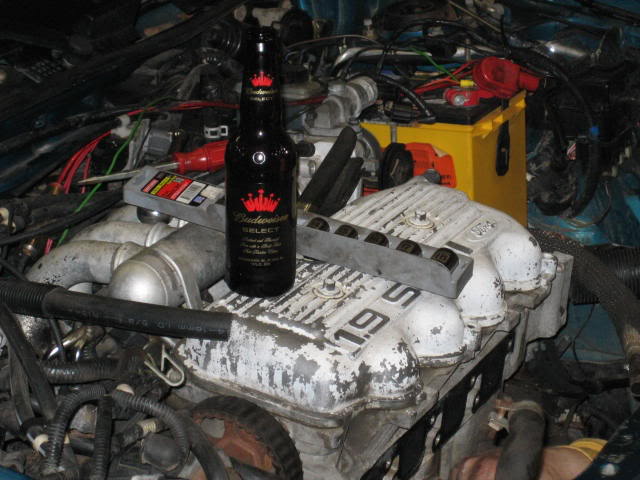
Budweiser commercial
look ma, no accesories!
Another view:
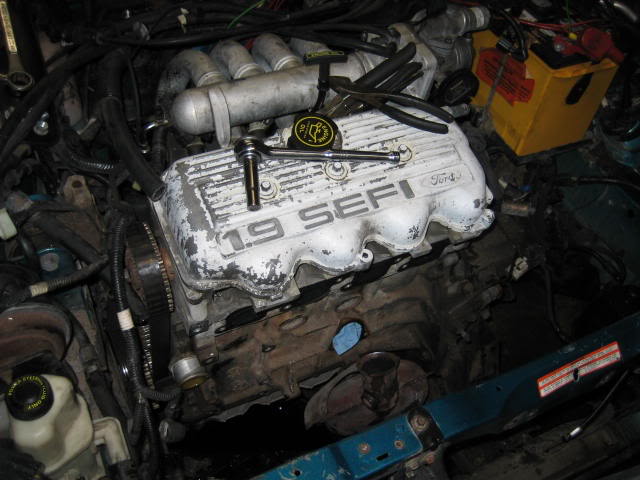
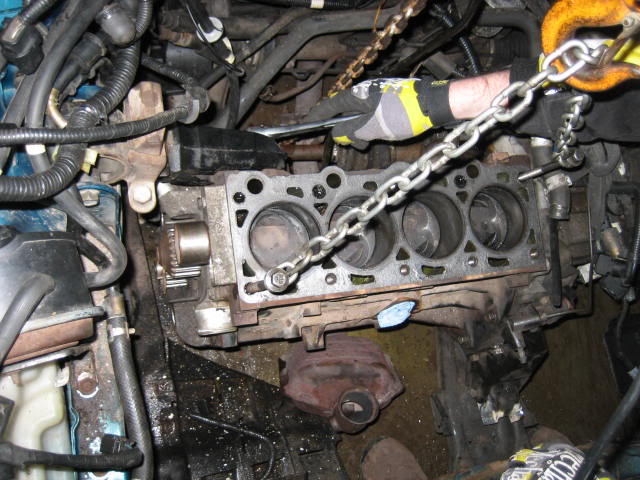
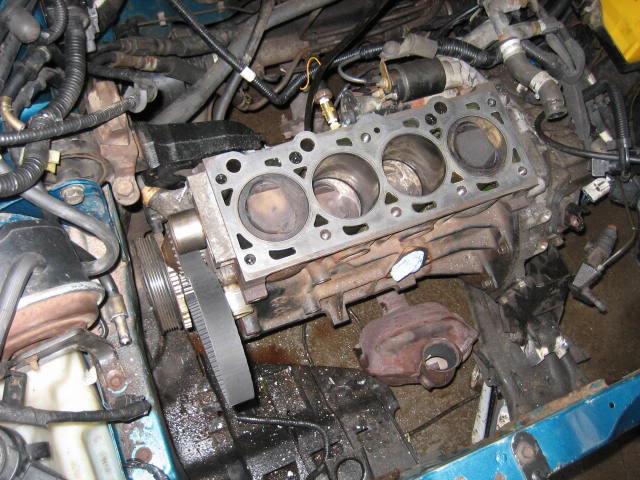
the lowly 1.9 head...
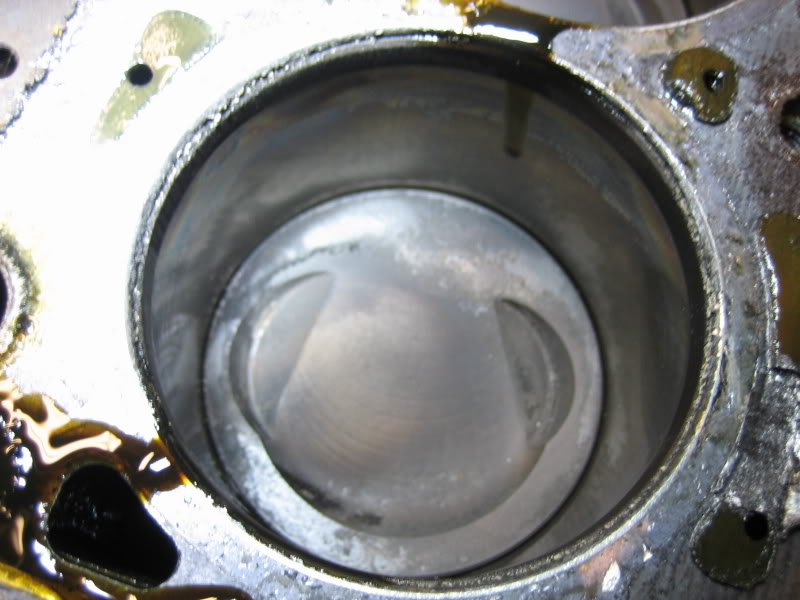
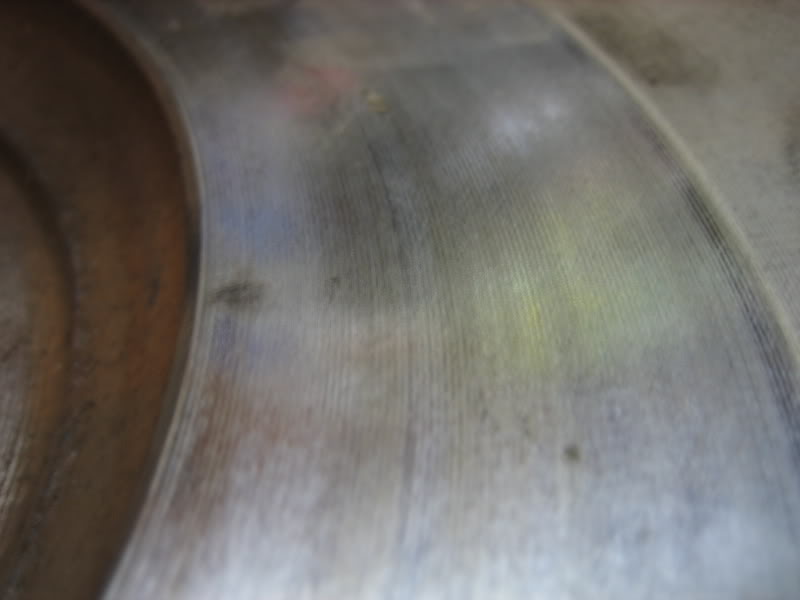
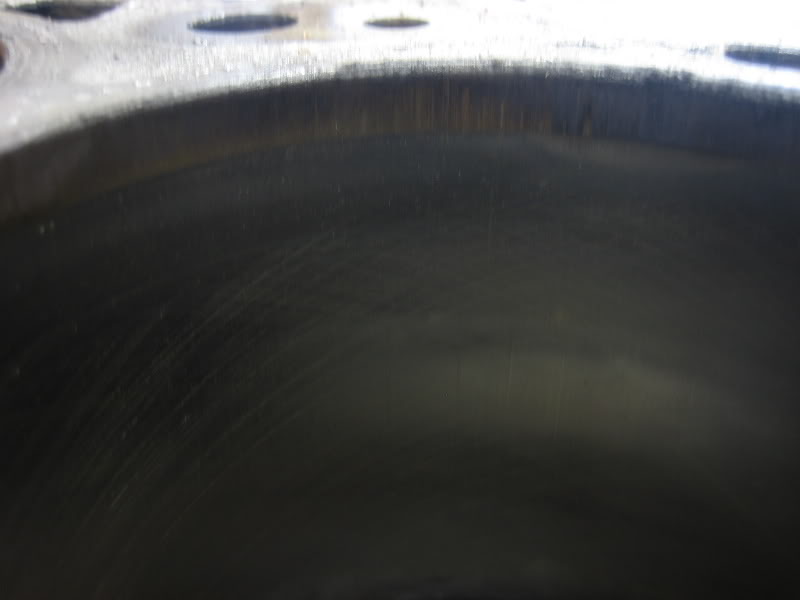
pristine bores....
if you look carefully at the wall, you can still see the factory cross hatching
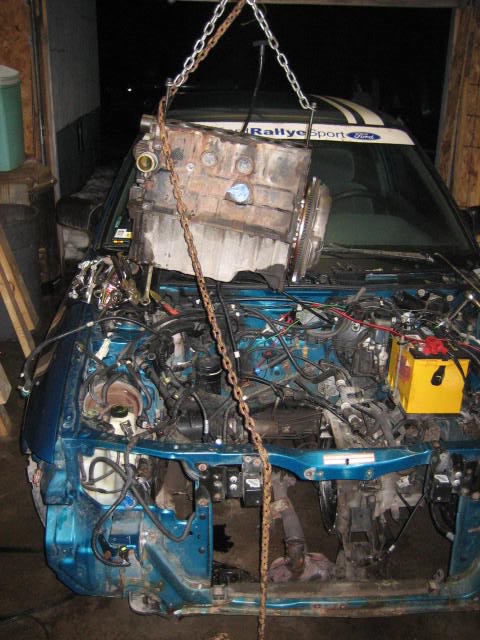
getting ready to pull the shortblock
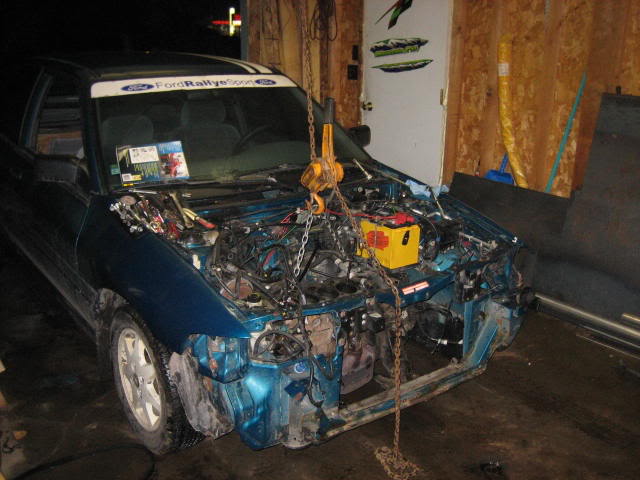
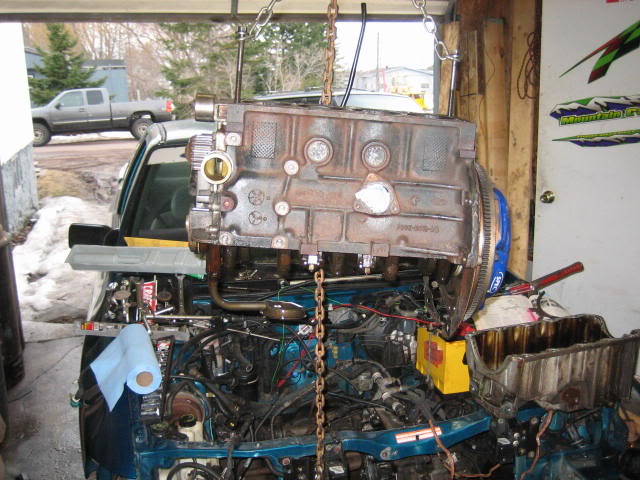
engine out
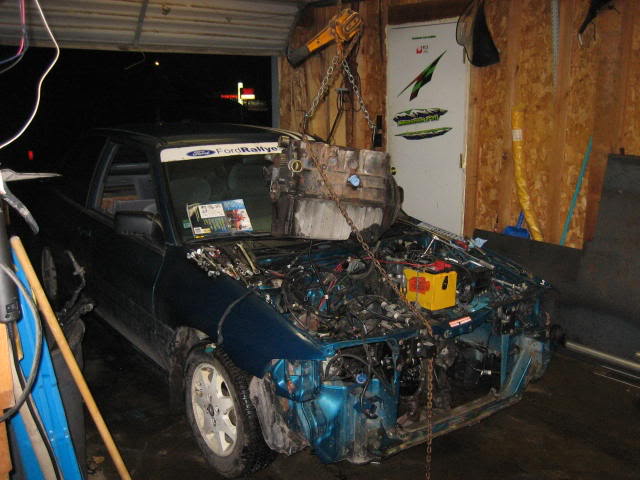
another look
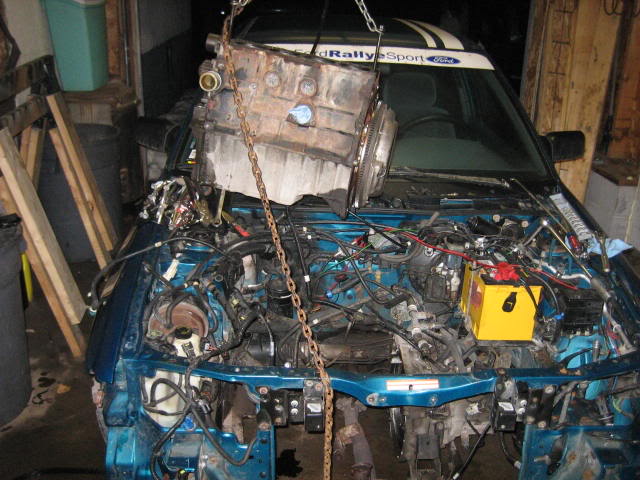
annnd one more for good measure
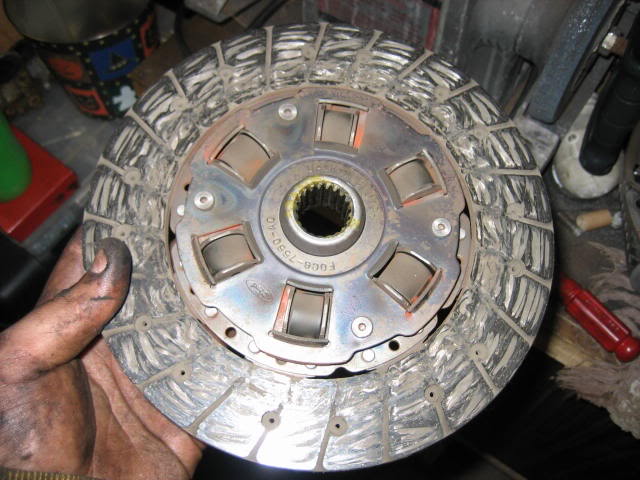
stock clutch disc
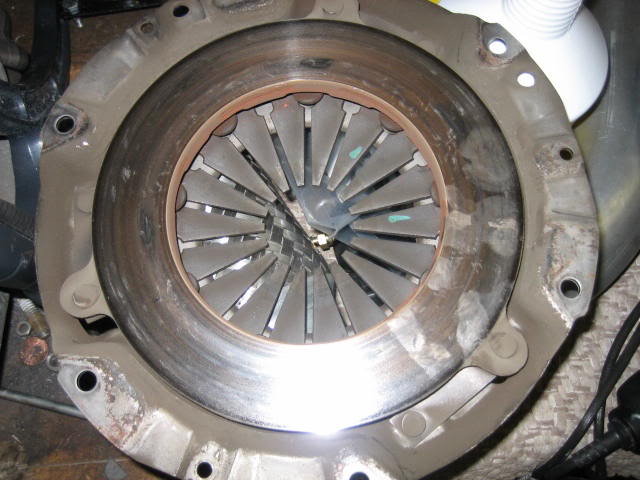
stock pressure plate
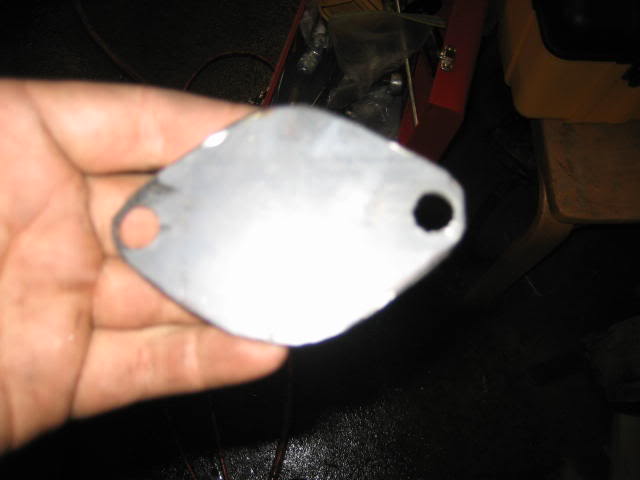
the flywheel.... This thing was MINT. the original finish was still on the surface of the wheel, you could feel the machine ridges on it. I carried it into a machine shop ot have it resurface, and he laid a straight edge on it, and slipped feeler gauges under the surface, and there was only 3 thousanths of wear on the face. He told me if it were him he would just clean it up, and put her back in, so thats what I did.
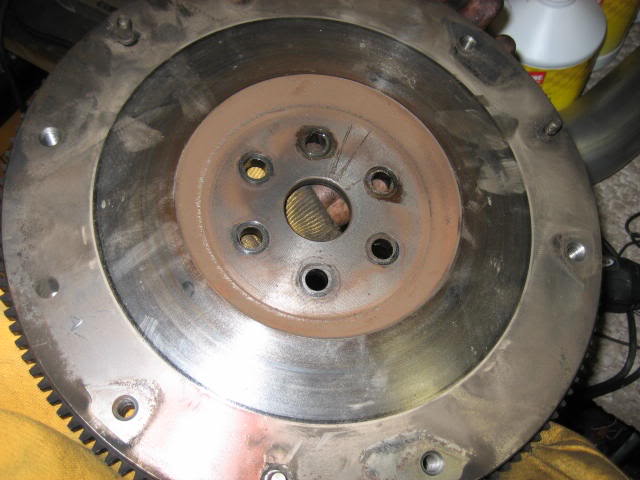
close up of the surface:
another closer close up
day two:
Discharge flange for compressor
my ugly cobbled discharge tube
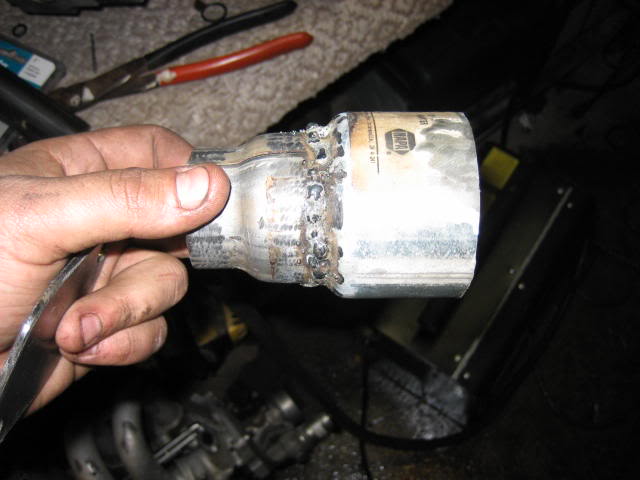
where the flange bolts
mocking it up
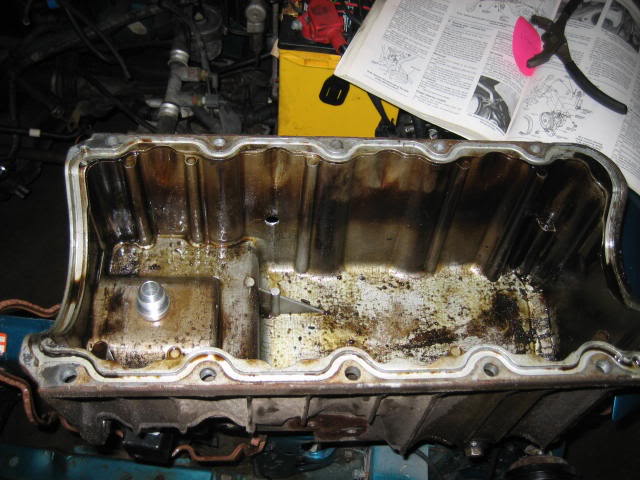
oil pan off
hole in pan
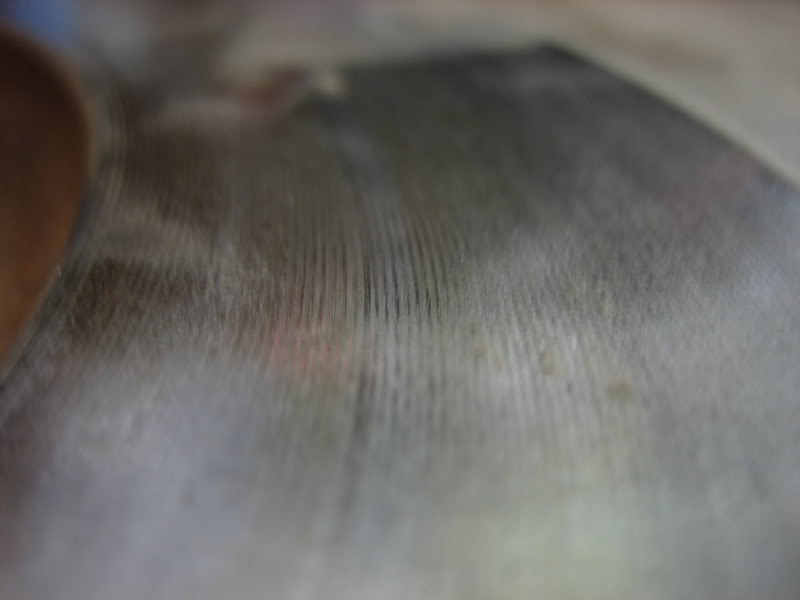
cylinder cross hatching
close up of hole
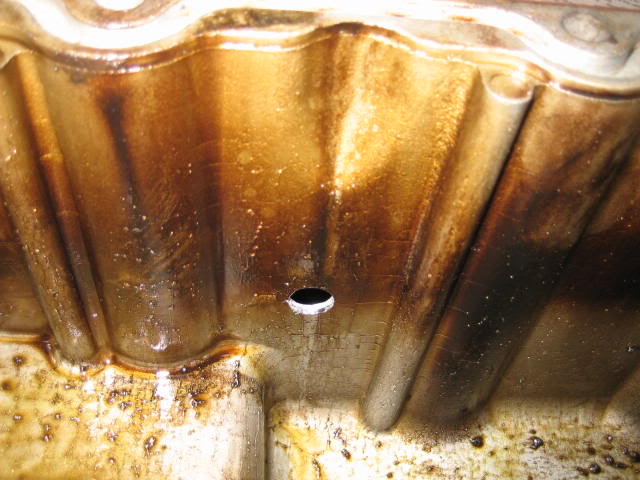
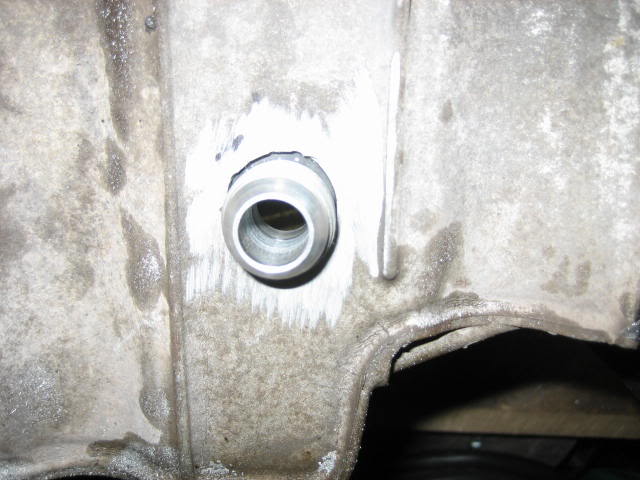
bung resting on pan
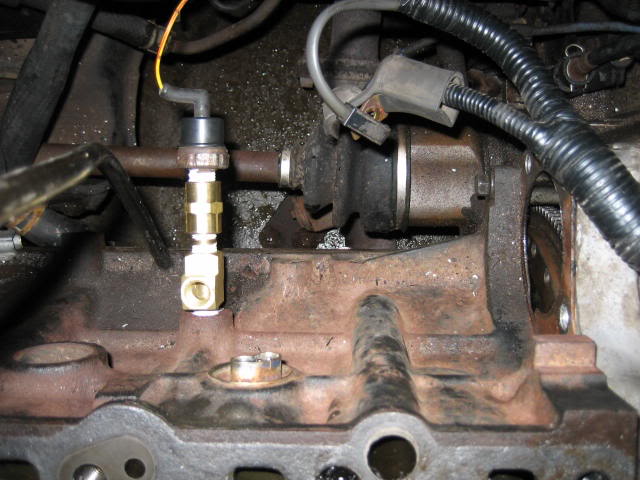
the original oil feed
more of the ugly cobbled pile....

Secondary rail feed
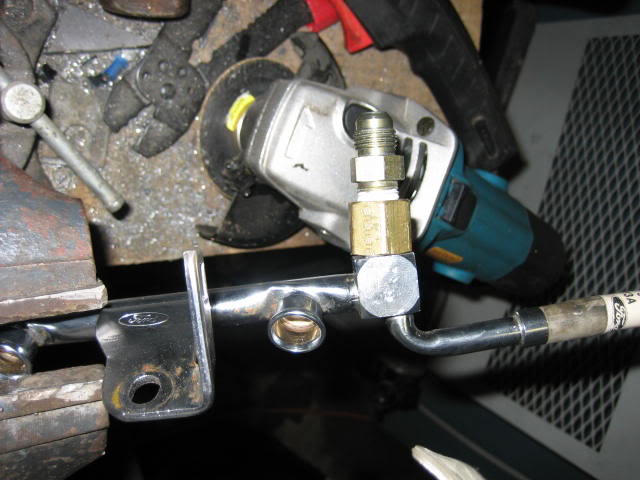
bigger view
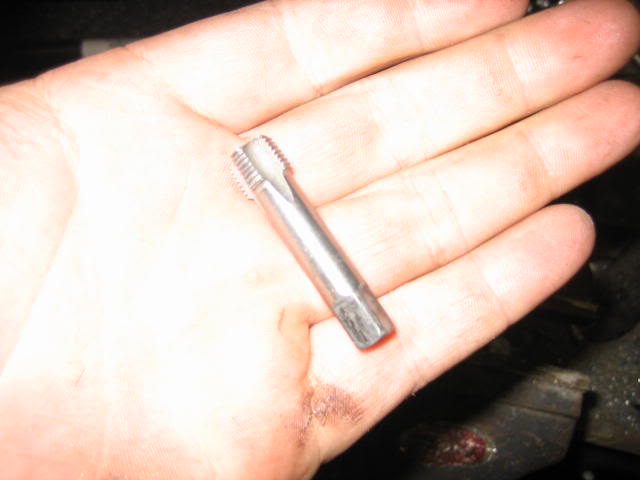
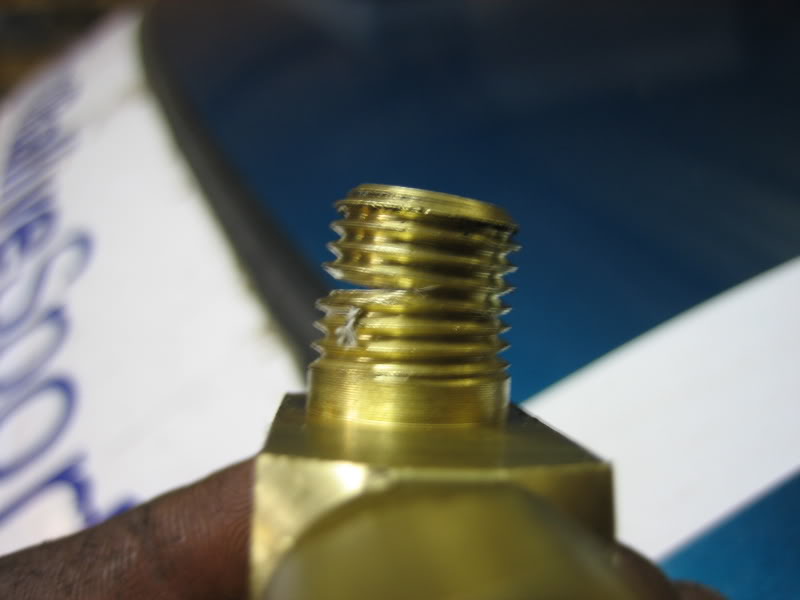
the "custom" tap converted from starting to bottoming to thread the fuel block
bung welded in. We decided to weld it on the backside so if the bung ever broke that it would be pinched in the oil pan and at least return most of the oil instead of dumping it on the road.
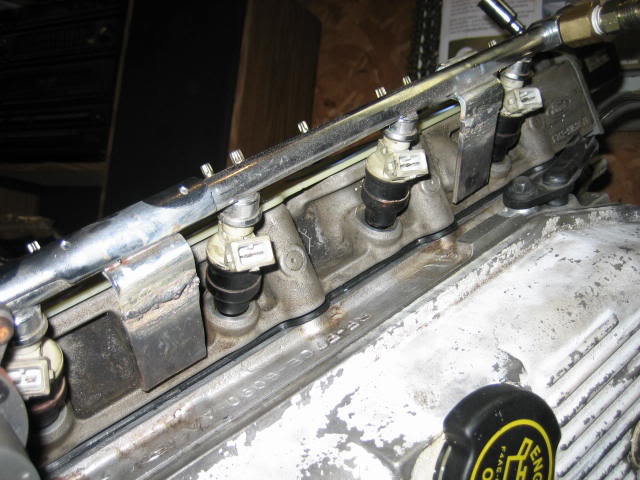
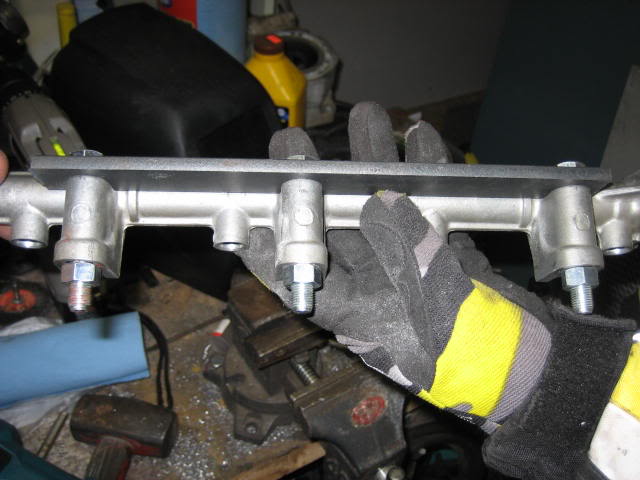
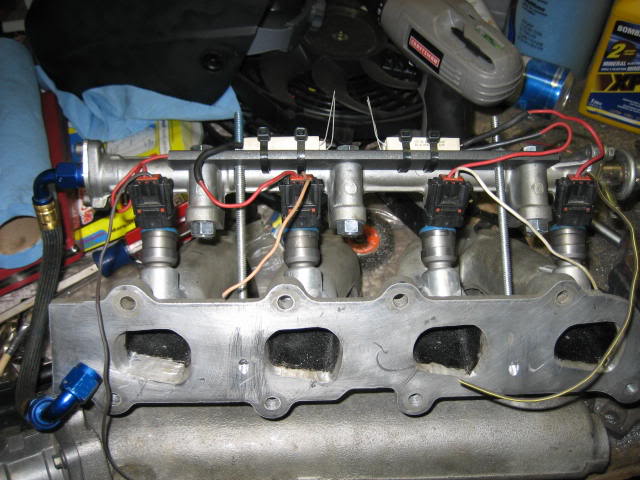
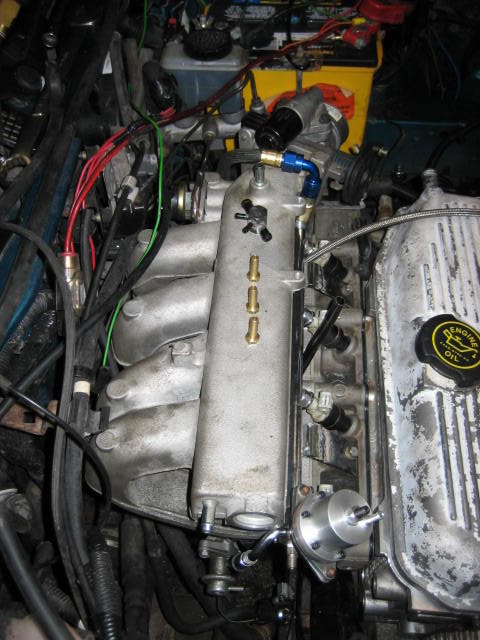
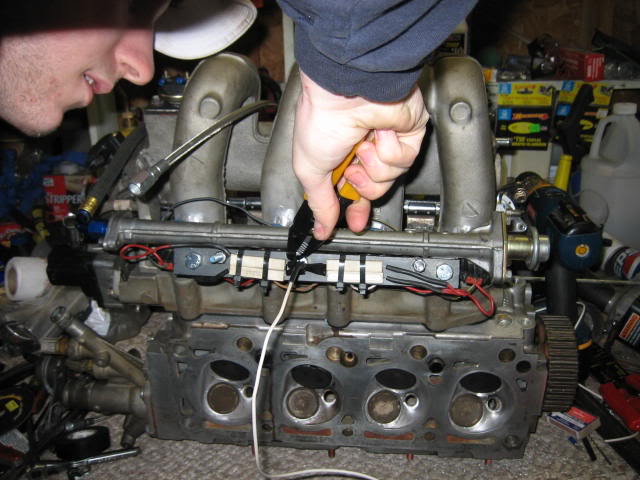
Modified SPI rail to fit 1.9 injectors.
more of day two
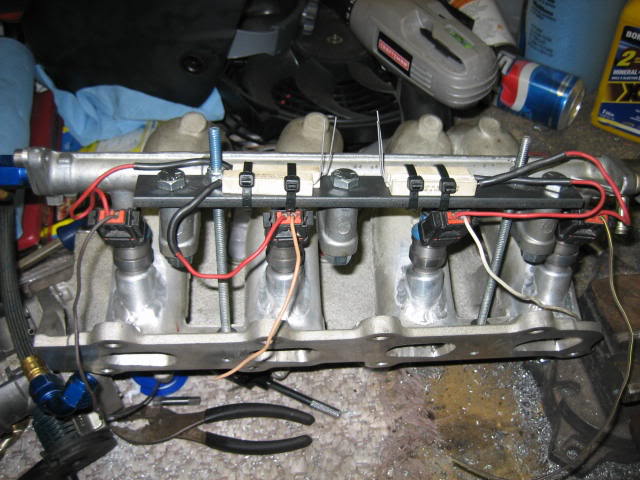
hold down plate on secondary rail
from underneath
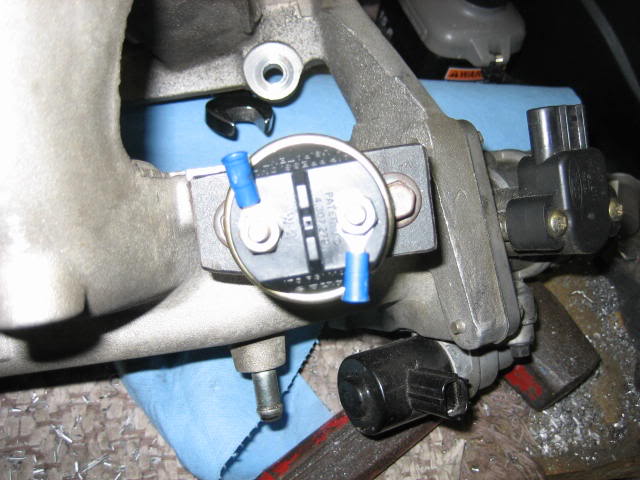
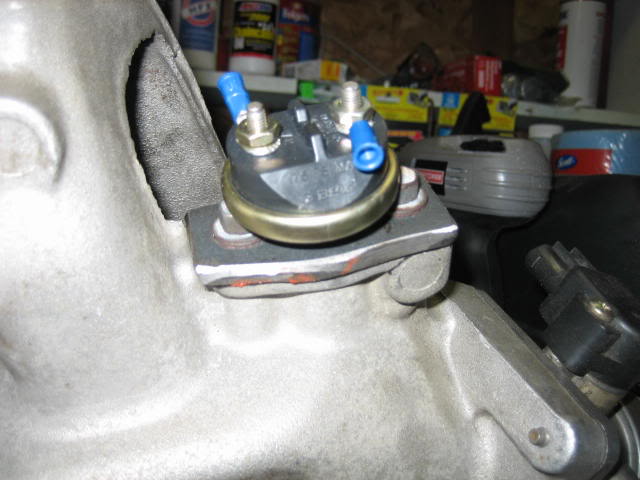
SPI IMRC pressure switch where the EGR used to be.
another angle
secondary rail hold down studs. I vowed not to use JB weld on this project, but I had to break down here and there.
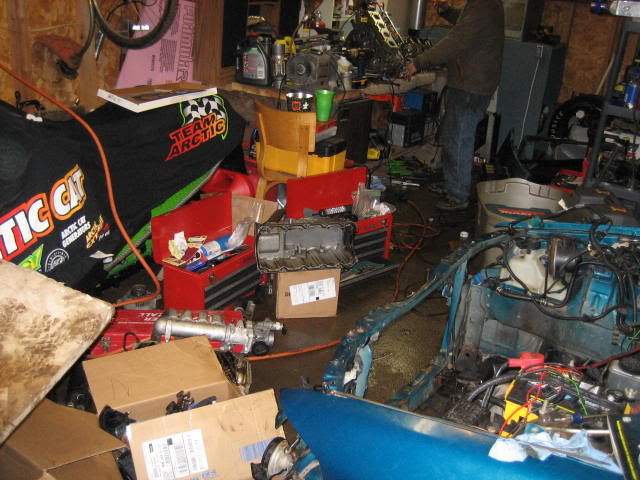
our messy, tight workspace
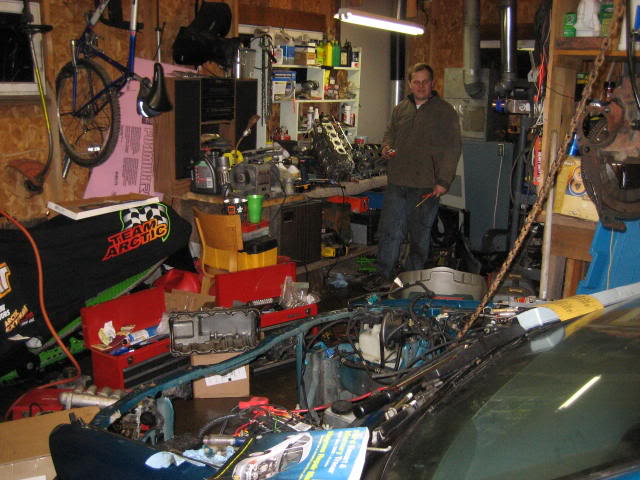
junk everywhere
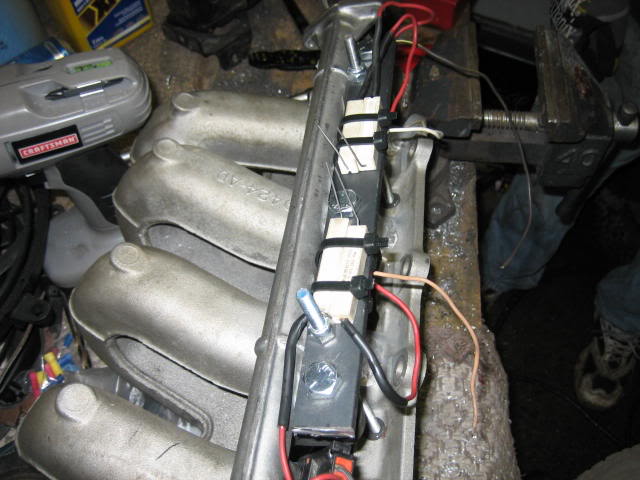
secondary rail all wired up and mounted
resistors for injectors
more of the resistors and mounting plate
Keith doing something
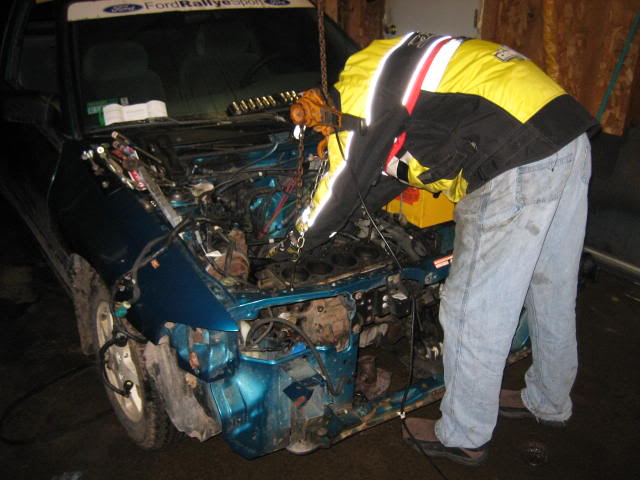
putting the engine back in
this is what happens when your oil block is too short, and the end of the starter smacks it when you tighten the starter down.
the little nub sticking out was hitting the stock pressure switch
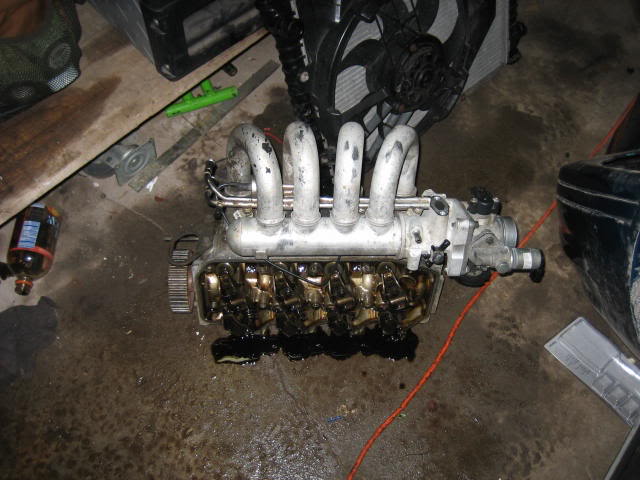
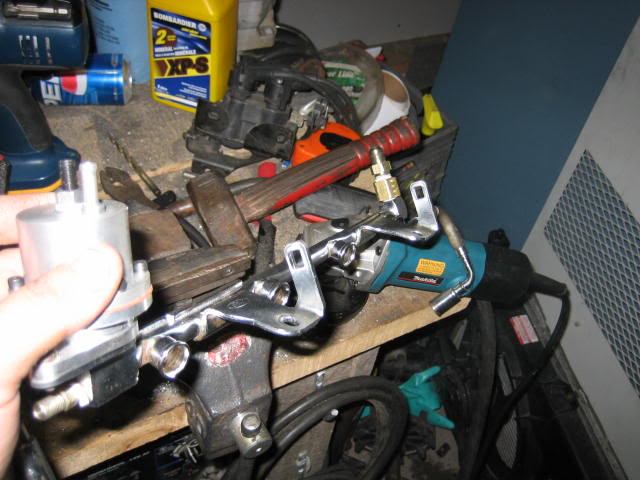
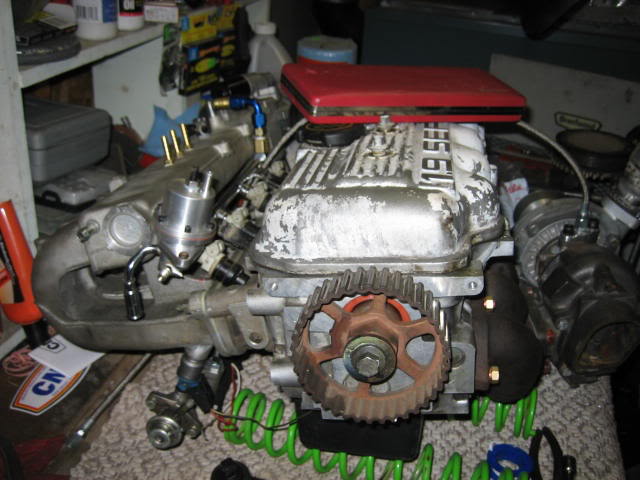
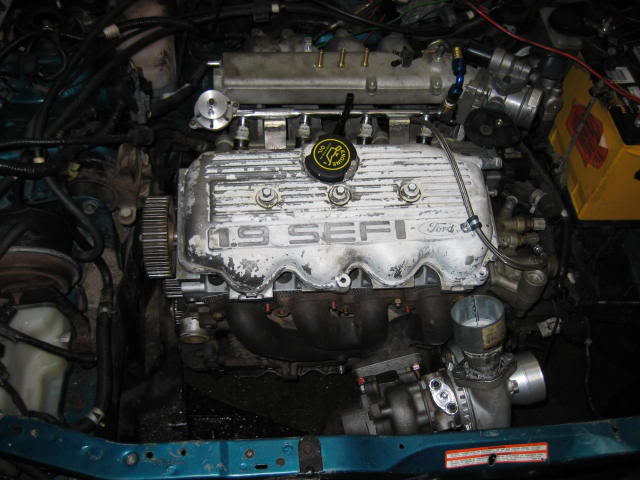
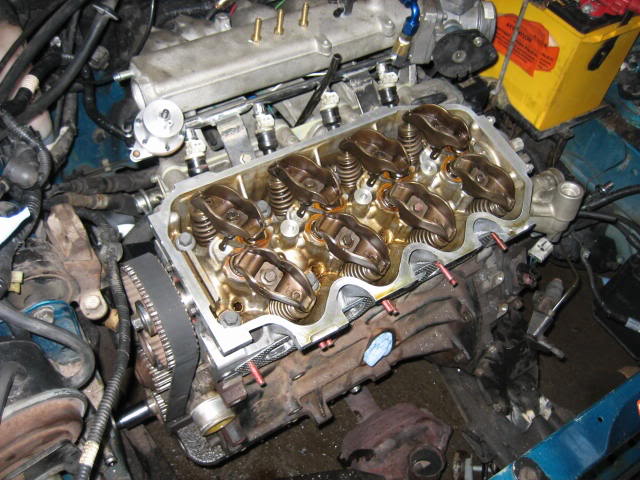
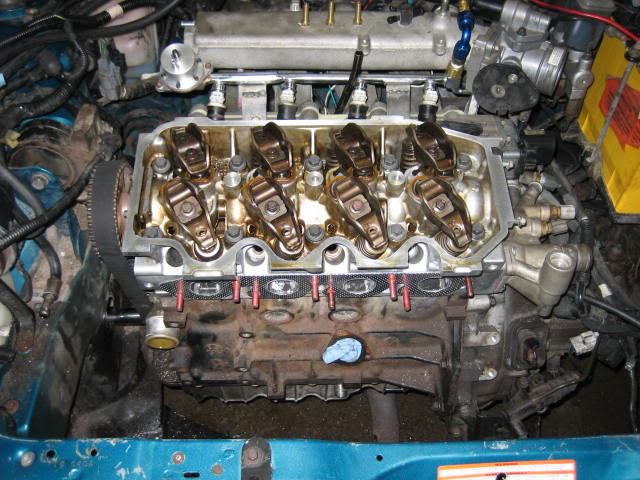
the SPI head redy to go
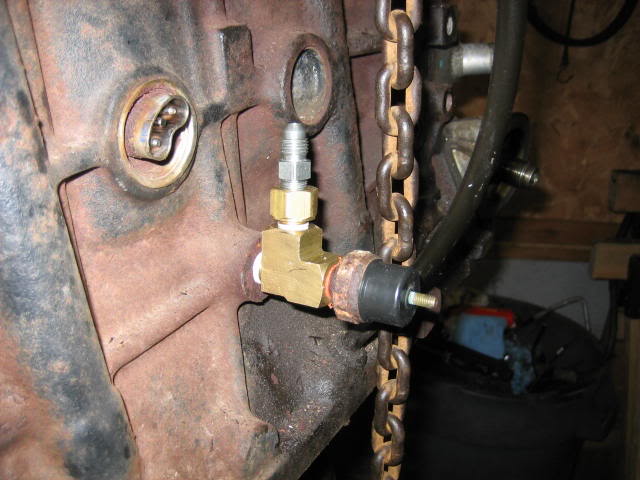
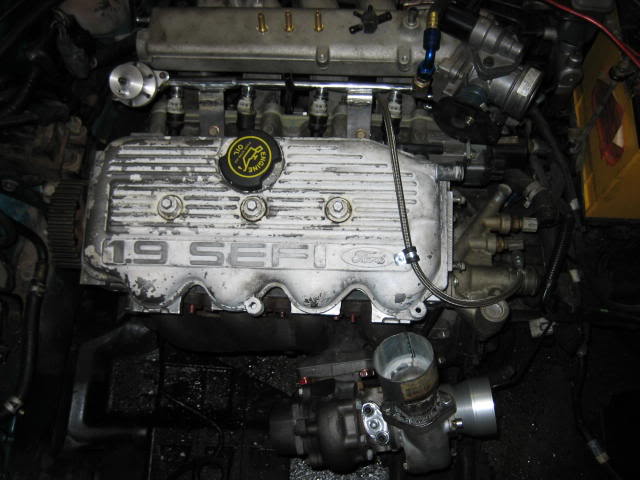
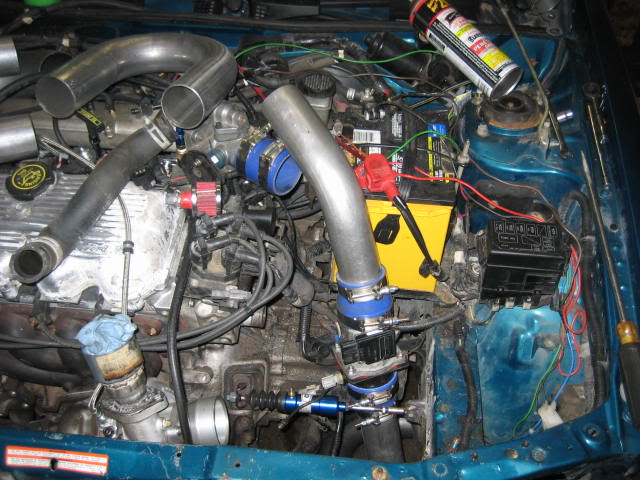
fuel rail feed line, and SIC, BOV and wastegate hose nipples.
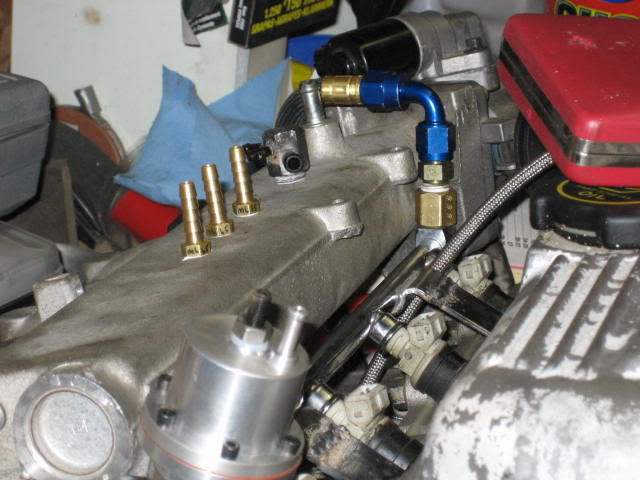
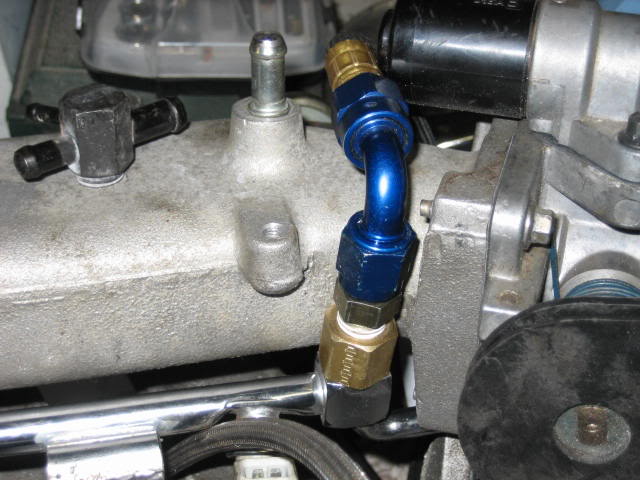
close up of fuel feed.
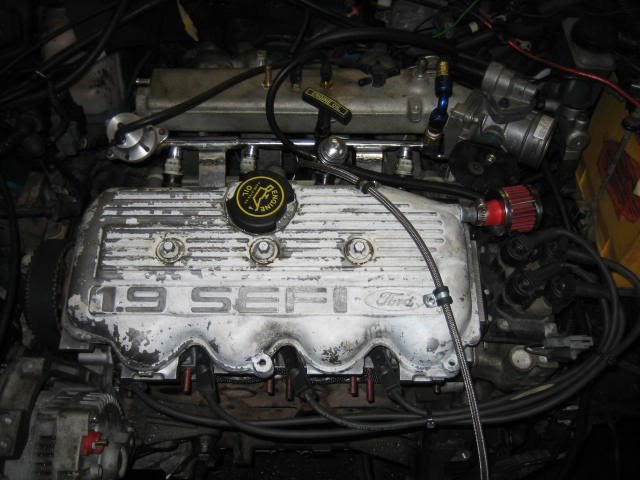
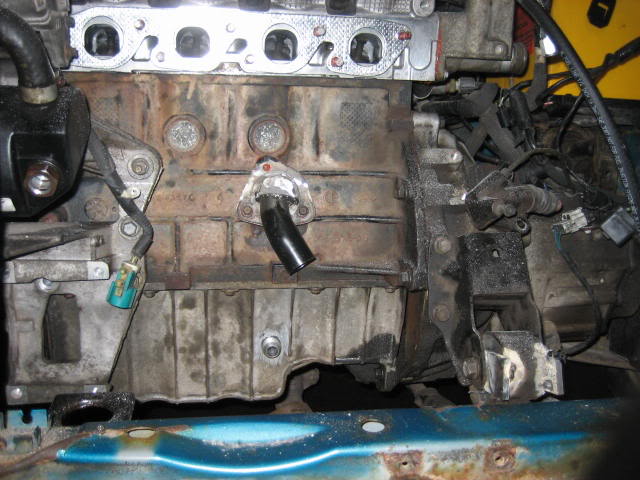
block completely back in
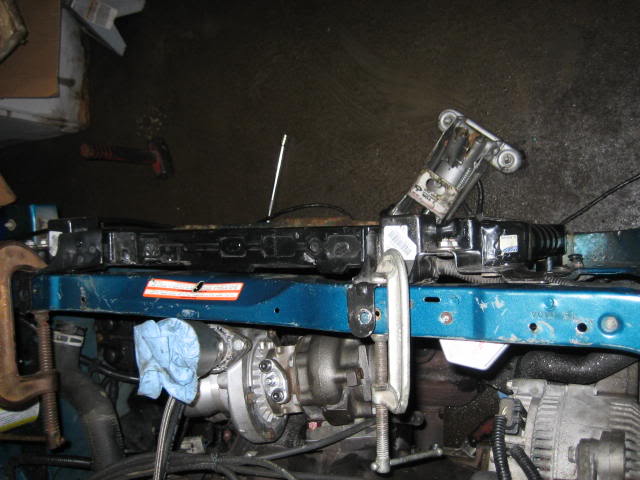
test fitting everything...

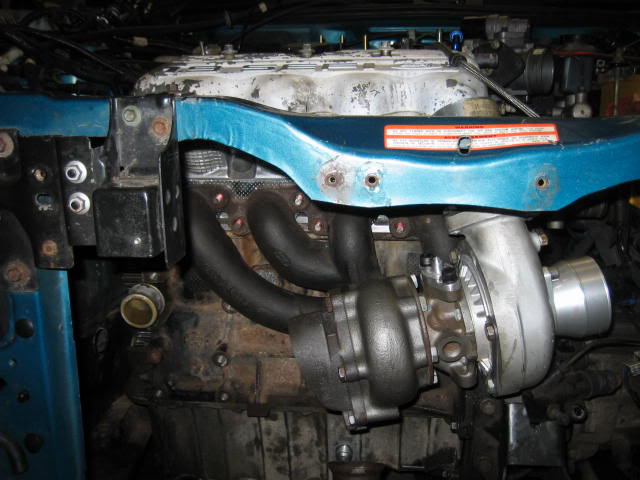
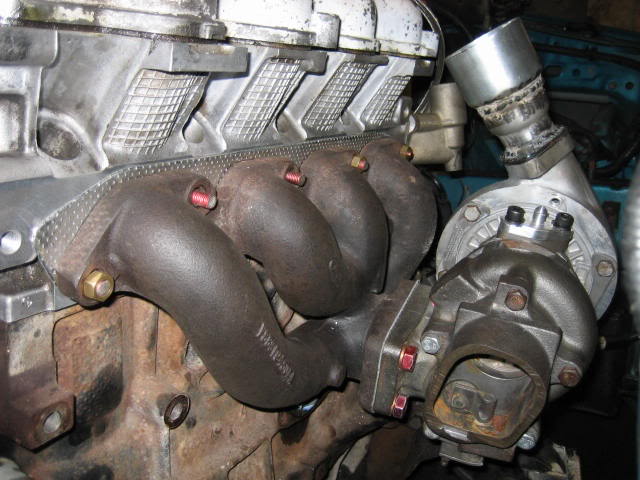
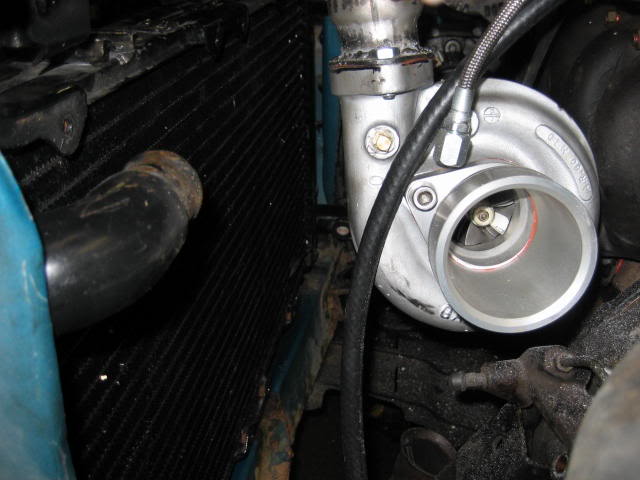
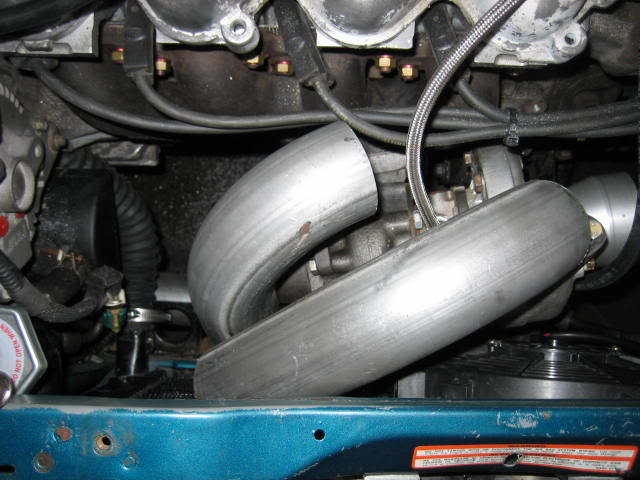
the RST manifold
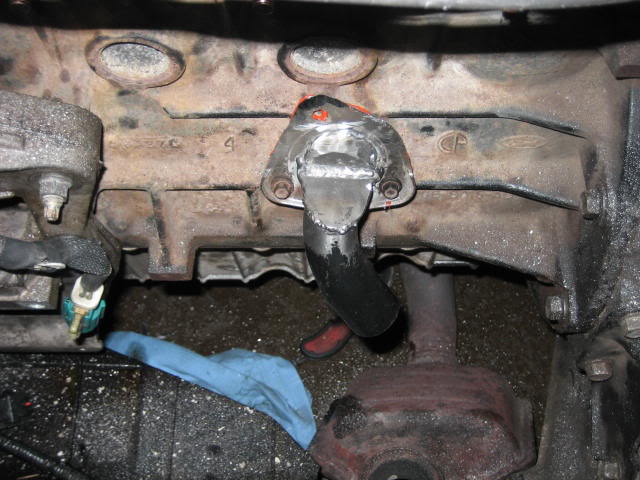
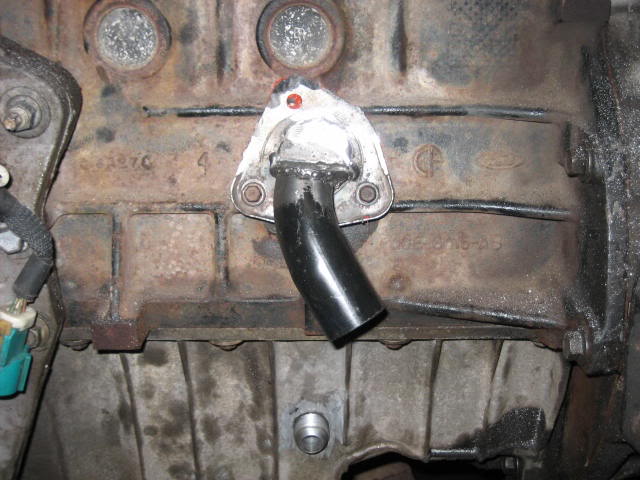
oil feed line on rocker cover
another view of the line and turbo

core support clearance
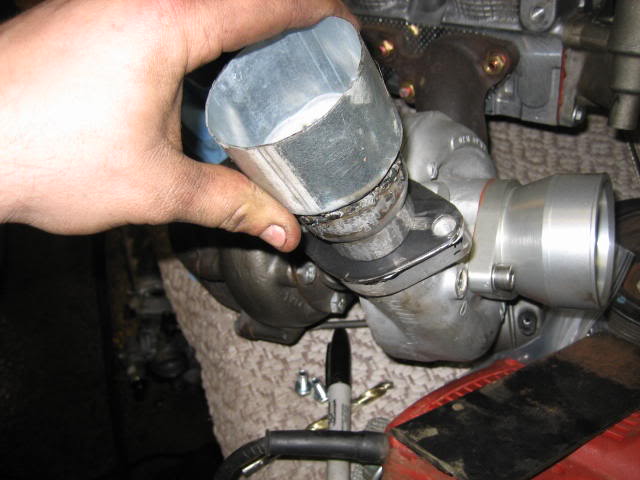
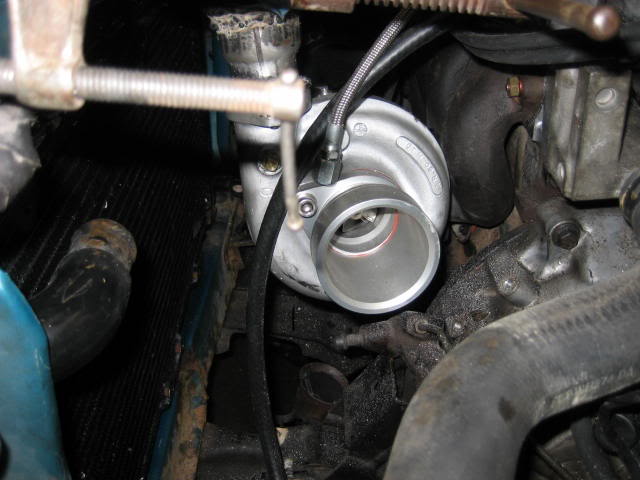
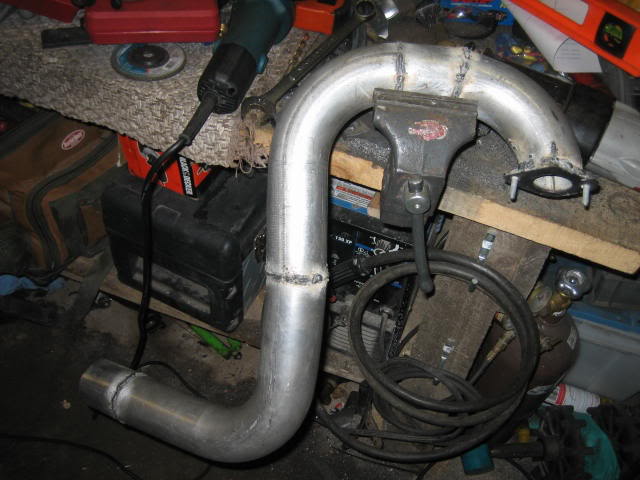
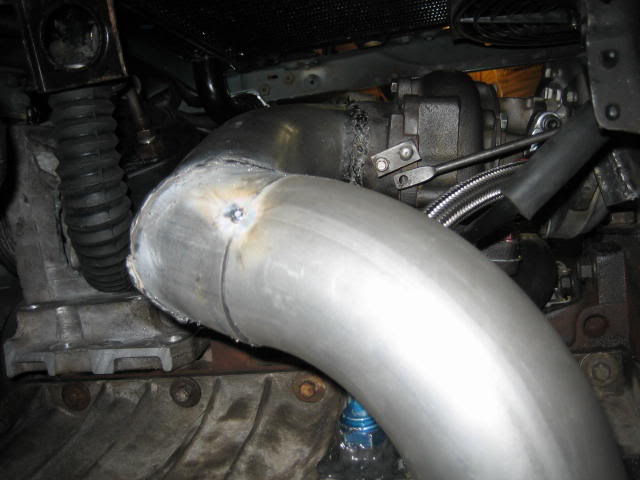
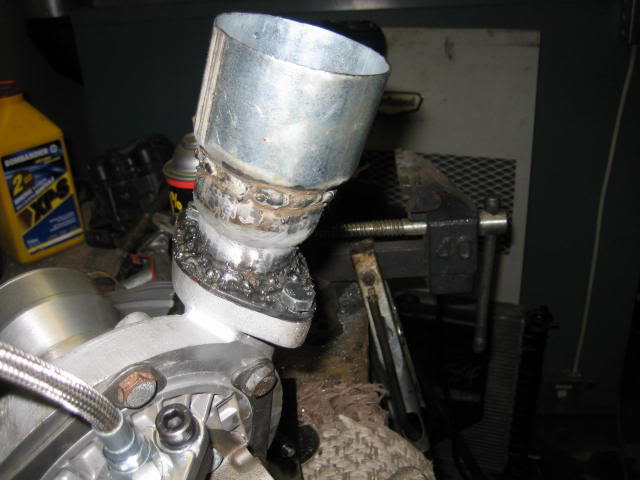
close up of cute downpipe.
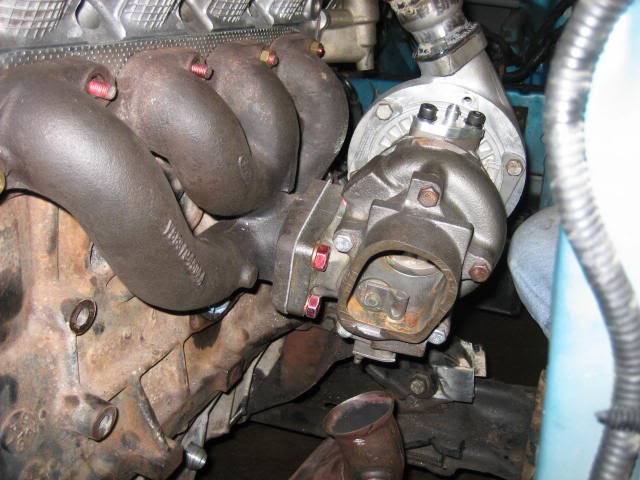
another view of turbo
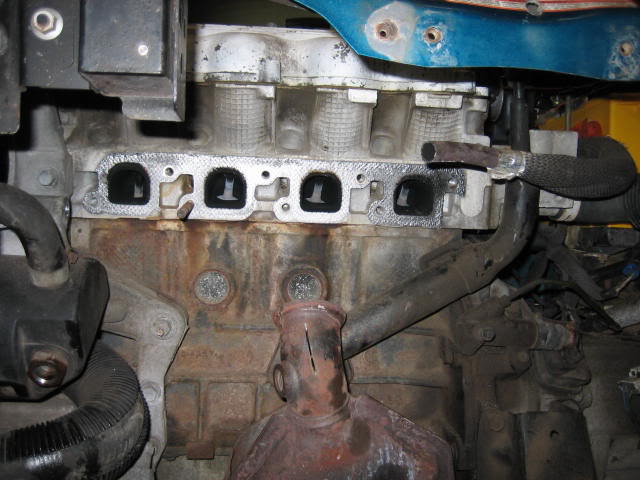
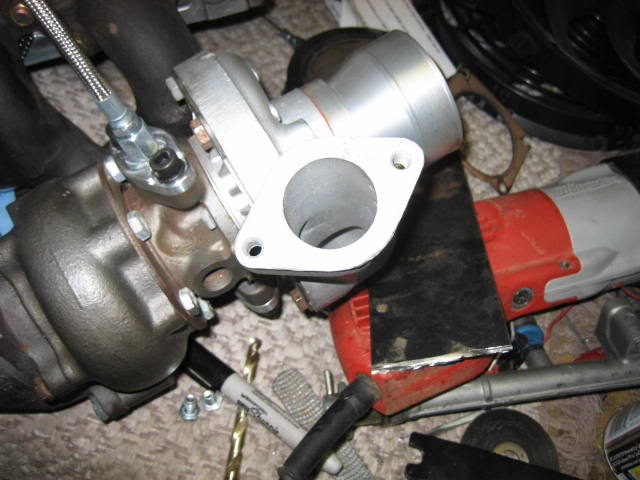
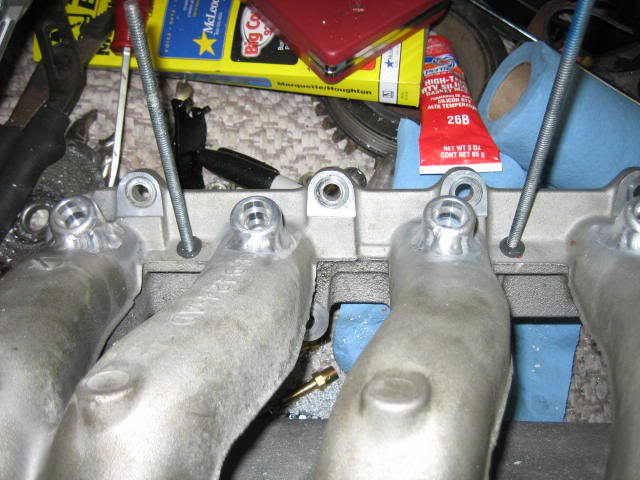
intake manifold. Yes, the fittings are a lil crooked.
buid day three, the 24 hour long wrench session. Yes, I said 24 hours straight.
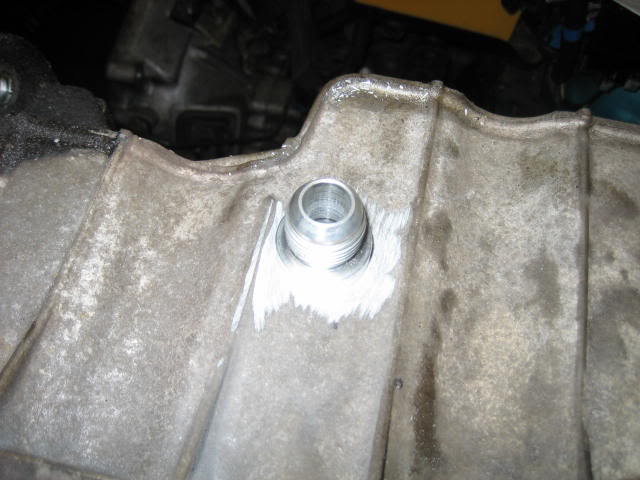
the new oil feed... longer to move the switch out away from the starter
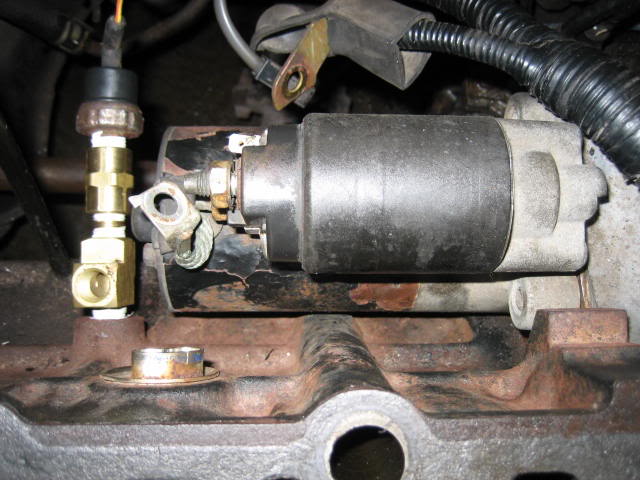
with the starter installed
thats tight...
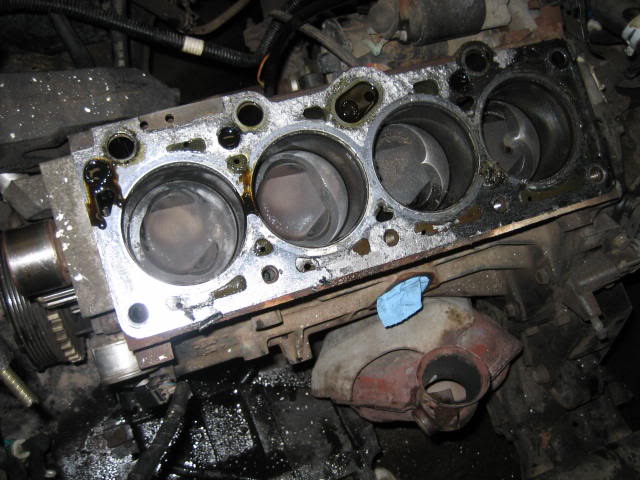
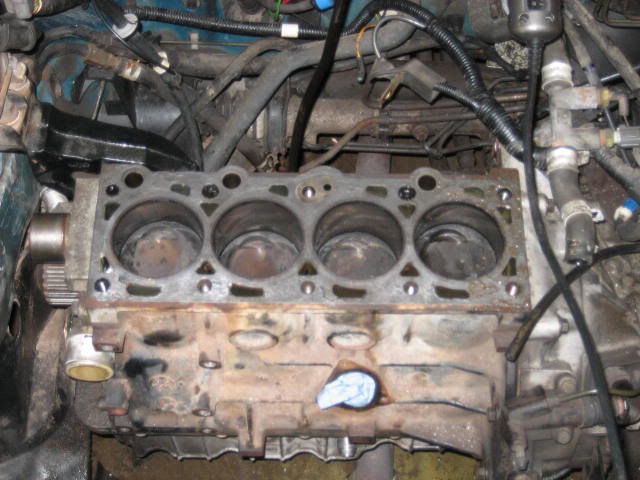
clean deck and bores
connecting shared positive leade to the injectors.
Second disaster of the build.... the ARP studs WERE NOT THE RIGHT ONES!!! too short, too fat, and wrong thread. I;ve got to call summit and have a chat with them. I ended up tracking down a set of head bolts for it though luckily.
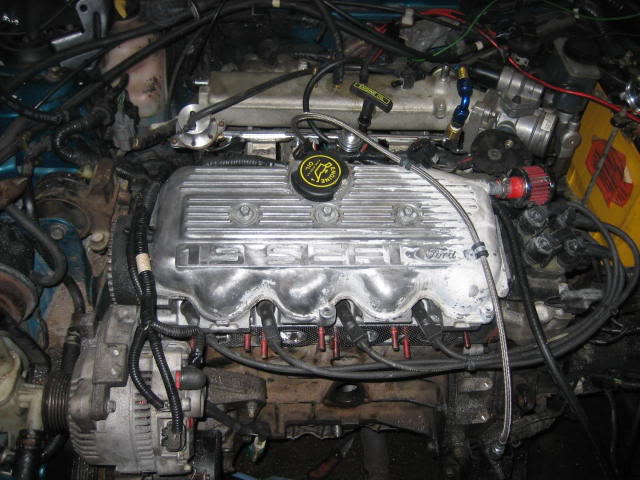
top and bottom end lighned up and belt put on.
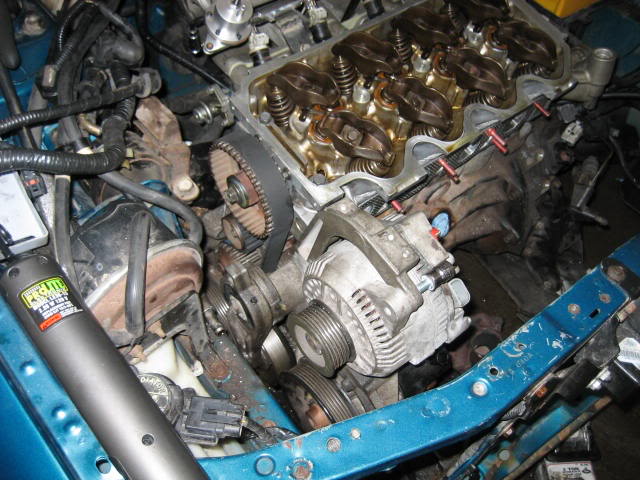
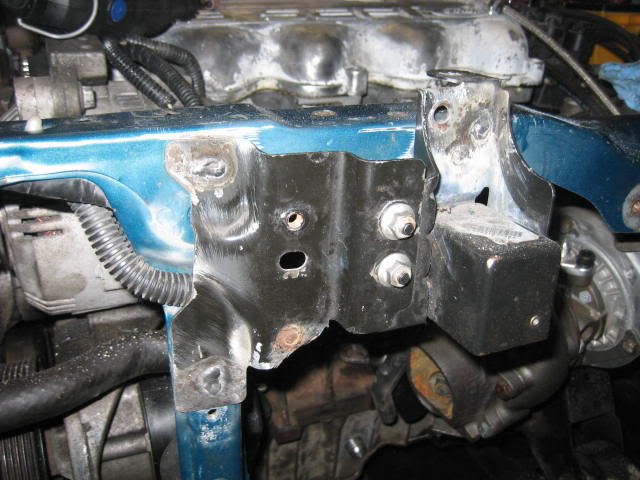
accessory drive bracket back on... god only knows how many times we took that off and put it back on.
no a/c
ignition system back on
keiths wicked cool PCV tube. It was just the stocker cut up and welded back together.
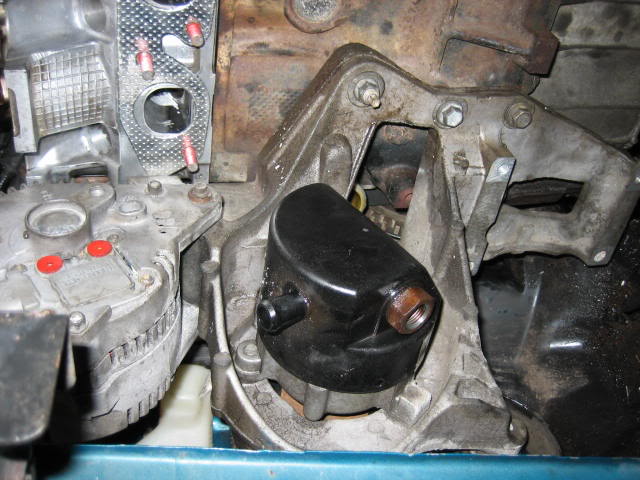
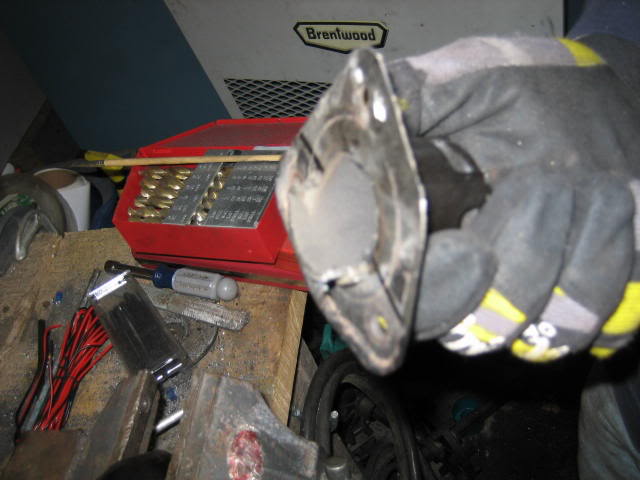
flange ground flat.
while he was working on that, I was working on this...
oil line screwed down, valve cove breather on.
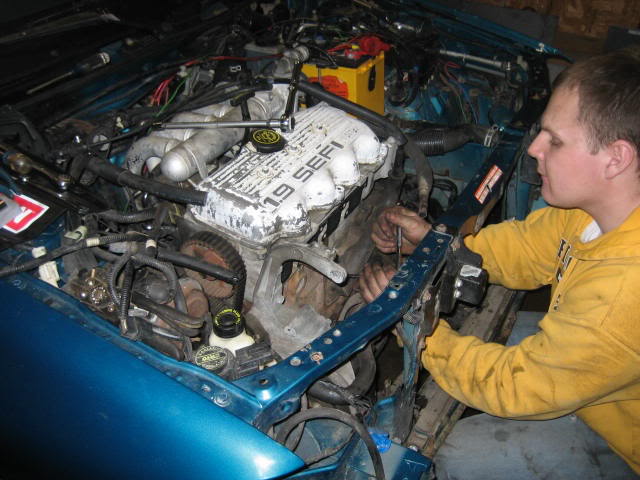
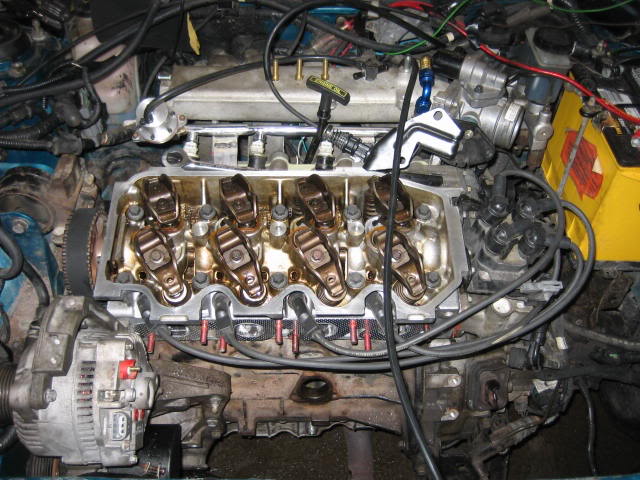
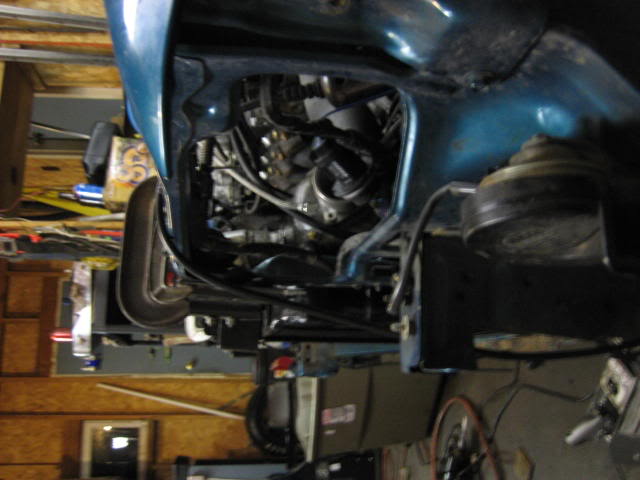
coming together
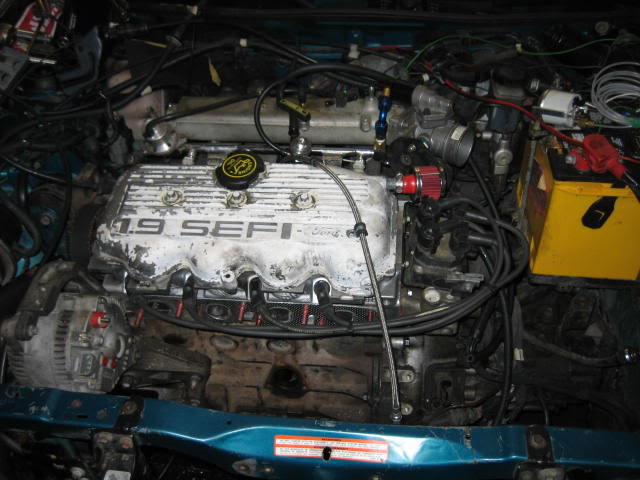
routing vacuum lines
starting to get a lil crowded.
keiths finished PCV tube. wicked cool if you ask me.
it has to be cut down like that to clear the RST manifold
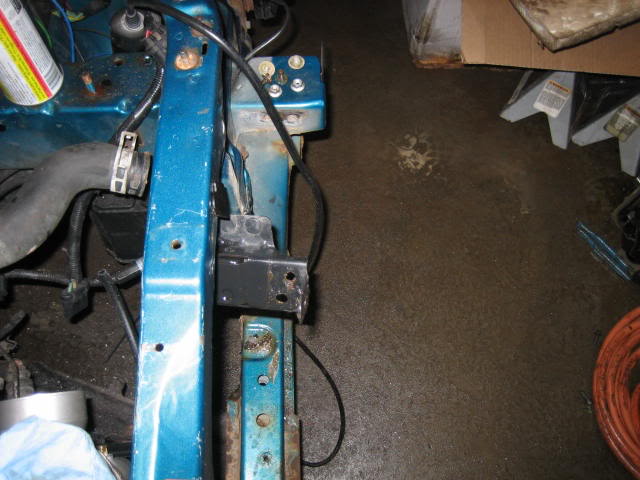
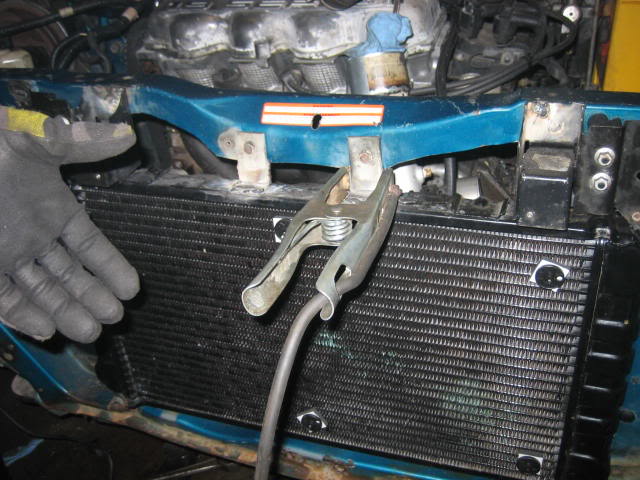
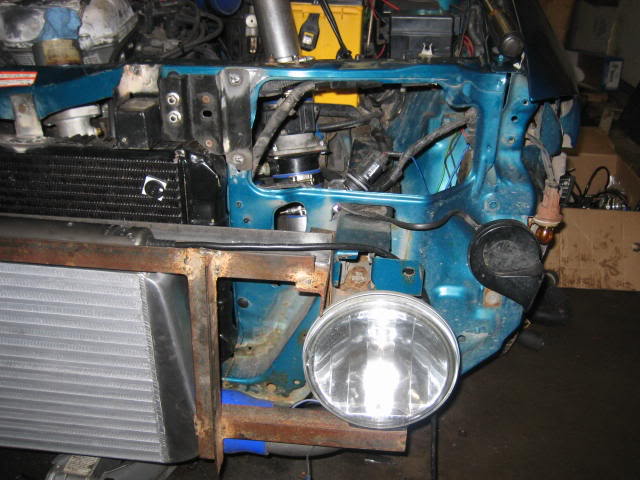
the curb ownage. As you can see, the frnt of the core support is a lil bit crooked. It still aligns fine and drives straight though.
nope, not going to be using the stock radiator.
cutting off the auto tranny lines and mounting tabs..
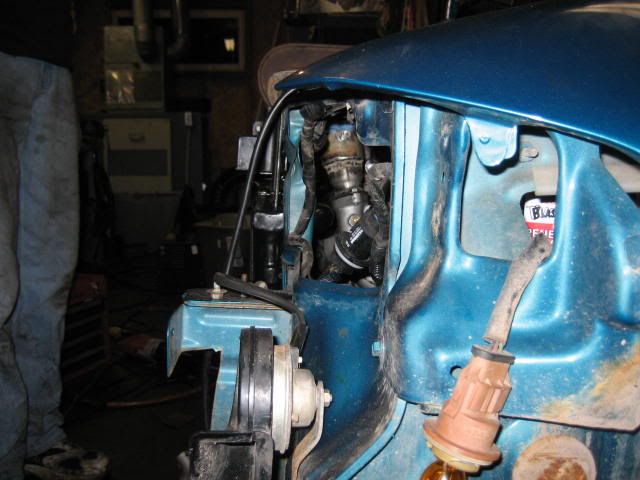
the turbo hanging again.

have to move/modify the headlight brackets and airbag sensor brackets.
thats how far up they were moved to make room for the radiator.
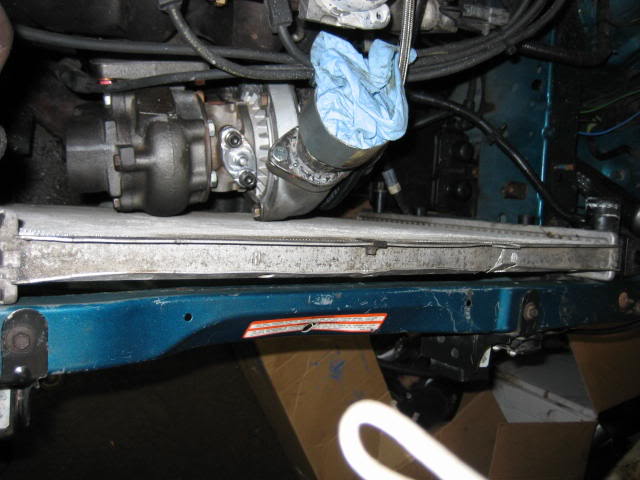
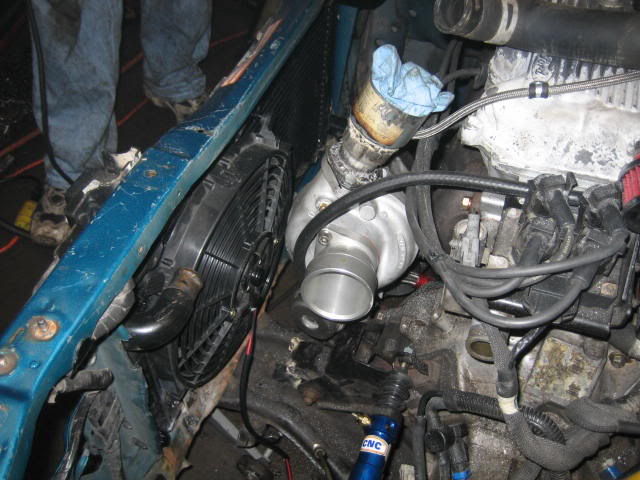
ohhh, look at that, the radiator sits oh so nice in the core support!

but, the question is, does it clear the turbo?
I dunno... it might clear the turbo...

it does. It clears by a mile.
new radiator flush with the core support.

the airbag sensors stick out further...
brackets spot welded to the support
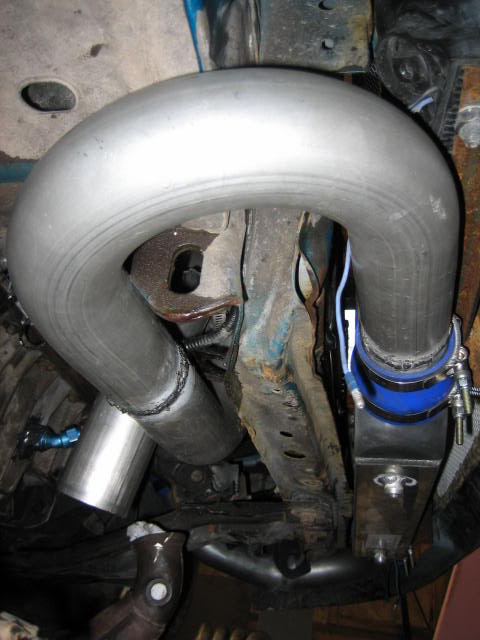
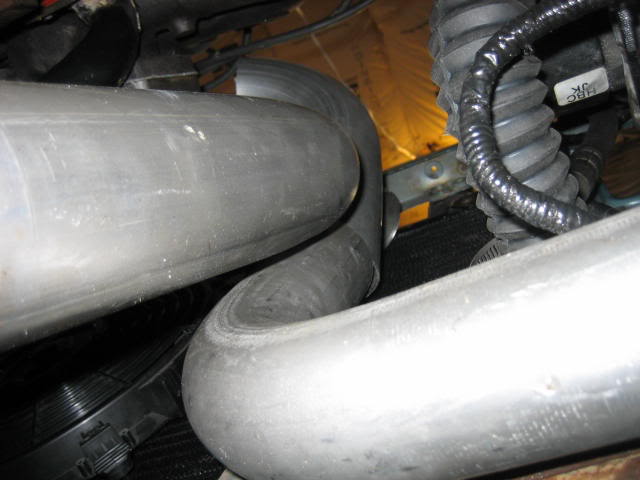
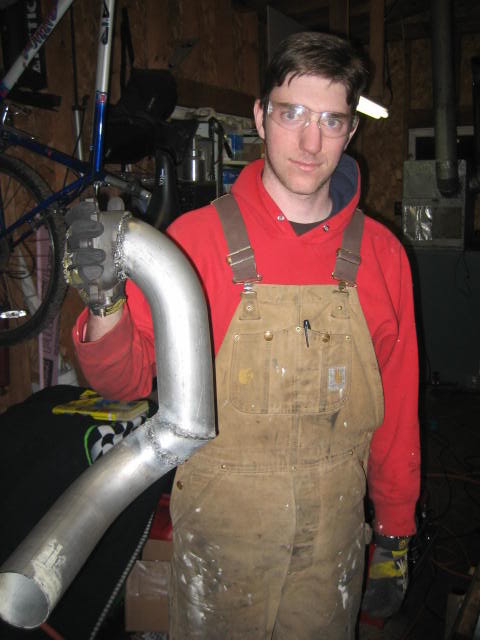
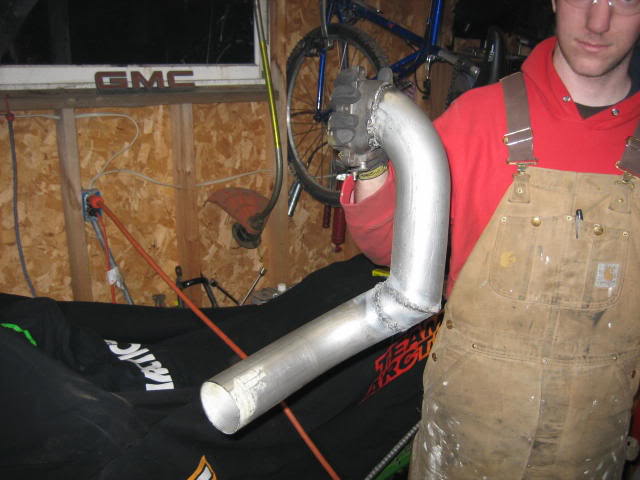
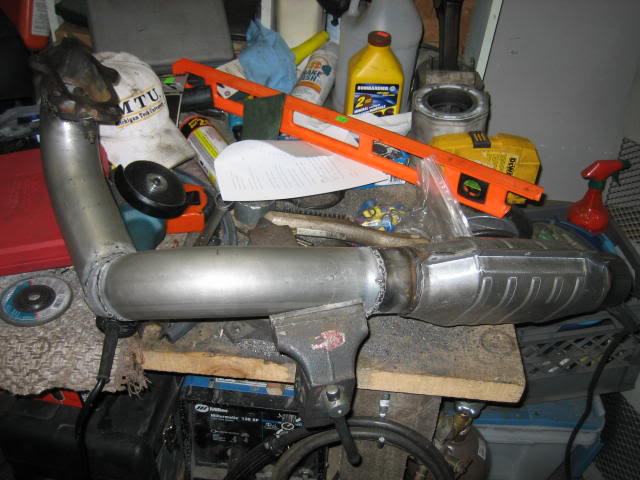
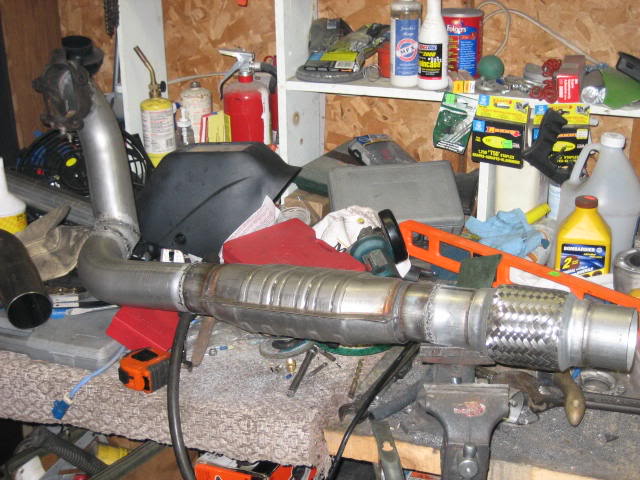
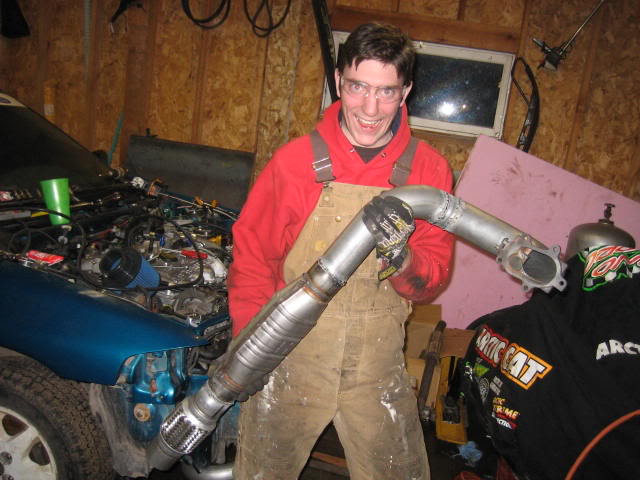
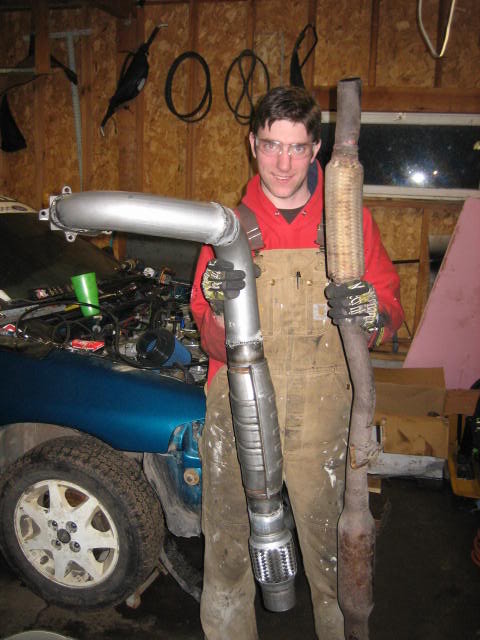
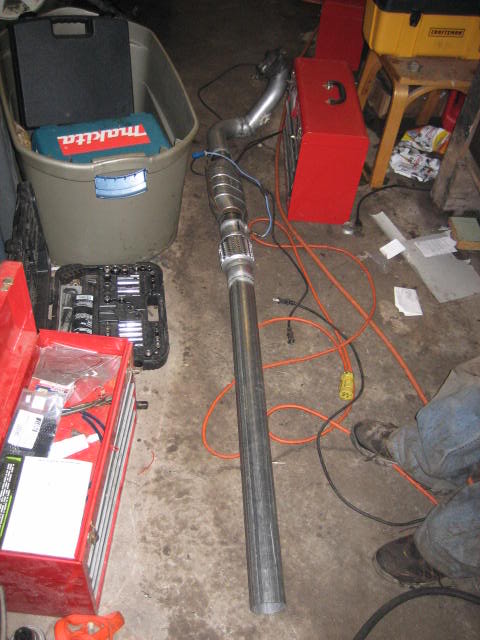
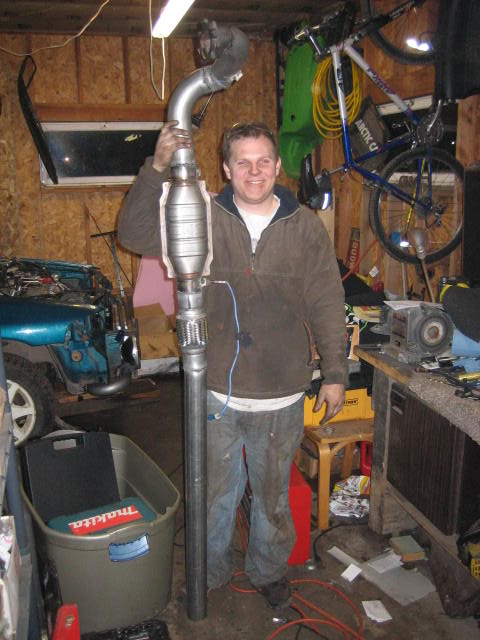
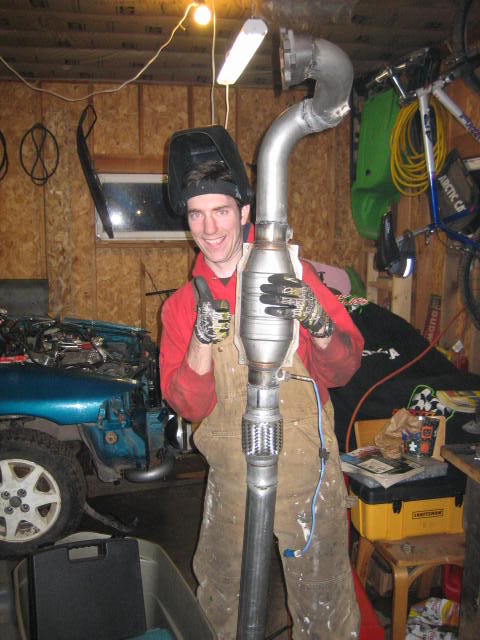
the new exhaust... heh heh heh...
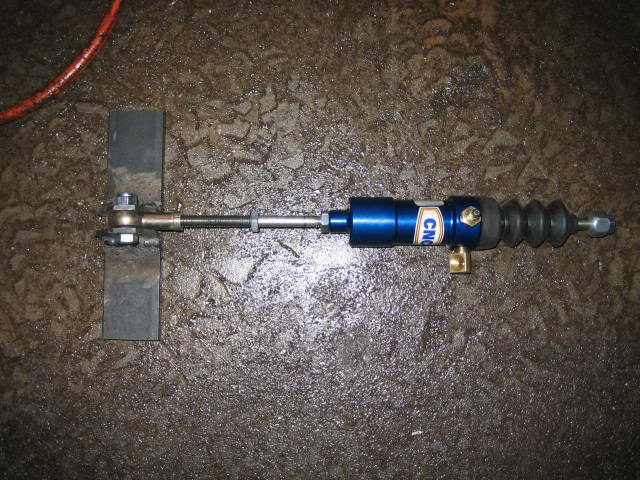
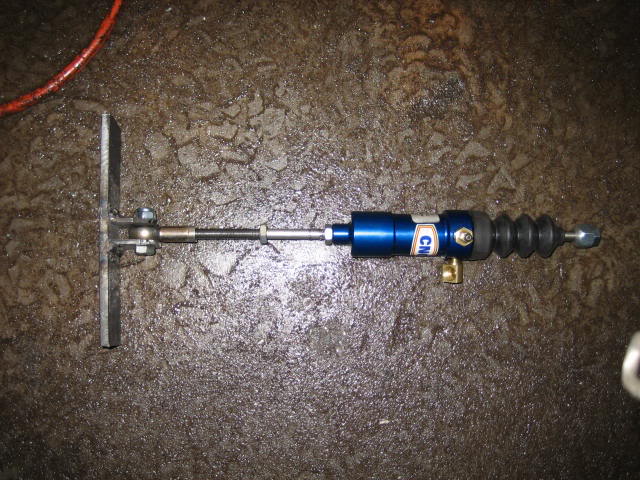
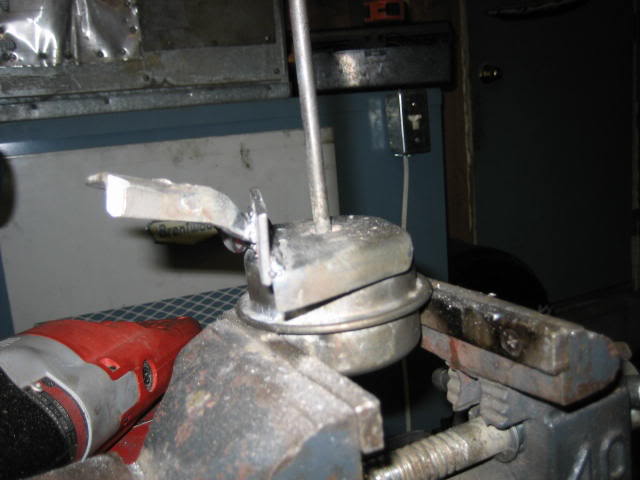
the wastegate moddage. The factory local for the gate happens to be exactly where the engine's front mount is... so, on with the moddage...
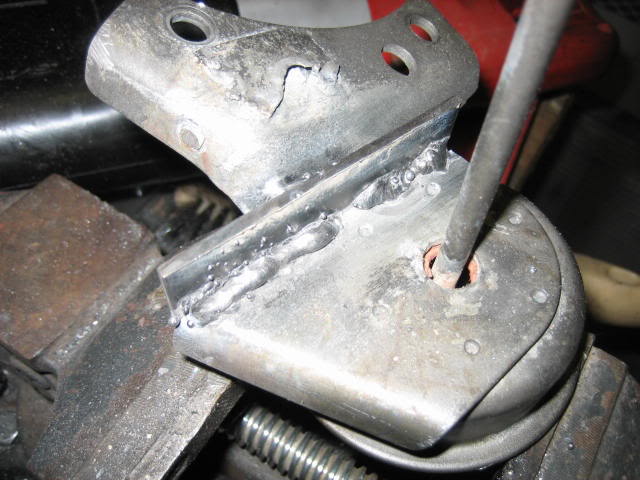
We cut the bracket off at the canister, turned it around, and welded in a piece of flat stock so that the wastegat was facing in the opposite angle... Its hard to explain, but it moves the wastegate out towards the radiator where there is room for it.
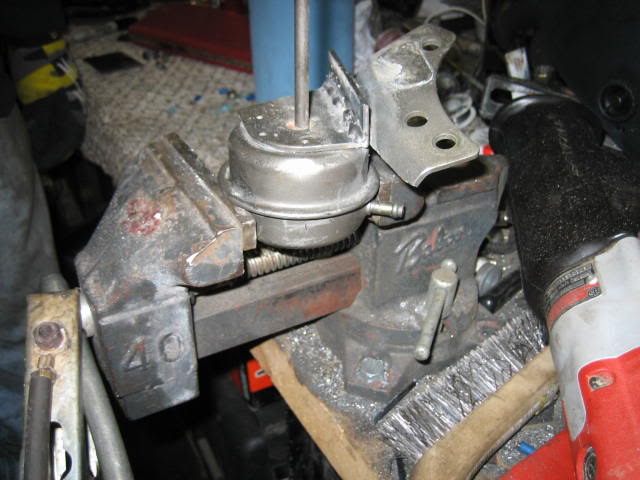
gate on the car
oil return line. Its much steeper then what it looks in the picture.
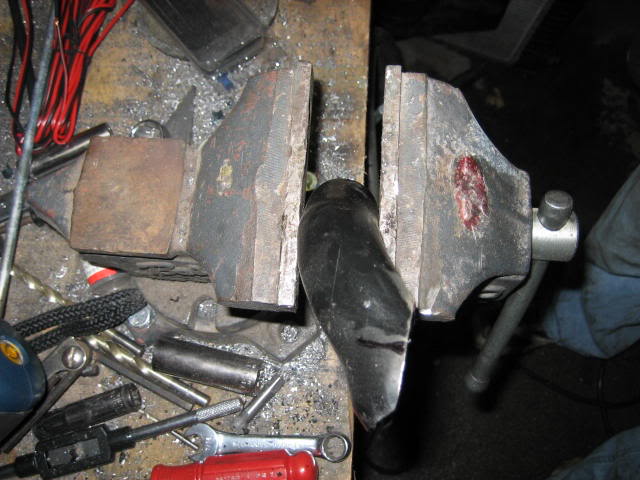
Back to the clutch... Ignore my crummy welds. Keith is a much better welder then me, so he's doing the exhaust
since the engine is rigid in the fram, pulling off the frame is no problem.
radiator mounting tabs. They use the stock hood latch mounting holes.
all done. On the bottom we welded tabs to the core support for the radiator to bolt to.

the fan. I can only fit one in as a pusher. If its not enough I might have to order a 10" fan to go along side it.
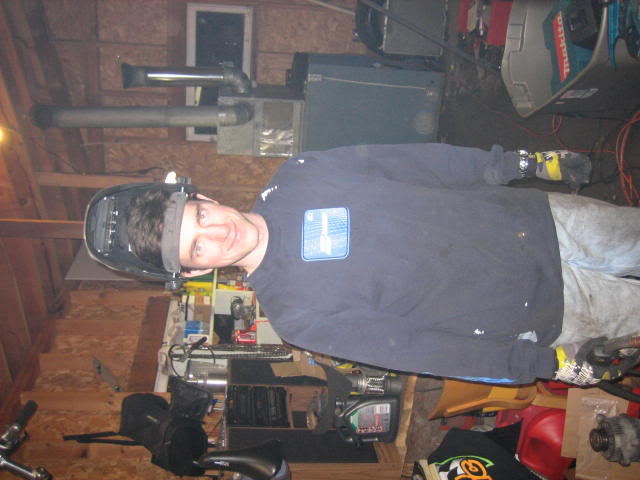
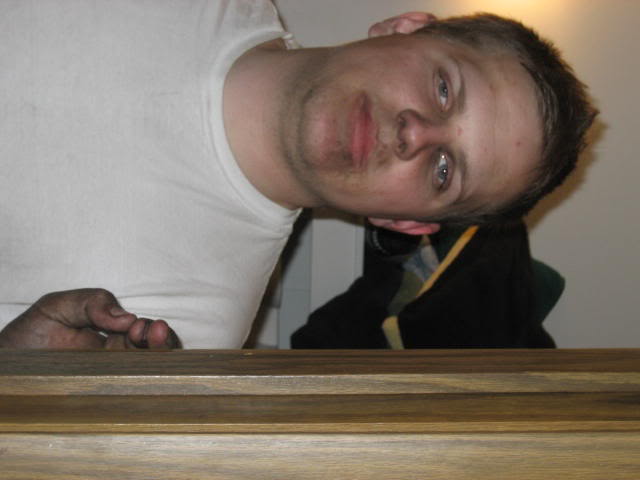
keith lookin buzzed after 24 hours straight of fabrication
me cutting a bracket away for the charcoal canister to make room for IC pipe.

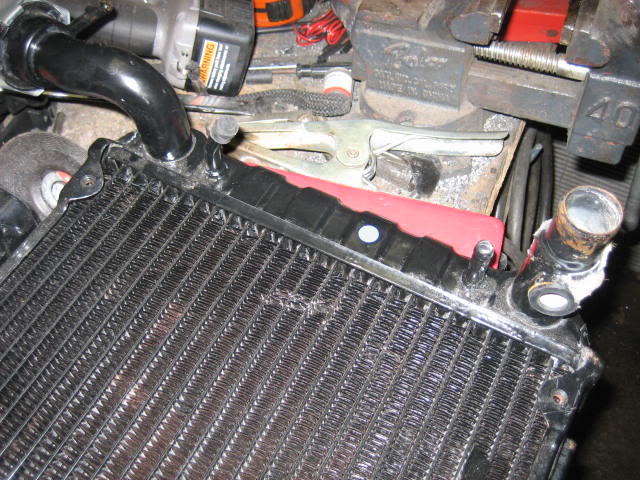
fog lights and IC mounted up.

I had to cut some steel out of my bumper mount, and add some in for the intercooler.
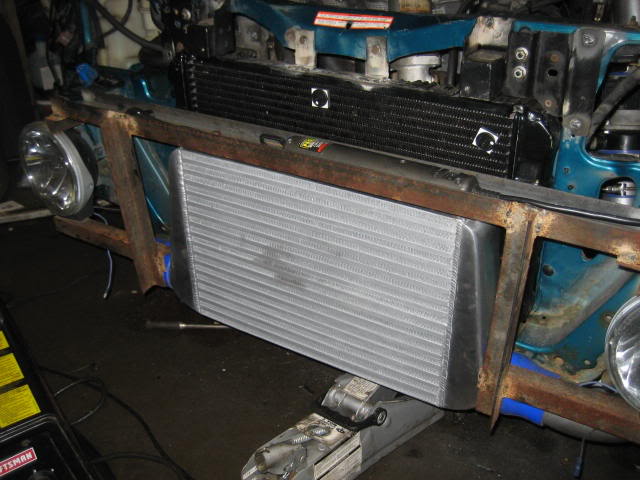
you can see the charge pipe sneaking in the engine bay.
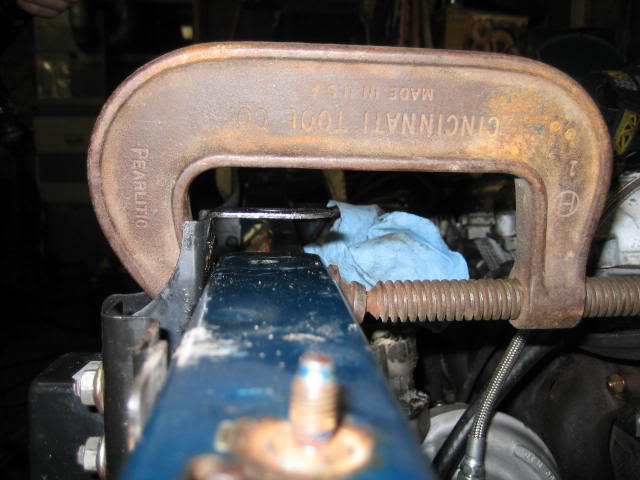
oops, not tight enough... oh well, nothing modding wont fix.
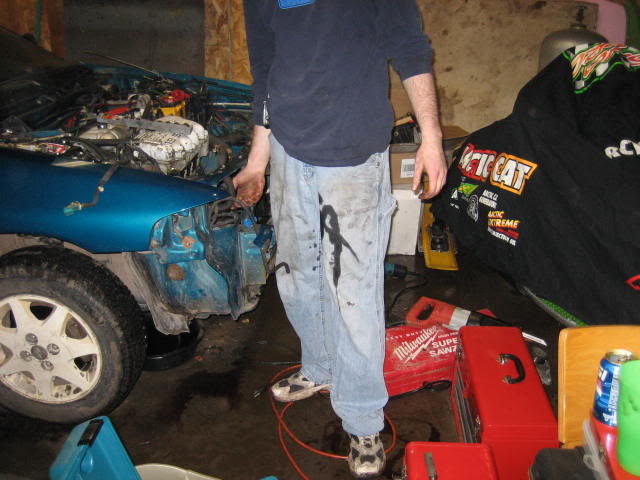
me at the end of a 24 hour wrench fest.
More pictures.
Exhaust and intercooler work:

The fuel sender after being ripped from the tank. I had to buy a new locking ring for it since mine crumbled when I tried to turn it. I had to cut a lil bit off the tube that goes out of the tank to make room for the Walbro, but nothing too serious.
The build crew:
Keith
Ted
me!
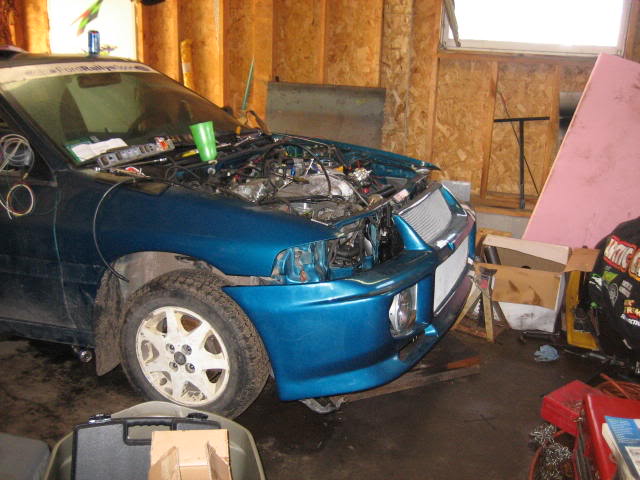
Hoodless:
No front bodywork
Decharging the A/C, since no one in town could do it.... :roll:
The first disaster.... Keith cut a PS hose instead of the AC lines....
EGR, making an Exit
No manifold or radiator
Me unbolting the Accessory bracket
the PS pump puked all over Keith when he picked it up... kinda funny since he was the one who killed it.
Budweiser commercial
look ma, no accesories!
Another view:
the lowly 1.9 head...
pristine bores....
if you look carefully at the wall, you can still see the factory cross hatching
getting ready to pull the shortblock
engine out
another look
annnd one more for good measure
stock clutch disc
stock pressure plate
the flywheel.... This thing was MINT. the original finish was still on the surface of the wheel, you could feel the machine ridges on it. I carried it into a machine shop ot have it resurface, and he laid a straight edge on it, and slipped feeler gauges under the surface, and there was only 3 thousanths of wear on the face. He told me if it were him he would just clean it up, and put her back in, so thats what I did.
close up of the surface:
another closer close up
day two:
Discharge flange for compressor
my ugly cobbled discharge tube
where the flange bolts
mocking it up
oil pan off
hole in pan
cylinder cross hatching
close up of hole
bung resting on pan
the original oil feed
more of the ugly cobbled pile....
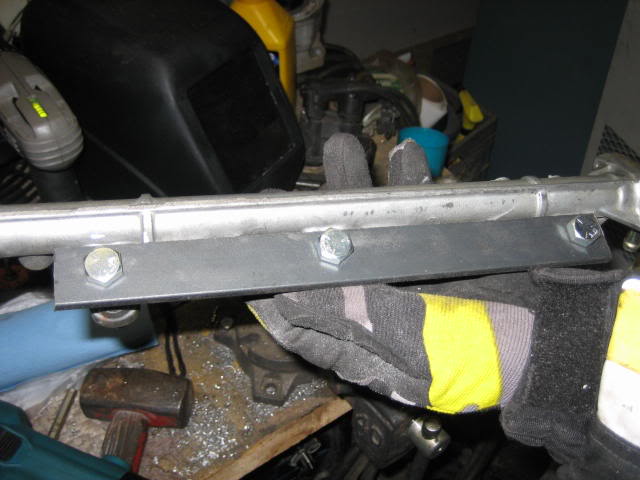
Secondary rail feed
bigger view
the "custom" tap converted from starting to bottoming to thread the fuel block
bung welded in. We decided to weld it on the backside so if the bung ever broke that it would be pinched in the oil pan and at least return most of the oil instead of dumping it on the road.
Modified SPI rail to fit 1.9 injectors.
more of day two
hold down plate on secondary rail
from underneath
SPI IMRC pressure switch where the EGR used to be.
another angle
secondary rail hold down studs. I vowed not to use JB weld on this project, but I had to break down here and there.
our messy, tight workspace
junk everywhere
secondary rail all wired up and mounted
resistors for injectors
more of the resistors and mounting plate
Keith doing something
putting the engine back in
this is what happens when your oil block is too short, and the end of the starter smacks it when you tighten the starter down.
the little nub sticking out was hitting the stock pressure switch
the SPI head redy to go
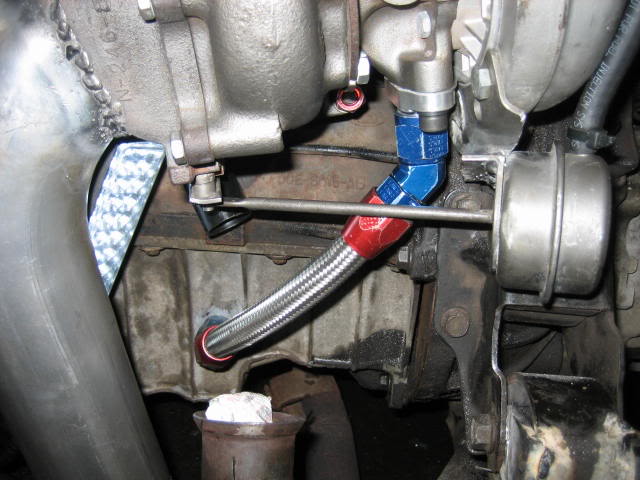
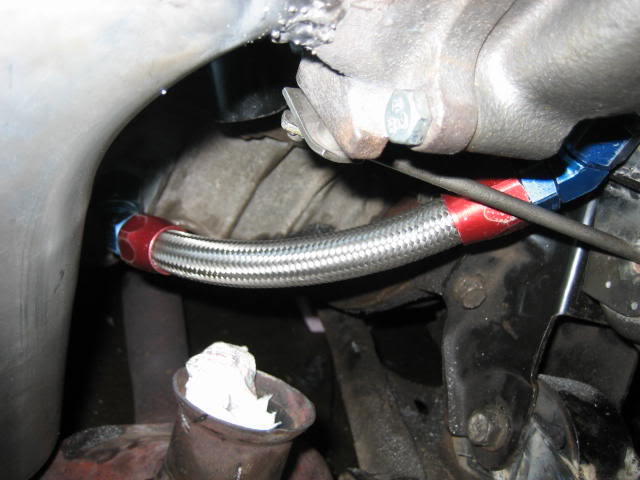
fuel rail feed line, and SIC, BOV and wastegate hose nipples.
close up of fuel feed.
block completely back in
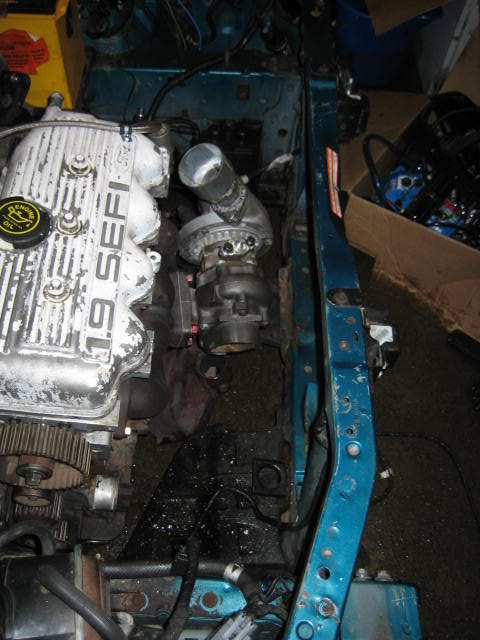
test fitting everything...
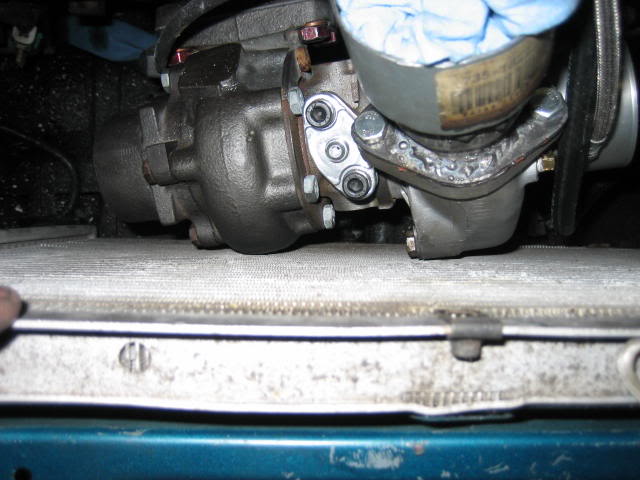
the RST manifold
oil feed line on rocker cover
another view of the line and turbo
core support clearance
close up of cute downpipe.
another view of turbo
intake manifold. Yes, the fittings are a lil crooked.
buid day three, the 24 hour long wrench session. Yes, I said 24 hours straight.
the new oil feed... longer to move the switch out away from the starter
with the starter installed
thats tight...
clean deck and bores
connecting shared positive leade to the injectors.
Second disaster of the build.... the ARP studs WERE NOT THE RIGHT ONES!!! too short, too fat, and wrong thread. I;ve got to call summit and have a chat with them. I ended up tracking down a set of head bolts for it though luckily.
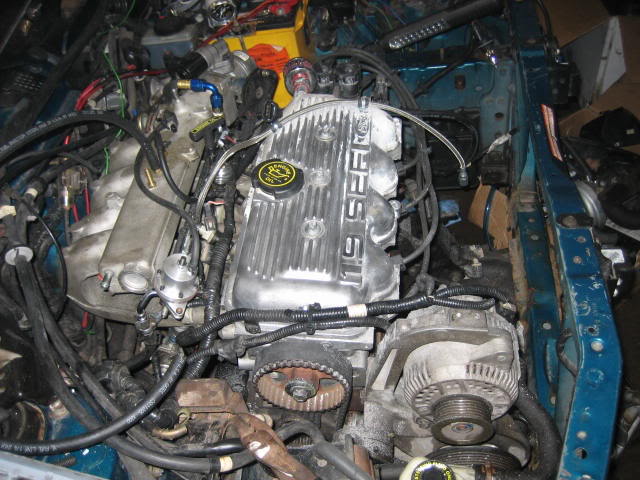
top and bottom end lighned up and belt put on.
accessory drive bracket back on... god only knows how many times we took that off and put it back on.
no a/c
ignition system back on
keiths wicked cool PCV tube. It was just the stocker cut up and welded back together.
flange ground flat.
while he was working on that, I was working on this...
oil line screwed down, valve cove breather on.
coming together
routing vacuum lines
starting to get a lil crowded.
keiths finished PCV tube. wicked cool if you ask me.
it has to be cut down like that to clear the RST manifold
the curb ownage. As you can see, the frnt of the core support is a lil bit crooked. It still aligns fine and drives straight though.
nope, not going to be using the stock radiator.
cutting off the auto tranny lines and mounting tabs..
the turbo hanging again.
have to move/modify the headlight brackets and airbag sensor brackets.
thats how far up they were moved to make room for the radiator.
ohhh, look at that, the radiator sits oh so nice in the core support!
but, the question is, does it clear the turbo?
I dunno... it might clear the turbo...
it does. It clears by a mile.
new radiator flush with the core support.
the airbag sensors stick out further...
brackets spot welded to the support
the new exhaust... heh heh heh...
the wastegate moddage. The factory local for the gate happens to be exactly where the engine's front mount is... so, on with the moddage...
We cut the bracket off at the canister, turned it around, and welded in a piece of flat stock so that the wastegat was facing in the opposite angle... Its hard to explain, but it moves the wastegate out towards the radiator where there is room for it.
gate on the car
oil return line. Its much steeper then what it looks in the picture.
Back to the clutch... Ignore my crummy welds. Keith is a much better welder then me, so he's doing the exhaust
since the engine is rigid in the fram, pulling off the frame is no problem.
radiator mounting tabs. They use the stock hood latch mounting holes.
all done. On the bottom we welded tabs to the core support for the radiator to bolt to.
the fan. I can only fit one in as a pusher. If its not enough I might have to order a 10" fan to go along side it.
keith lookin buzzed after 24 hours straight of fabrication
me cutting a bracket away for the charcoal canister to make room for IC pipe.
fog lights and IC mounted up.
I had to cut some steel out of my bumper mount, and add some in for the intercooler.
you can see the charge pipe sneaking in the engine bay.
oops, not tight enough... oh well, nothing modding wont fix.
me at the end of a 24 hour wrench fest.
More pictures.
Exhaust and intercooler work:


 Looks good man. Why didn't you put the flex before the cat?


 04-05-2006, 12:47 PM
#7
1.0 BAR
Thread Starter
Join Date: Feb 2003
Location: Wisconsin
Posts: 461
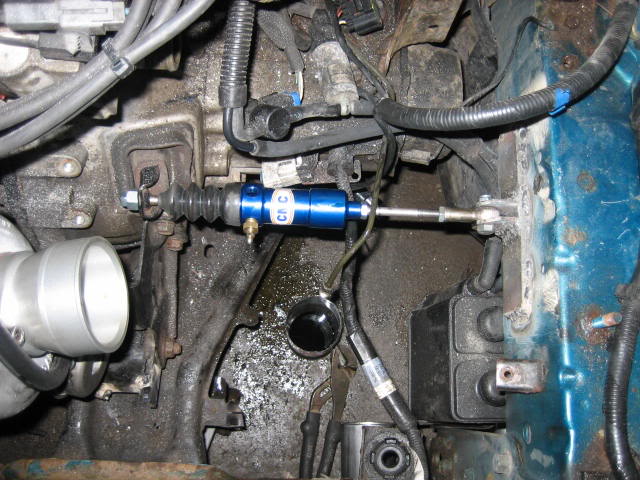
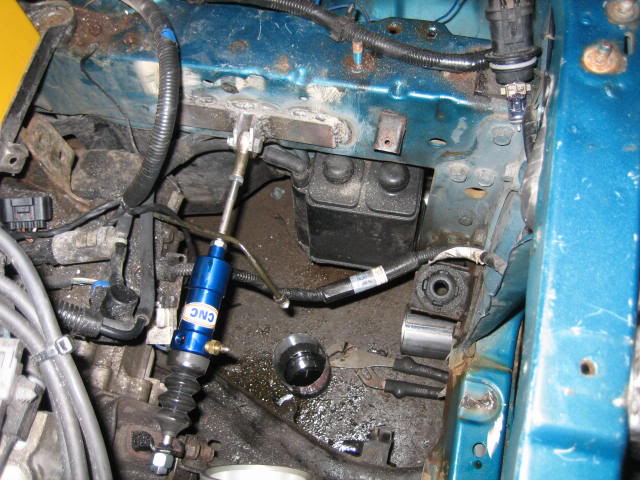
thanks for the compliments. Im going to use the Supplimentary injector controller from www.034efi.com to fire the 450s. I plugged it in and tried to get it load last night but the computer locked up for some reason so I need to call then and find out why. Im going to try for 20 PSI and 250-275 WHP and 300-325 Wlb-ft.
 04-05-2006, 10:37 PM
#9
1.5 BAR

Join Date: Oct 2005
Posts: 1,276
Originally Posted by nonvtec
Dang you guys are dedicated, I get sick of my car after like 4 hours of wrenching, good work. Show us some finished pics when you get it done, that thing should rip nice.
04-06-2006, 02:10 AM
#10
1.0 BAR
Thread Starter
Join Date: Feb 2003
Location: Wisconsin
Posts: 461
well, I fired it up tonight, minor oil, fuel, and vacuum leaks, but the main problem is there is something wrong with the SIC....  I emailed Javad at 034 efi and we'll see what he says. The computer locks up when you plug in the SIC. I tried a different computer and got the same thing. I tried running new power and ground leads, no change, and I tried disconnecting the tach signal and got no change as well. It's really aggrivating because its all put togther and all I can do is watch the turbo spin at idle... GRRR.
I emailed Javad at 034 efi and we'll see what he says. The computer locks up when you plug in the SIC. I tried a different computer and got the same thing. I tried running new power and ground leads, no change, and I tried disconnecting the tach signal and got no change as well. It's really aggrivating because its all put togther and all I can do is watch the turbo spin at idle... GRRR.

Thread
Thread Starter
Forum
Replies
Last Post


