Built H22 EK Hatch in and running
 06-13-2004, 01:24 AM
#1
Administrator

Thread Starter
Join Date: Dec 2002
Posts: 13,991
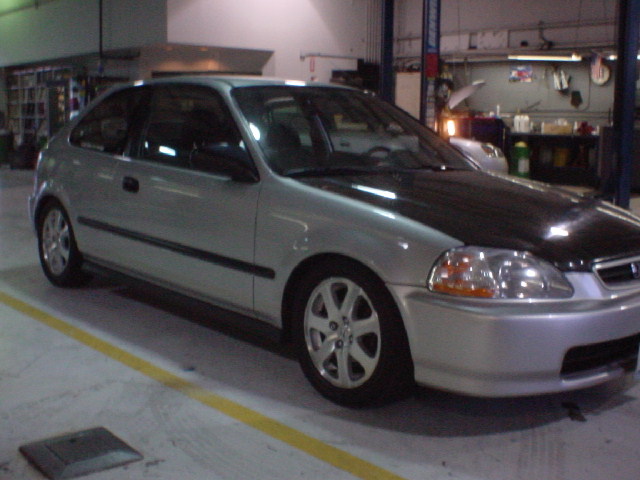
Its been a long week at HMT, I've been trying to get my girlfriend leia's (princess) Built H22 in her 98 Civic HB. This was my first h22 swap.
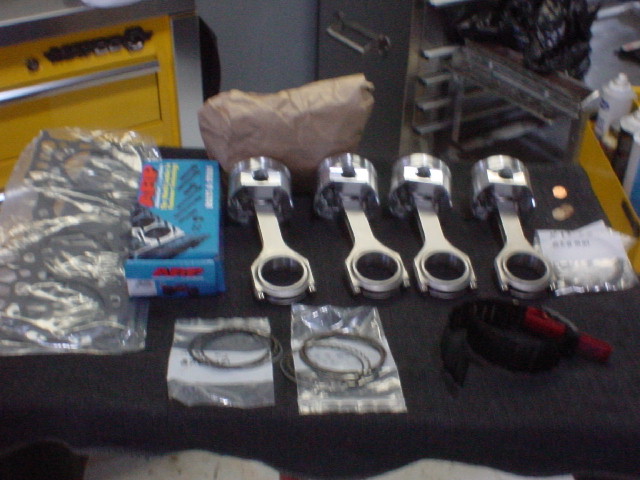
Beau and leia dissassembled the engine about 2 months ago, and when I got it, it was in about 3 big boxes all scattered. So it took a little while for me to figure out where everything goes. Using Endyn Rollerwave pistons on Eagle H Beam rods.

Leia measuring ring end gap
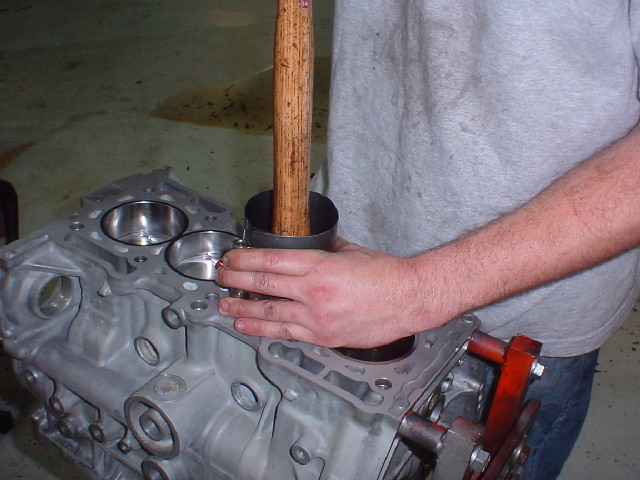
Installing the pistons, I was having a difficult time using my cheezey ring compressor so I had to go back to my old faithful one.
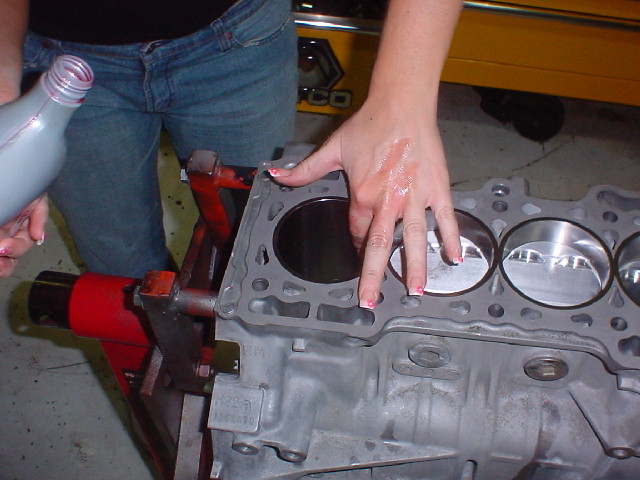
I had her lube her holes, just incase it got tight

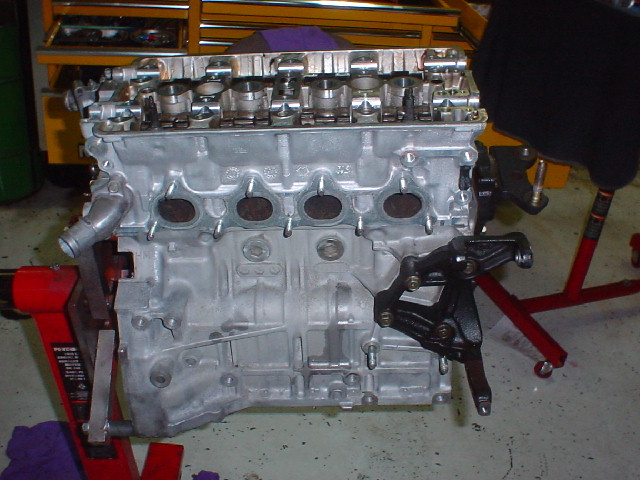
Longblock assembled
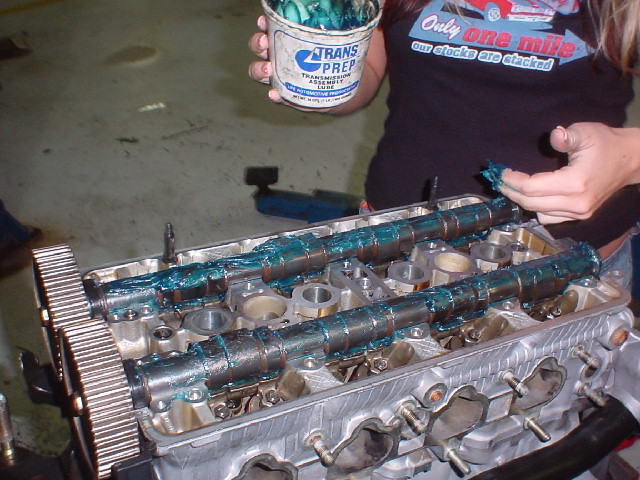
Lubing the cams, Trans prep grease is my favorite on anything, it melts into ATF.

I removed the balance shafts and plugged them up with some aluminum fittings, However... It didnt cross my mind that I had to cover up this, so we had a little oil leak


Also the next problem was once the shafts were out, I would have oil blowing out through the balance shaft feeds and that would mean starving oil in the mains. (thanks for the reminder josh!)
I ended up threading 5 plugs in the main caps and 1 in the block. (shown above is the oil passages that needed to be blocked off)
The night of the install, me and leia took the engine out the day prior so it was planing on being a quick install. Josh Ross (turbo94accord4dr) came up to help out.
I had the engine all ready with the tranny on my engine/tranny stand for install. I spent about 3 hours splicing the 98 Obd2 y7 harness into the 94 Obd1 h22 harness.

H22's use different connectors on things, the alternator is in the front, and lots of other goofy things, so I had to lengthen about every wire on the harness. It really wasnt to bad.
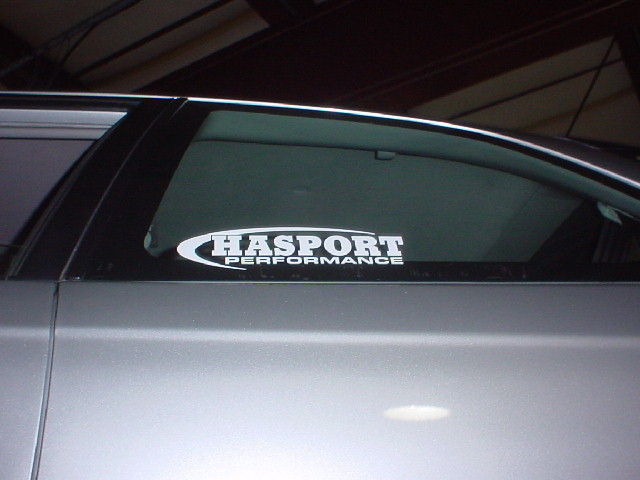
Me and josh installed the hasport sticker, hahaha, (leia hates stickers)
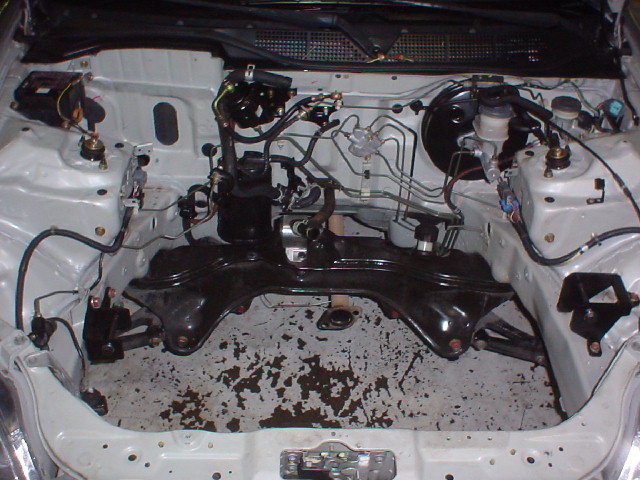
Steamed out the engine bay before the install. The hasport mounts come with all the brackets as well.
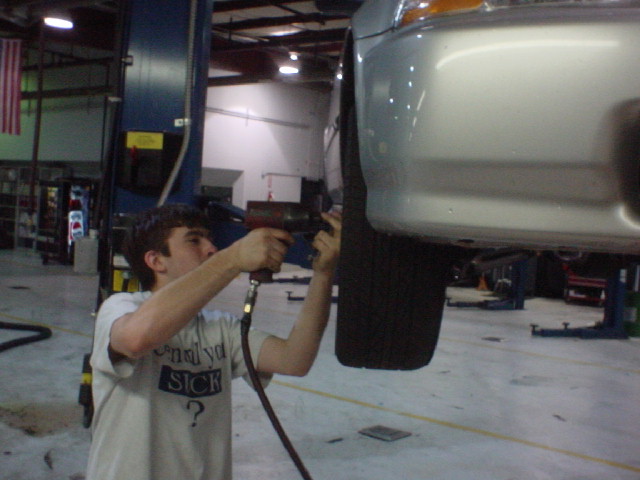
I had josh doing all the bitch work
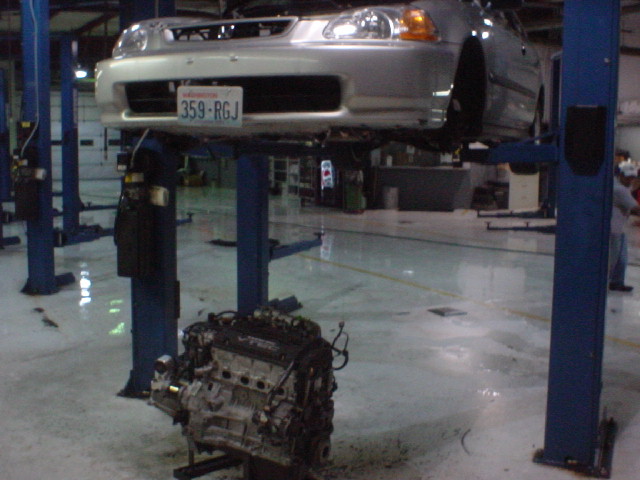
Ah yes, the luxary of having a lift, just set the car right down on the engine/trans. Think we have a nice shop now? I'm moving to a brand new shop next month which is way bigger

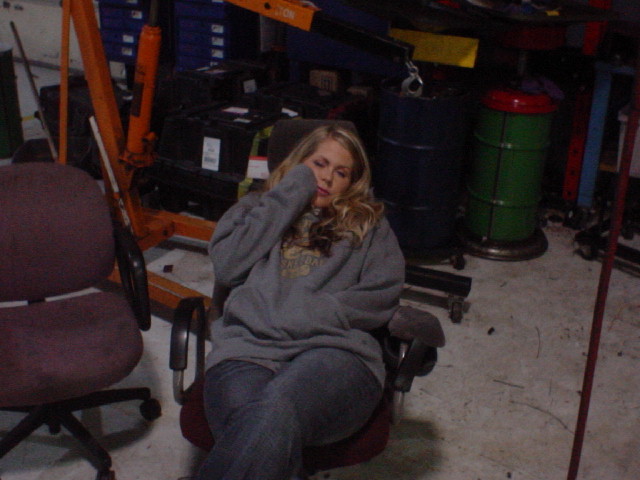
Someone was a bit sleepy!
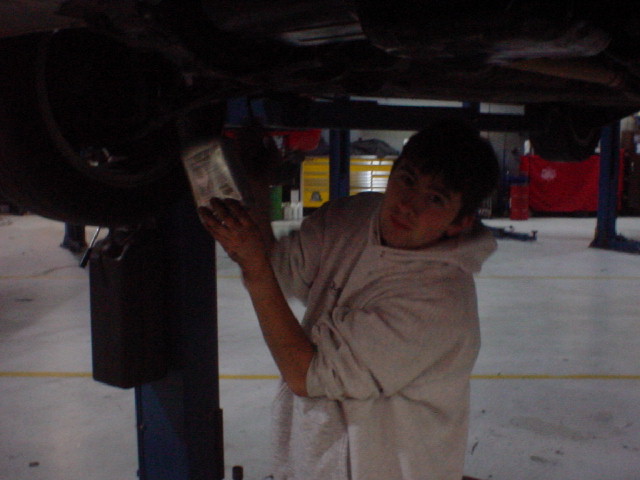
More bitch work..

Using a OBD2-1 Jumper Harness (thanks Stephan) to a Chipped P28 w/ Uberdata (thanks Dave)
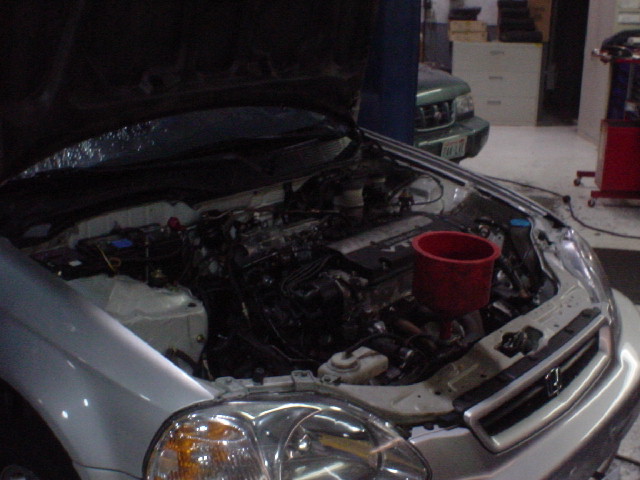
Also had my manual oil pressure gauge installed in the car just to make sure everything was going to be ok.
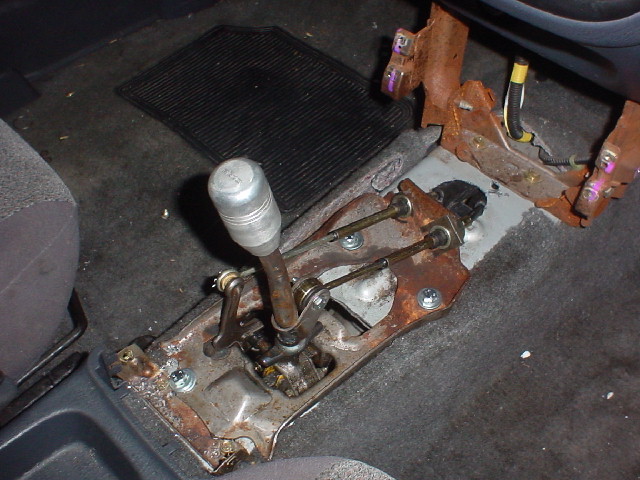
The shifter assy was the only part of the swap I was concerned about because I had never done it, nor have I seen any good documentation on how to do it. We looked everywhere. It just says cut holes mount shifter and thats it, Basically you have to enlarge the stock shifter hole so the prelude shifter assy can be mounted in, and cut about a 2in hole so the shifter cables can come inside. It wasnt to bad at all.
The exhaust was the next challenge, since the nice guys in Japan decided to cut the exhaust right off on the downpipe exhaust flex section we couldnt bolt anything to it, and since the car is going to get new exhaust later on we figure we would just stuff the stock 2in exhaust inside the stock prelude downpipe.

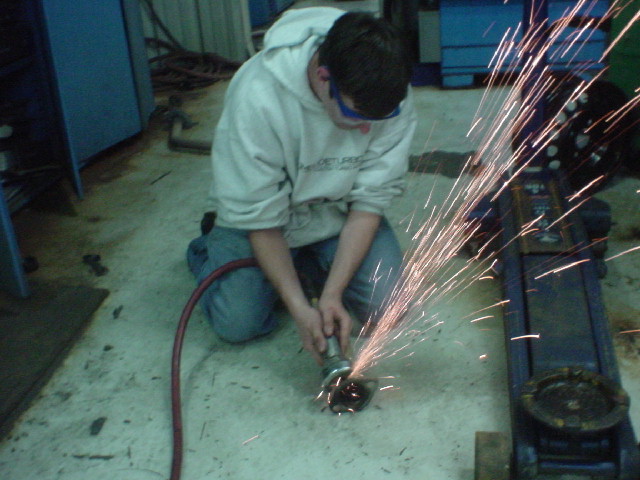
"Boy that ------- welder gets hot" haha, josh welding up the DP to the exhaust.
Cranked it over until we built up about 40psi of oil pressure, then plugged in the distributor and it fired right over first try! It had a CEL for IACV which was one of my concerns when I was doing the wiring, the Y7 uses a 3wire IACV and the OBD1 Prelude uses a 2wire. Josh repinned 1 wire on the ecu and fixed it.
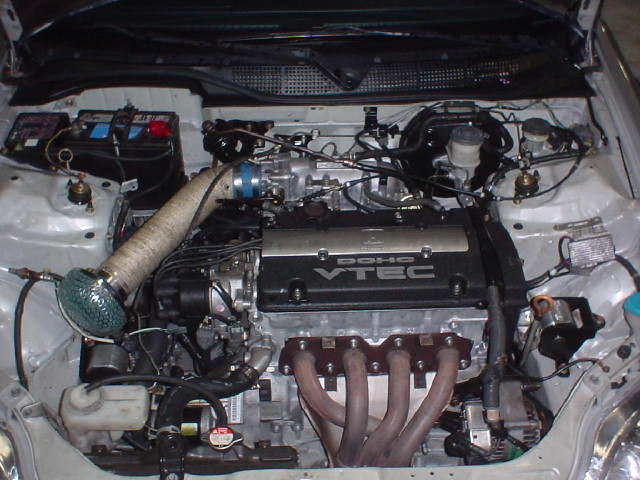
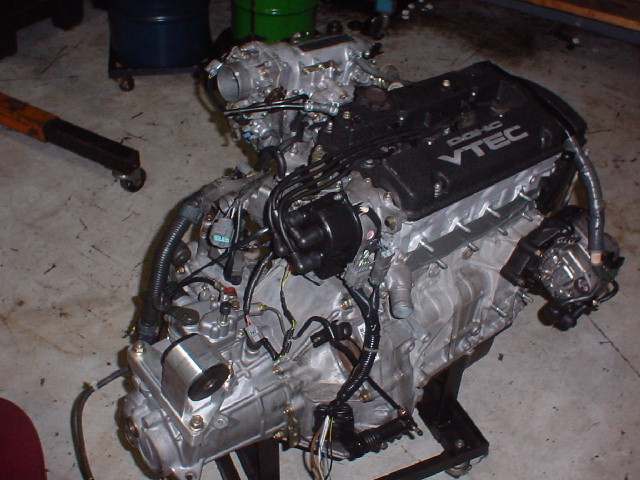
All installed, I was very impressed on how smooth this thing ran without the balance shafts and with Dave's tune that he pulled out of his ***.
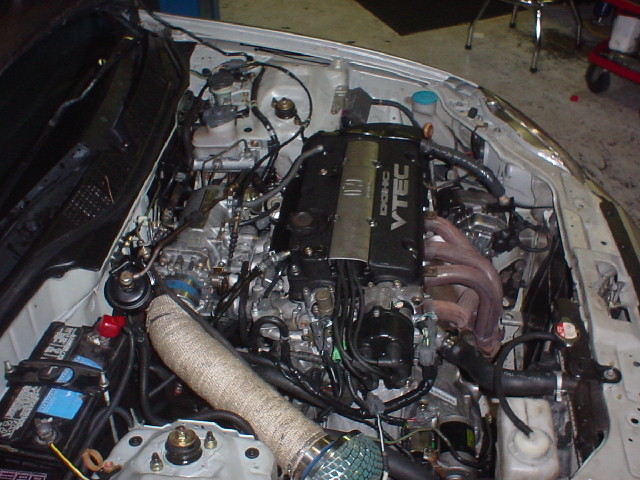
The motor didnt have nearly the amount of vibration I thought it was. The overall install was pretty easy.
Our first test drive didnt go to well, we used the stock prelude intermediate shaft along with 94 GSR axles. The passenger side axle was too tight and created a really bad vibration at 35mph.
So the next day me and josh ross cruised the Orange crush to pick up a 86-89 integra Axle (right) because it was about 1/4 of an inch shorter.

We also stopped by the local mall and gots these killer Shakes that had these tapiocca ***** at the bottom (and huge straws) Josh was ------- nailing everyone!! This guy got really pissed when we nailed the side of his blazer, hahaha
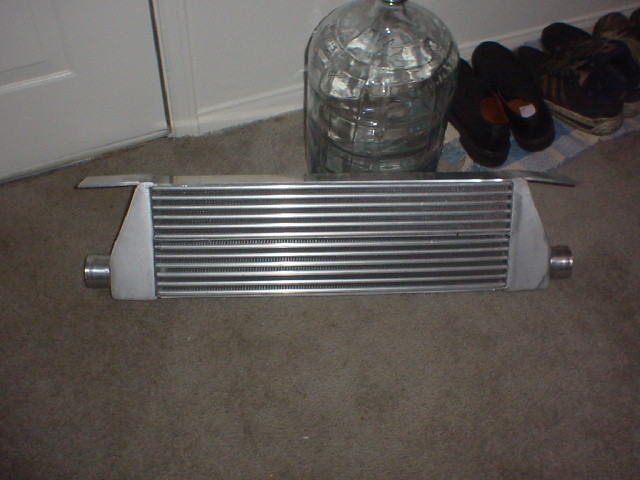
Also swung by the house and picked up my new CustomCoach 8in Intercooler (thanks mom & anthony). This IC will be used on this setup very shortly
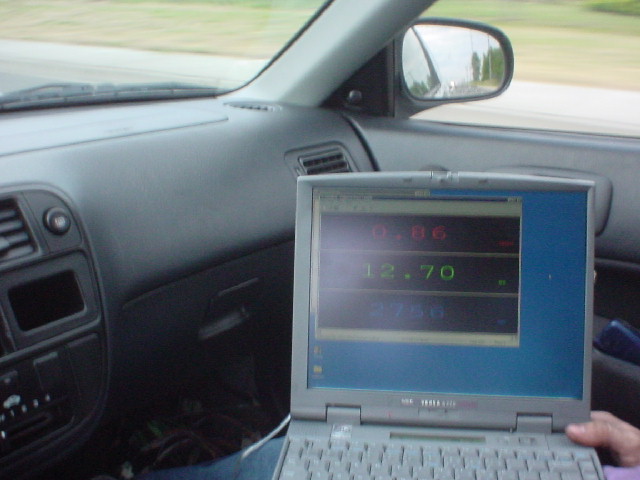
Finally got the axle installed and was able to put my wideband on to get some street tuning. I compared with the stock p13 ecu and daves ecu.. Dave was a little on the lean side on WOT and a little rich at cruise, but was fixed later on.
Now the big question, is it fast? does it haul *****? eh, I wouldnt say it's that fast. It's still in break in period so I'm not really raping the ---- out of it, but I can already tell its not to fast. But thats probably because it has 9.1 pistons, stock 2in exhaust and the butterflies on the IM are open all the time. The "NA" period of this engine isnt going to be to long, its built for boost, so about another 500 miles and we are going to throw together a temporary kit for it, then build a badass one for it later on.
This write up was pretty vauge, probably because I'm pretty tired, but we have a bunch more pics that leia and josh took, that I will include in the full write up and publish on the main website. But this is good for now :P
Big thanks to Josh ross for all the help

Enjoy,
Jeff


 06-13-2004, 03:05 AM
#10
Administrator
Thread Starter
Join Date: Dec 2002
Posts: 13,991

Closed Deck sleeved engines are stronger, but not really by much, there are lots of 600+ whp B-series open deck.
The only reason this engine was sleeved was that H22 factory sleeves are FRM coated (fiber re-inforced metal) and you cannot use aftermarkt pistons like J.E/SRP/ARIAS/Wiesco with them. They will never seal correctly. So if you want to build up your H22, you HAVE to sleeve it.
Jeff


